AERMACCHI-WORLD – Restorations
 

I finished with restoring the seat frame. I replaced every single spring with a new one. I also shortend them to fit exactly to their position in the frame. This took more time then someone might think. The seat together with the kneepads for the tanks will go to a professional saddler to recover them.

I also progressed on the rear wheel and removed the ball bearings which are two FAG standard size “6302” with open cage.

I have designed a spring compressor that fits the Chimera monoshock and printed it in PETG on my 3D-Printer. I wasn’t sure if it will work but the material proofed to be strong enough and it worked very good.


Front tire: Pirelli 2.75 -17
Rear tire: Pirelli  MT53 3.00-17
Rims are marked: M. Baruzzo – Torino
Beside “M. Baruzzo – Torino” there is no other markings on the rim, but both rims are 2 1/4 x 17″ for 36 spokes. 2 1/4 translates to modern size WM1 = 1.60
Front spokes: Length: 138,5 mm, diameter  3/3,35-40 threadt/1″ plus 36 nipples
Rear spokes: 142 mm, diameter 3/3,35-40 threadt/1″ plus 36 nipples


Bike runs good but still smokes too much from the exhaust when the engine is cold. Also some oil / gasoline mix comes out of the exhaust.
I checked the carb and wrote down the jet settings in case I have the experiment a bit there:

Starting jet: 70
Main jet: 100
Low speed jet: 55

Dealer Sticker

| Leave a comment

My first set of reproduction dealer stickers for the fenders. They turned out great, but are not metal effect as the original ones.

I have disassembled the seat which will get new paint and new springs. I am already experimenting with available new springs as a replacement.
The carburator is a Dell’Orto UB 22 BS2 and it seems like it was painted black back in it’s days.

Chimera Update

| Leave a comment

Most of the winter time I was hibernating, but it’s time to progress with the bike. I dismounted the cushions from the gas tank and the seat as well. The other pictures are showing excessive rust on the wheels and the rear brake switch. I also made up my mind update the grey color used on my Chimera and decided that it’s not my most favorite one for this particular bike. I will probably restore it to the original coral red (rosso corallo AER A12, Lechler) and sand color (avorio antico AER A11, Lechler) combination of earlier production years.

Laser Welding

| Leave a comment

The gas tank was leaking tiny bits of gasoline. I didn’t notice for a very long time as it was sucked up by a rubber block. At some point I noticed that the rubber block was twice as big as it is suppost to be and over some time very small amounts of gasoline dripped to the ground. The source for the leak was on the bottom of the gas tank, where the brackets for the antivibration rubber blokcks are welded to the gas tank. Obviously the metal of the gas tank was weakend by the welding process so it leaked after about 50 years later.
So I went to the a welder company and they laser welded around both brackets without even damaging the paint. It’s now sealed again and probably good for many more years.

I tookoff the large gas tank which is one large part together with the rear fender. I also dismounted most of the panels and streamlined fairing parts around the engine and the rear end of the motorcycle. Interstingly it wasn’t a big problem to get a new gas cap as it was used on other italian bikes as well. Luckily, I found a very rare NOS CEV rear light already.
I also started working on a template of the dealer sticker which can be found on the rear fender and also on the front fender.


I am currently writing an article for a “classic motorcycle” magazine in Germany about the SX-175. Today I took the bike for a little spin and a photoshooting for that article.

Upskirting

| Leave a comment

I removed some of the panels and trims to have a look at the engine, carb and other stuff like the monoschock. Everything looks very rusty, but otherwise in good original condition. I connected a 6V battery, but there was no spark.

The first impression after having the bike at home was still very good. Almost everything is there. Nothing seems to be altered or repaired incompetent. An emblem on the dampener knob is missing, the tail light is broken, but I didn’t find unexpected surprises.
A dealer decal at the front and rear fender says “Officina Riparazoni Auto Moto Aermacchi Harley-Davidson Cycles F.LLI DELFINO via Carlo Marx Tel. 62906, Alessandria”.


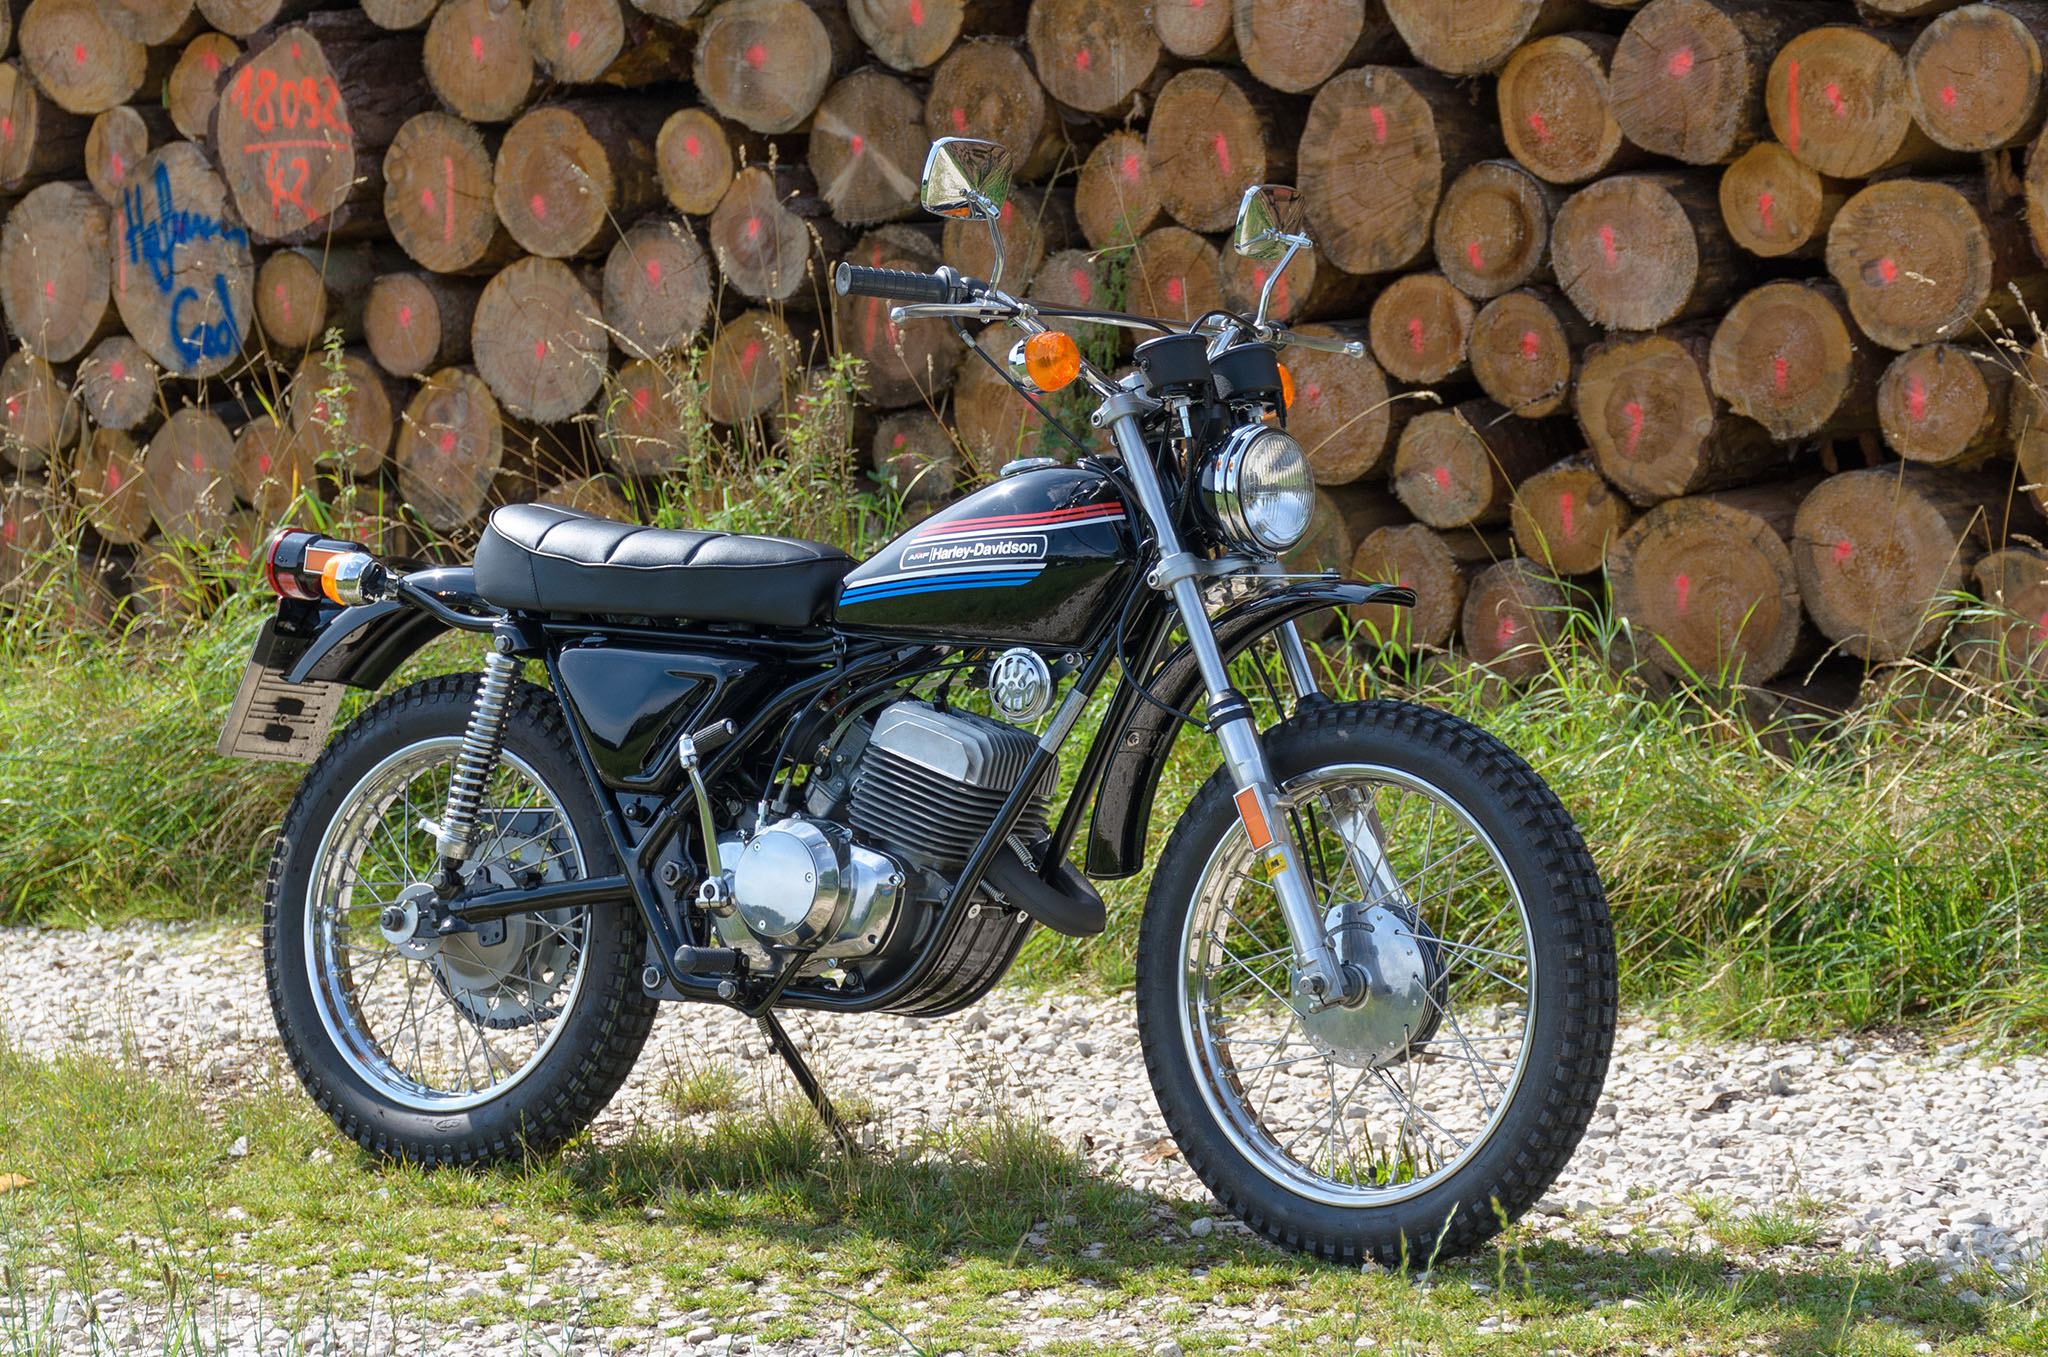
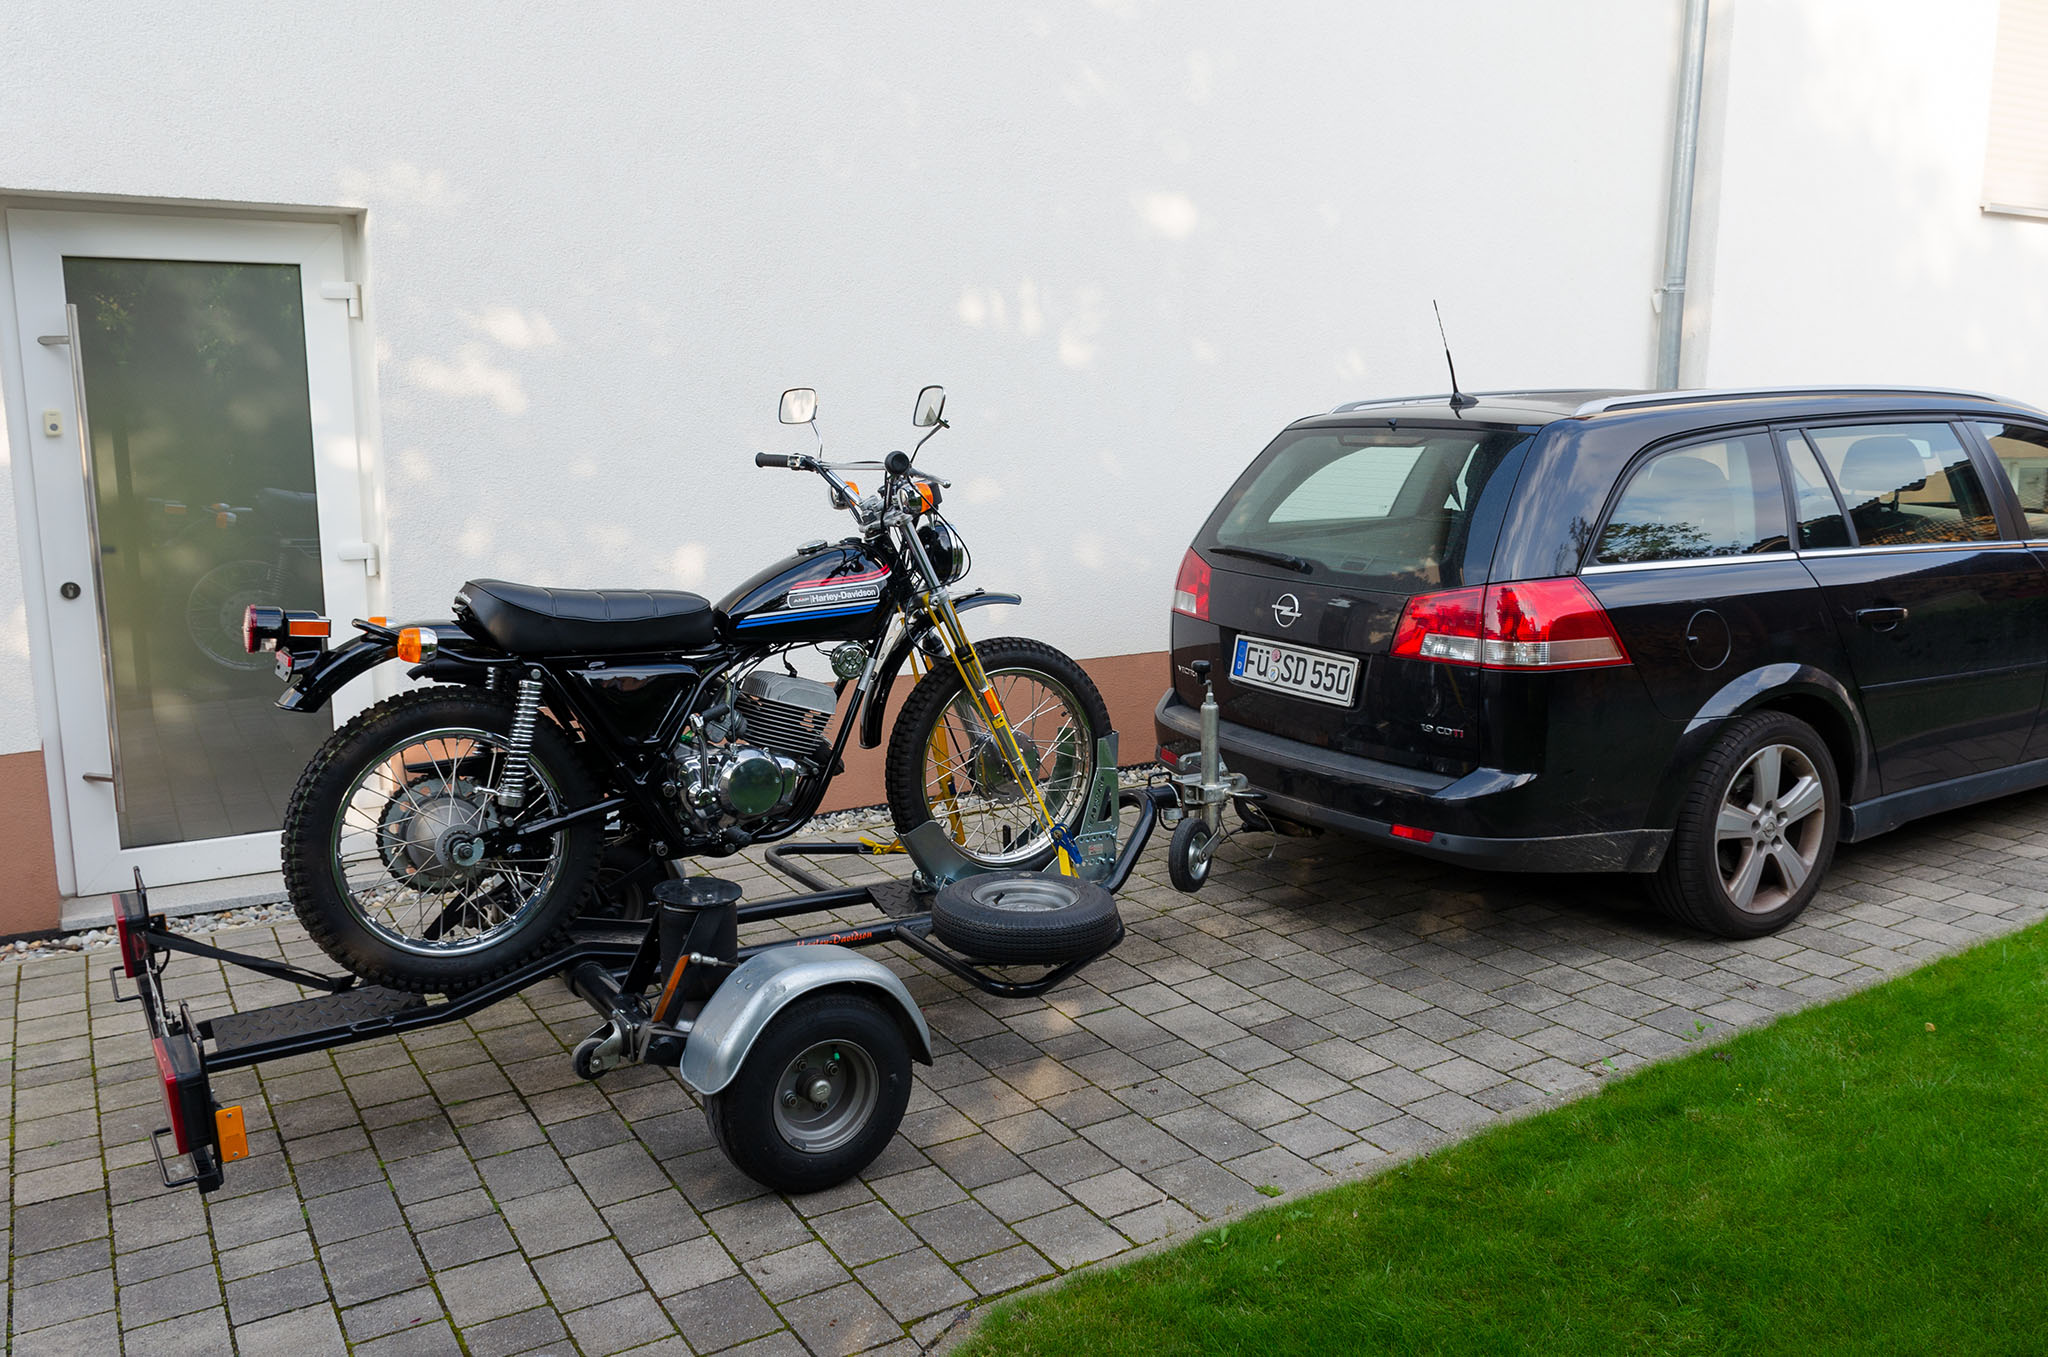
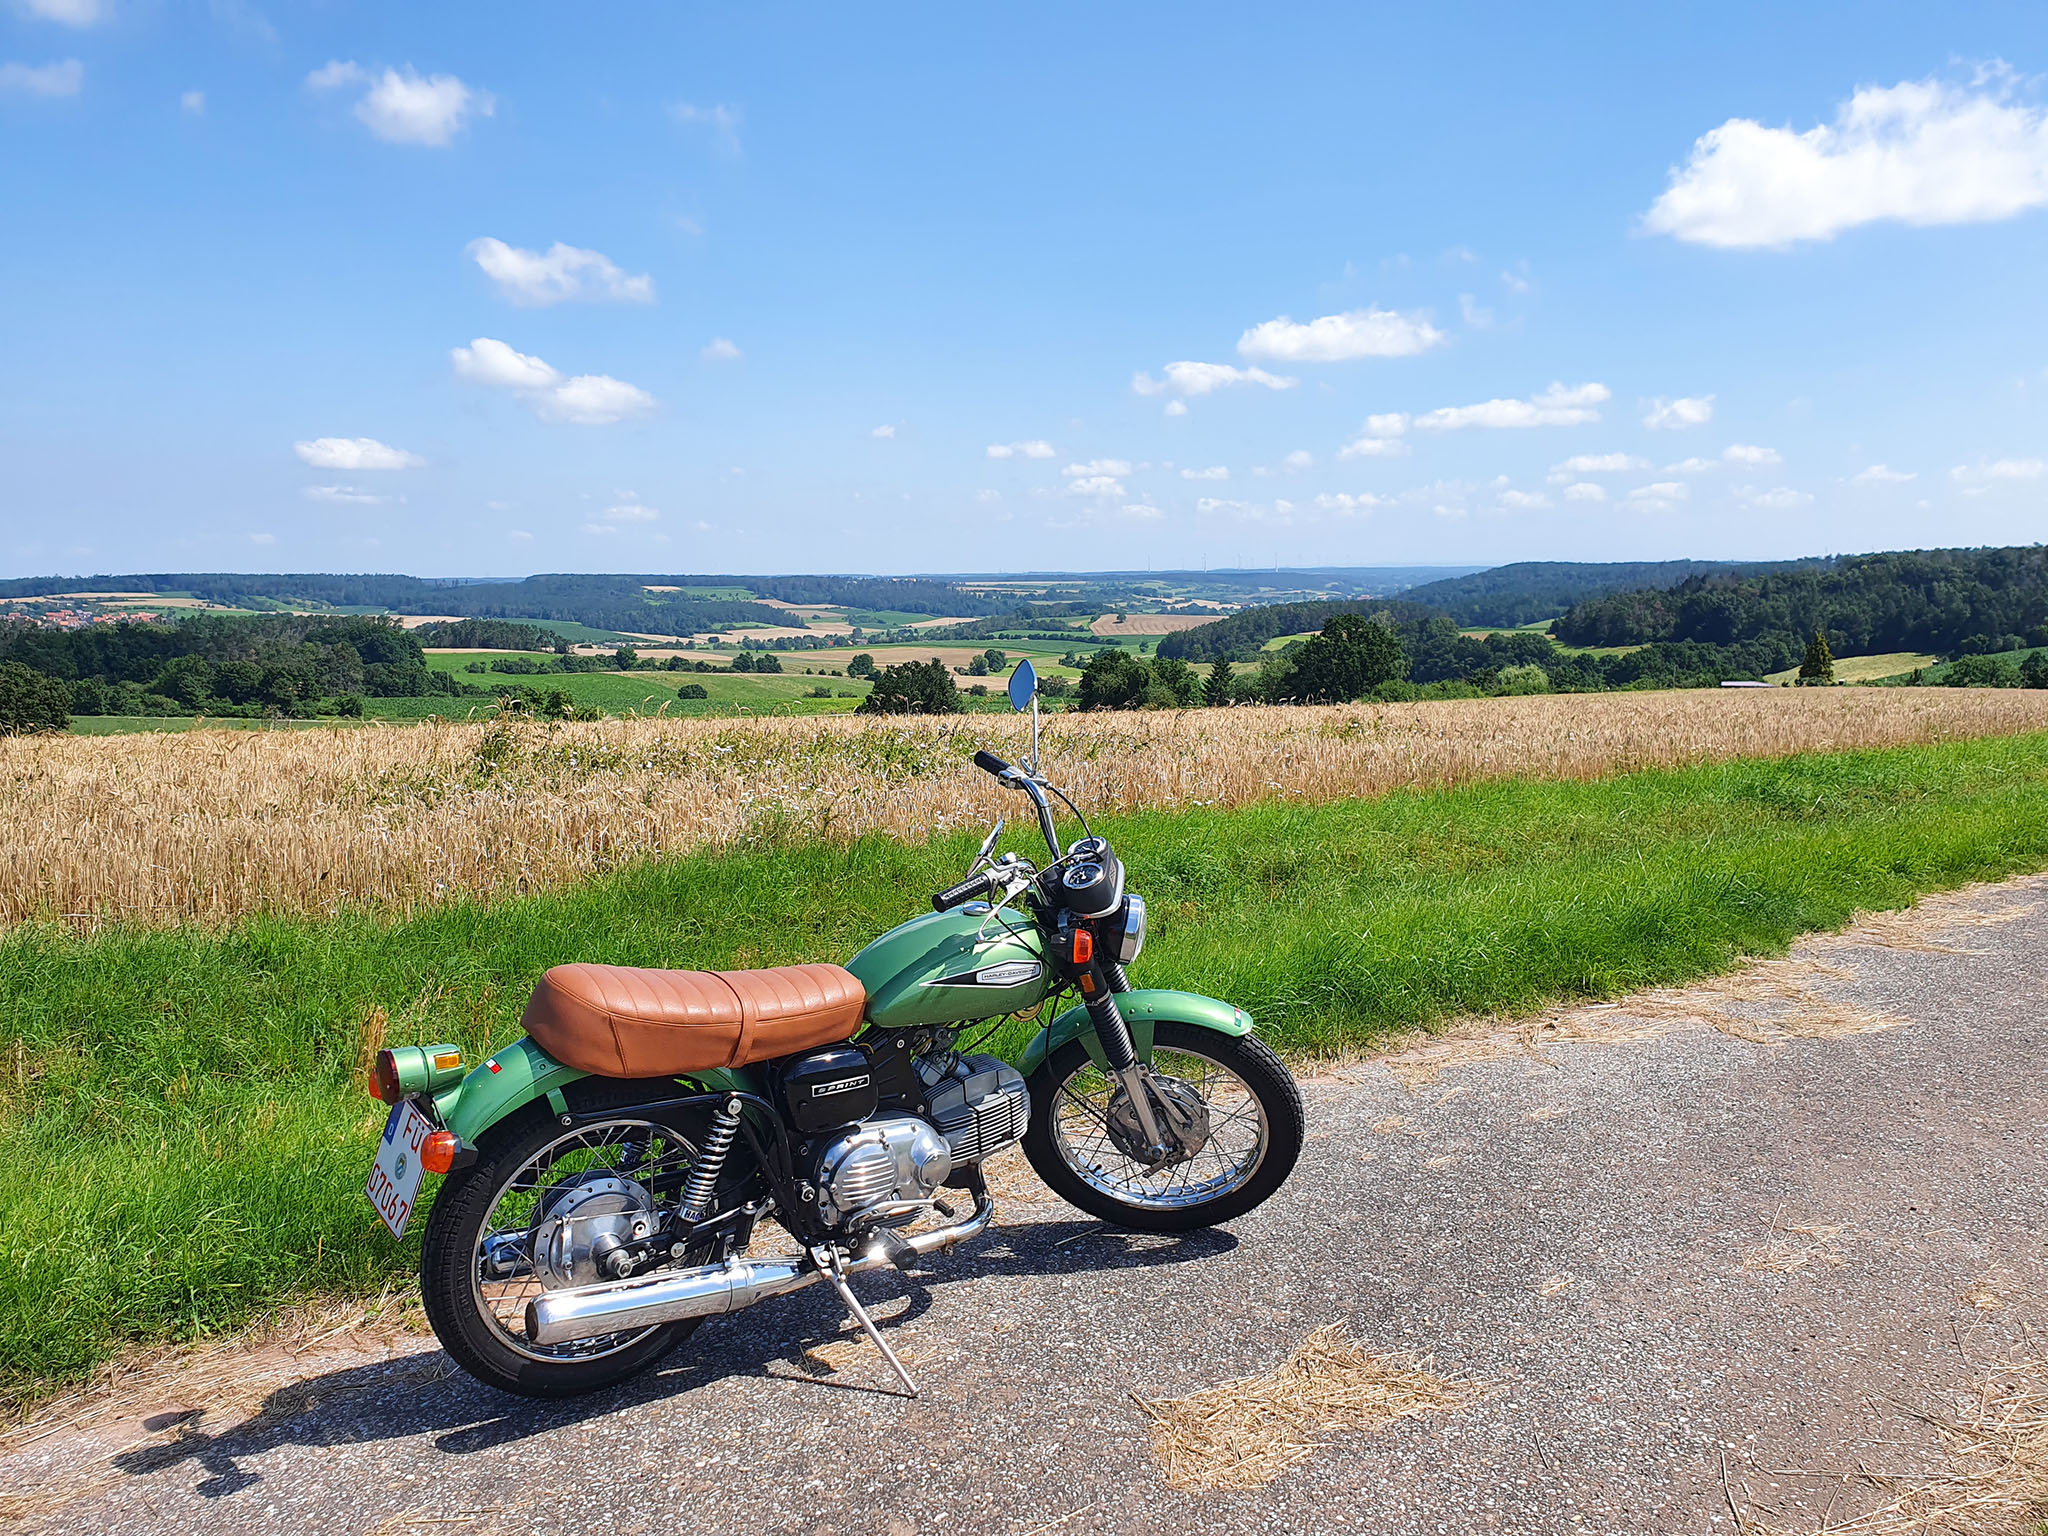
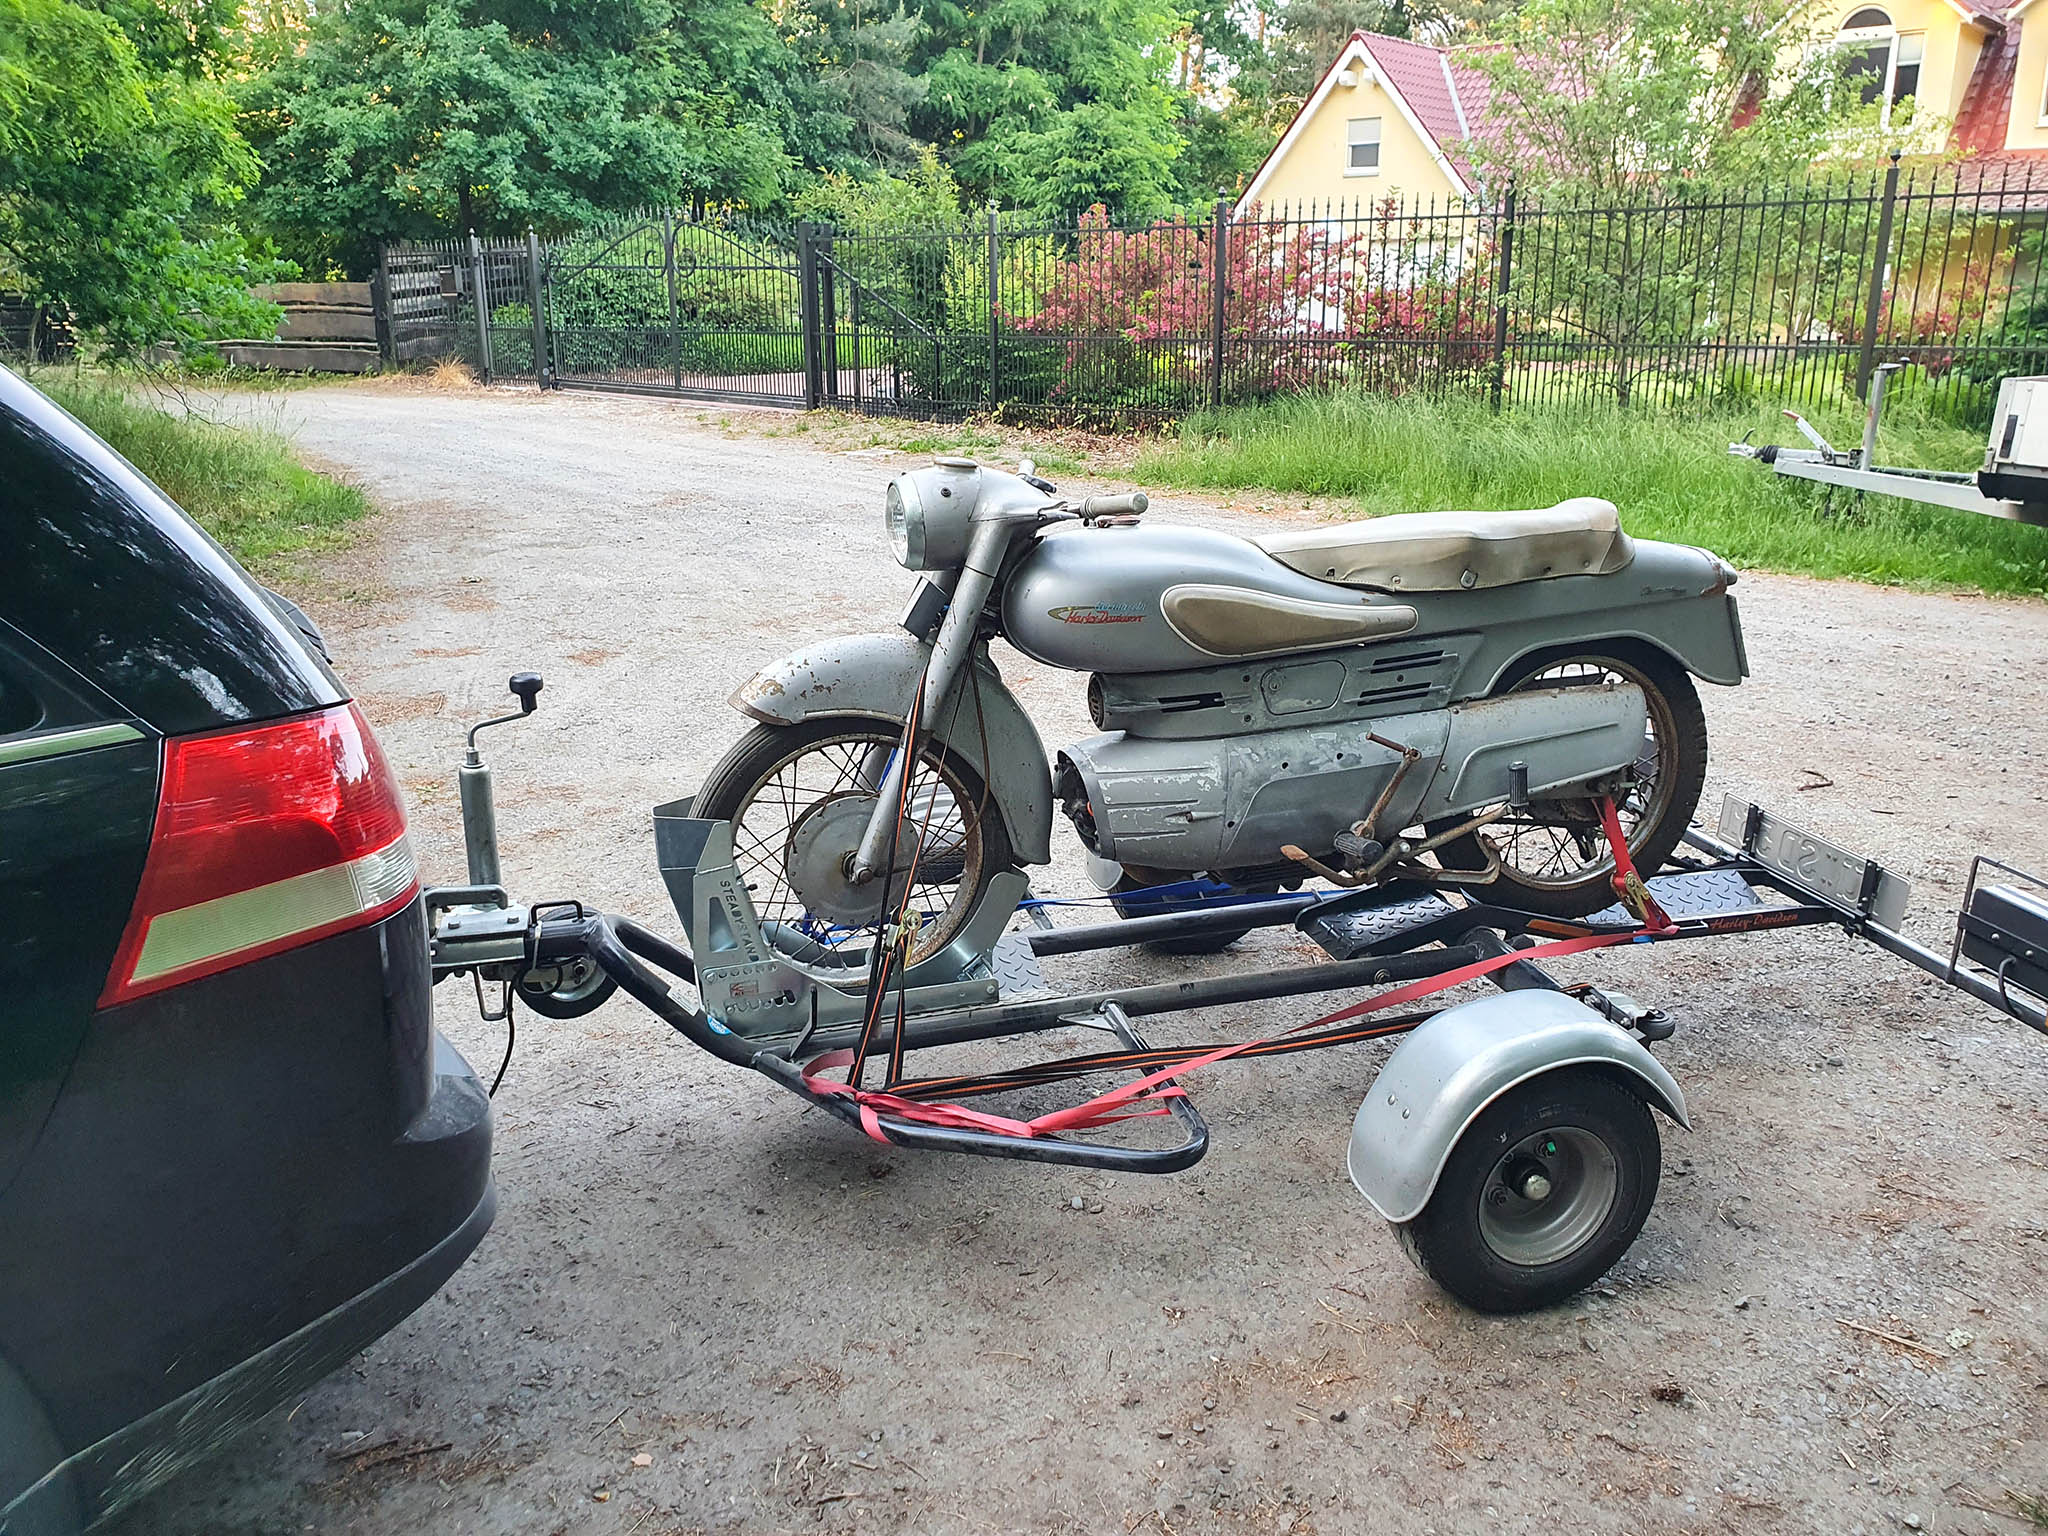
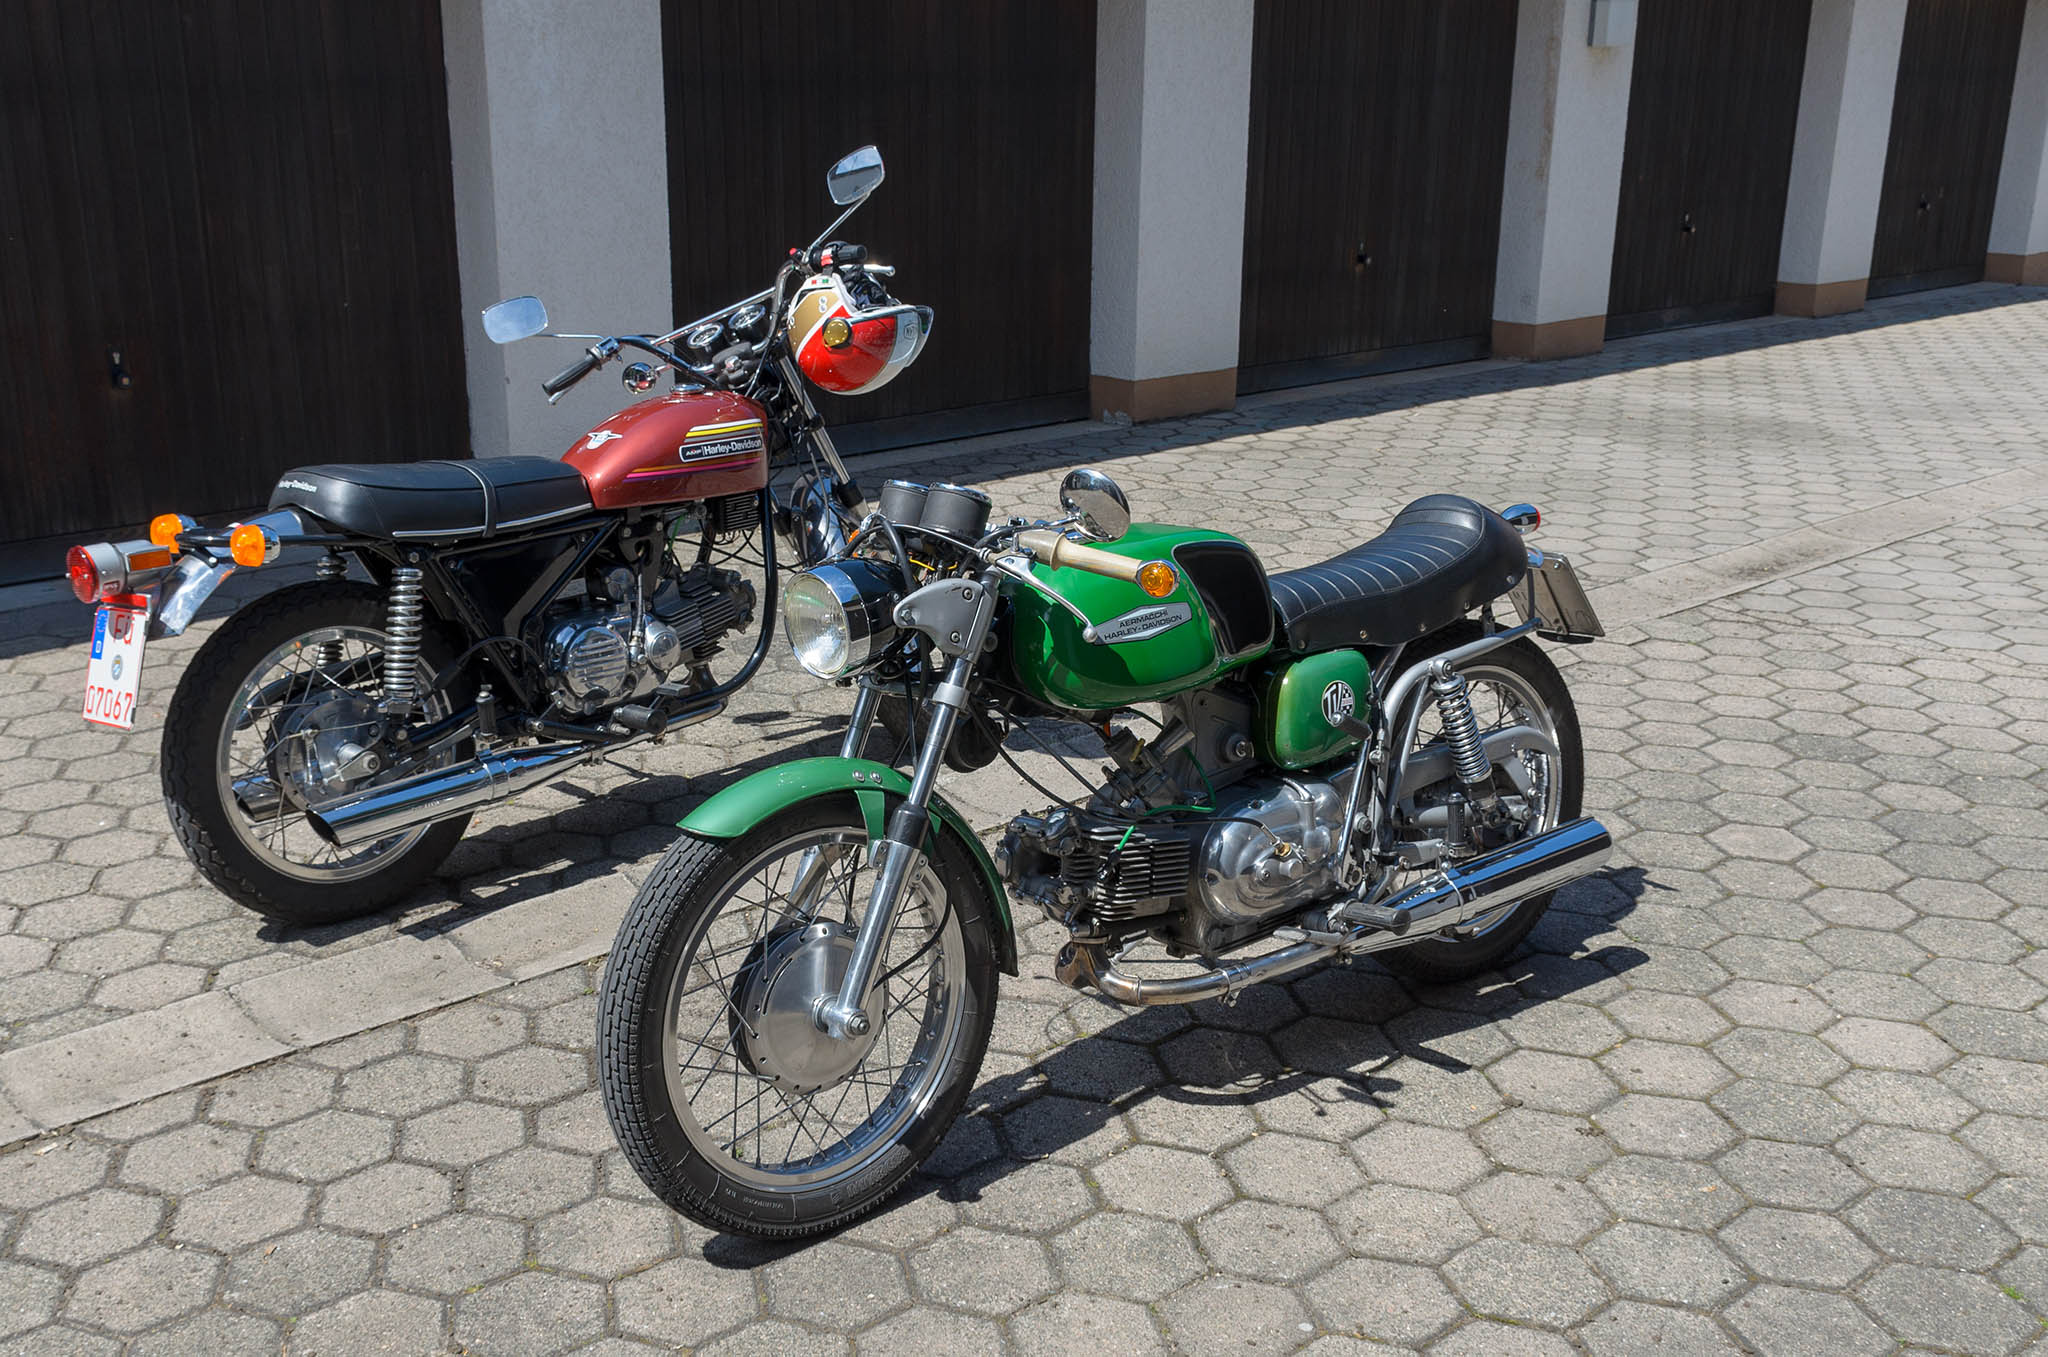
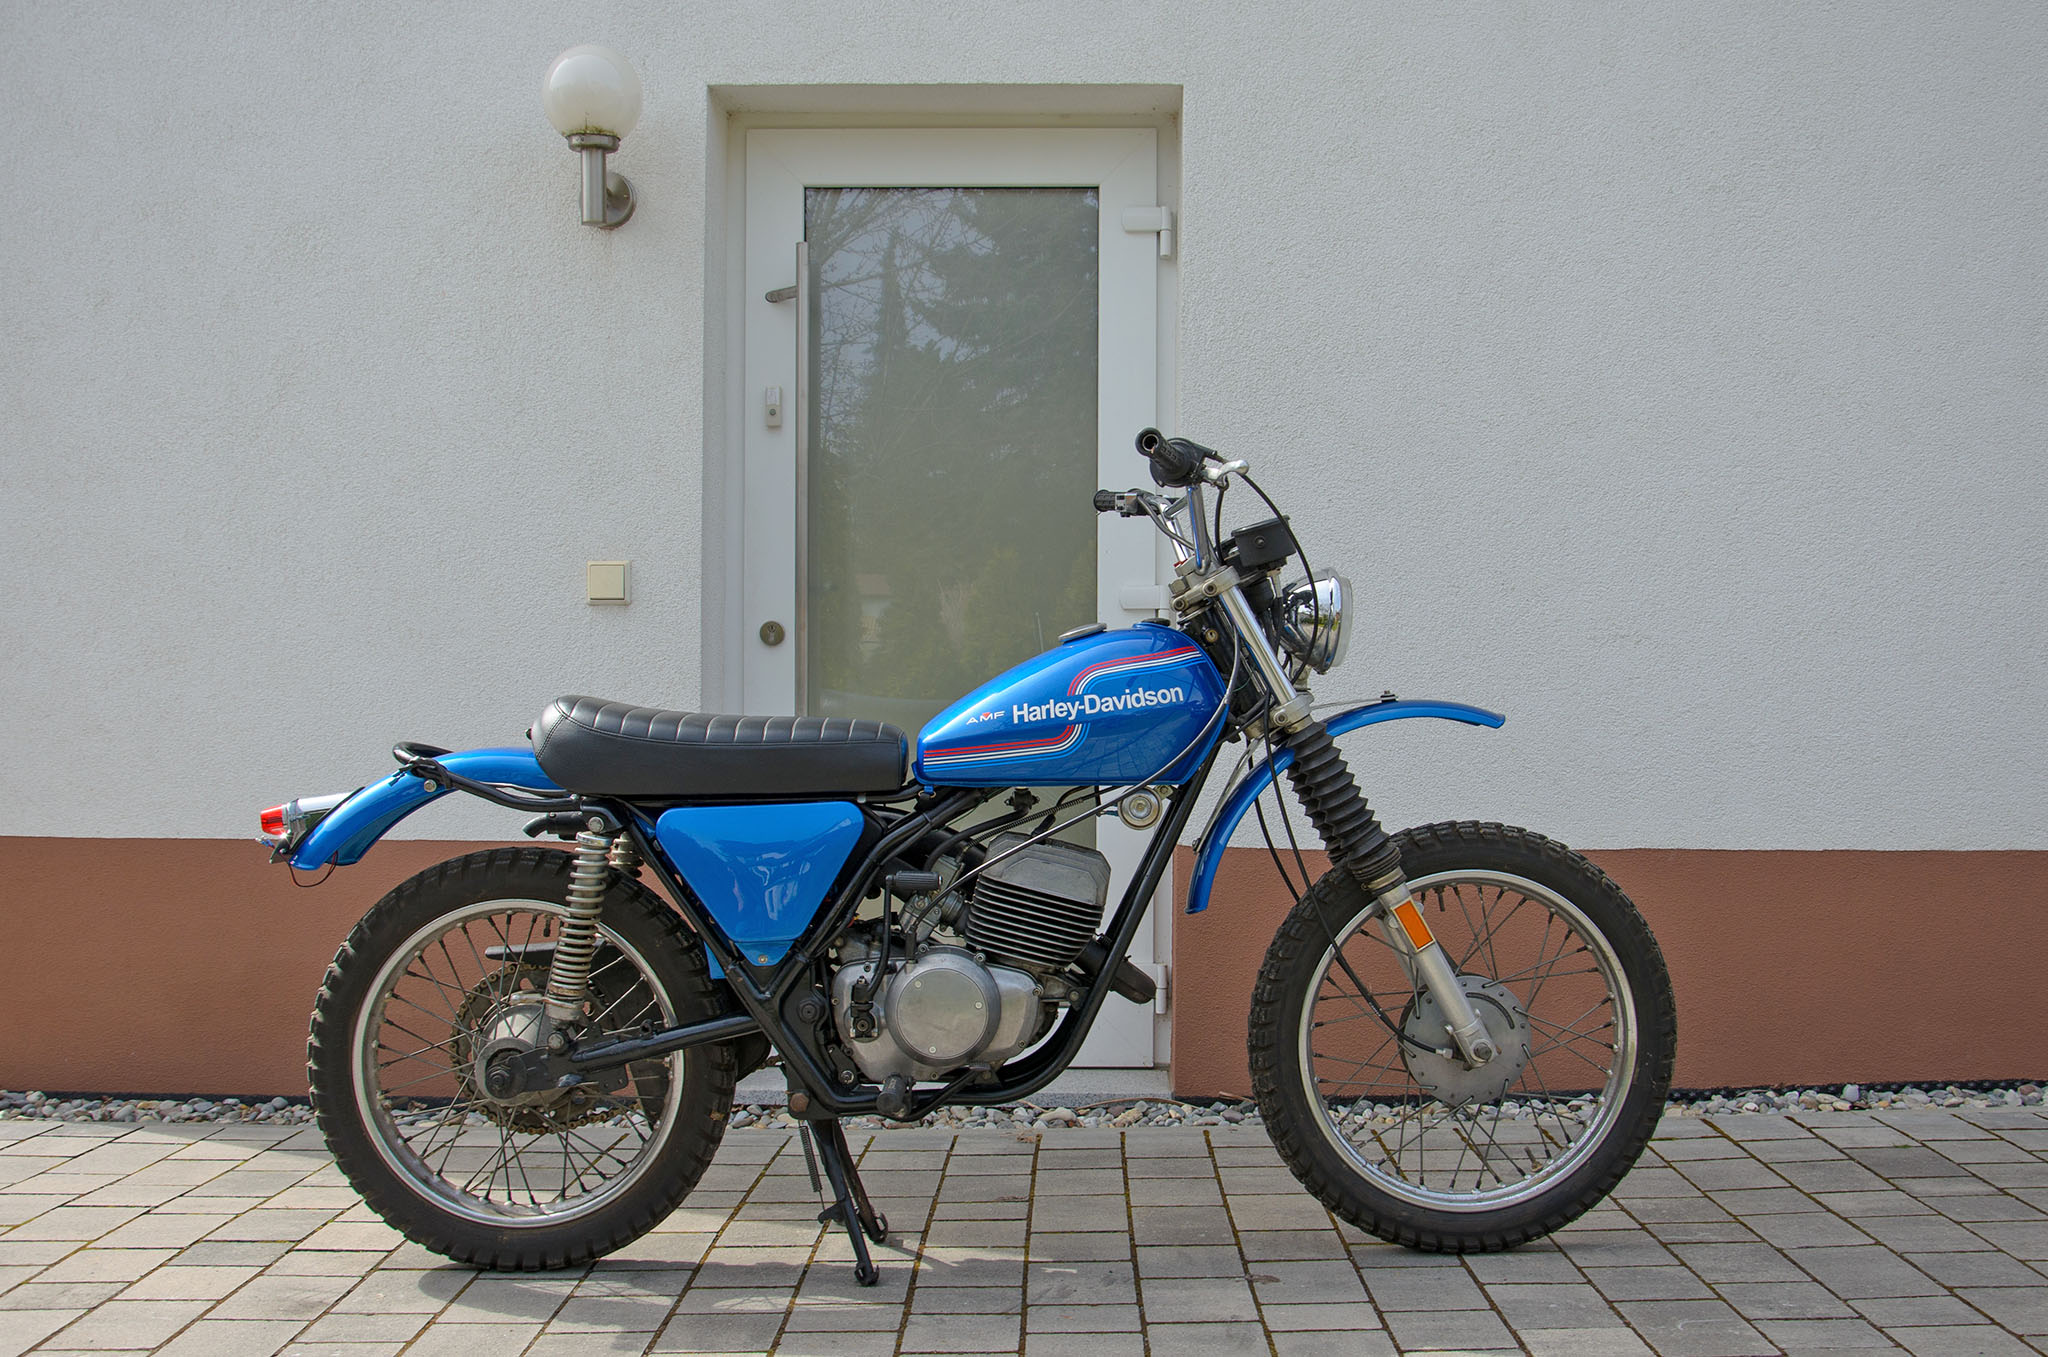
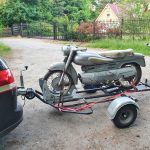
Totally unexpected I have a new Aermacchi restoration project! Accidentally I saw a sales ad for an Aermacchi Chimera which went online just five minutes before I discoverd it and the bike was also located in Germany. This alone does not happen very often, but the price was good as well. I called the seller then everything happend very quickly. Two days later I was driving 500 kilometers north through Germany to get the bike and instantly another 500 kilometers back with the Chimera on the trailer.

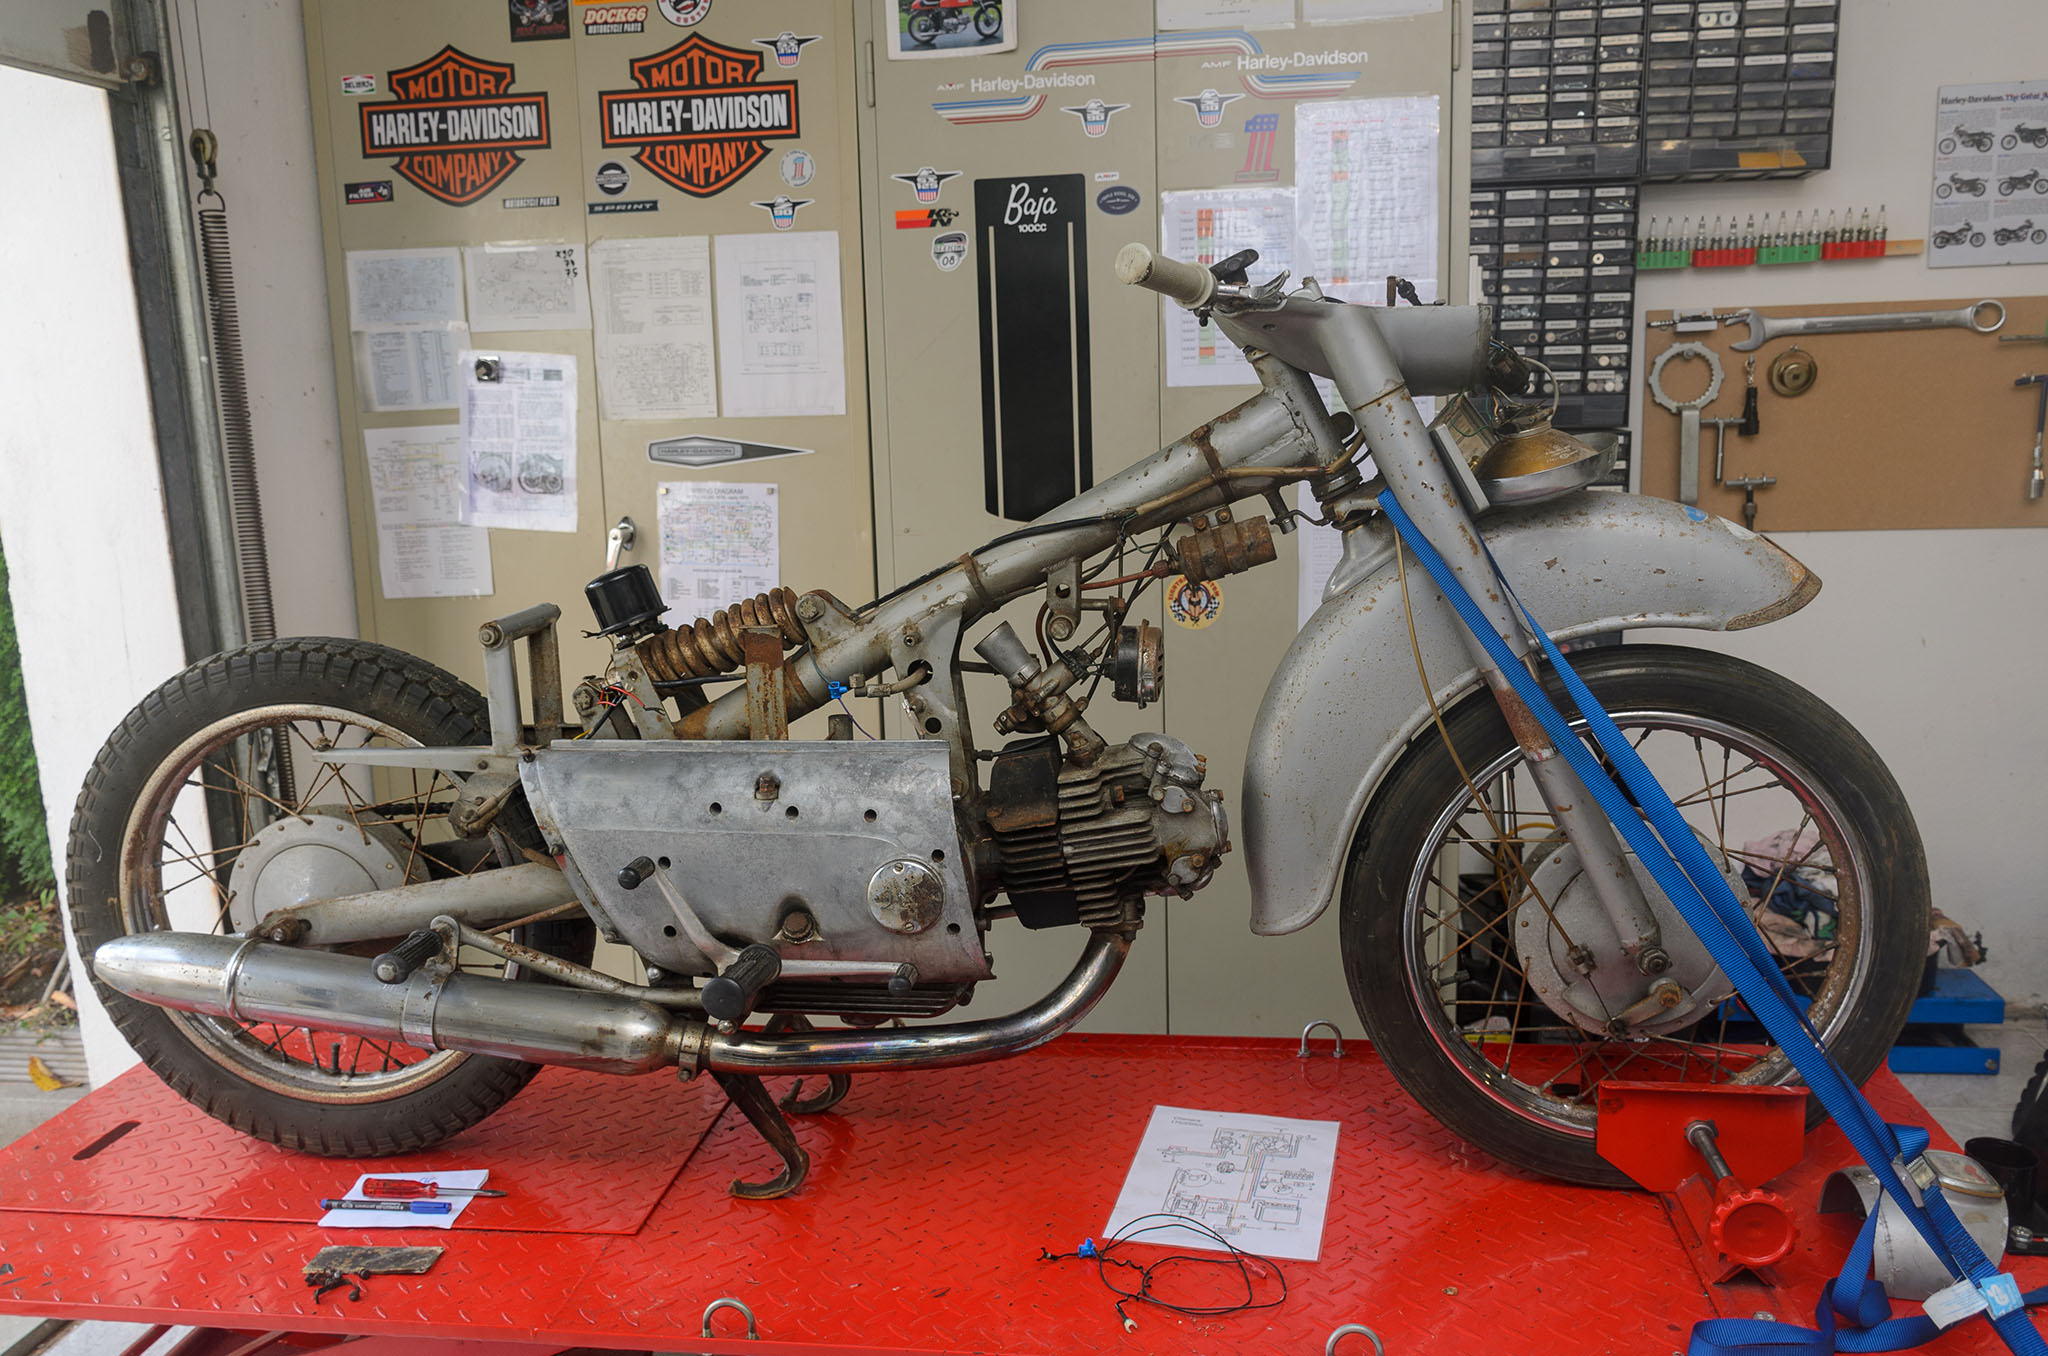
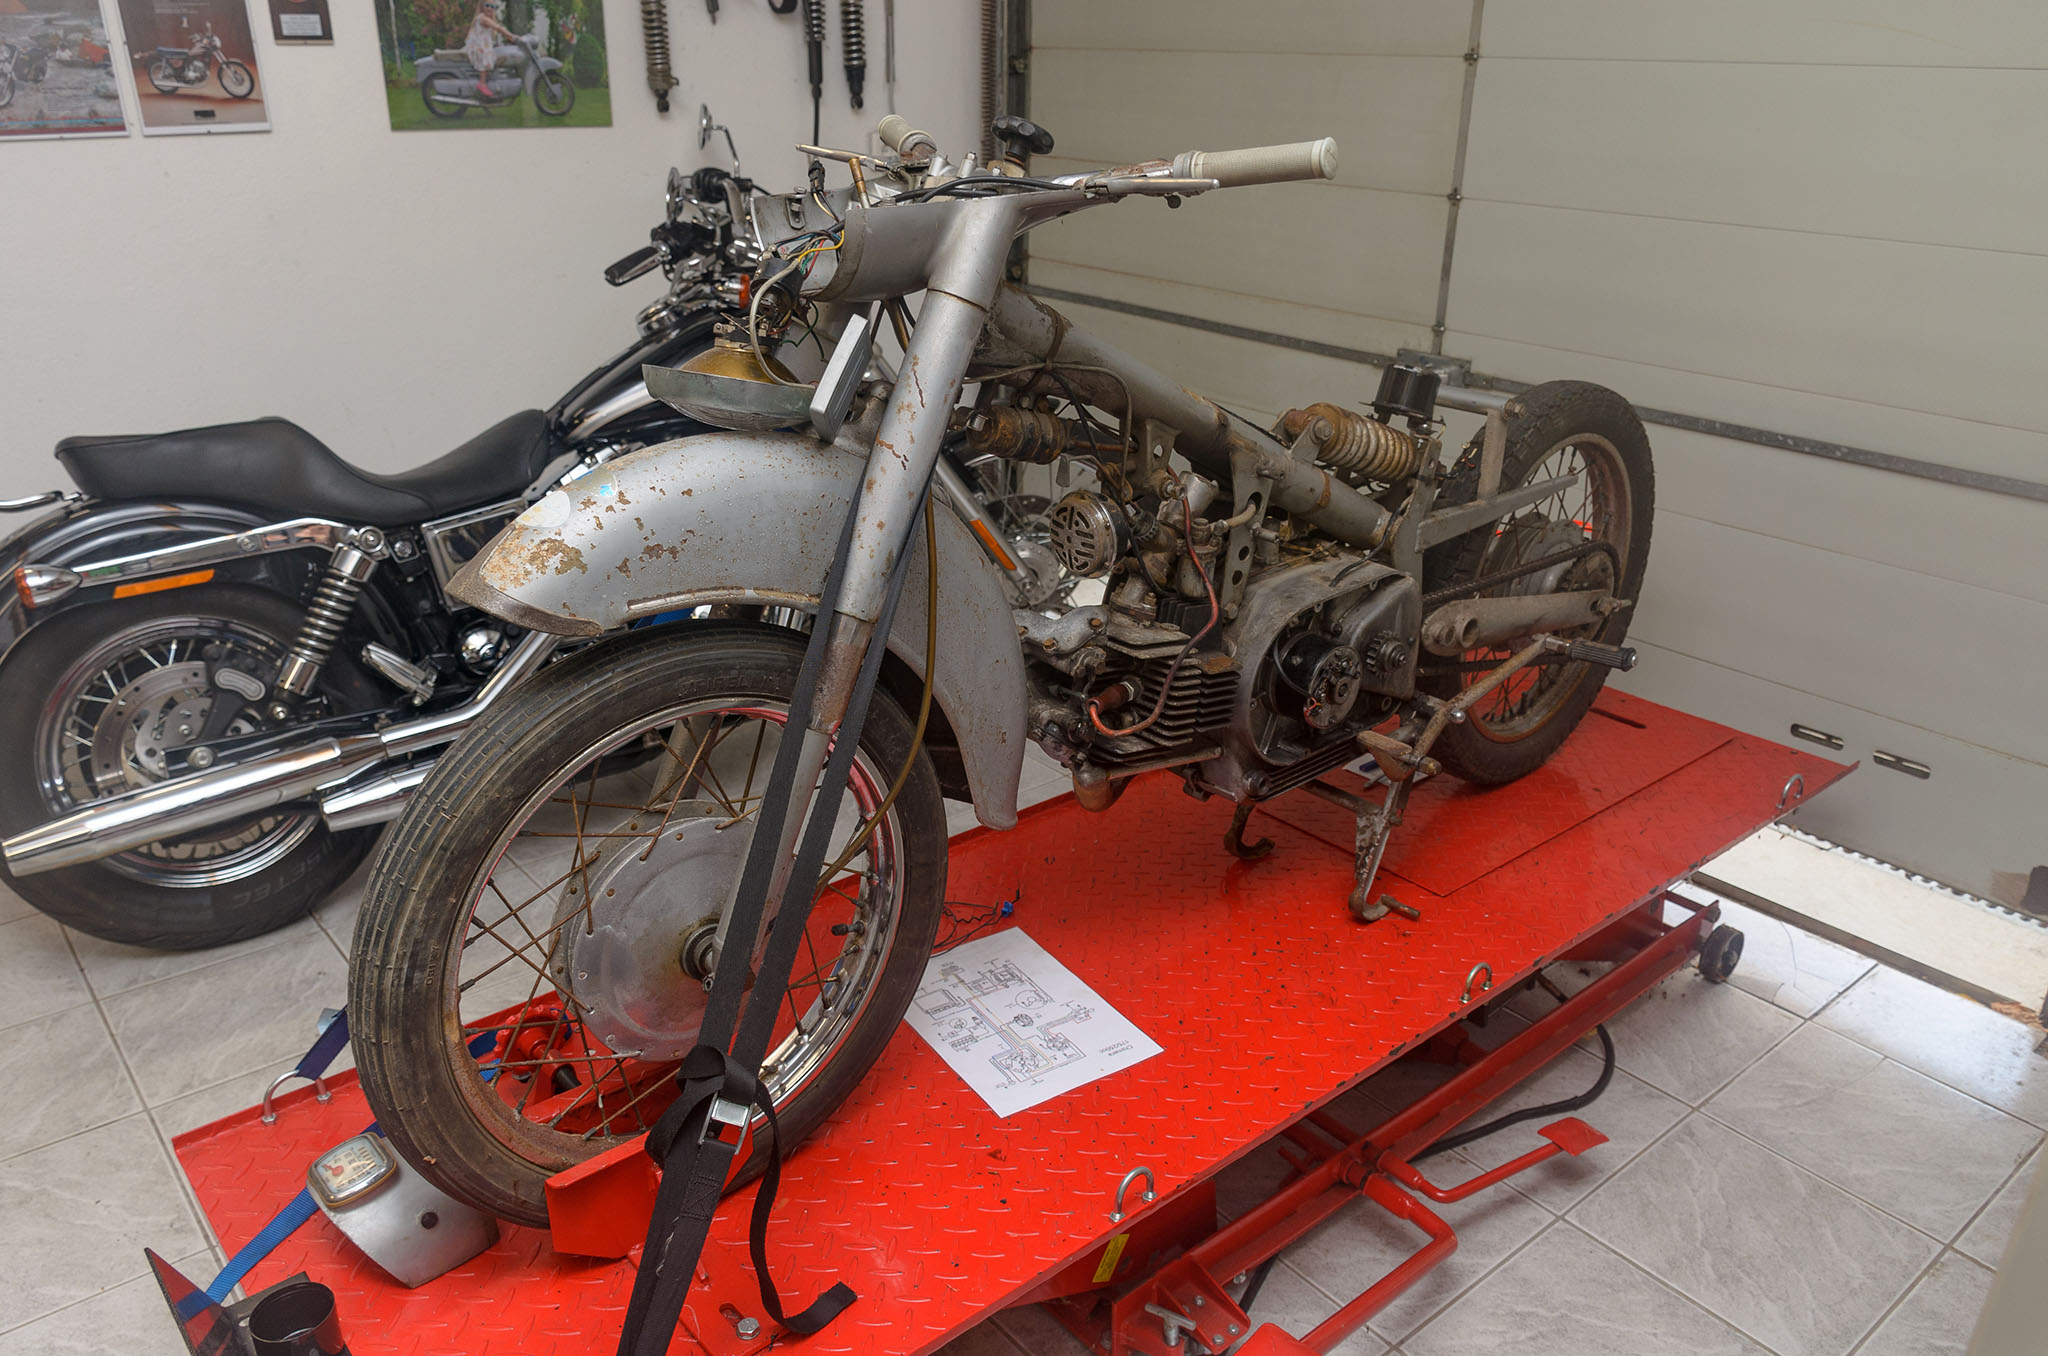
What I do know so far: The bike was running until 1986 in Italy. It has 31.000 kilometers on the odometer and was imported to Germany in 1989.  Obivsously it was kept in private motorcycle collection since then.
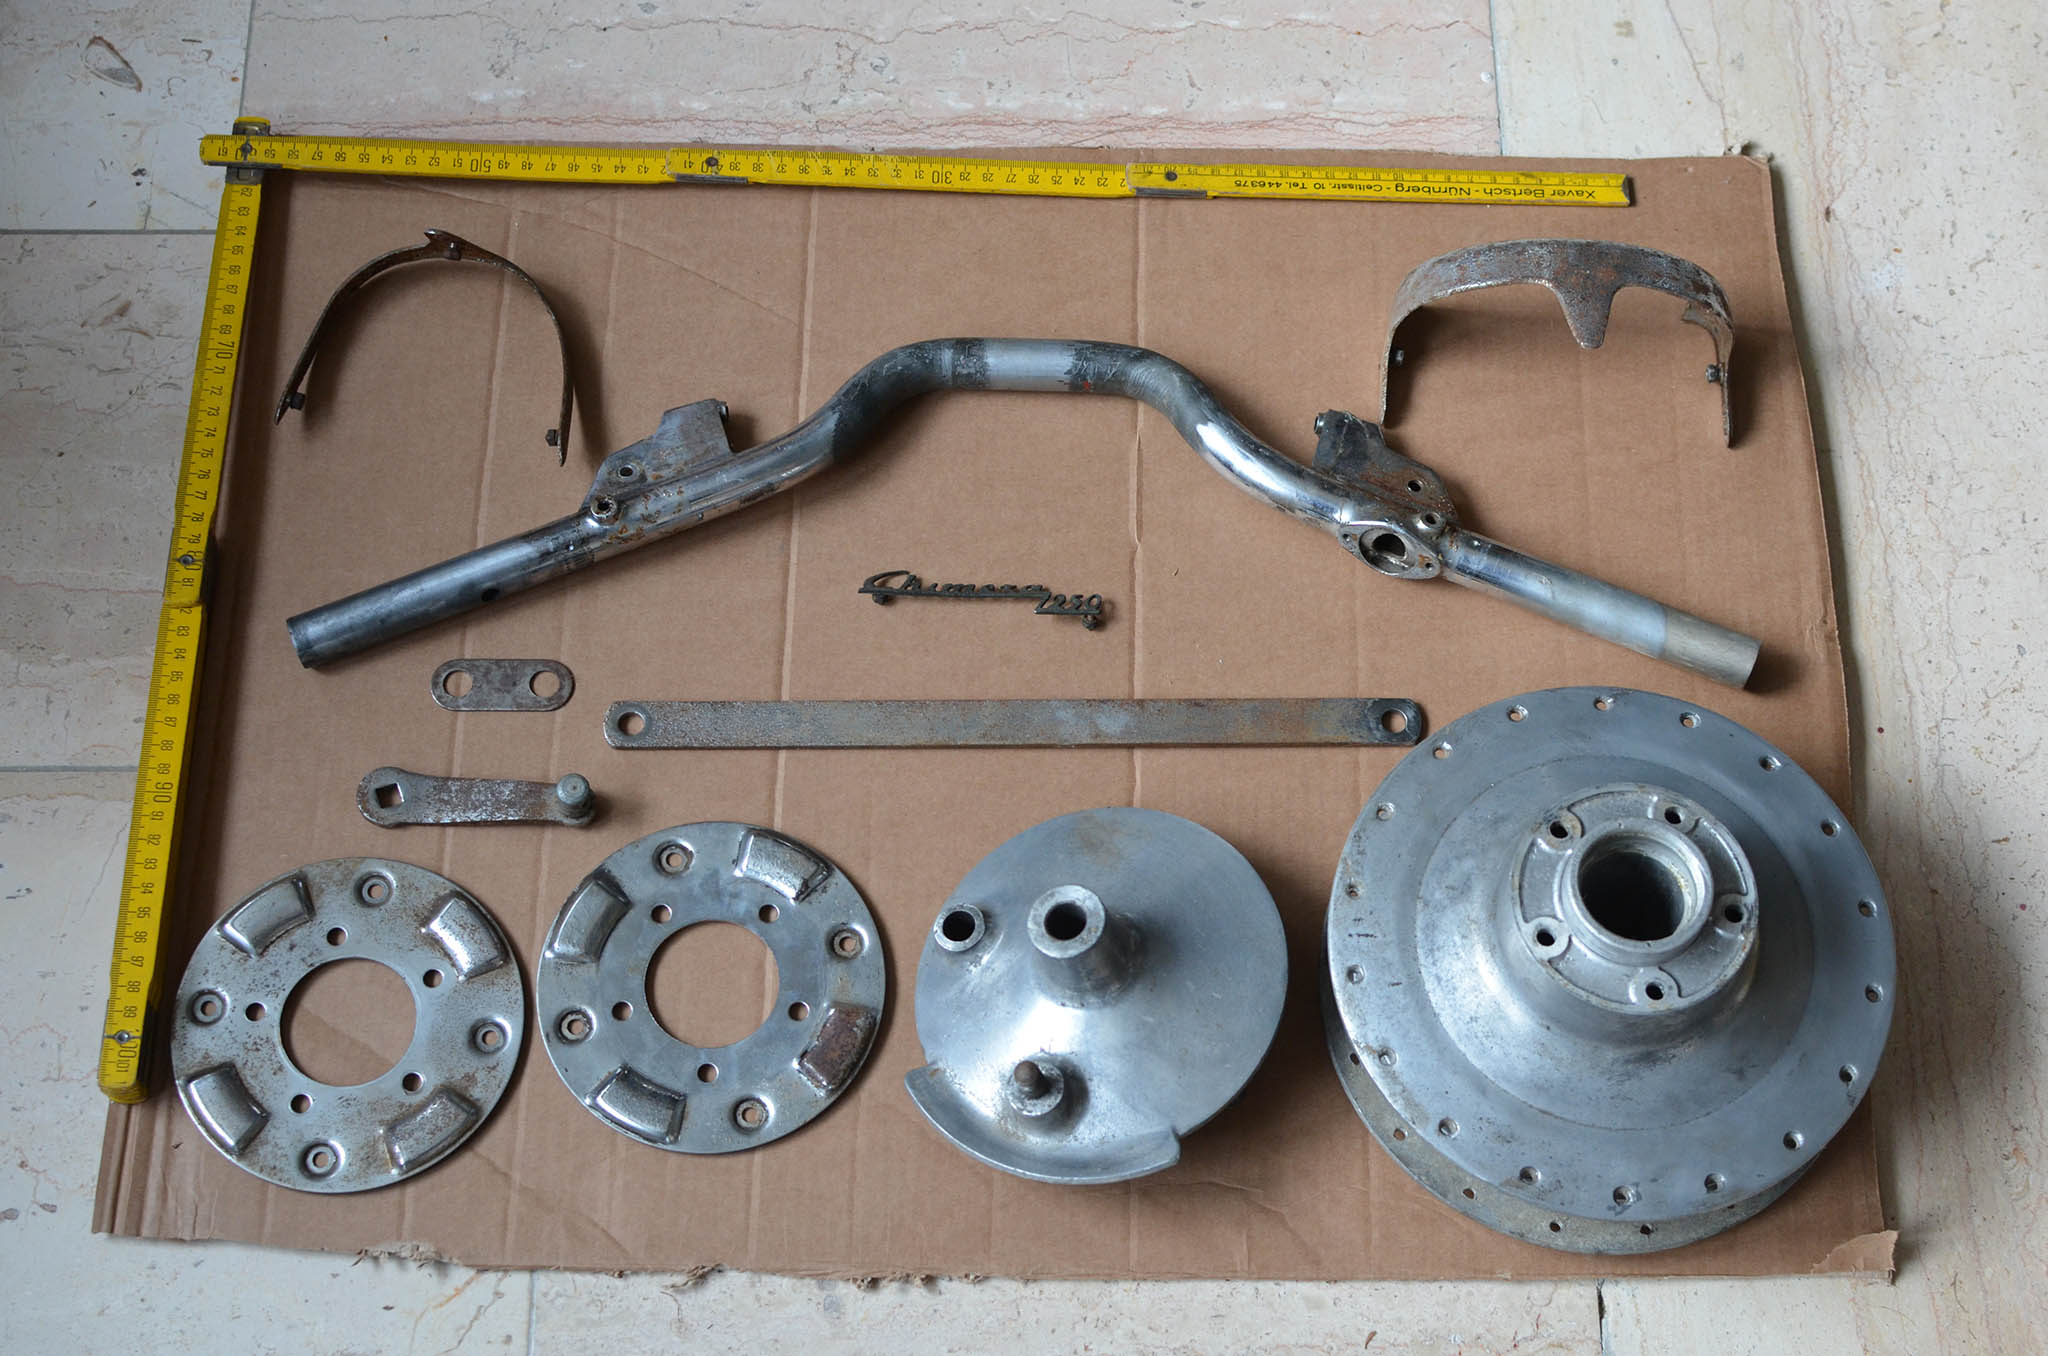
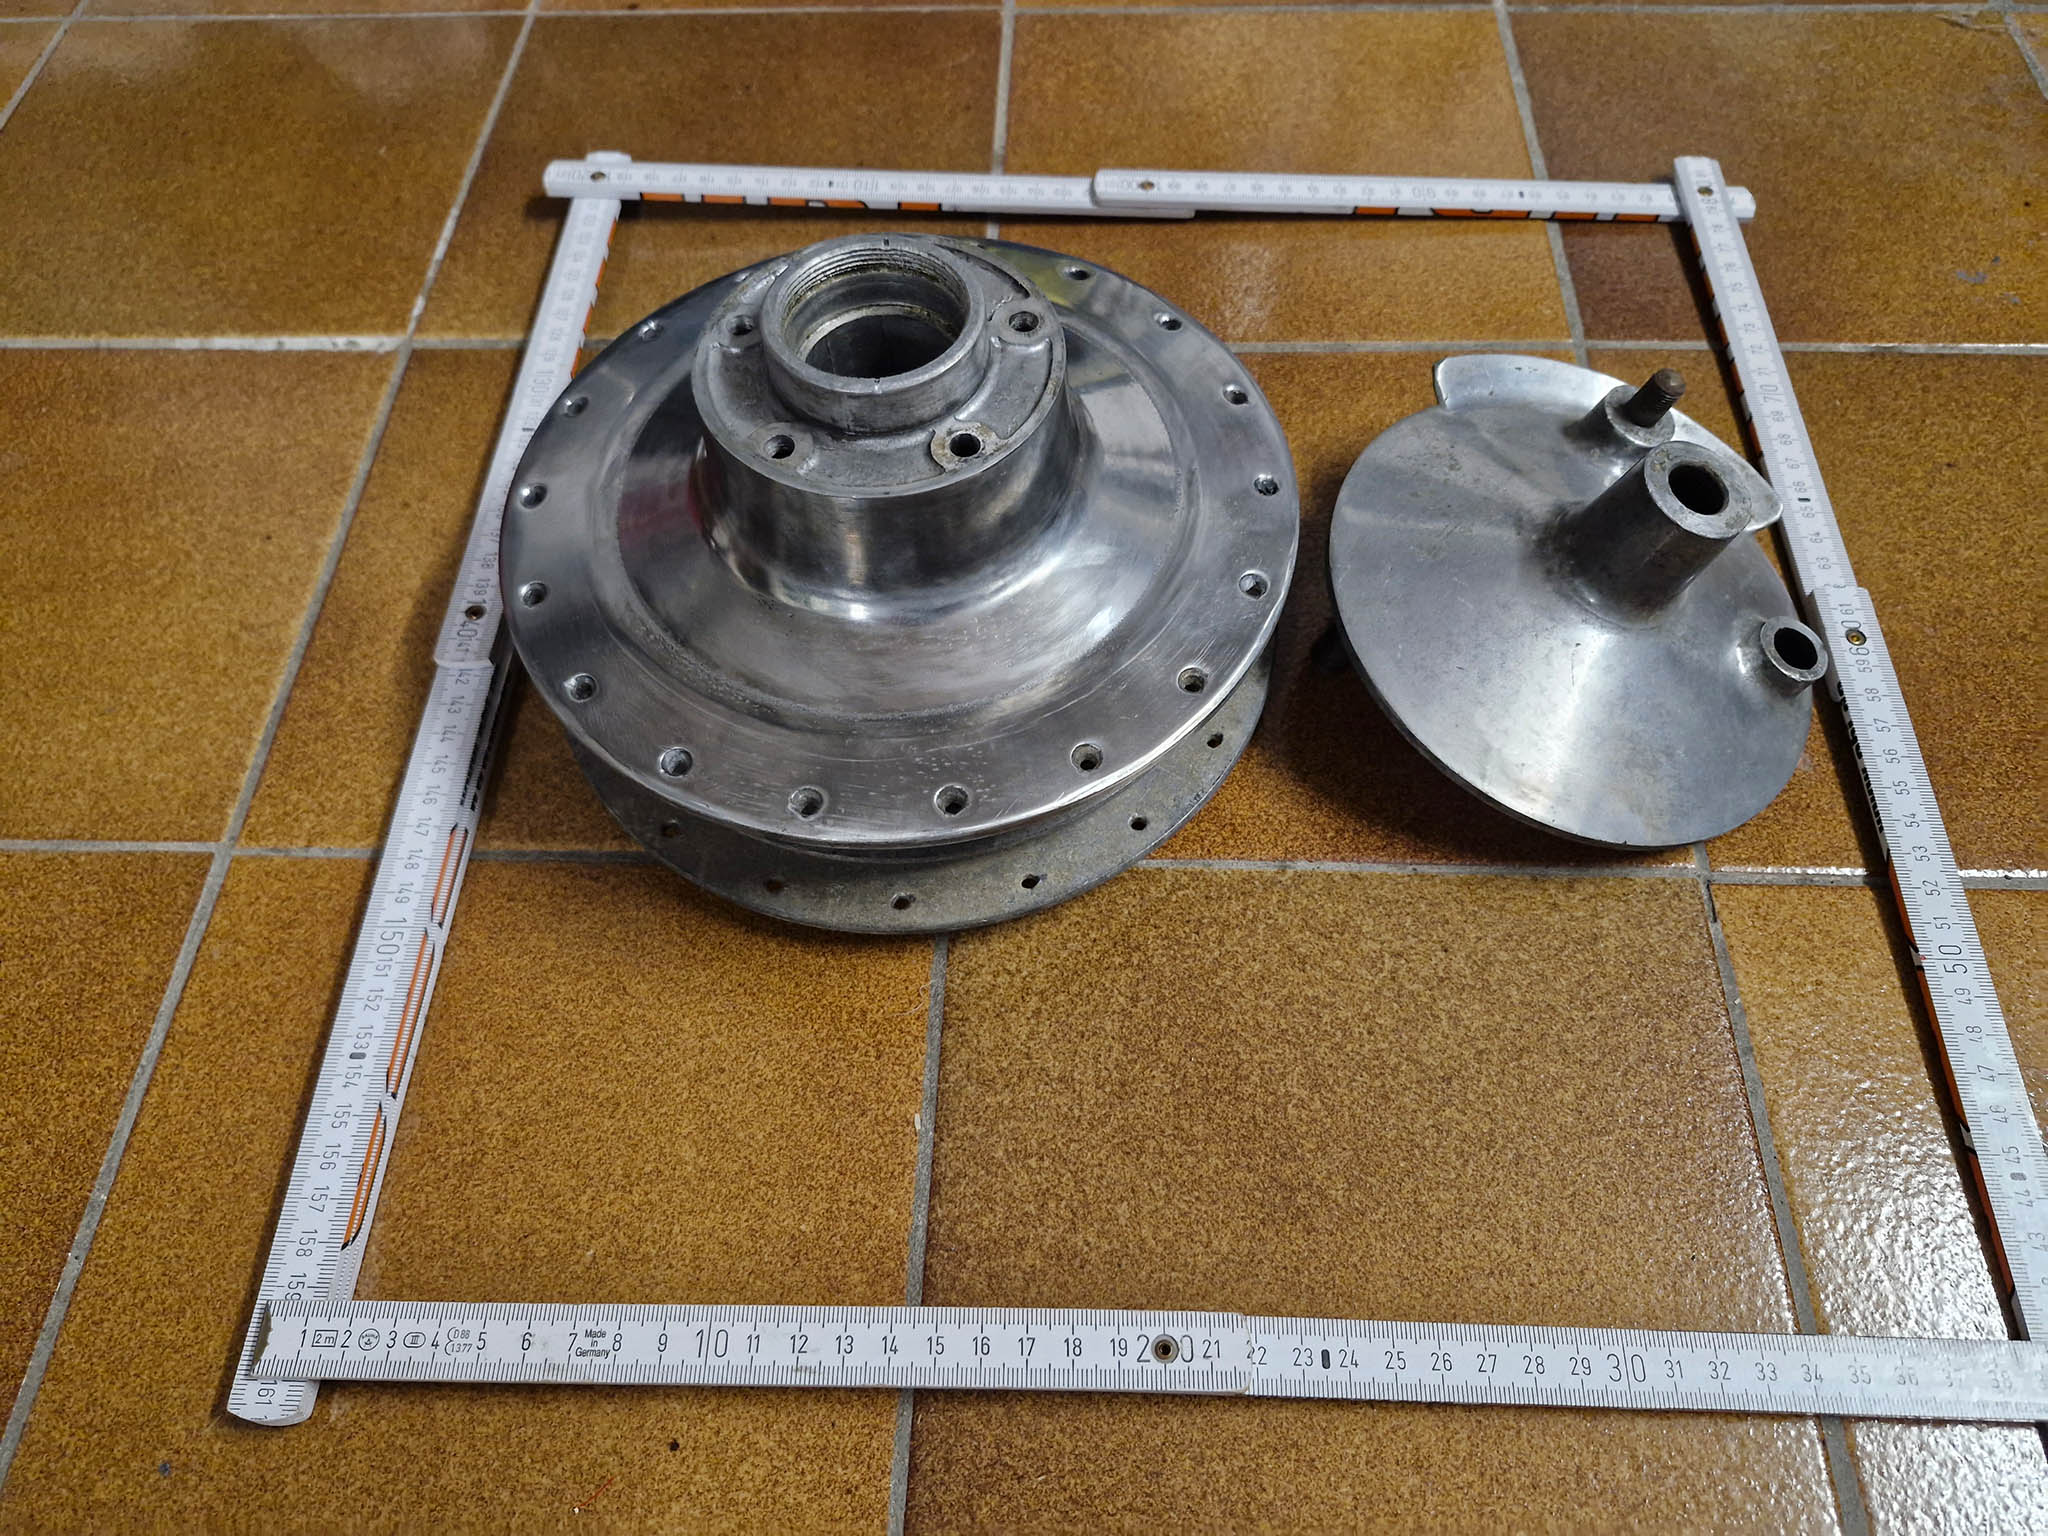
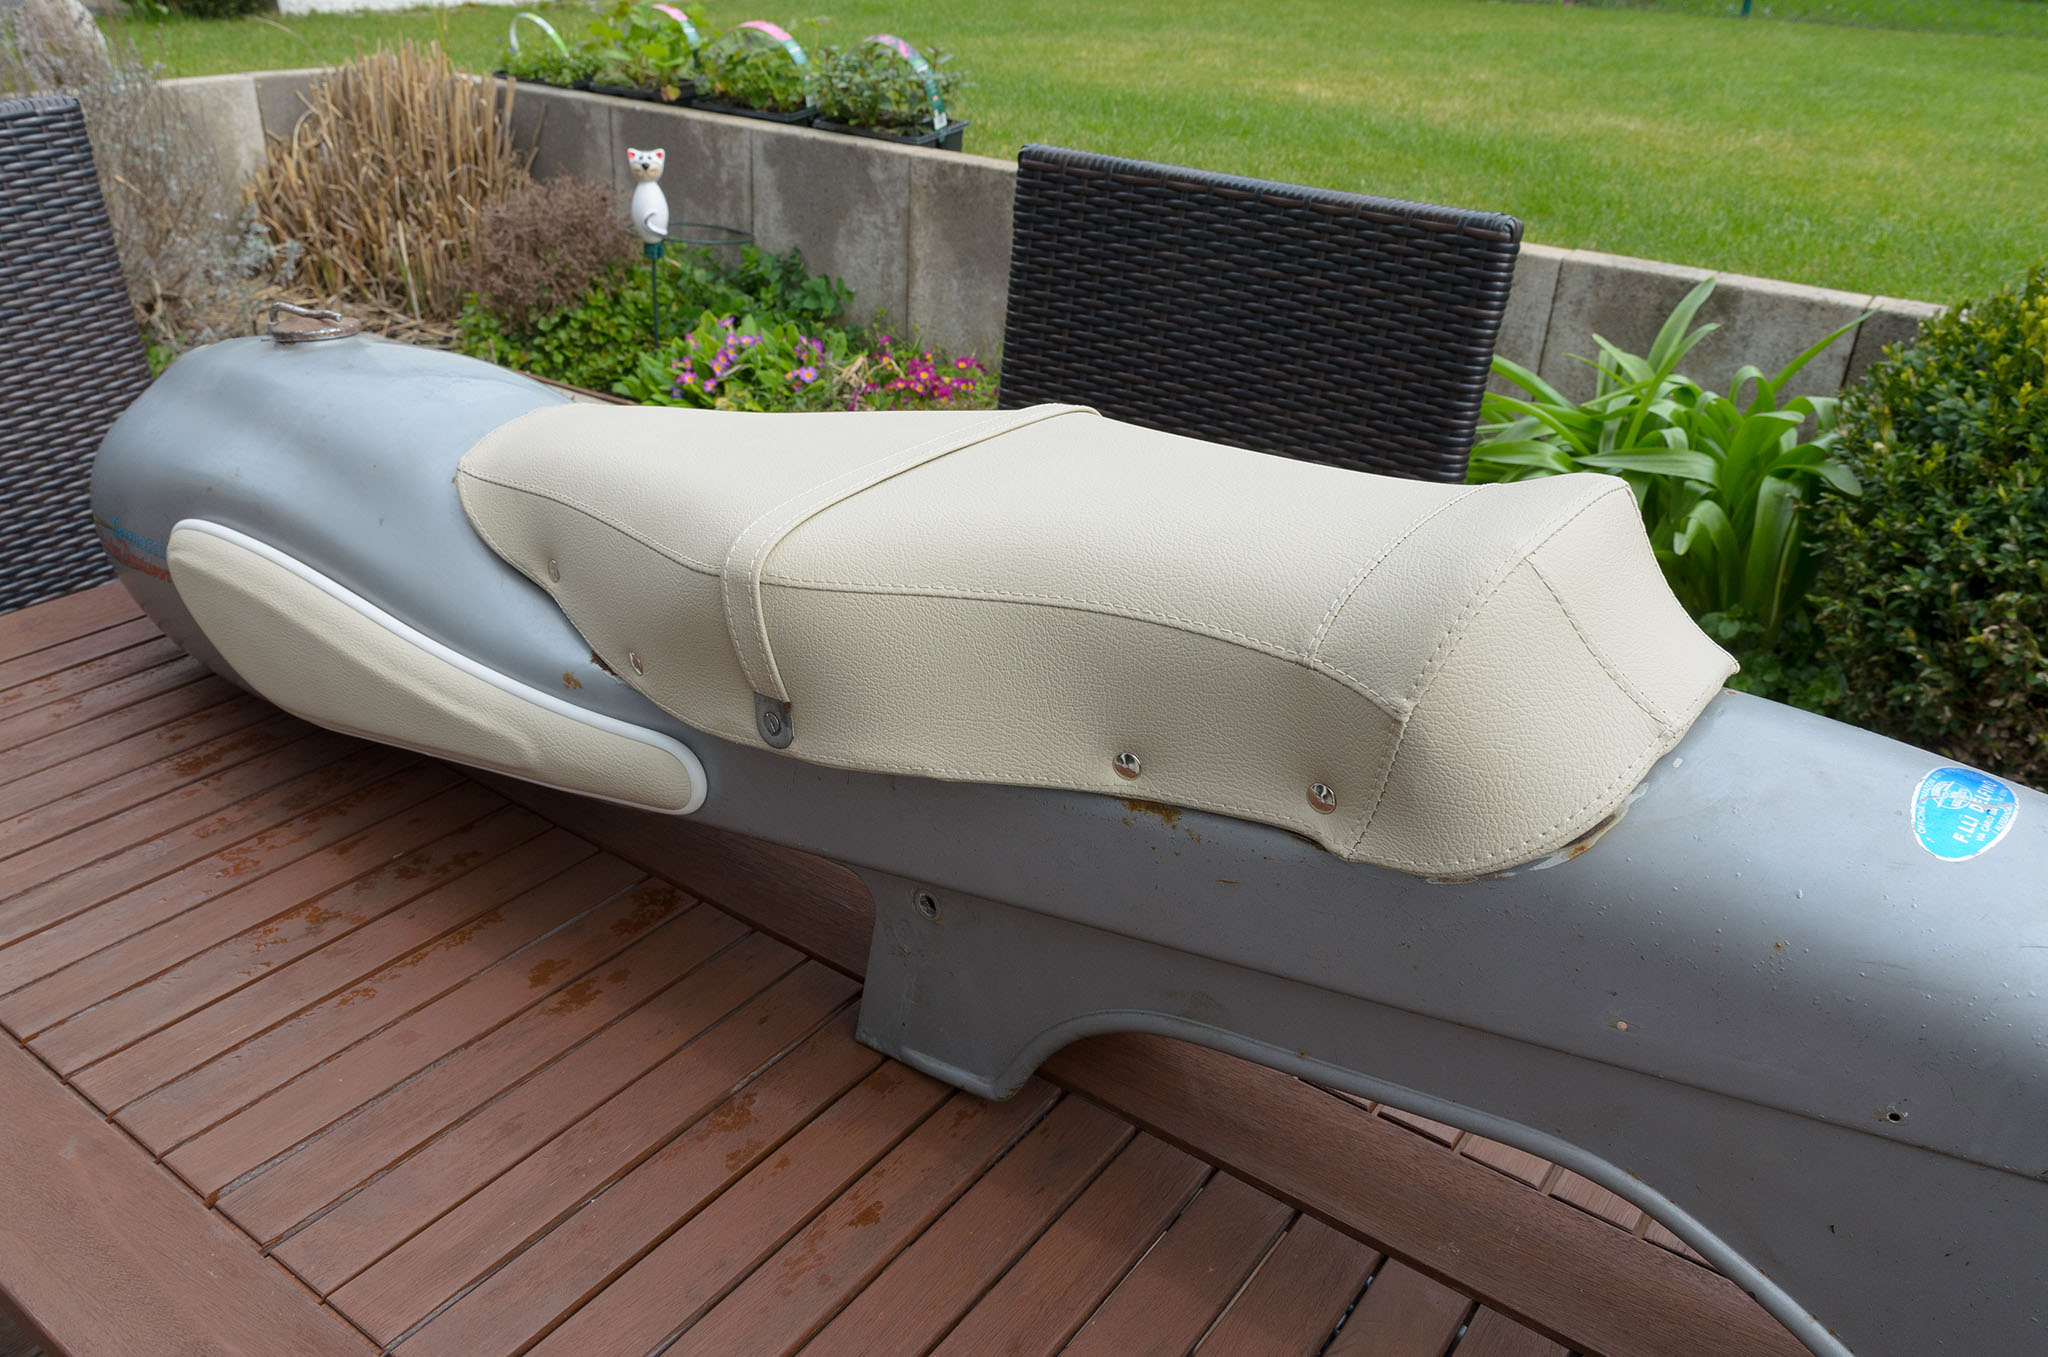
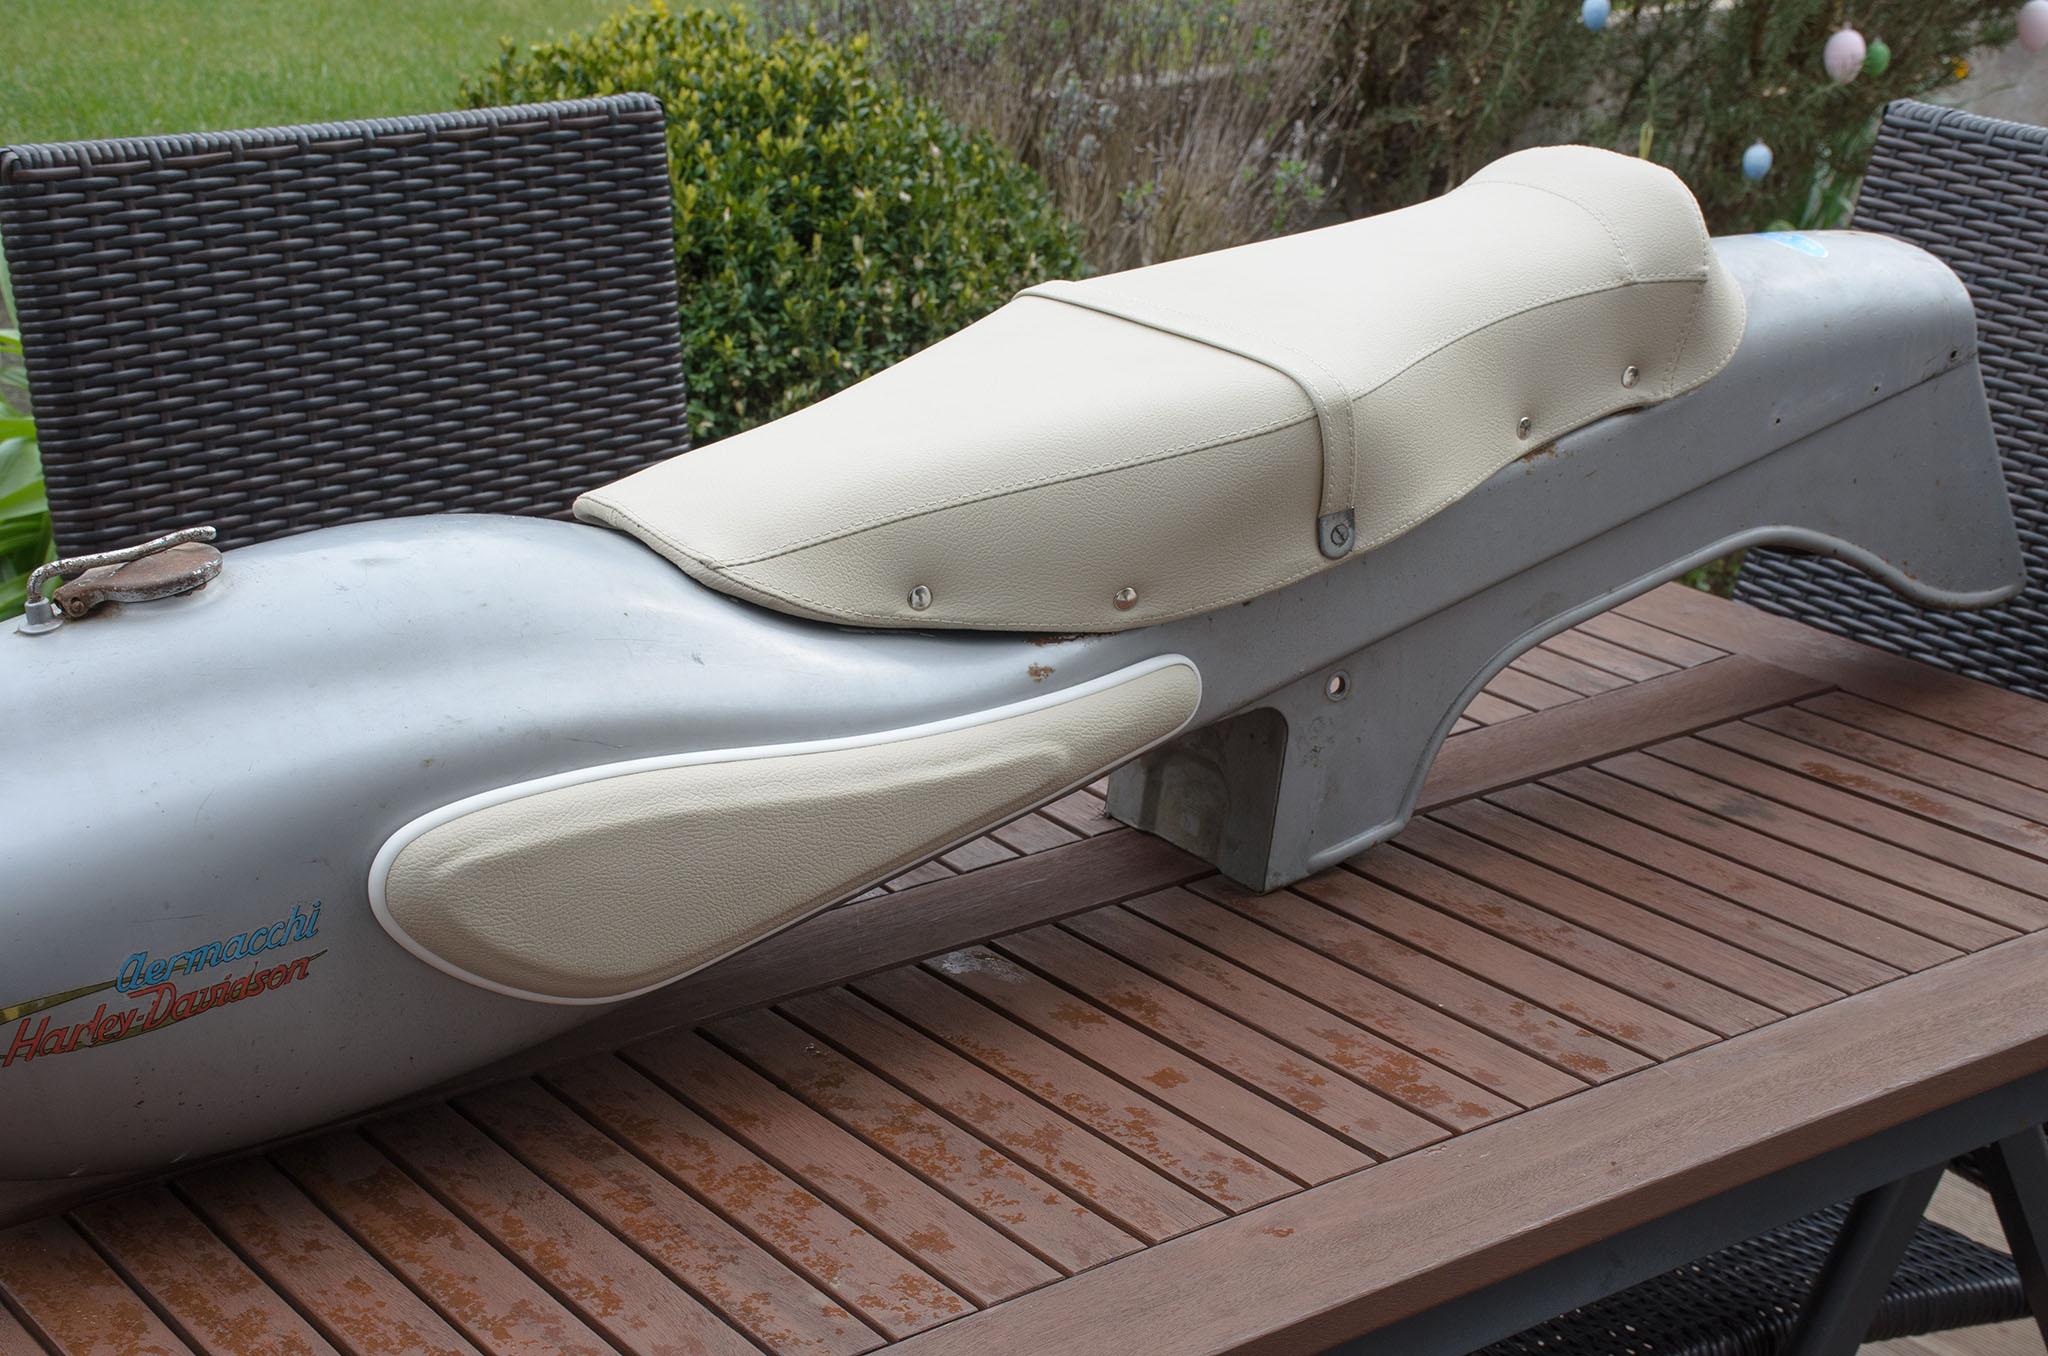
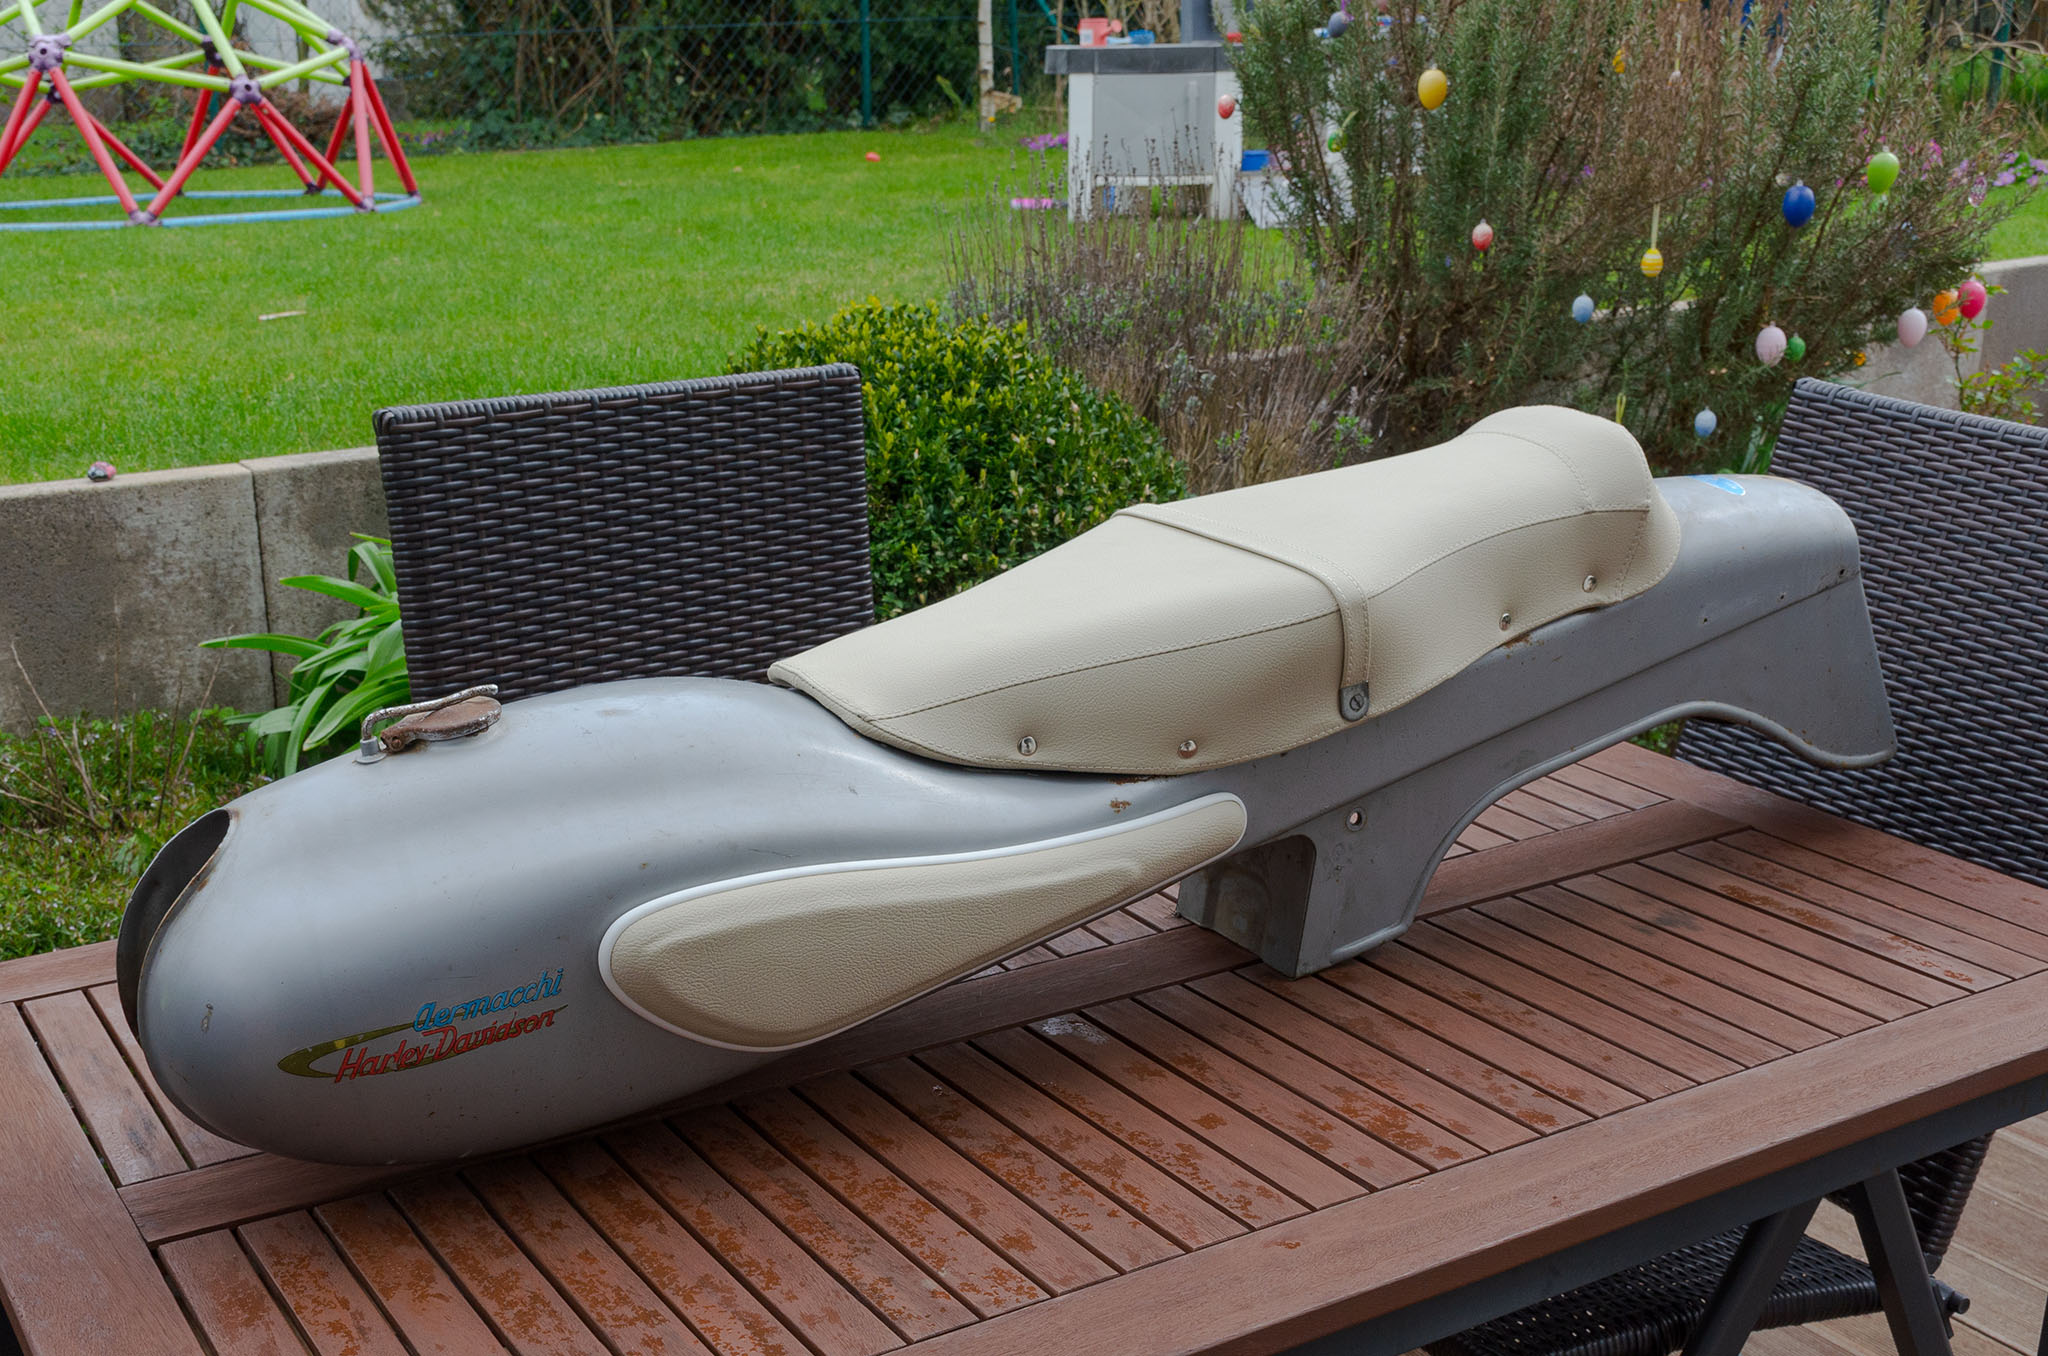
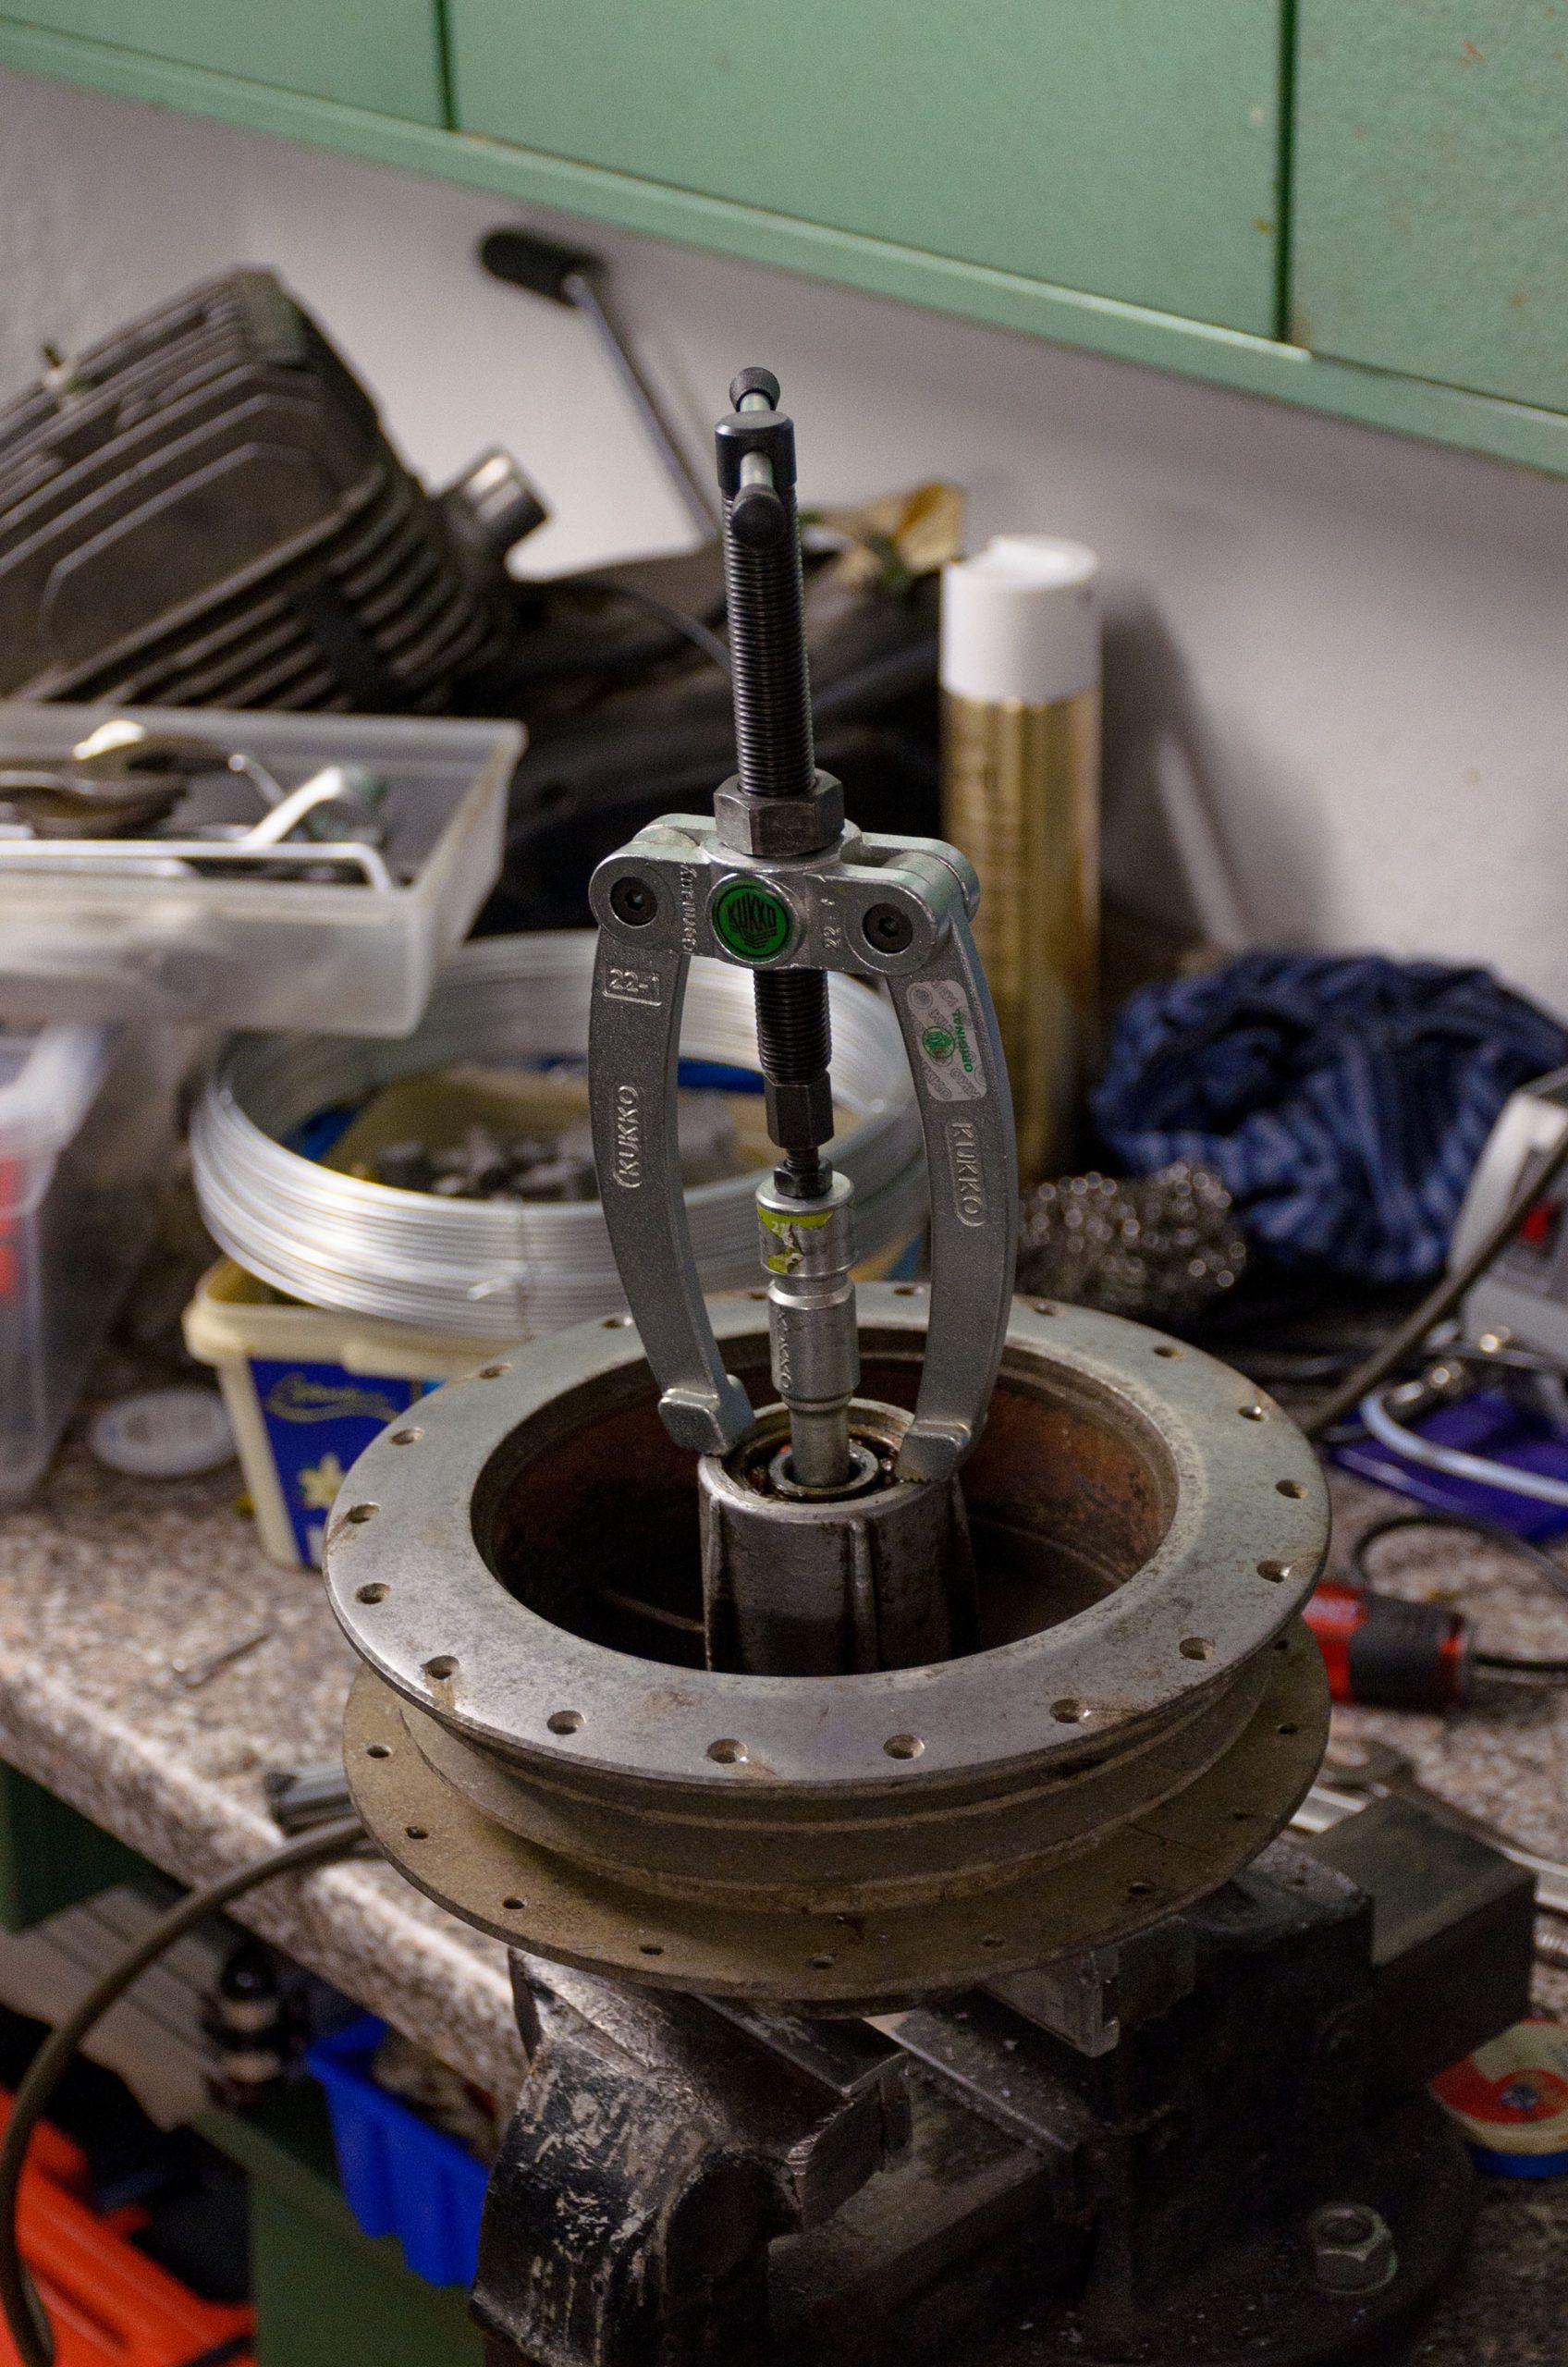
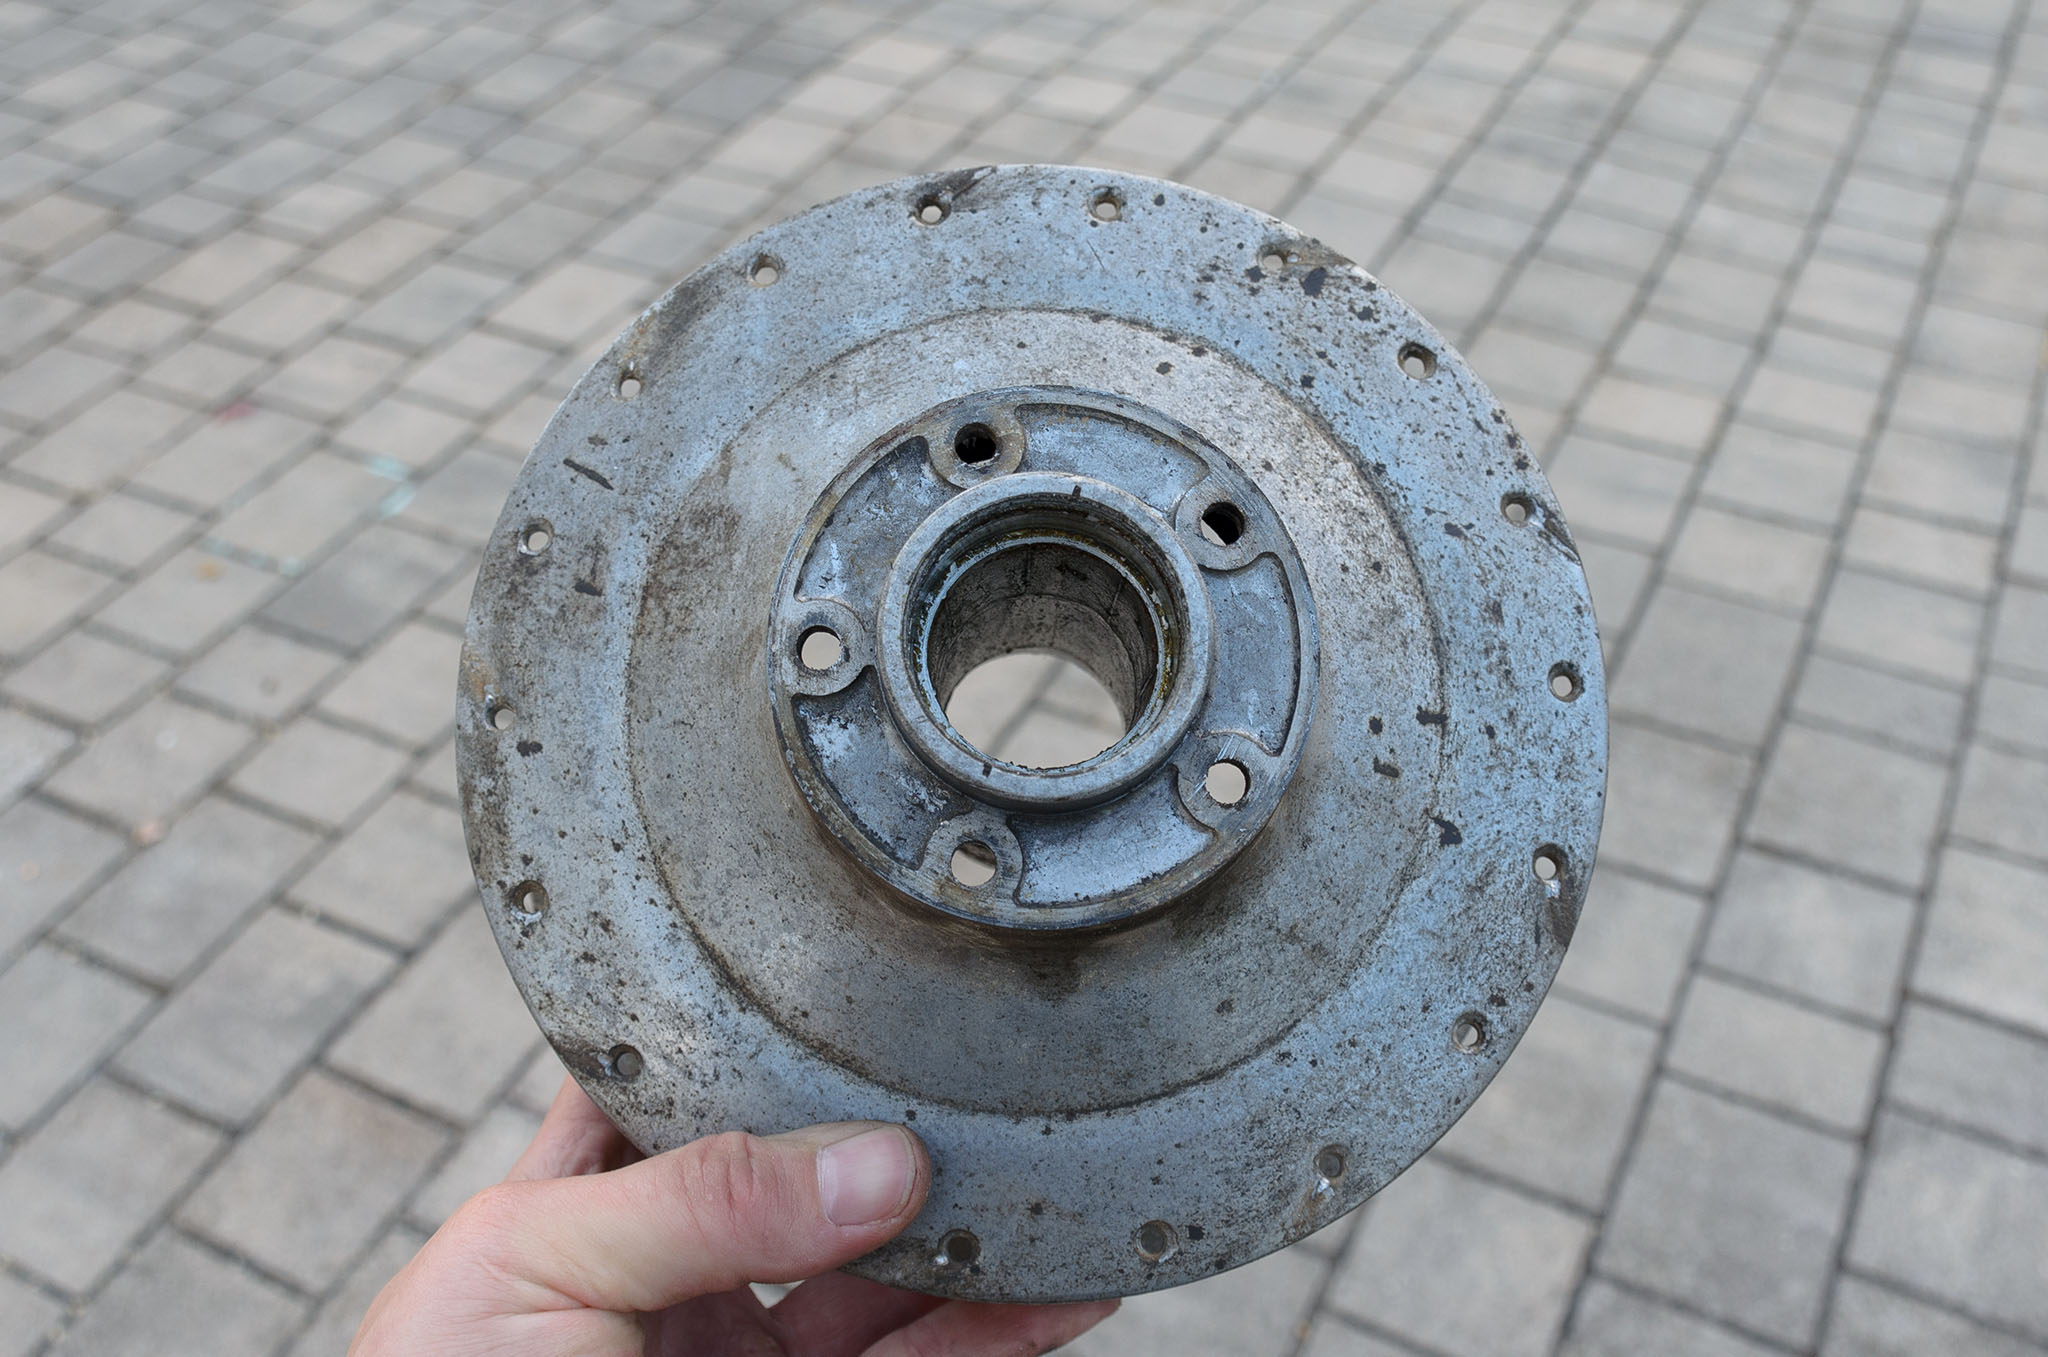
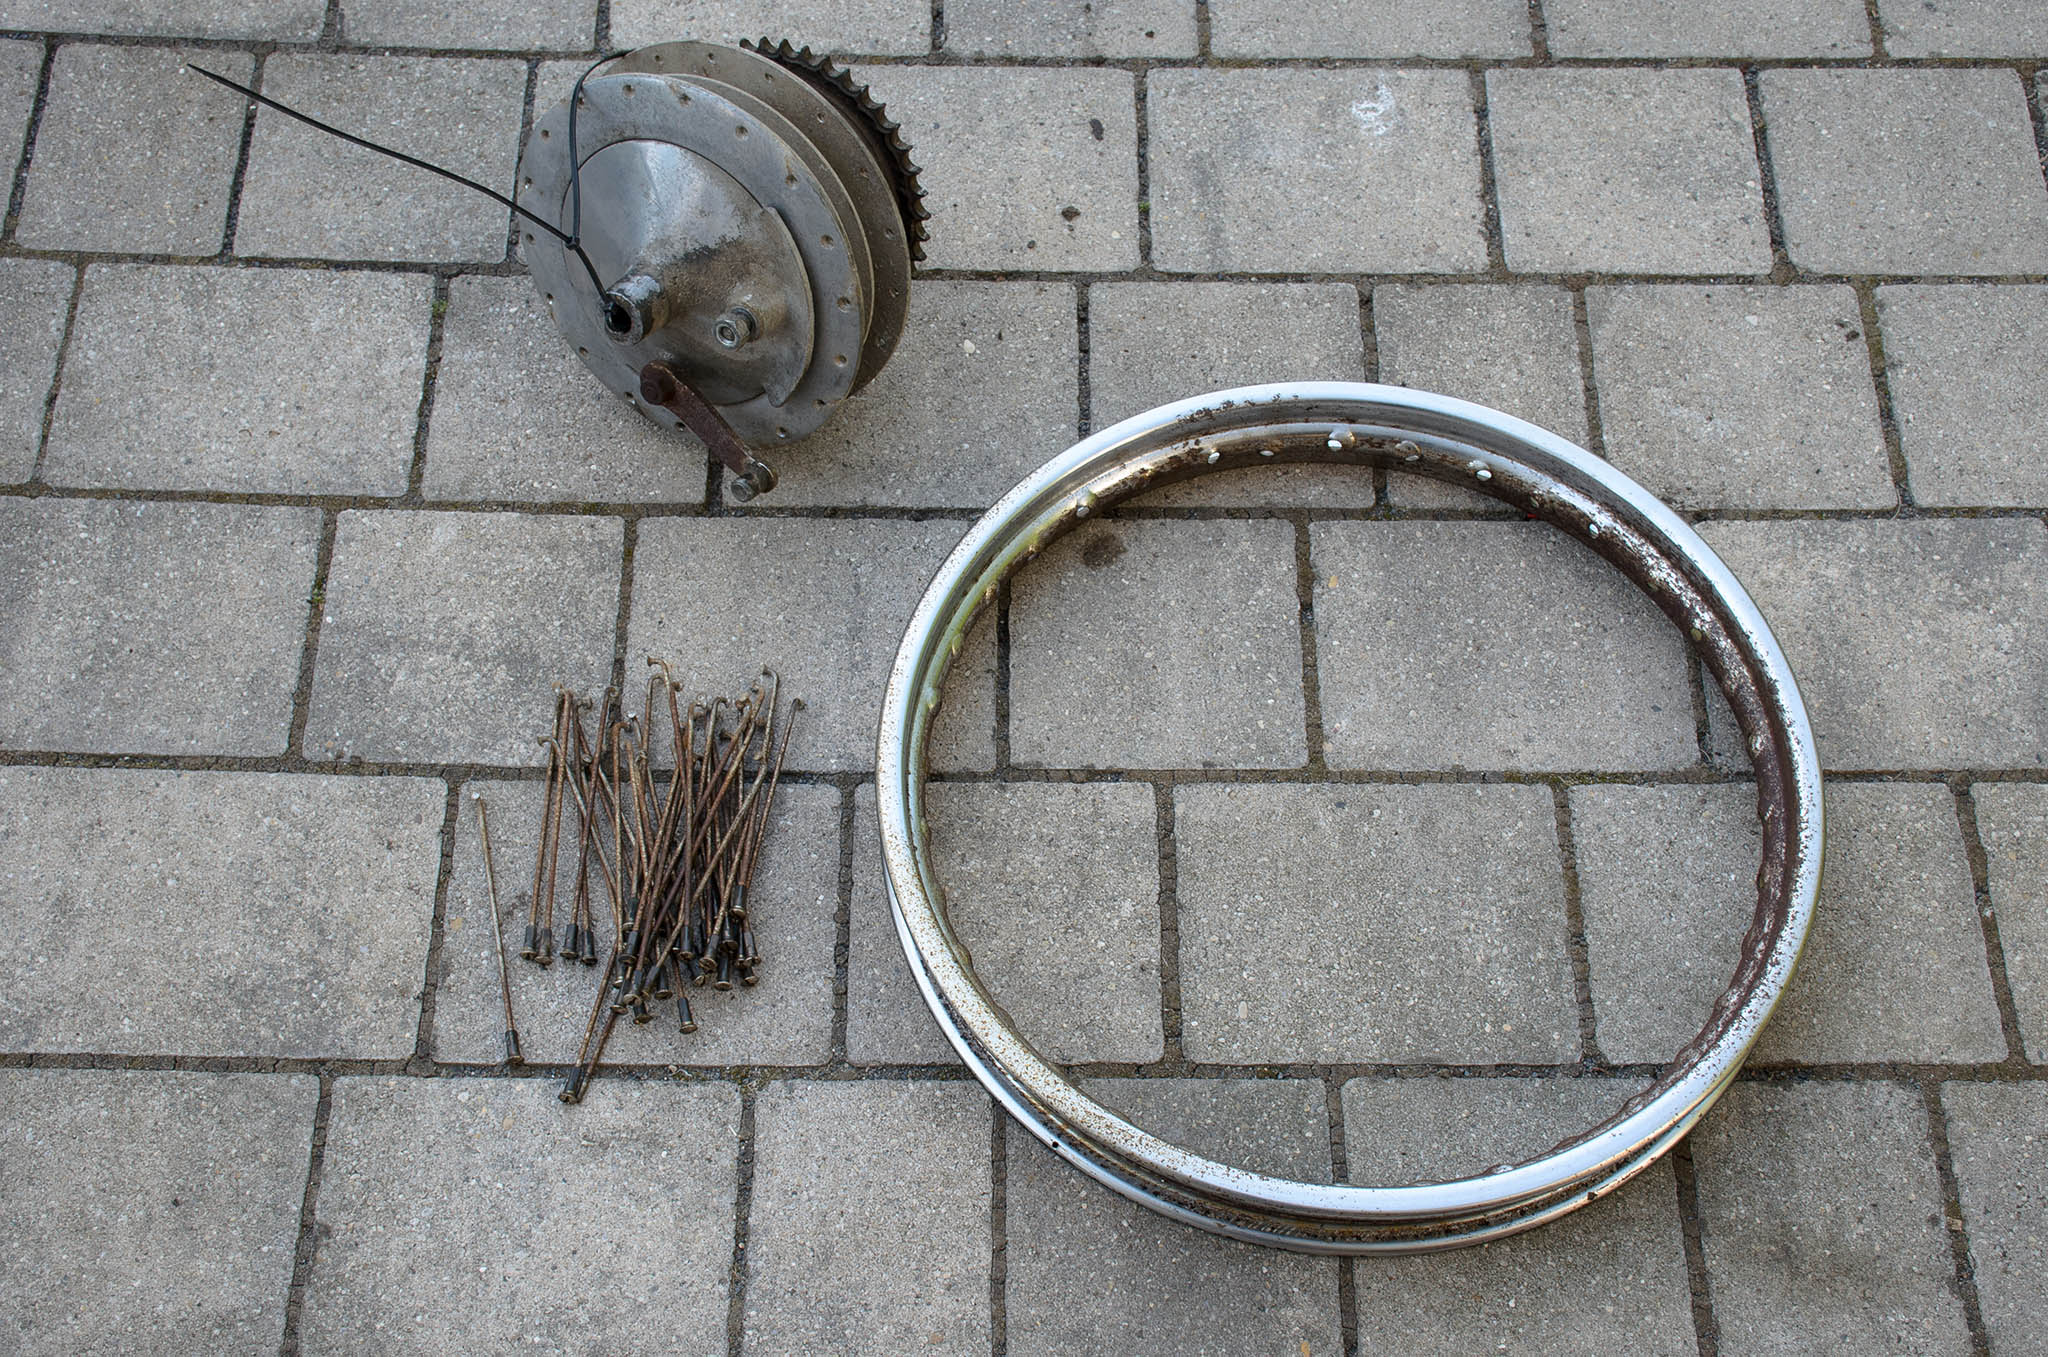
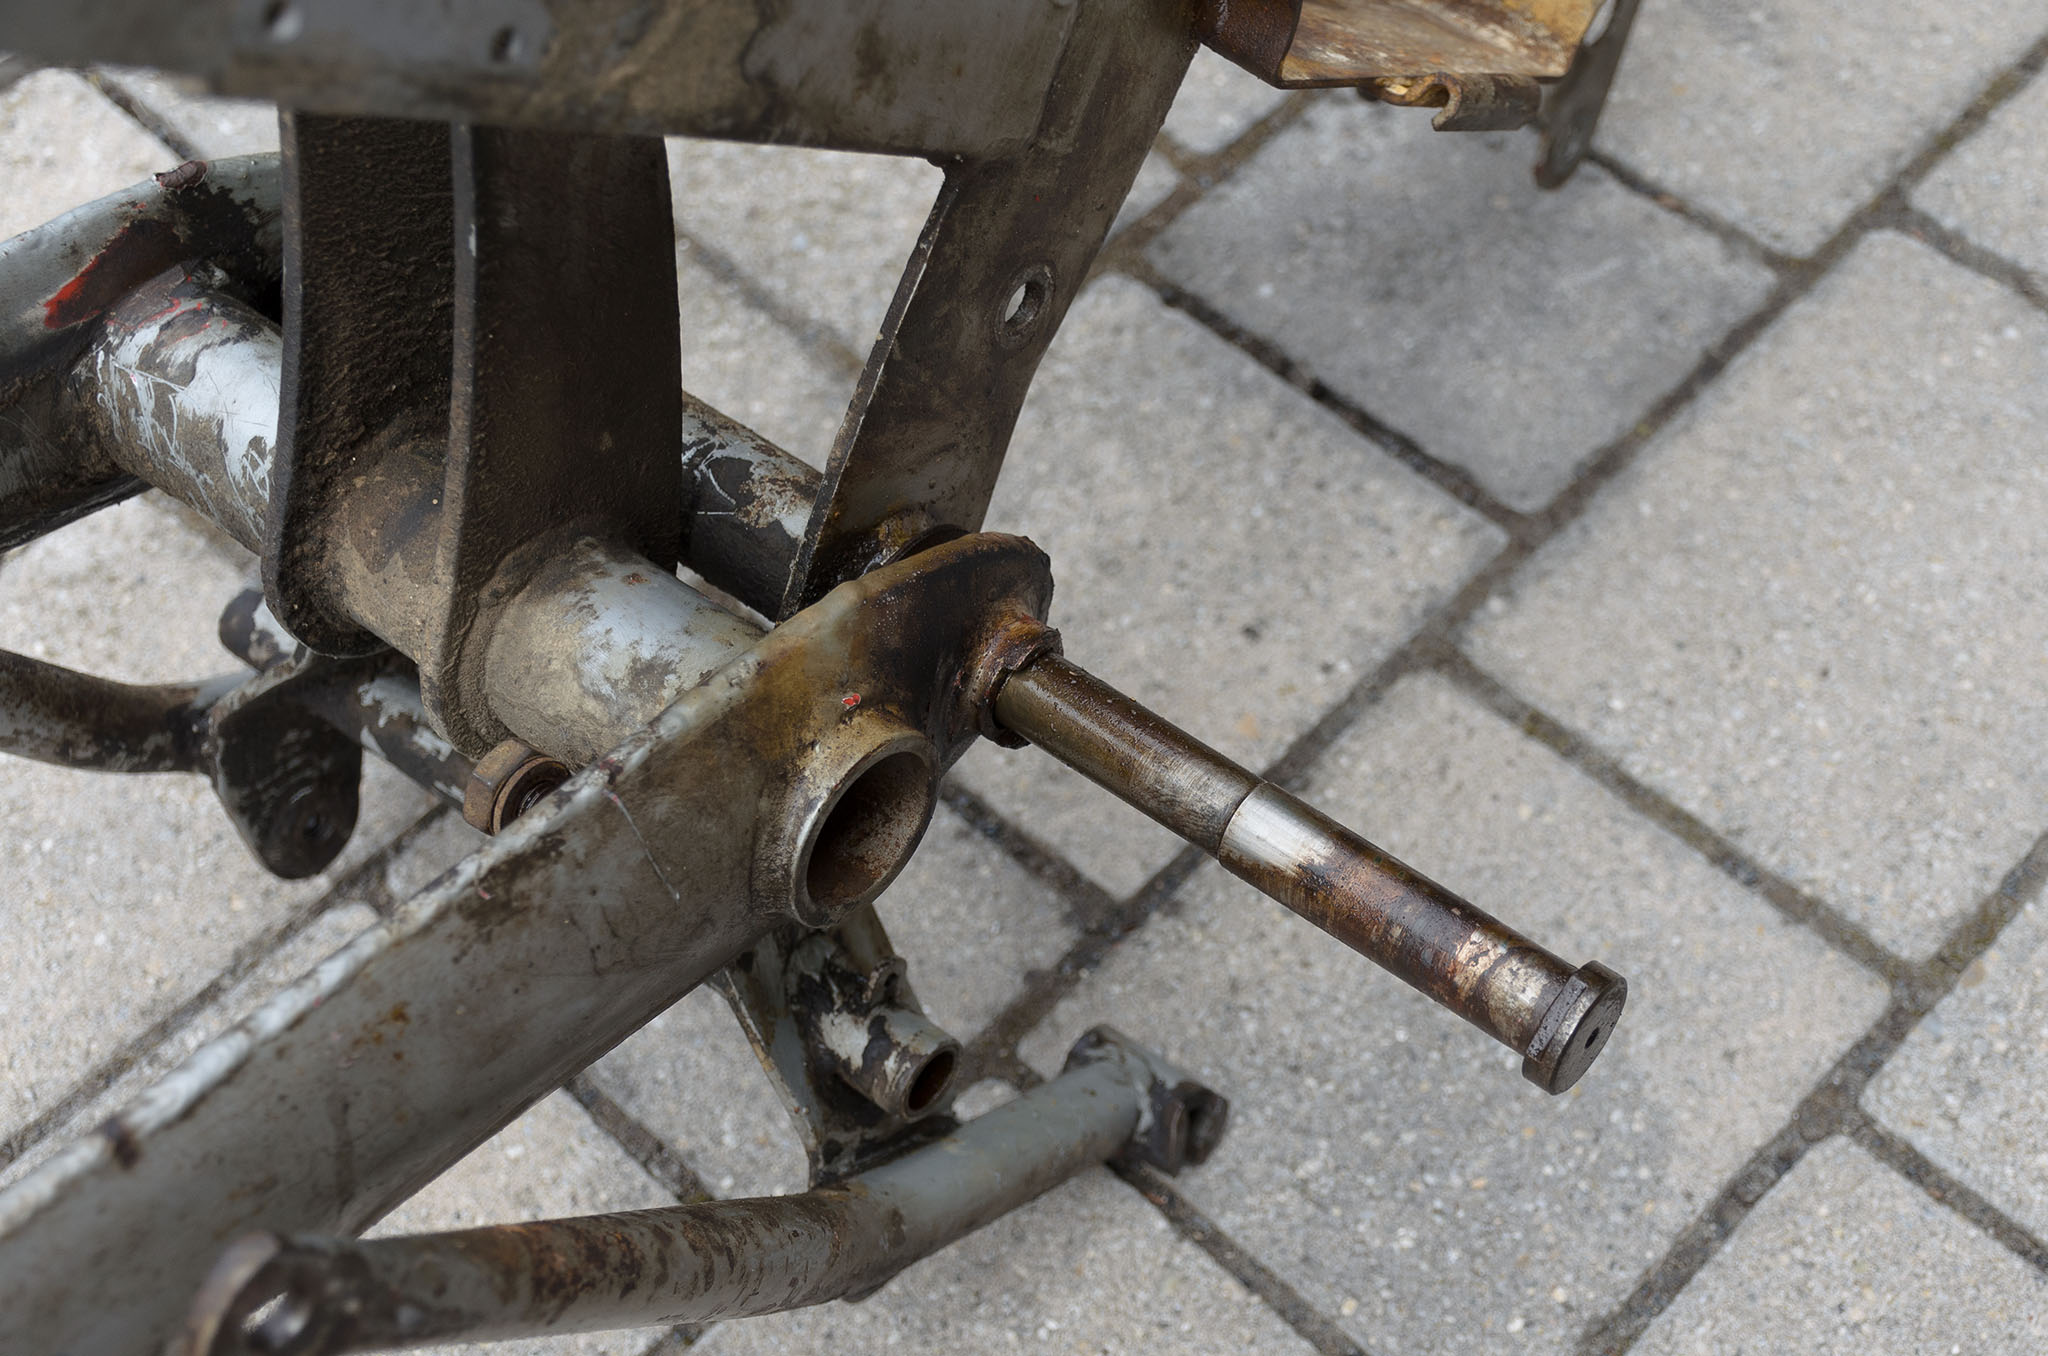
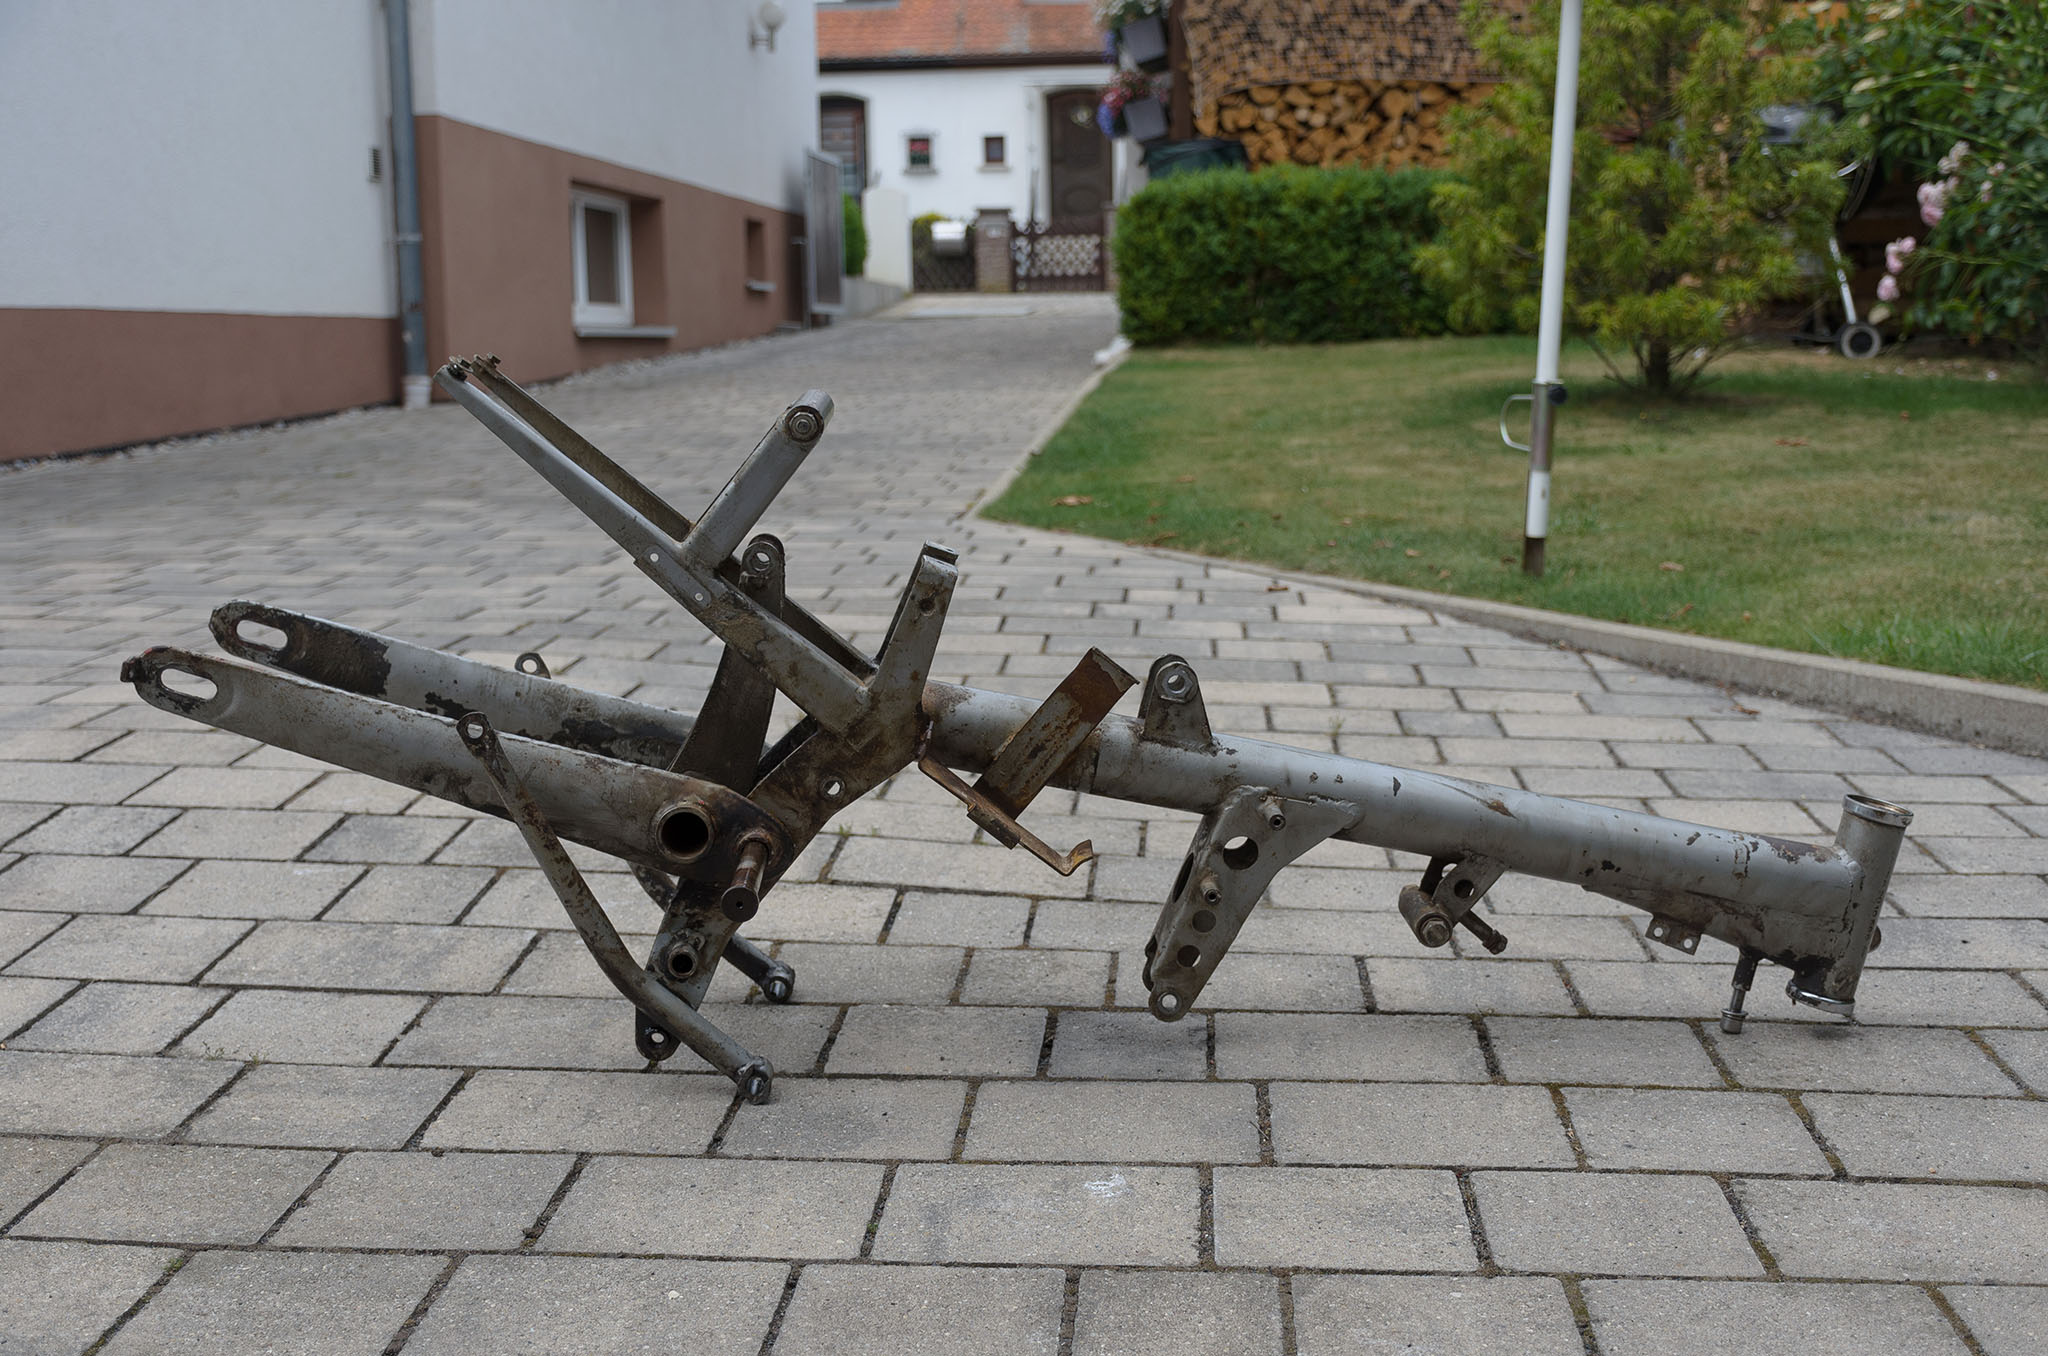
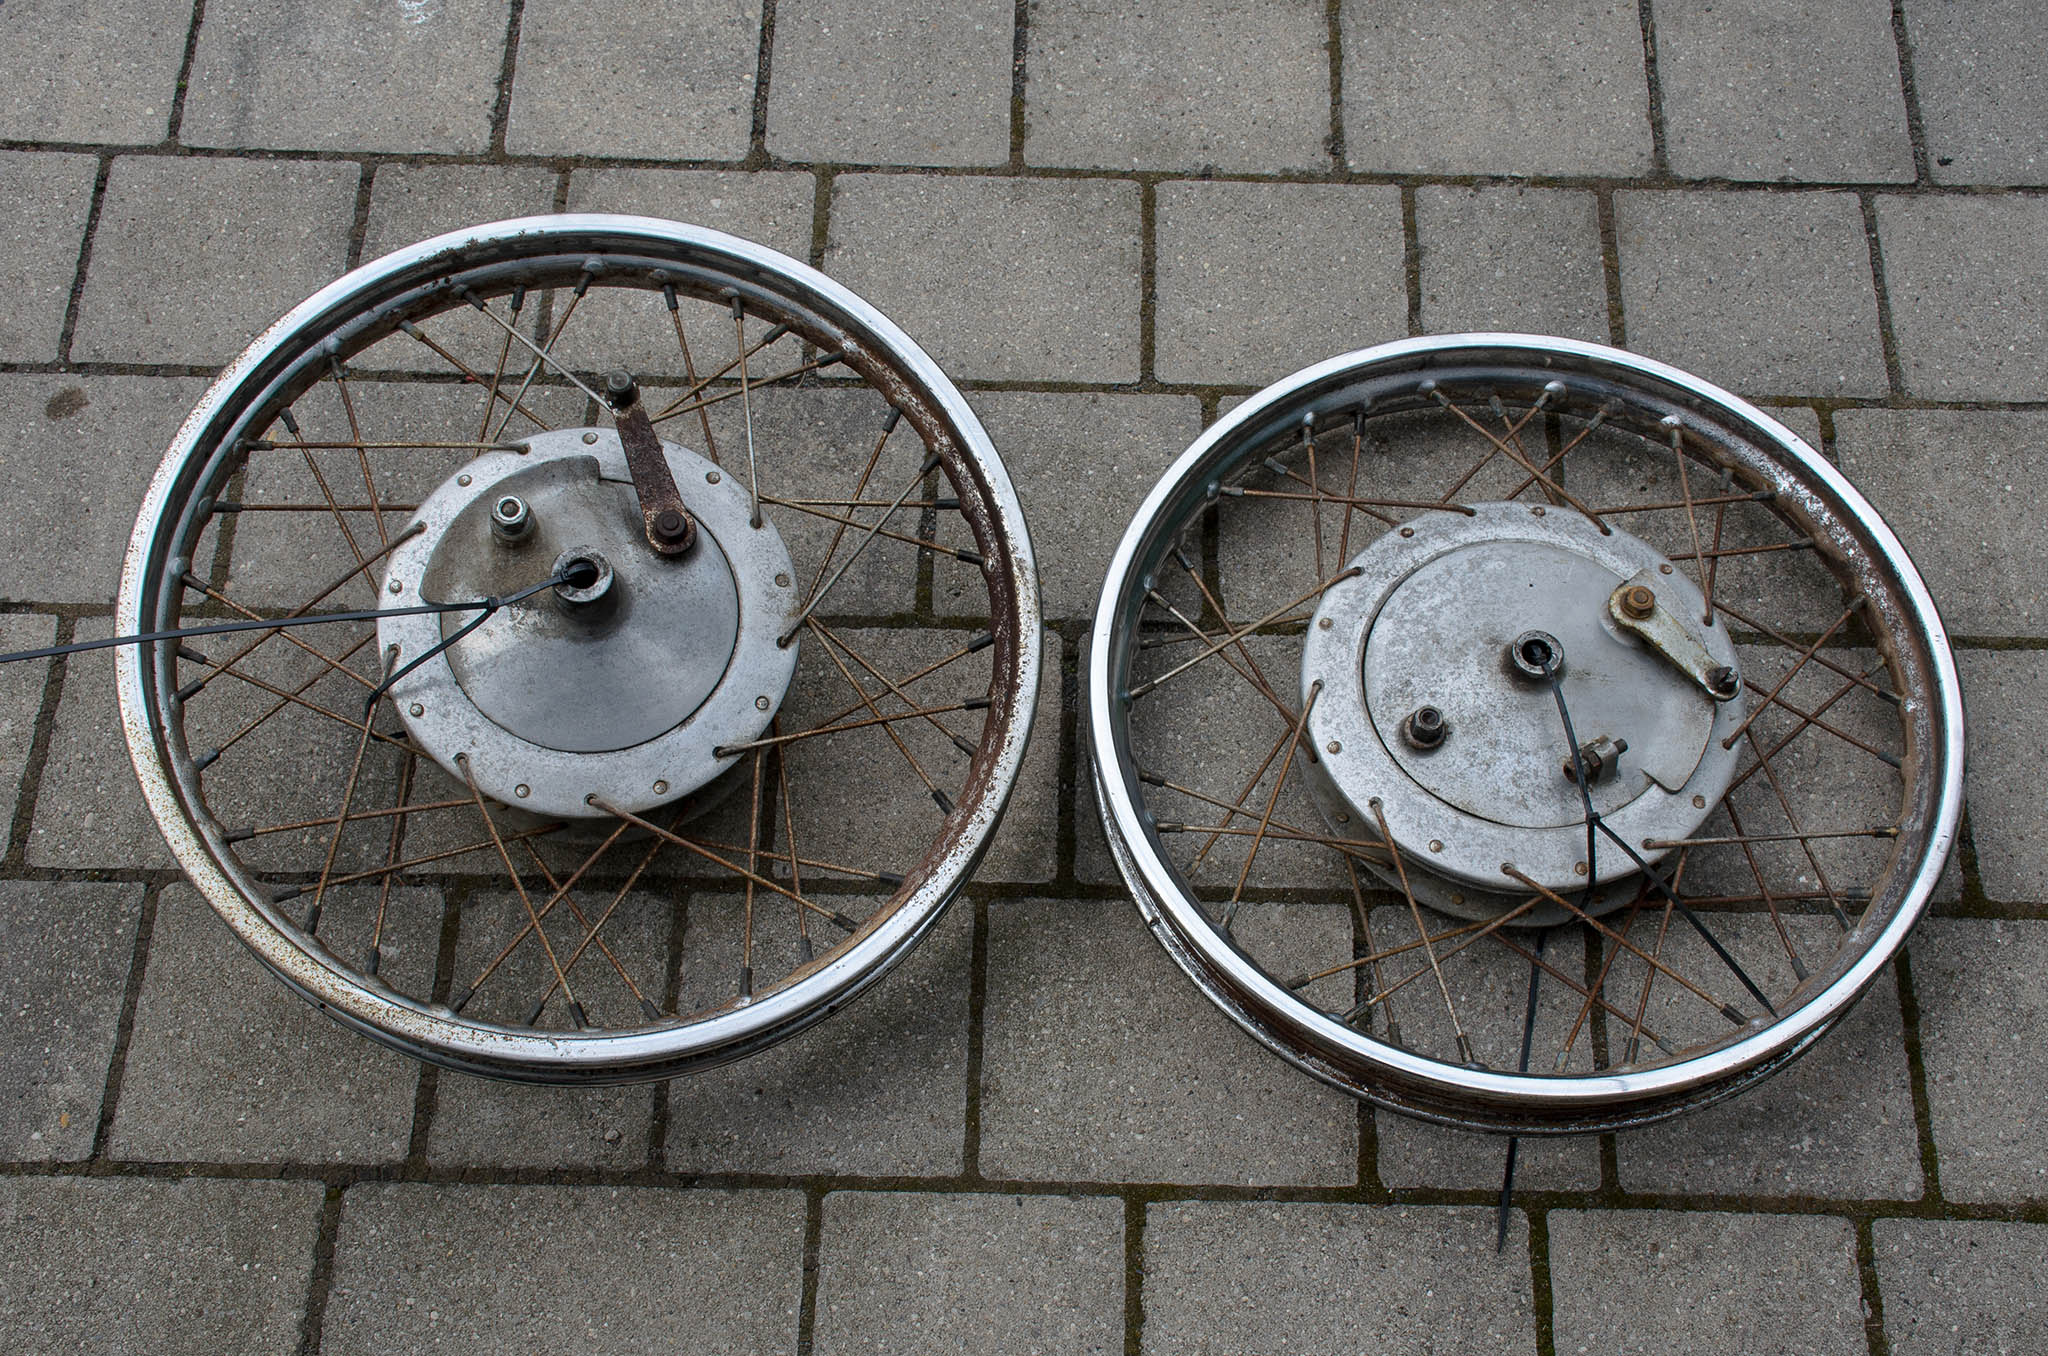
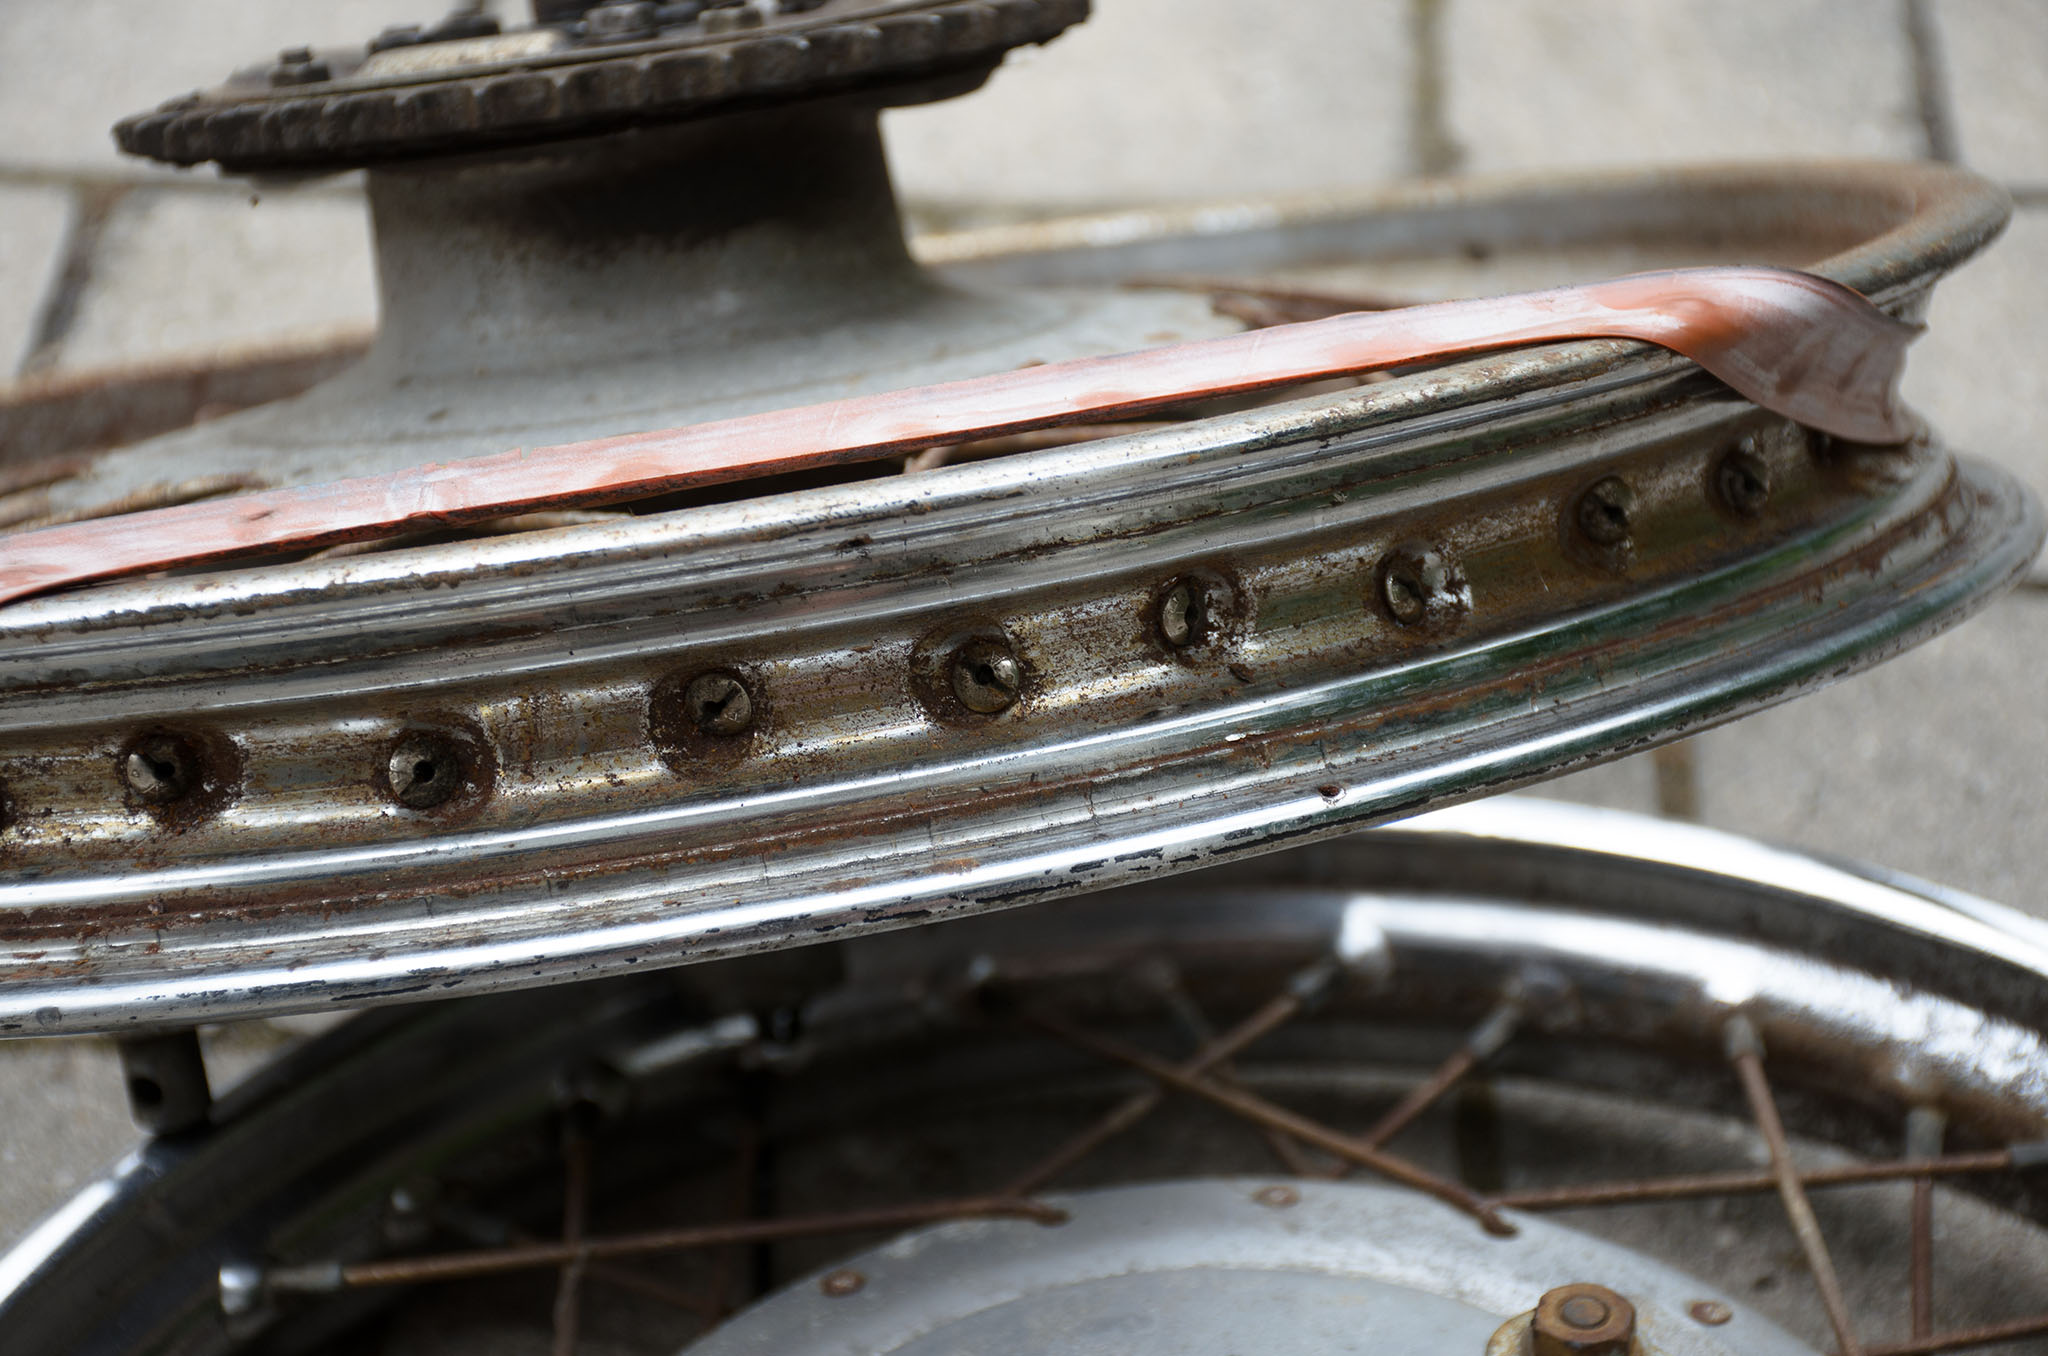
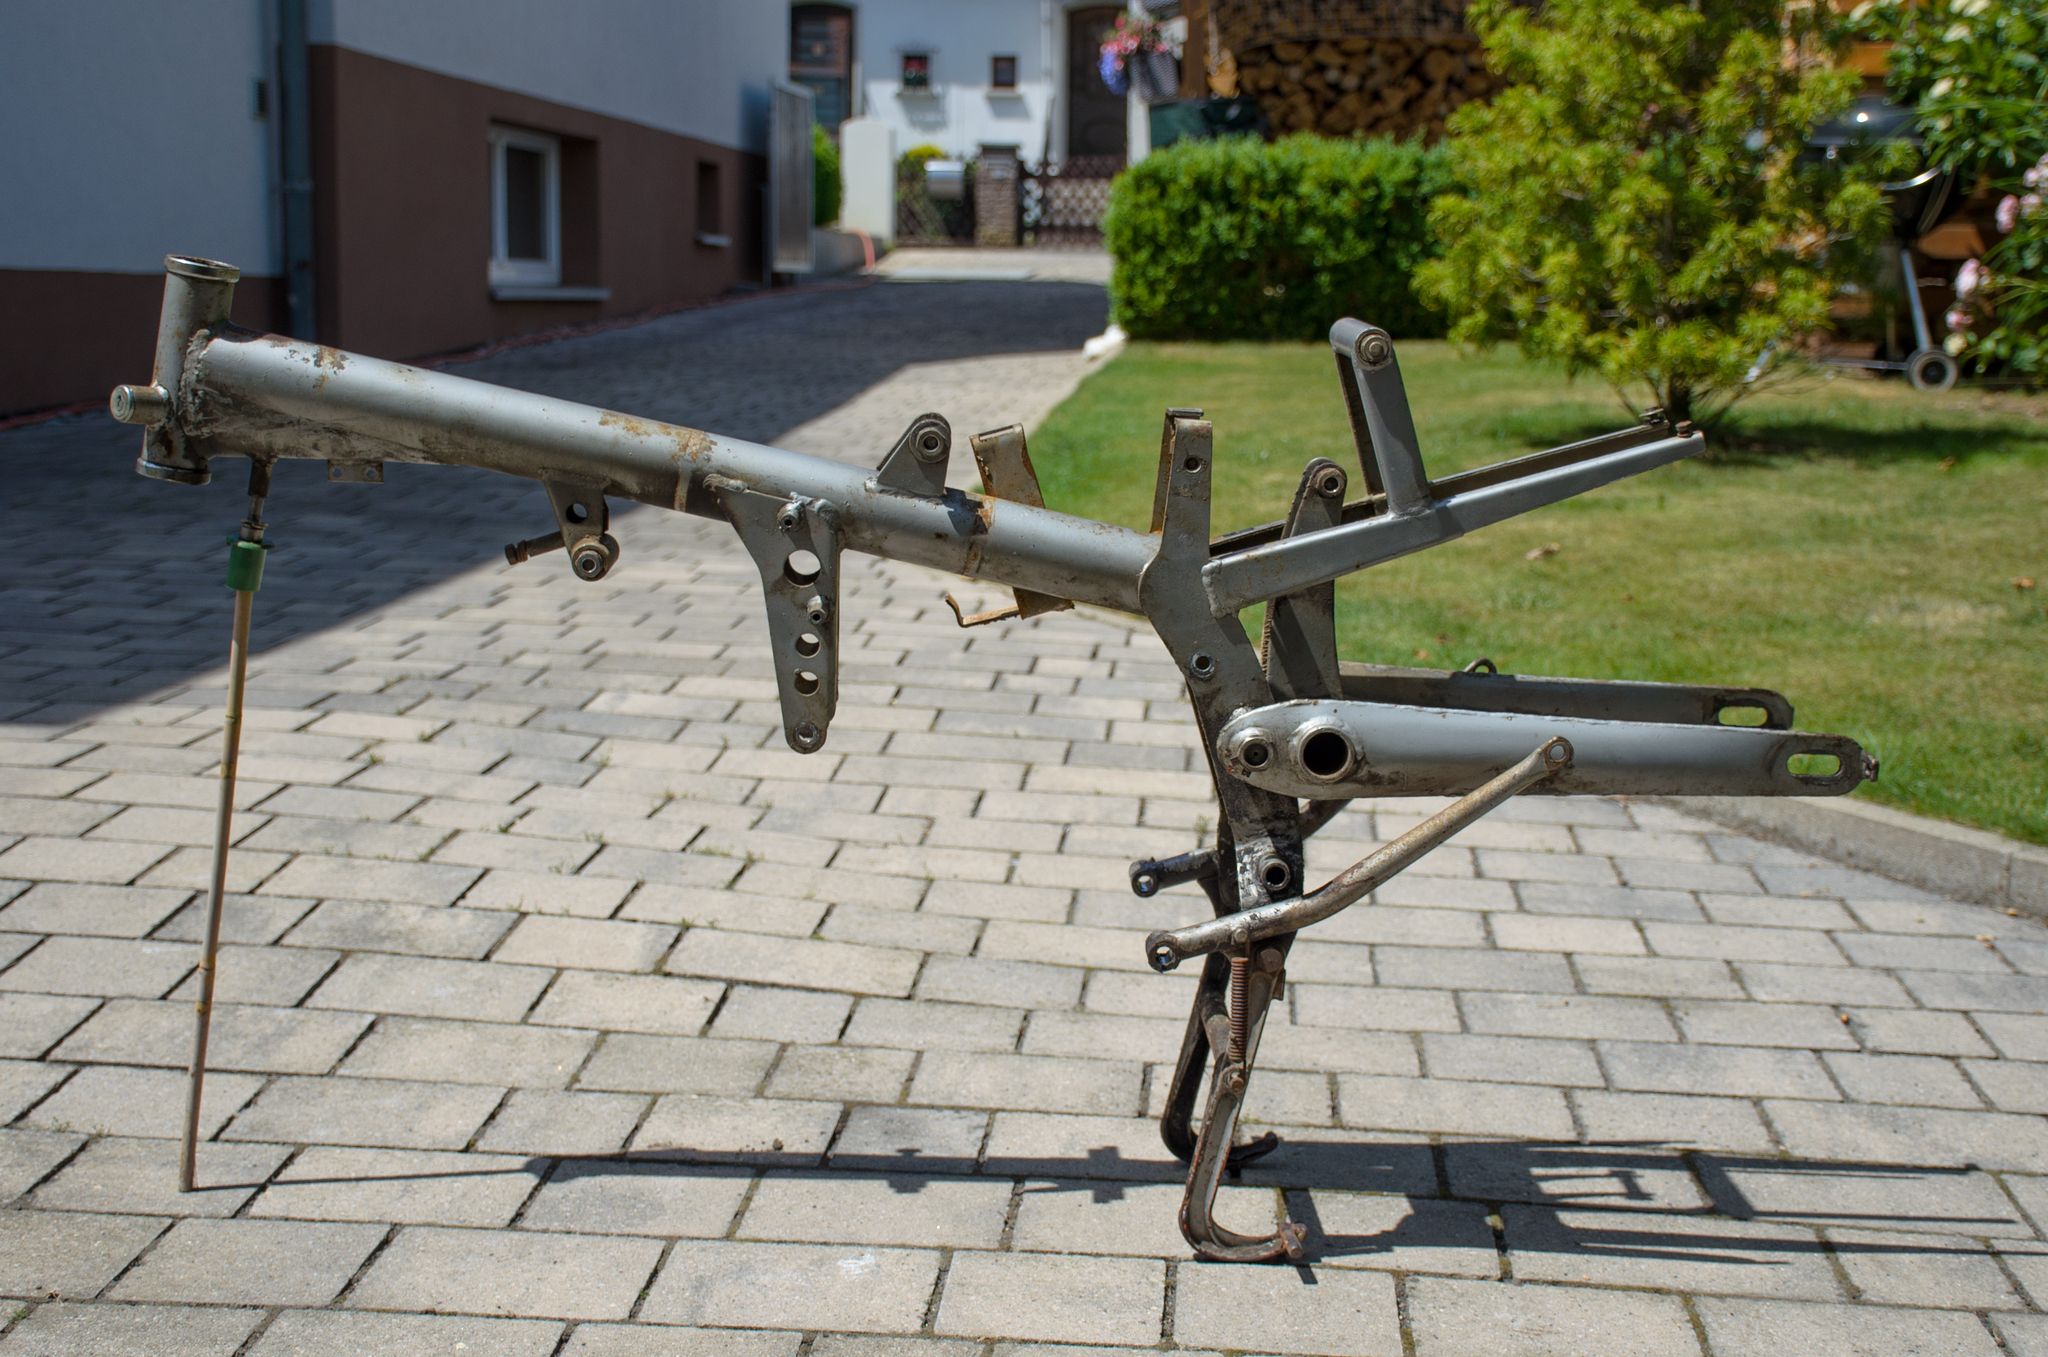
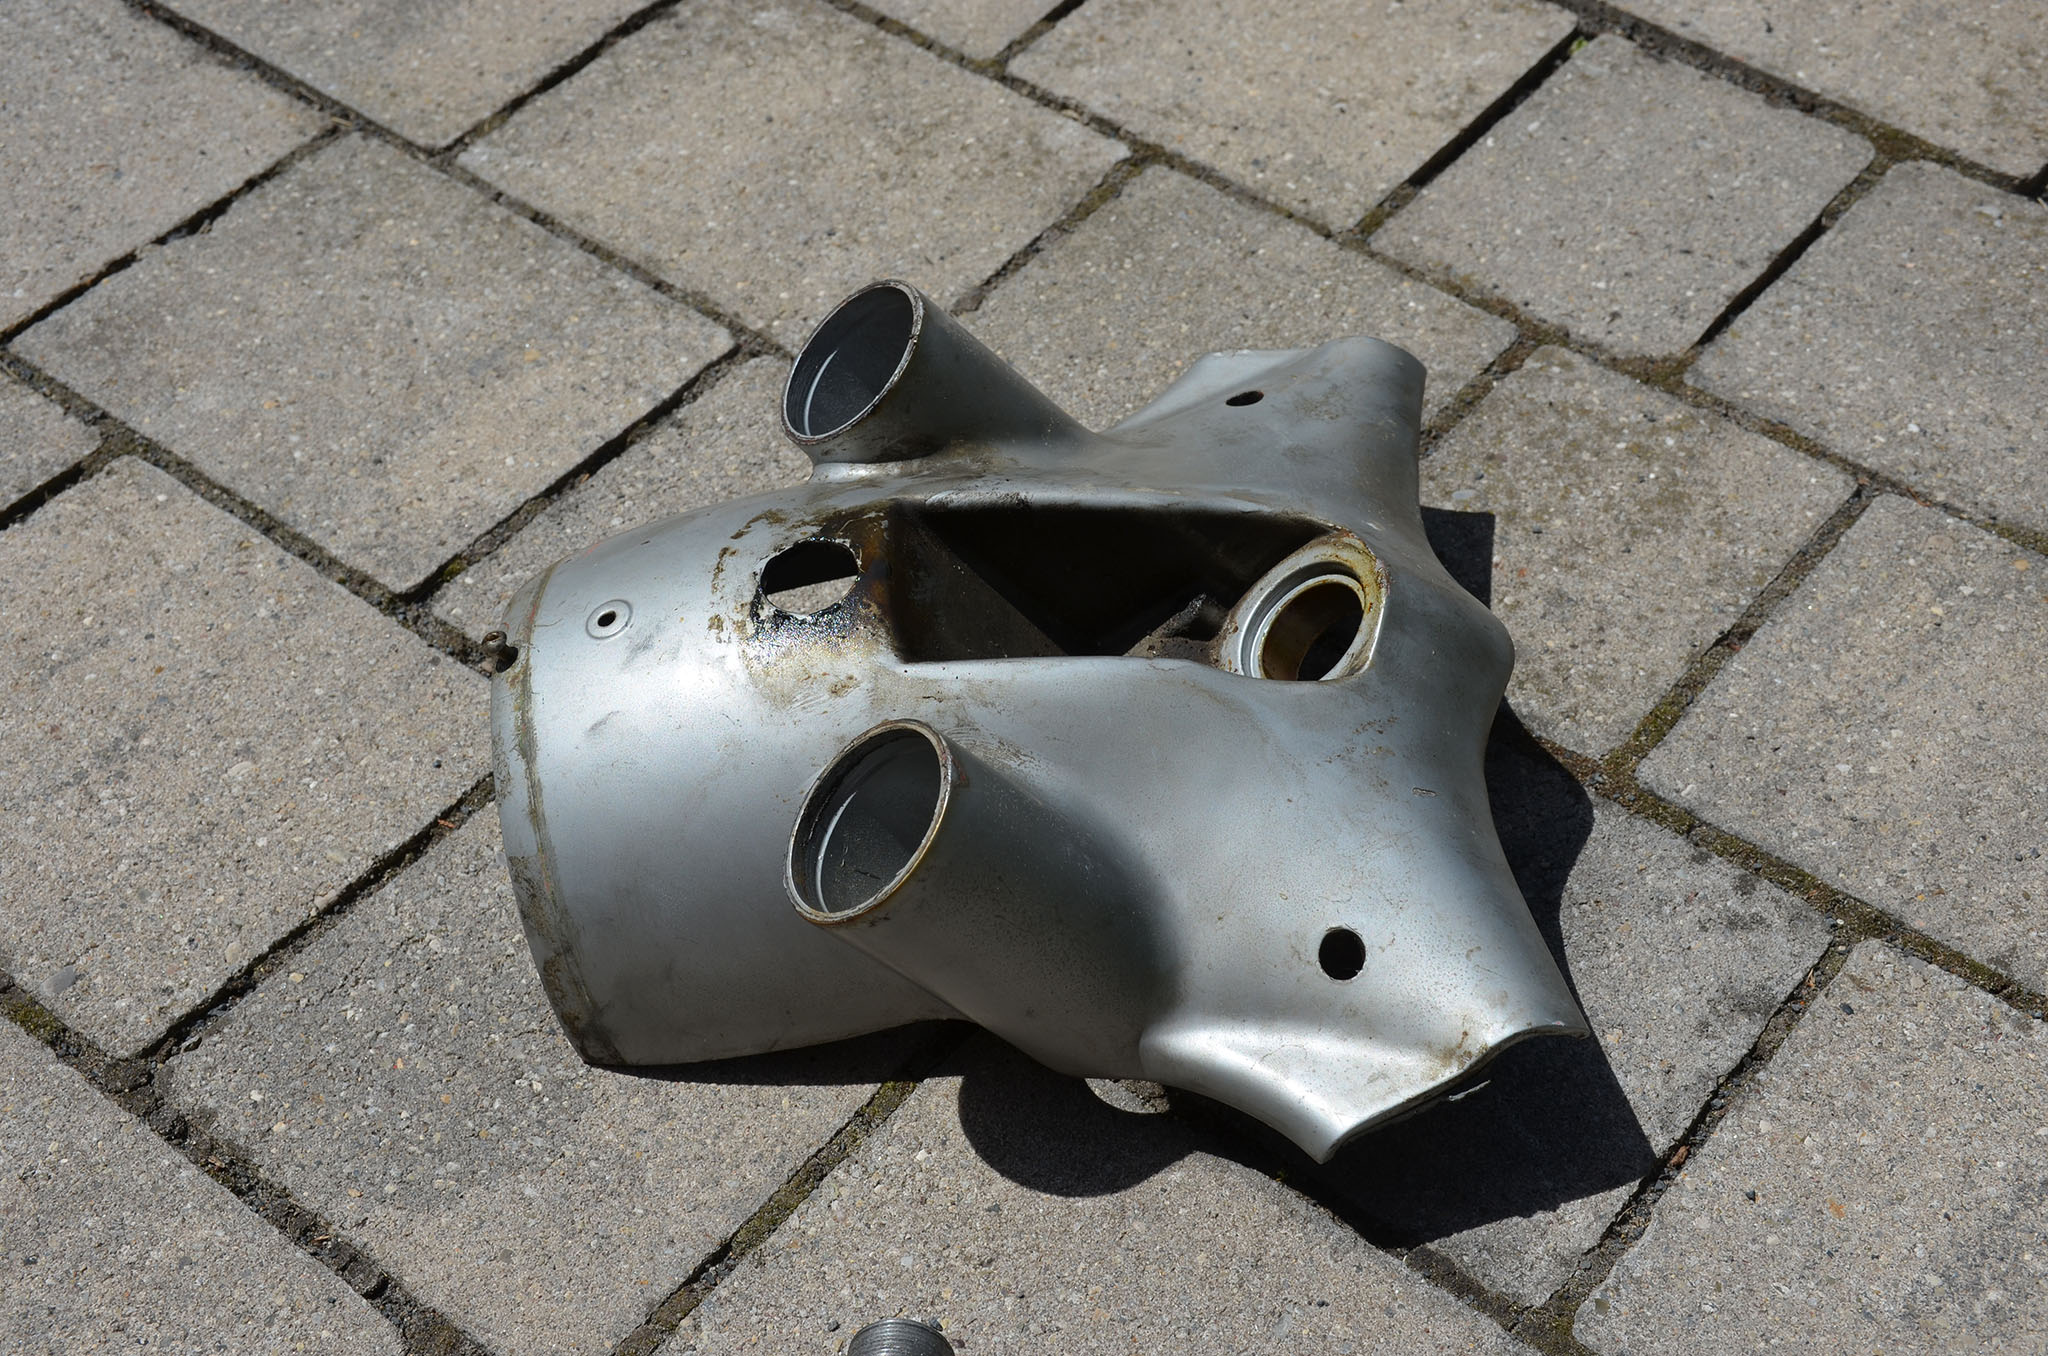
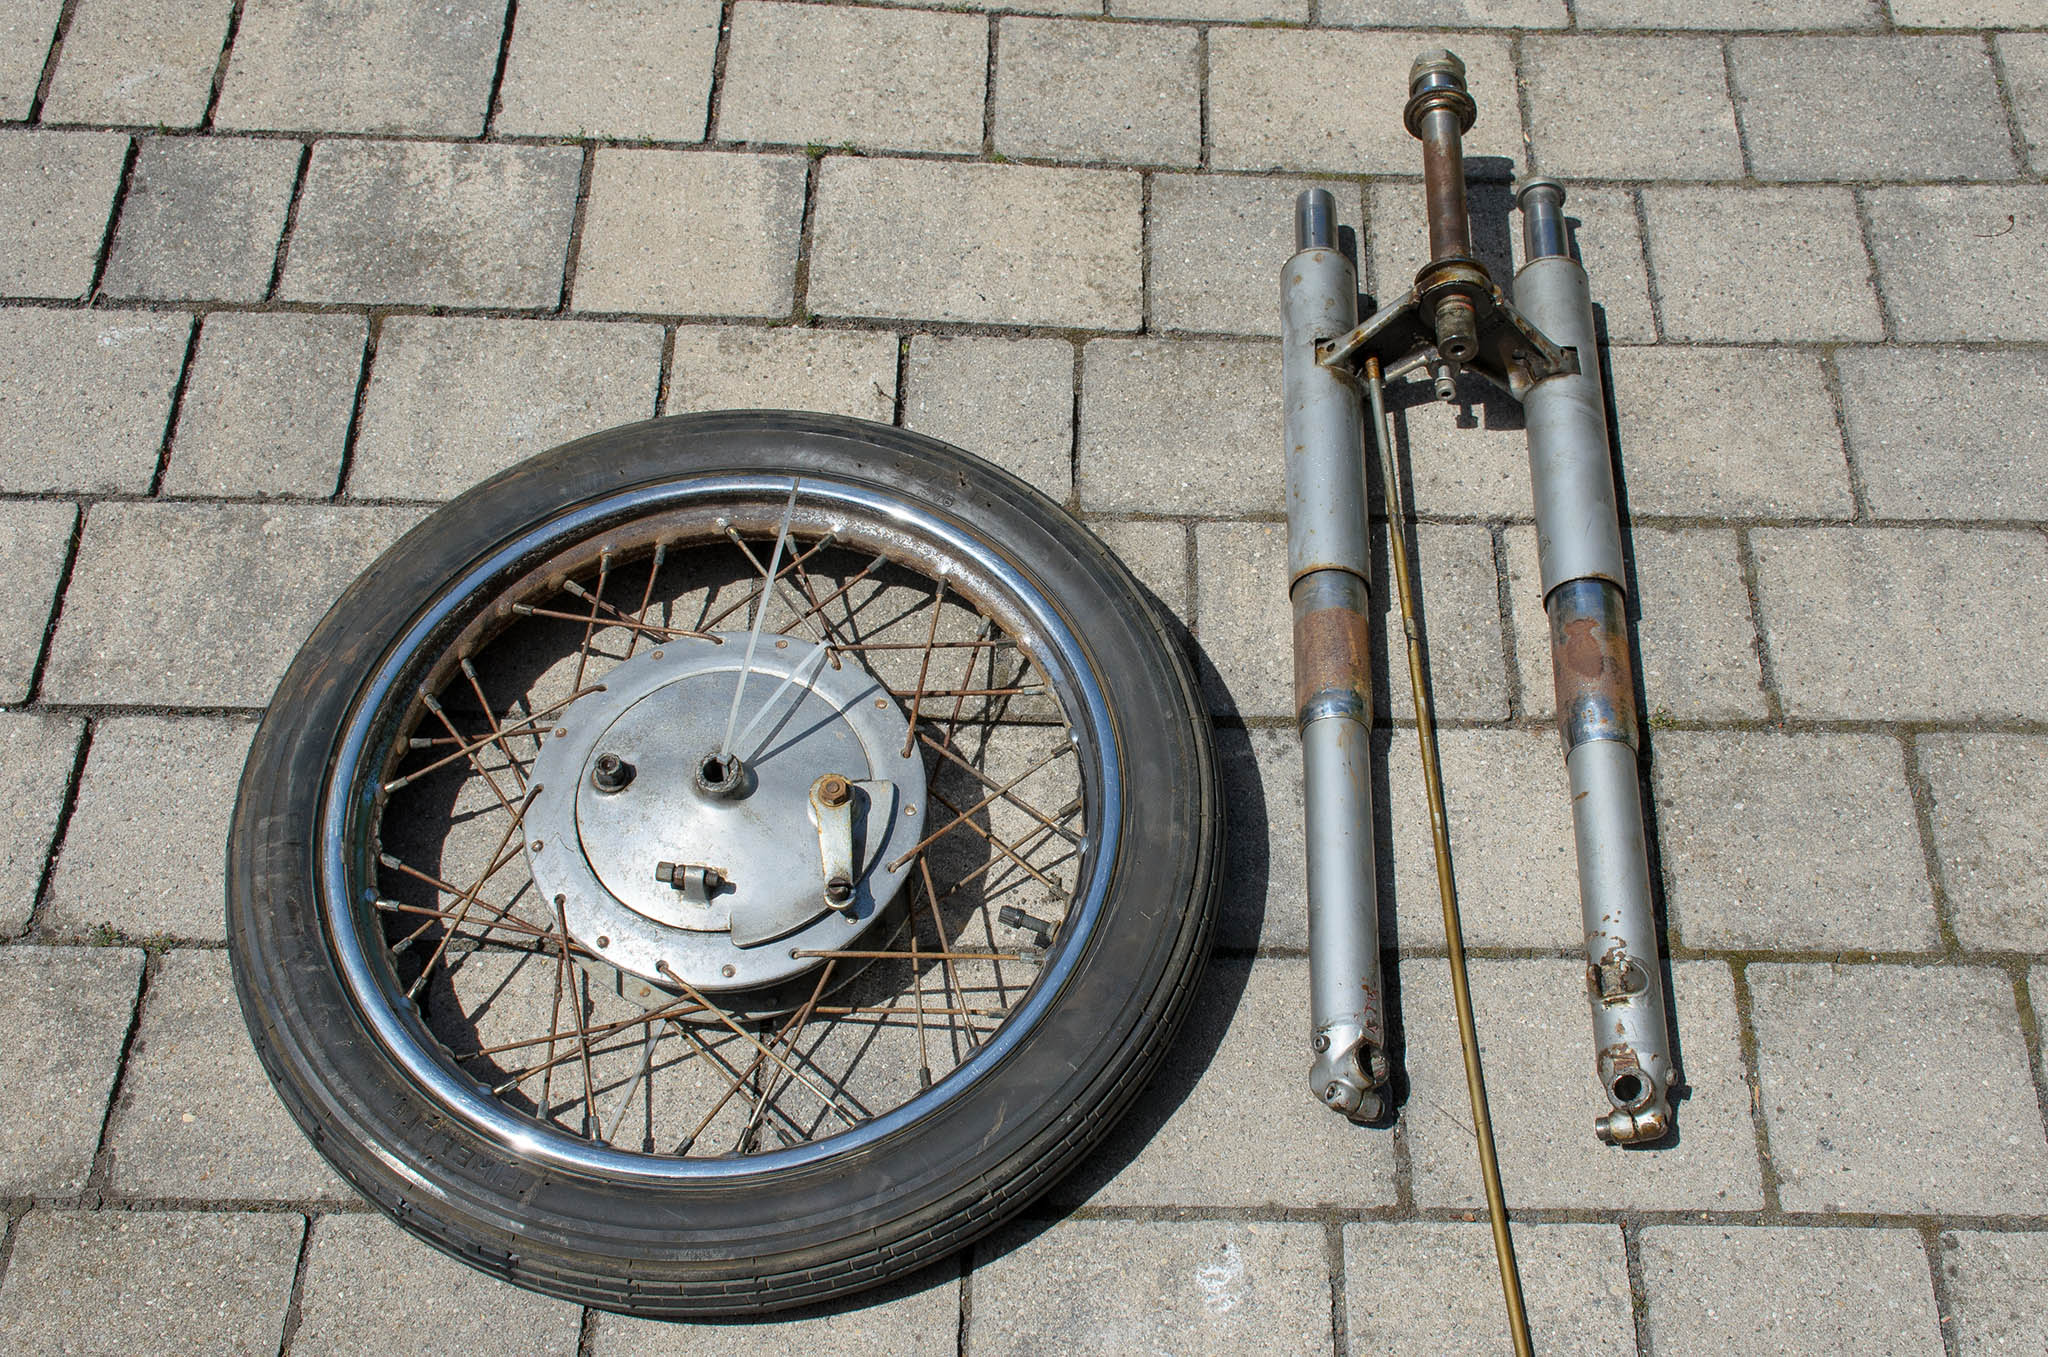
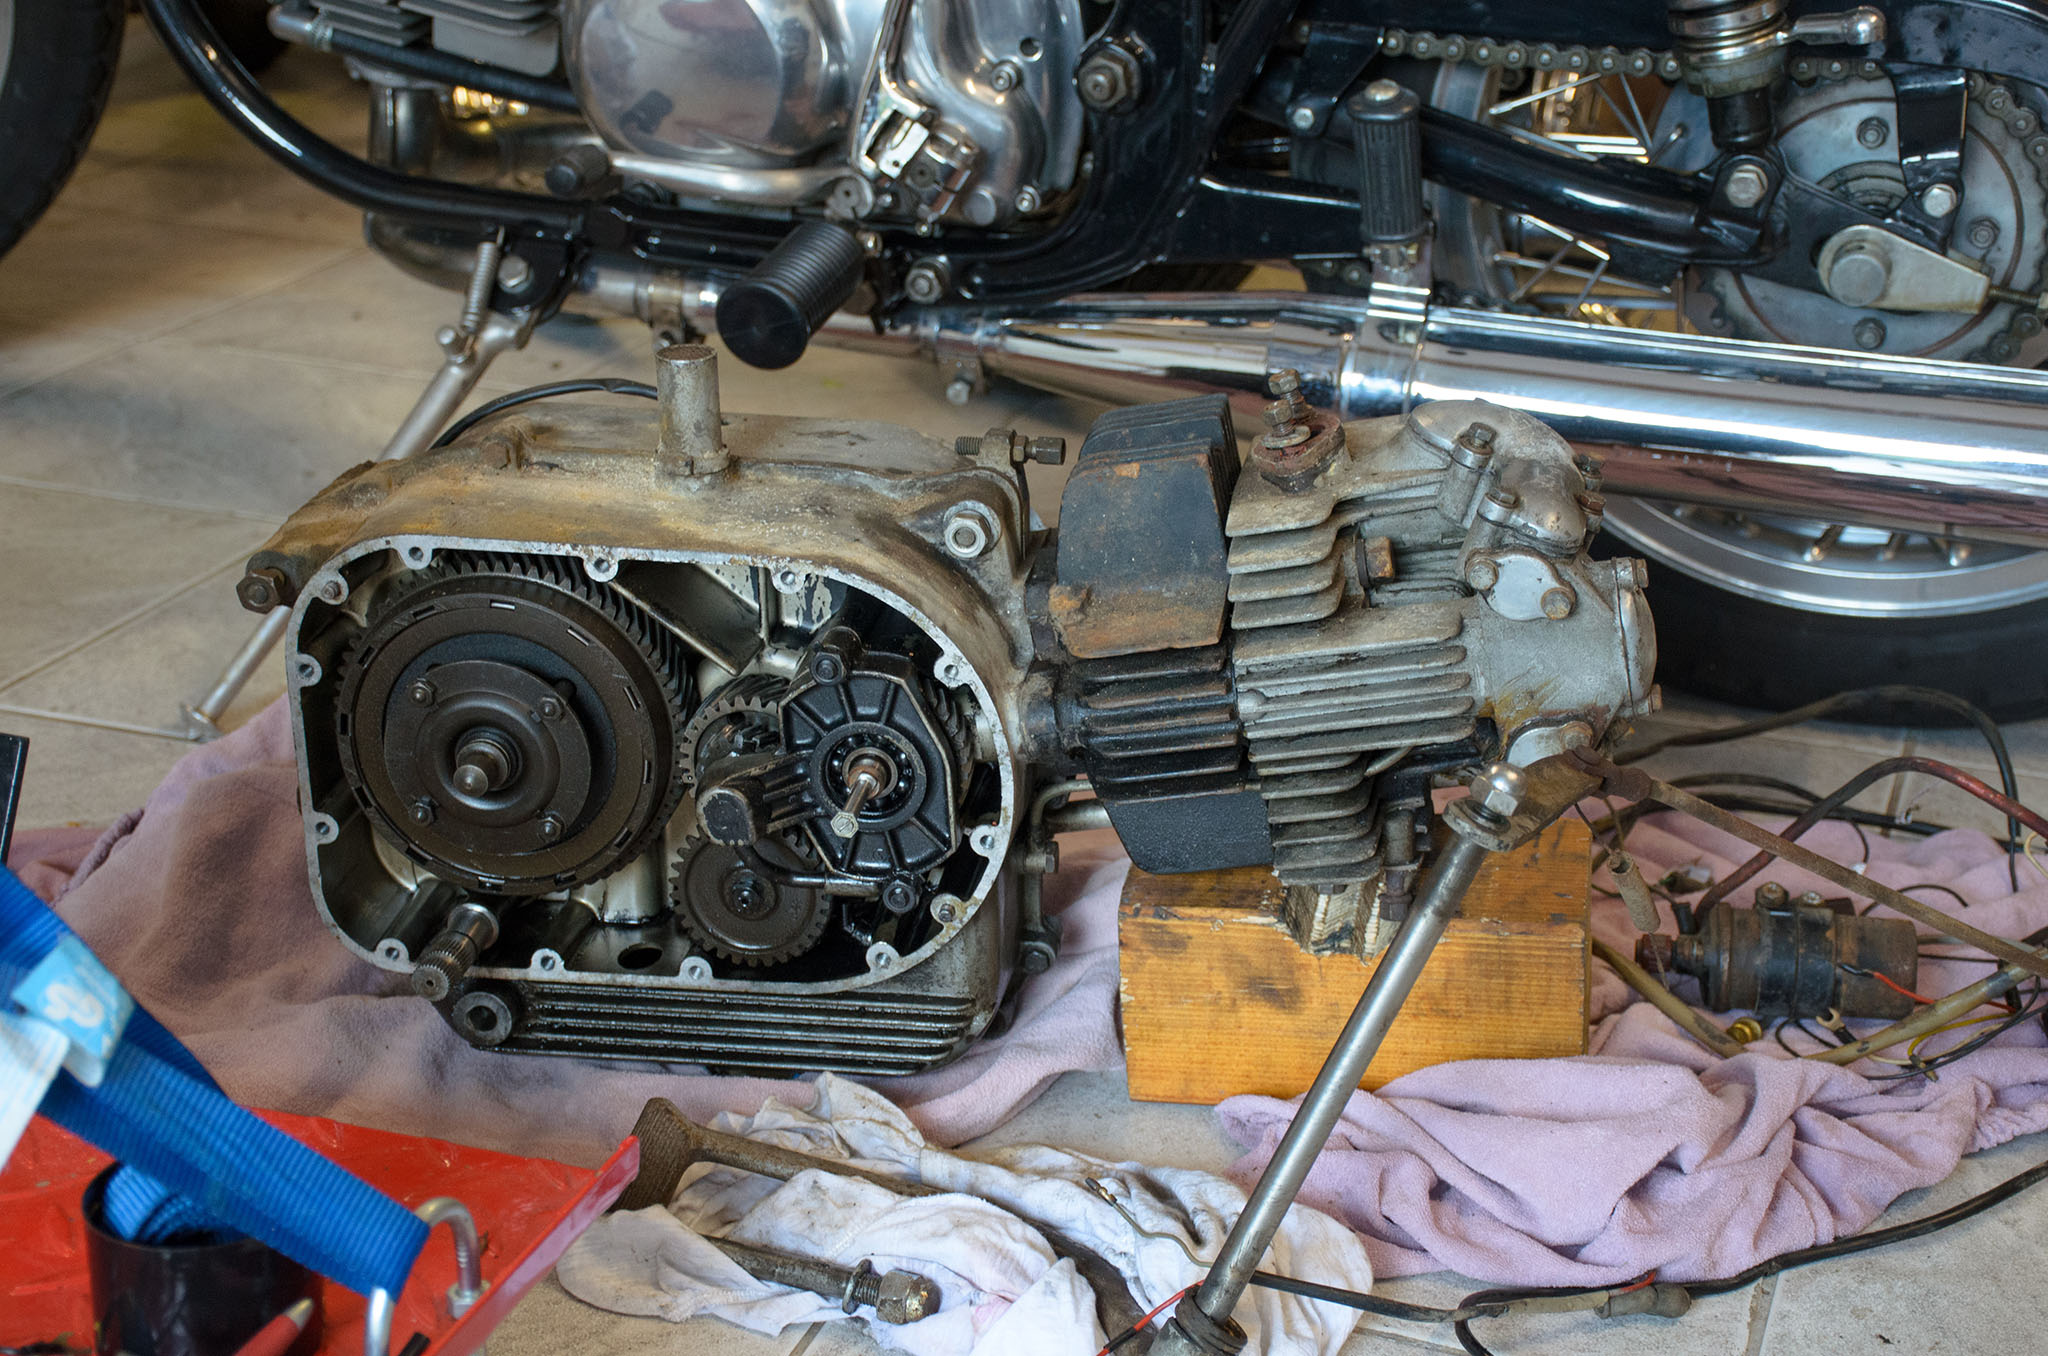
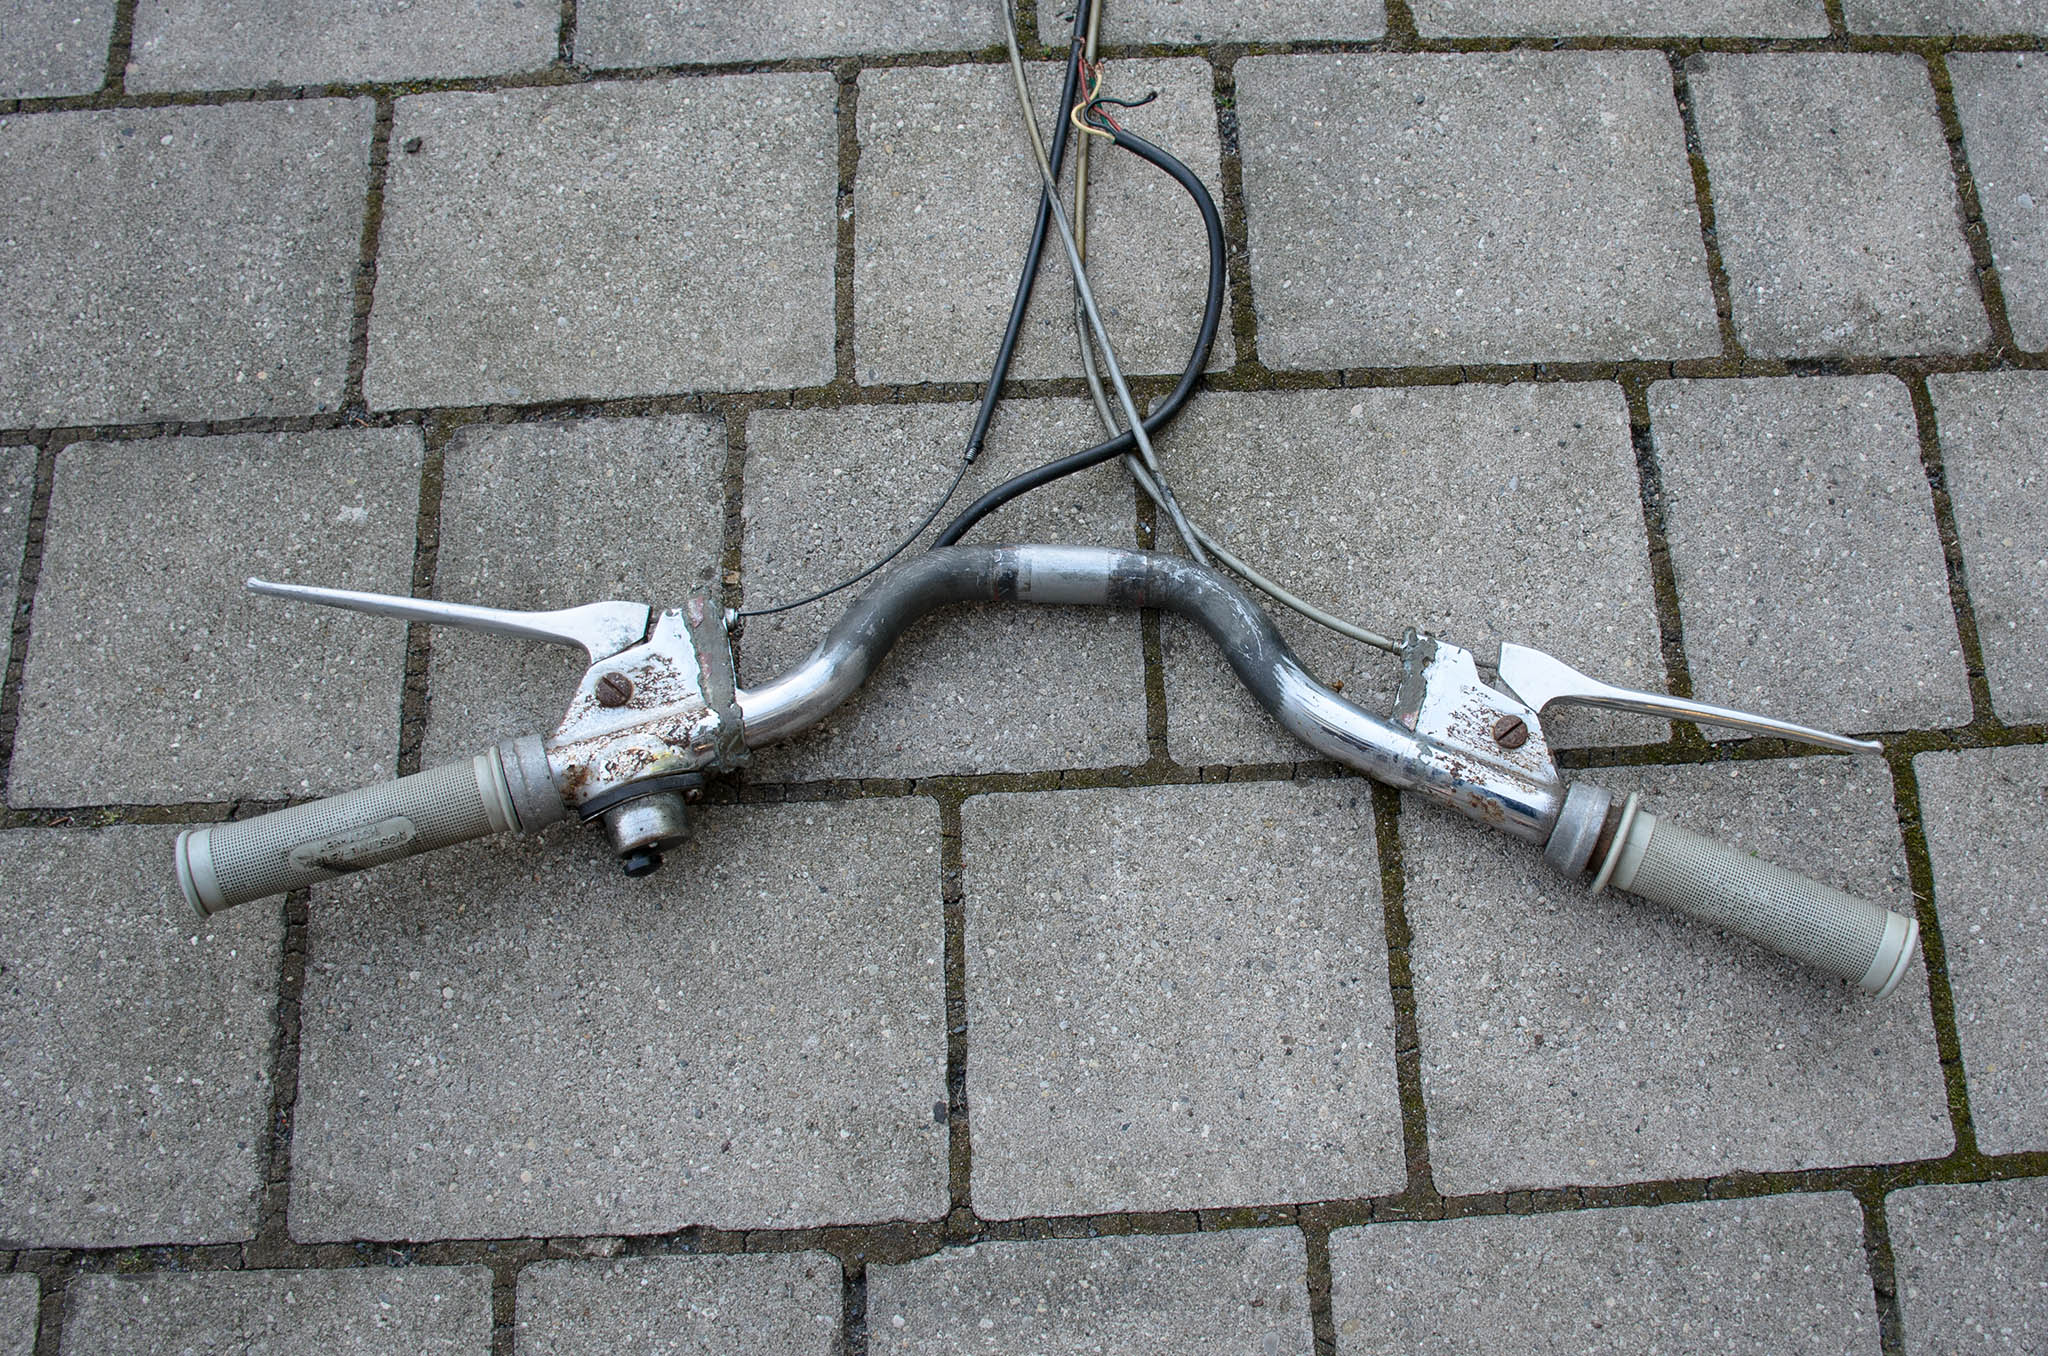
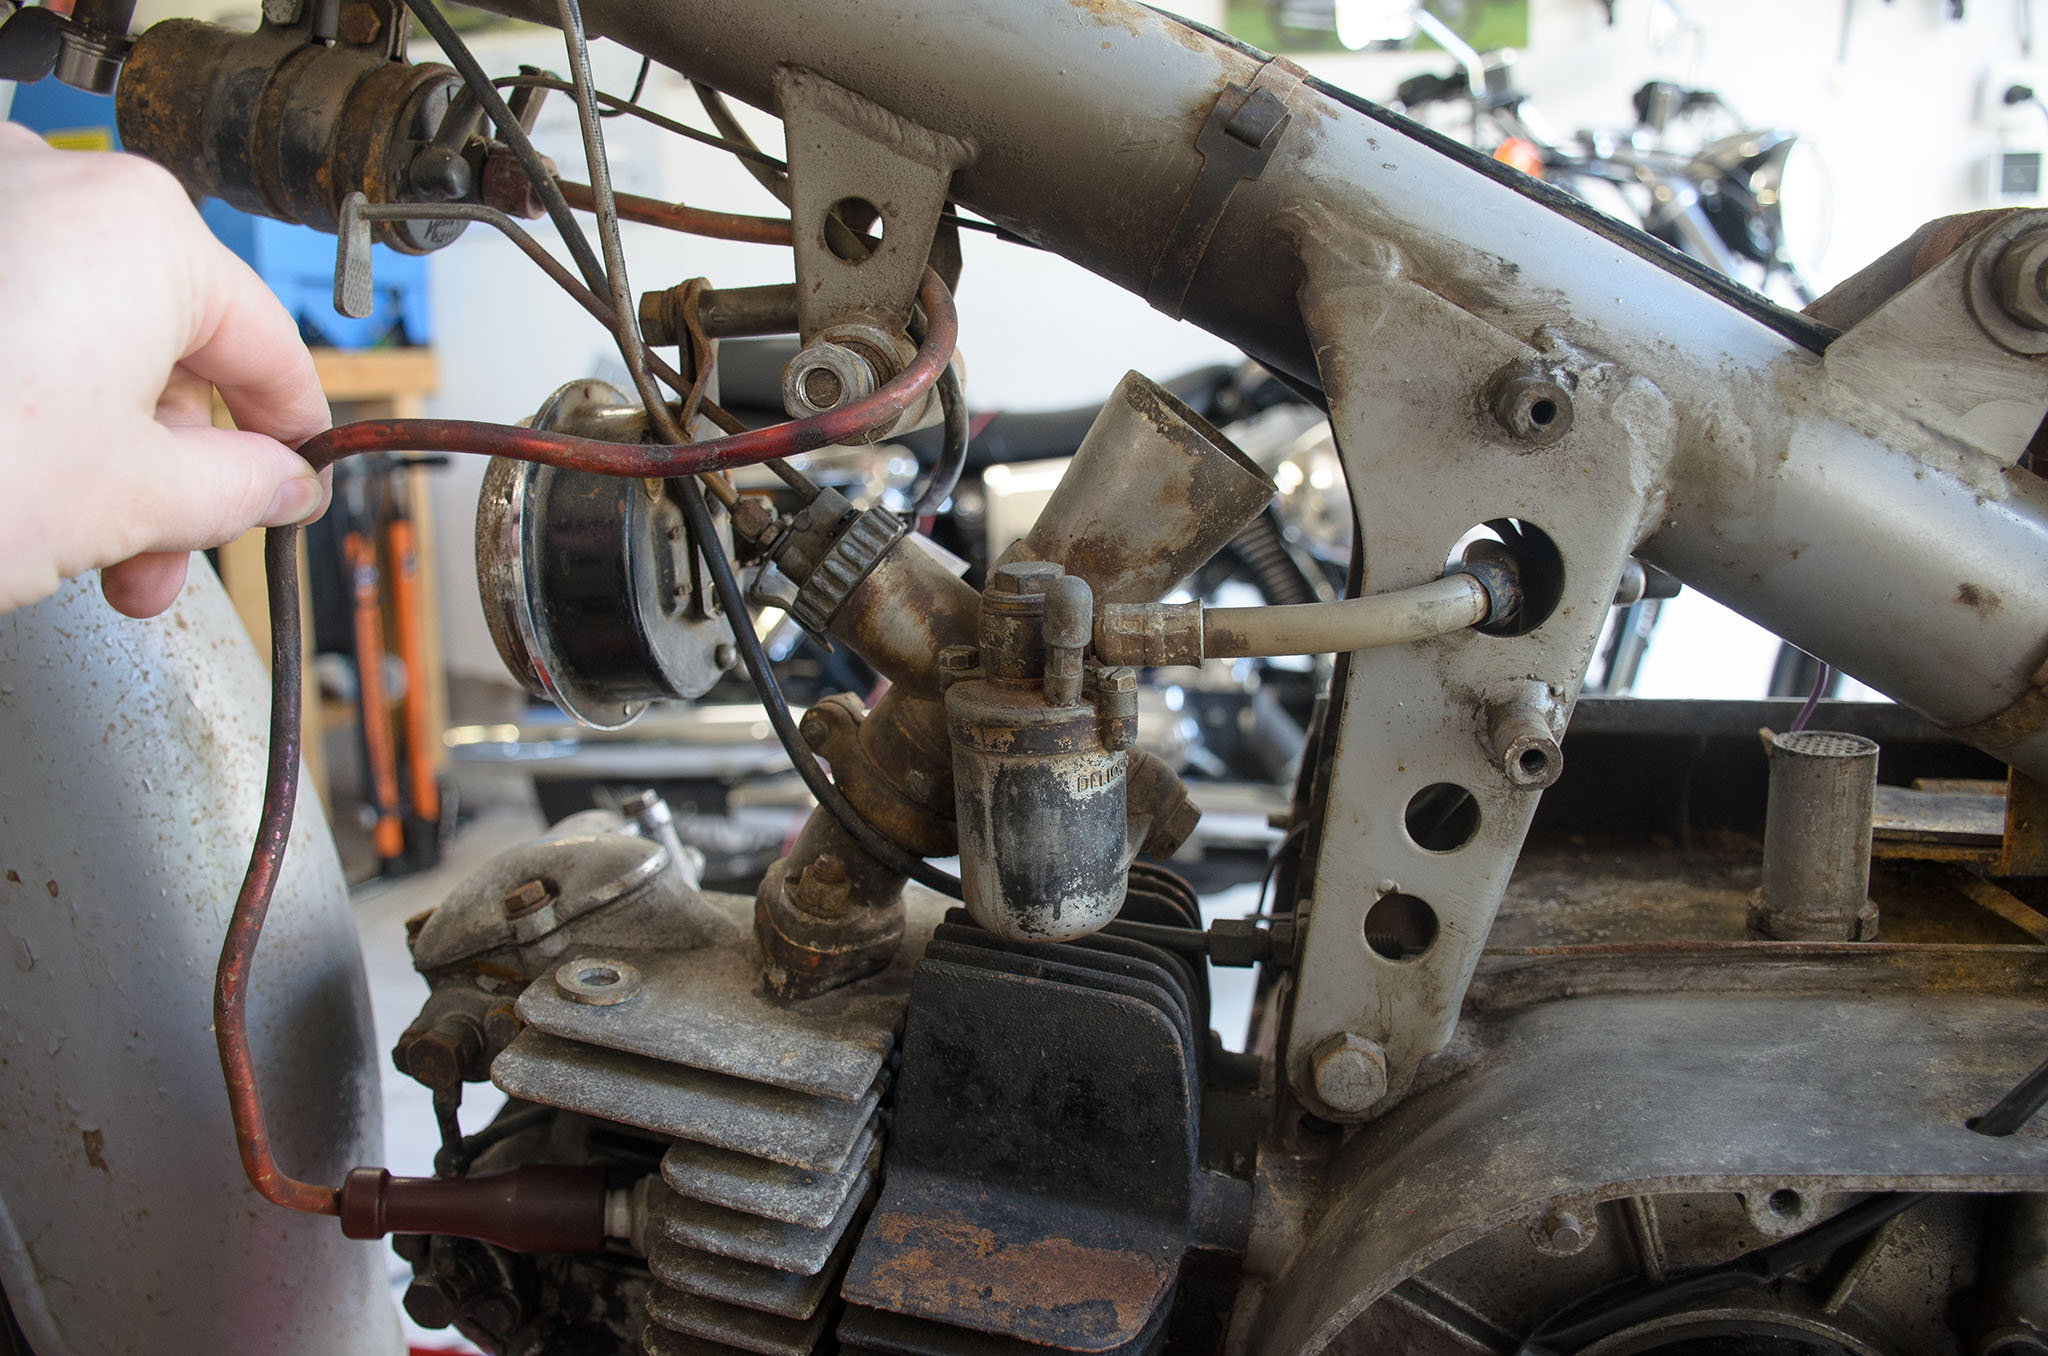
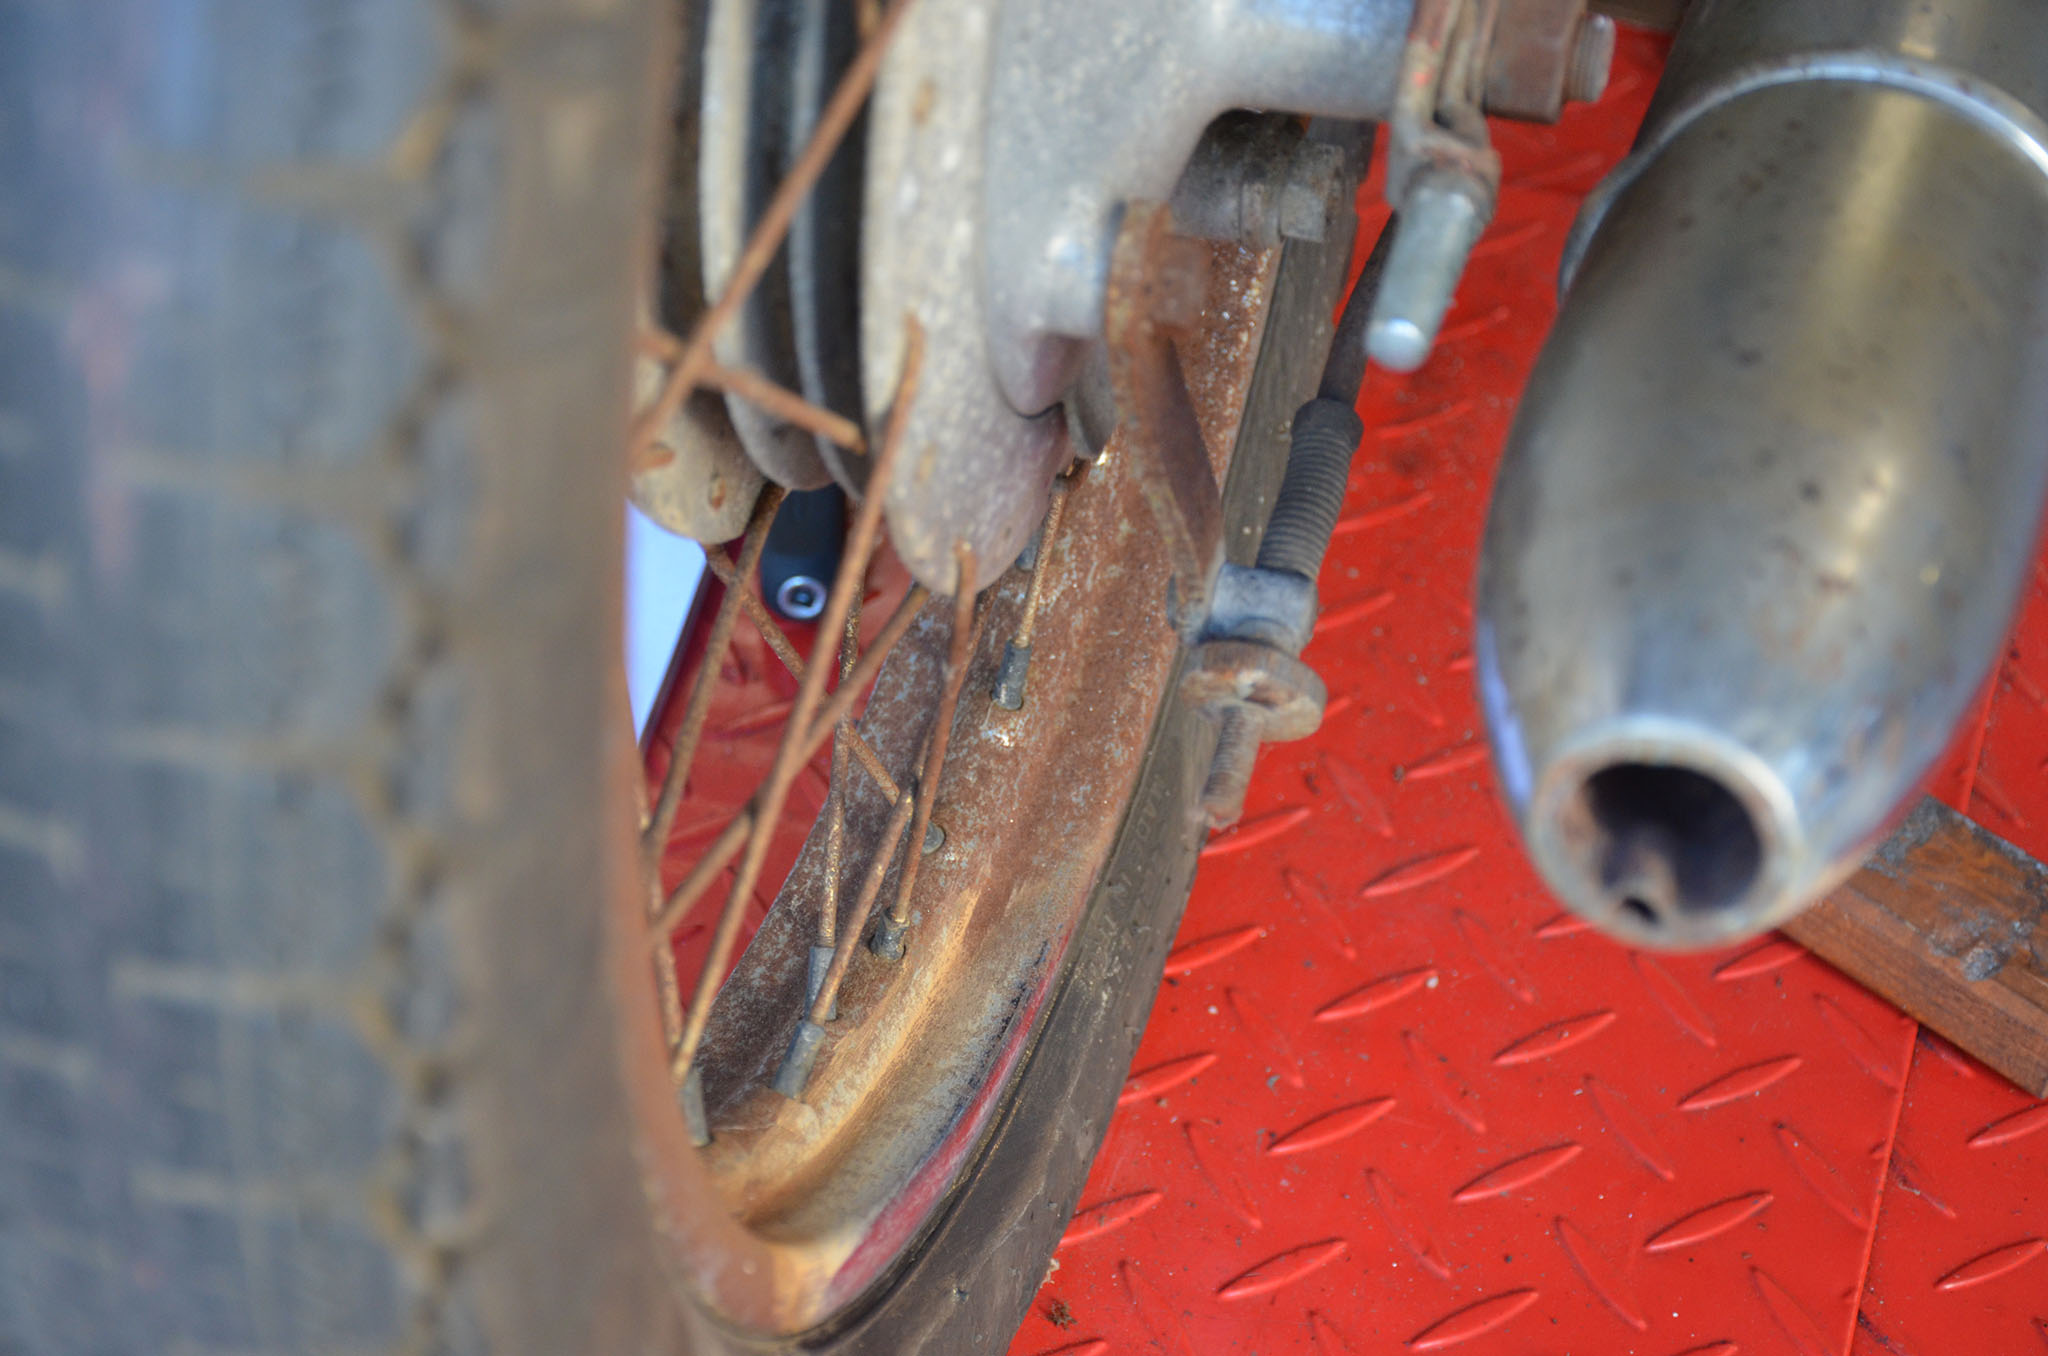
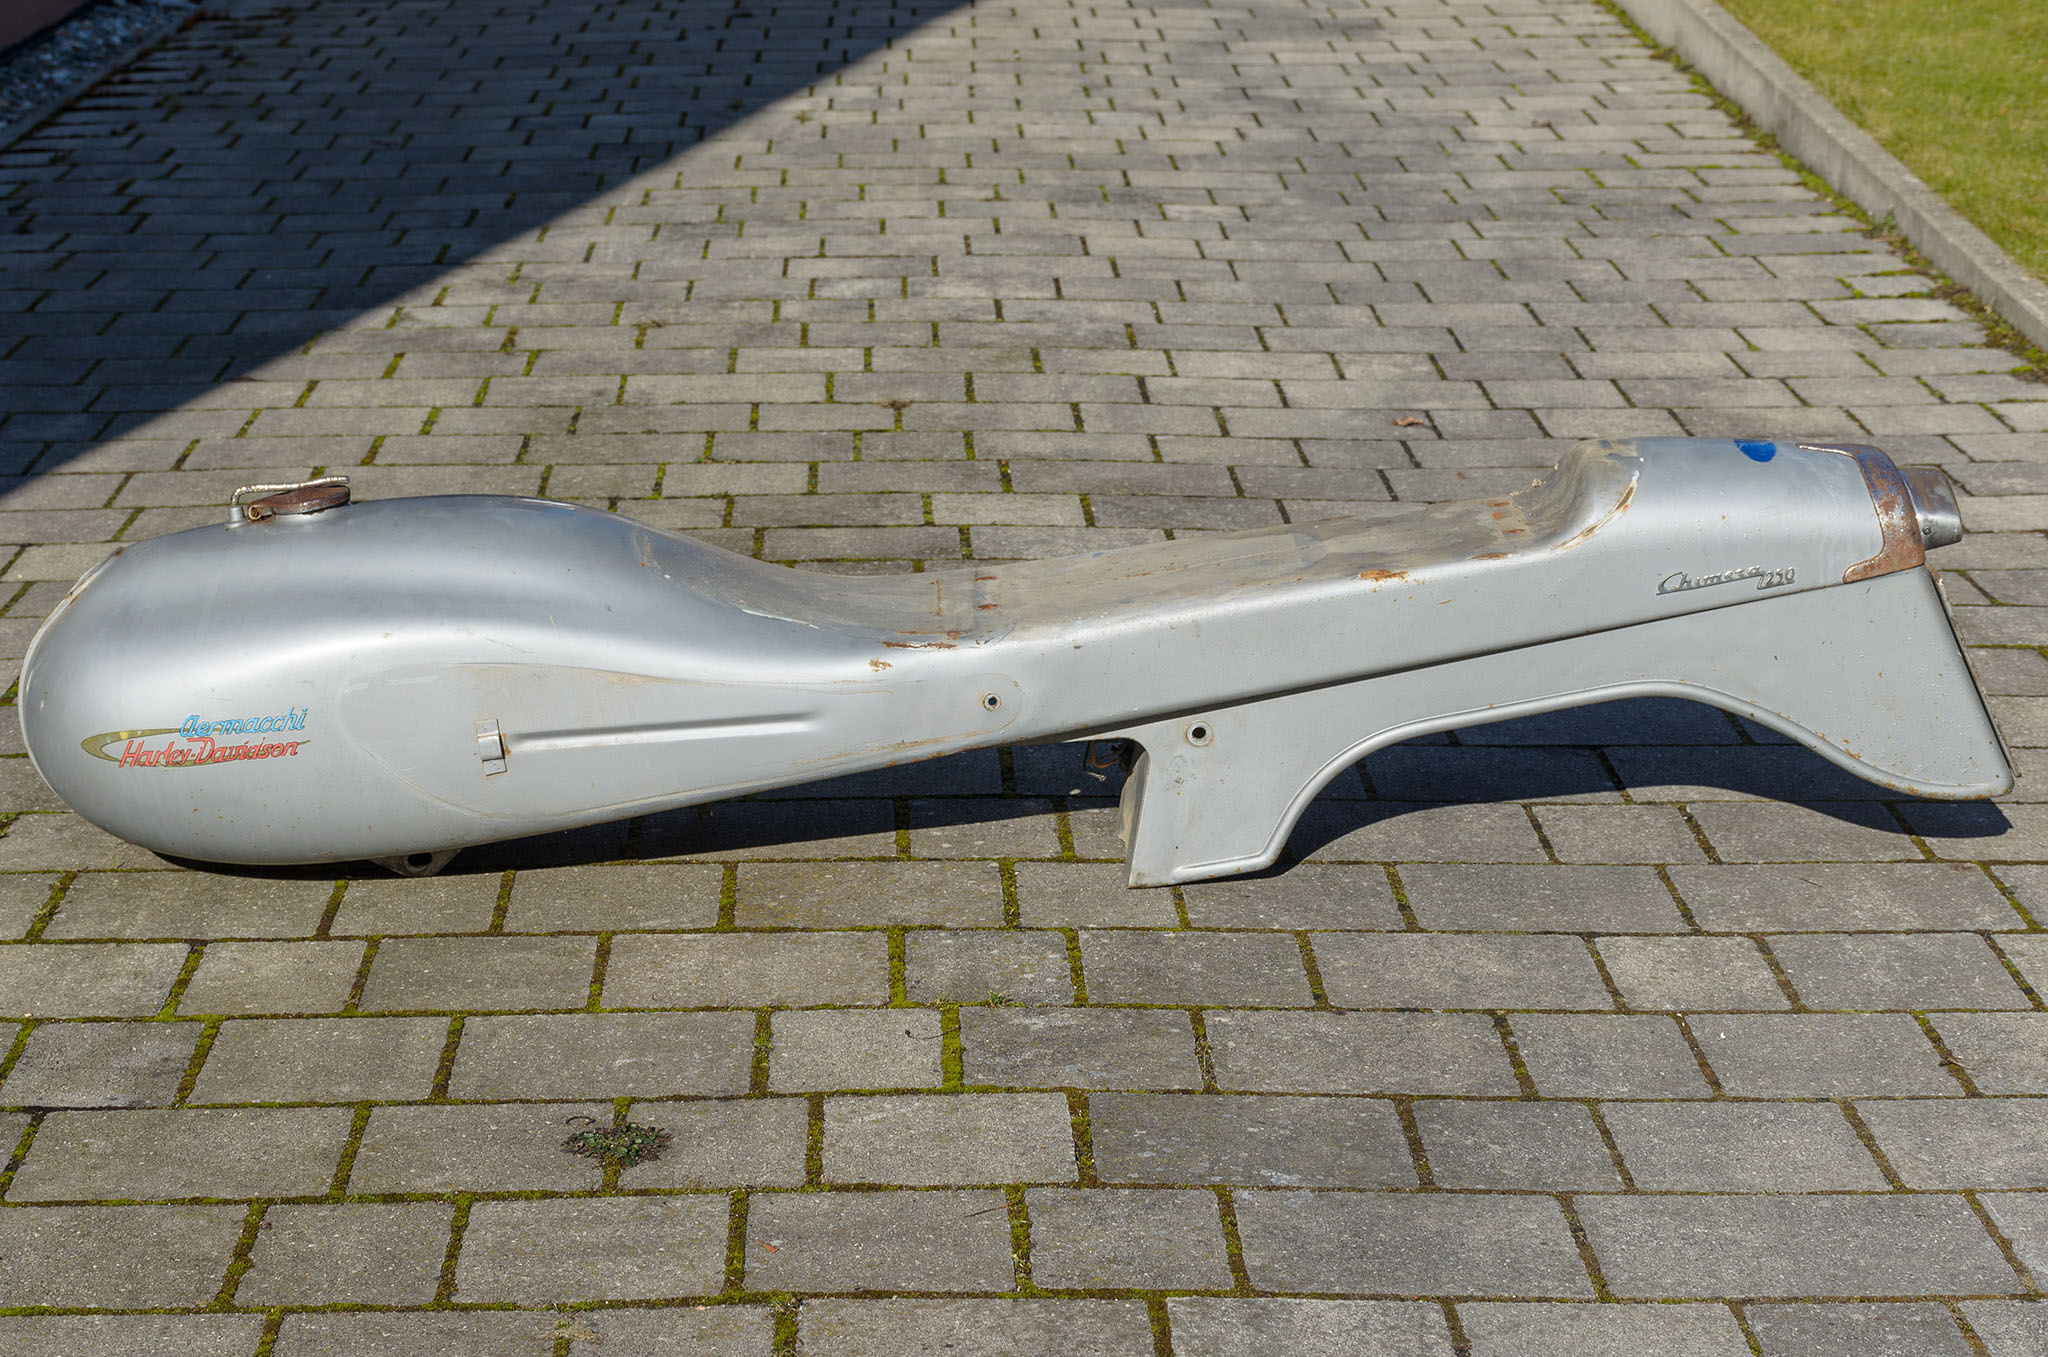
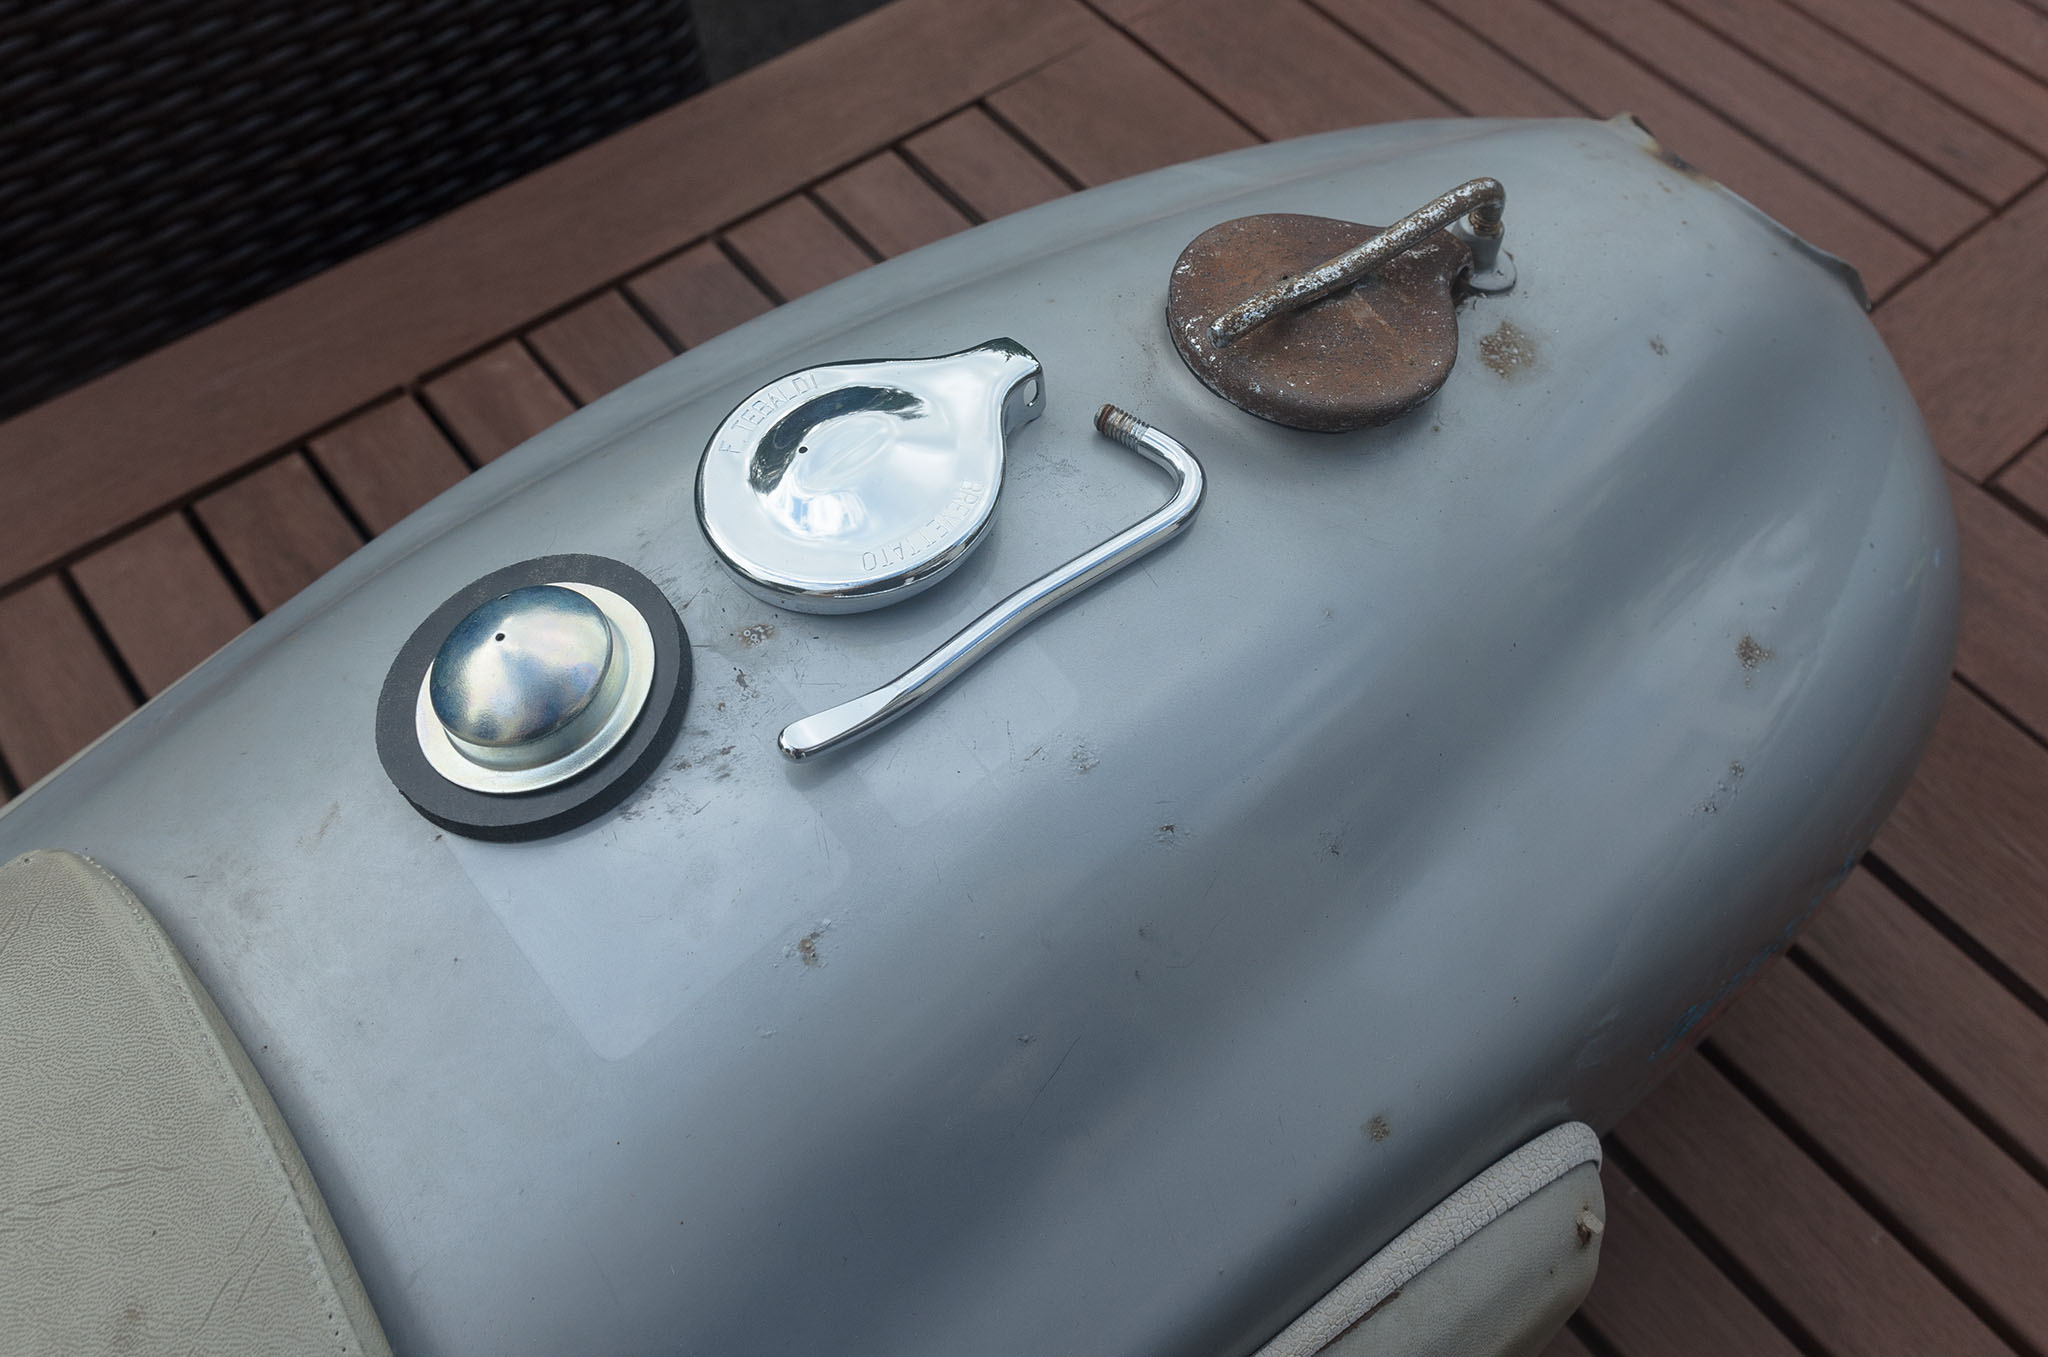
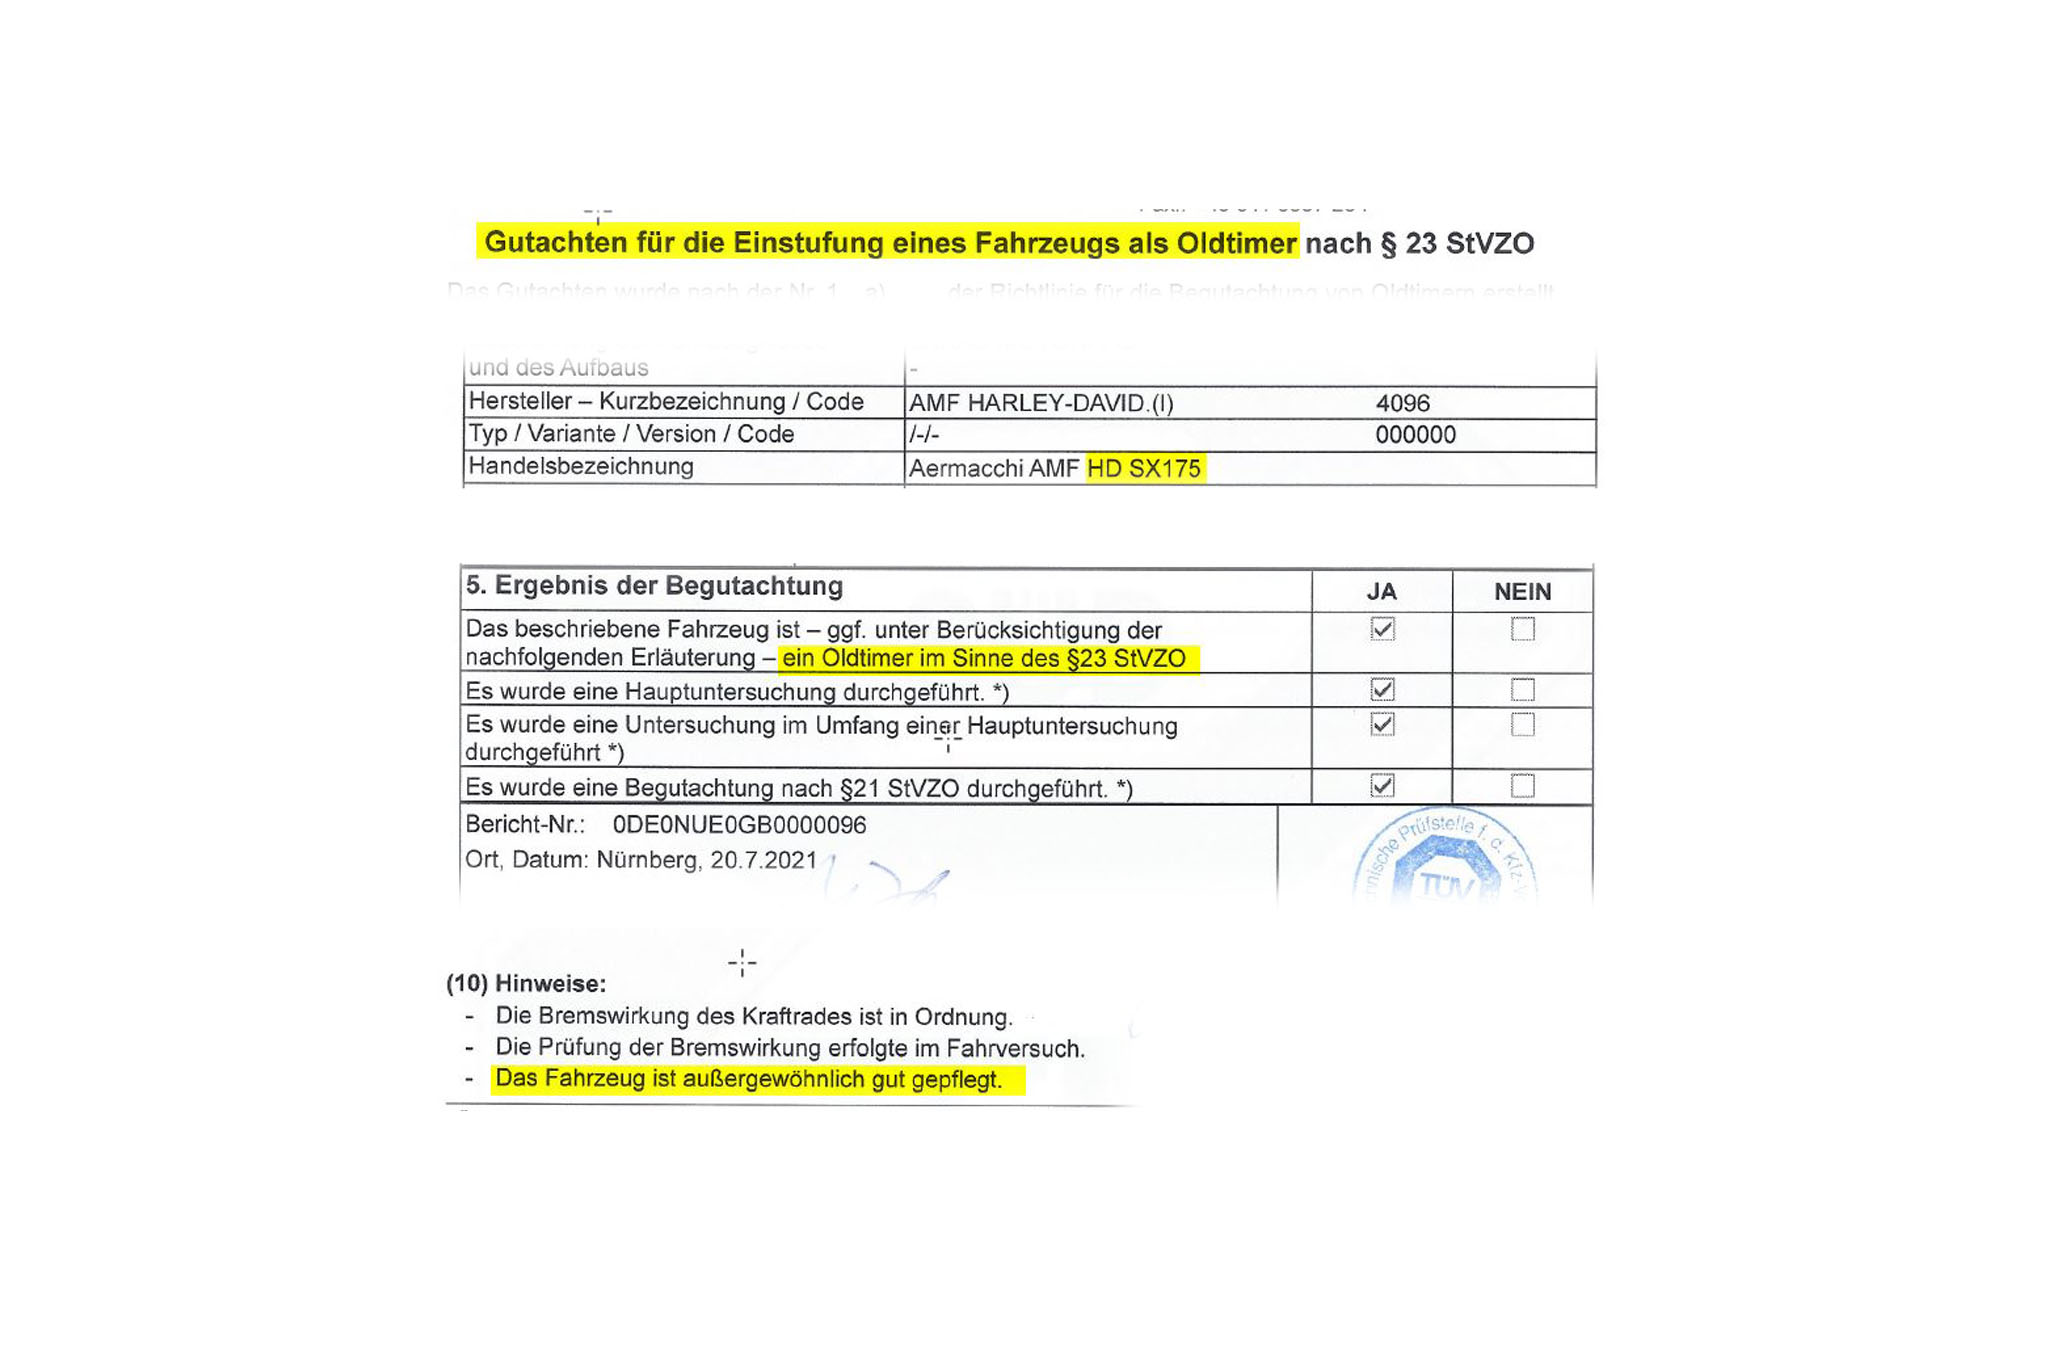
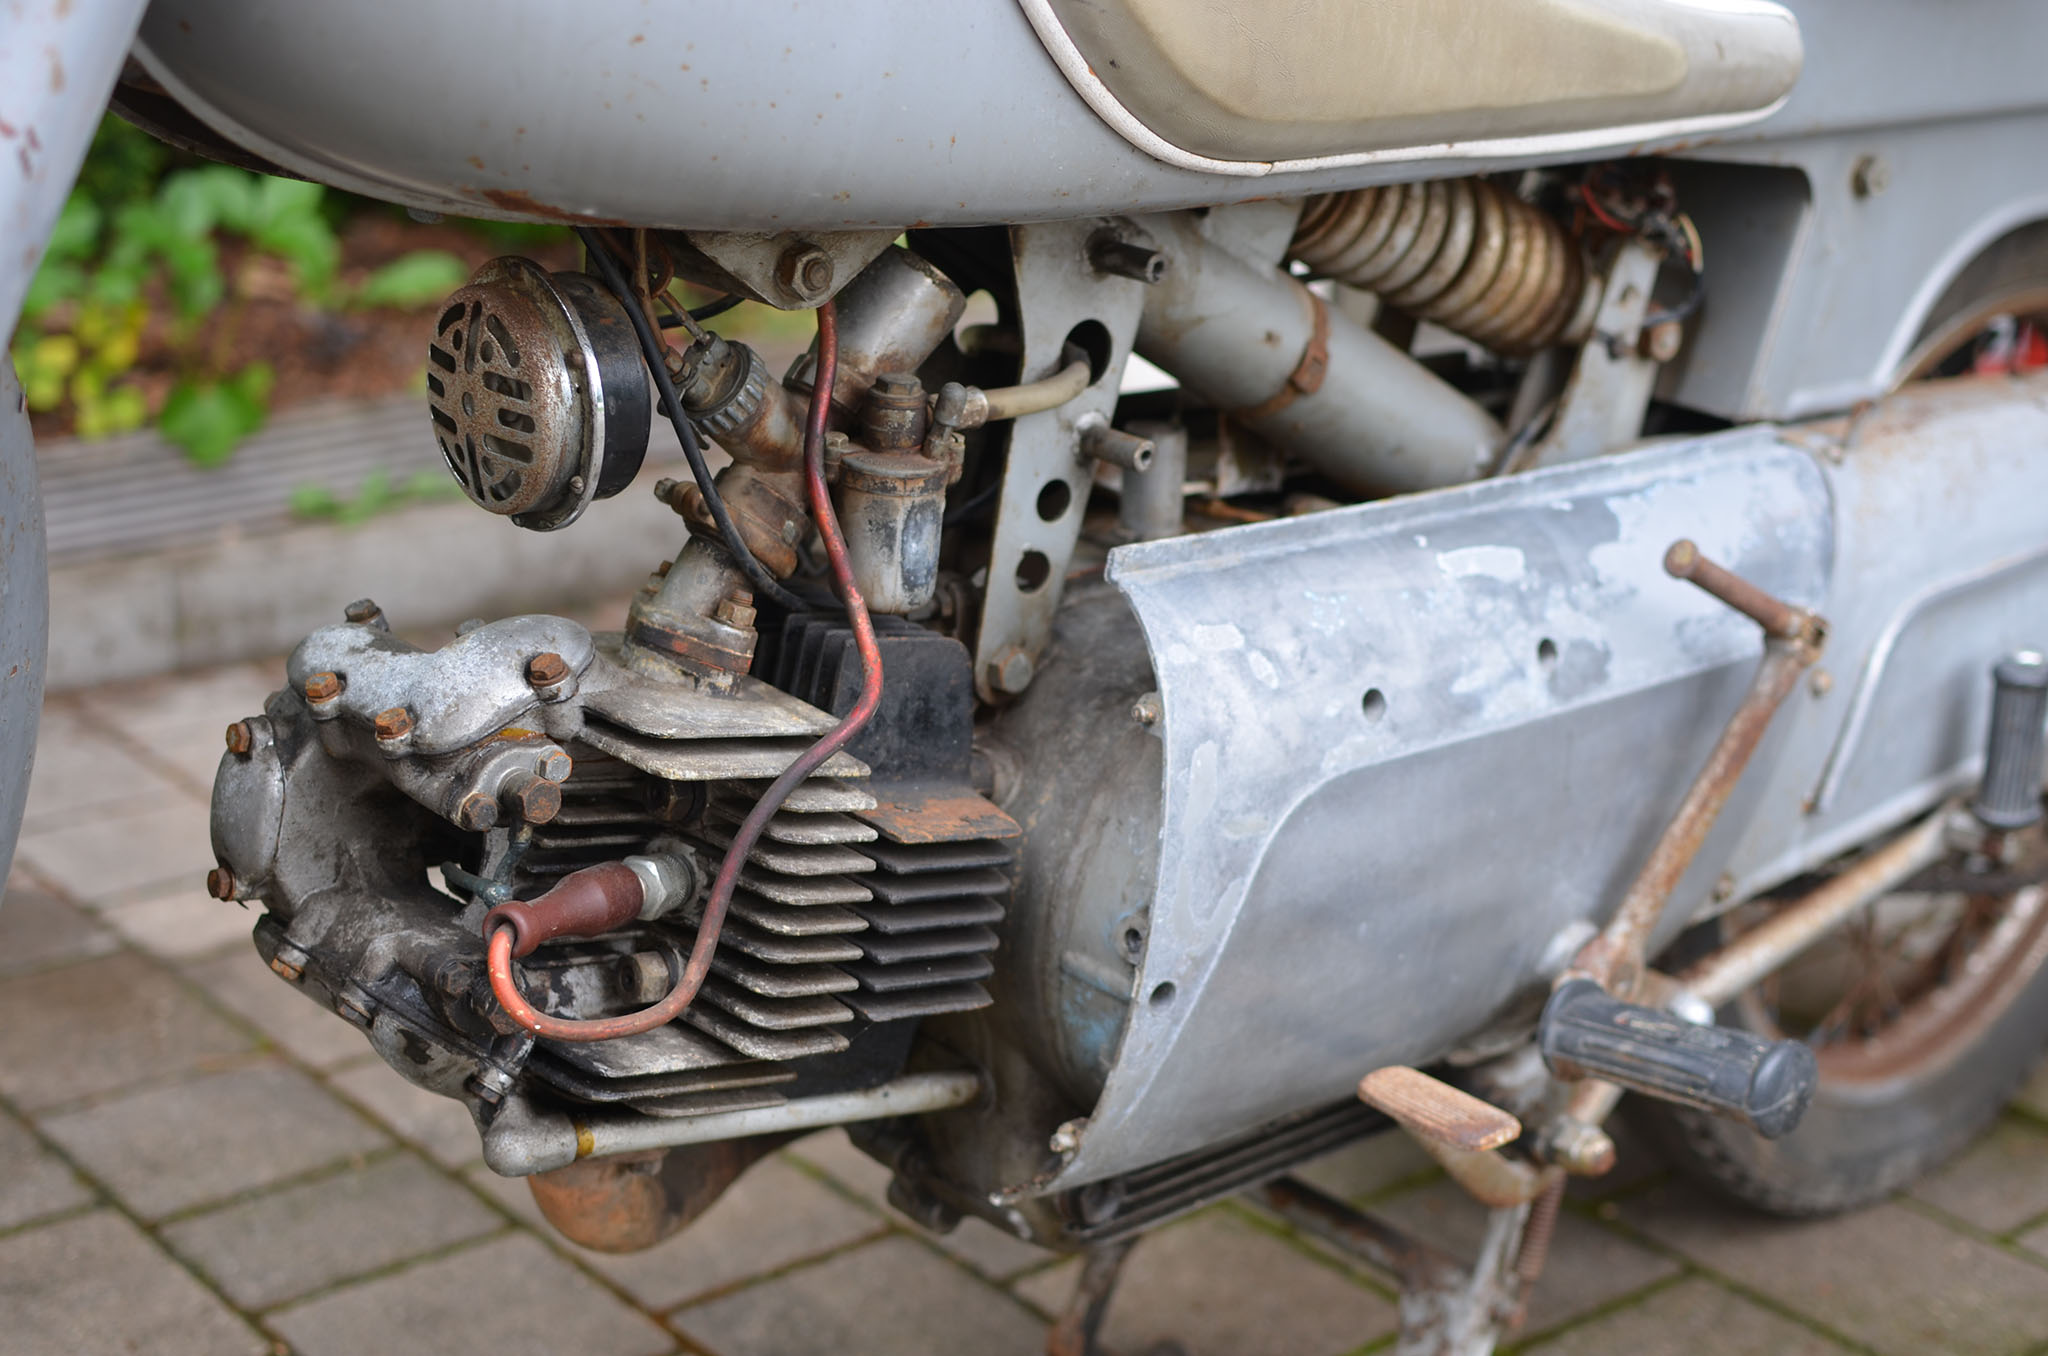
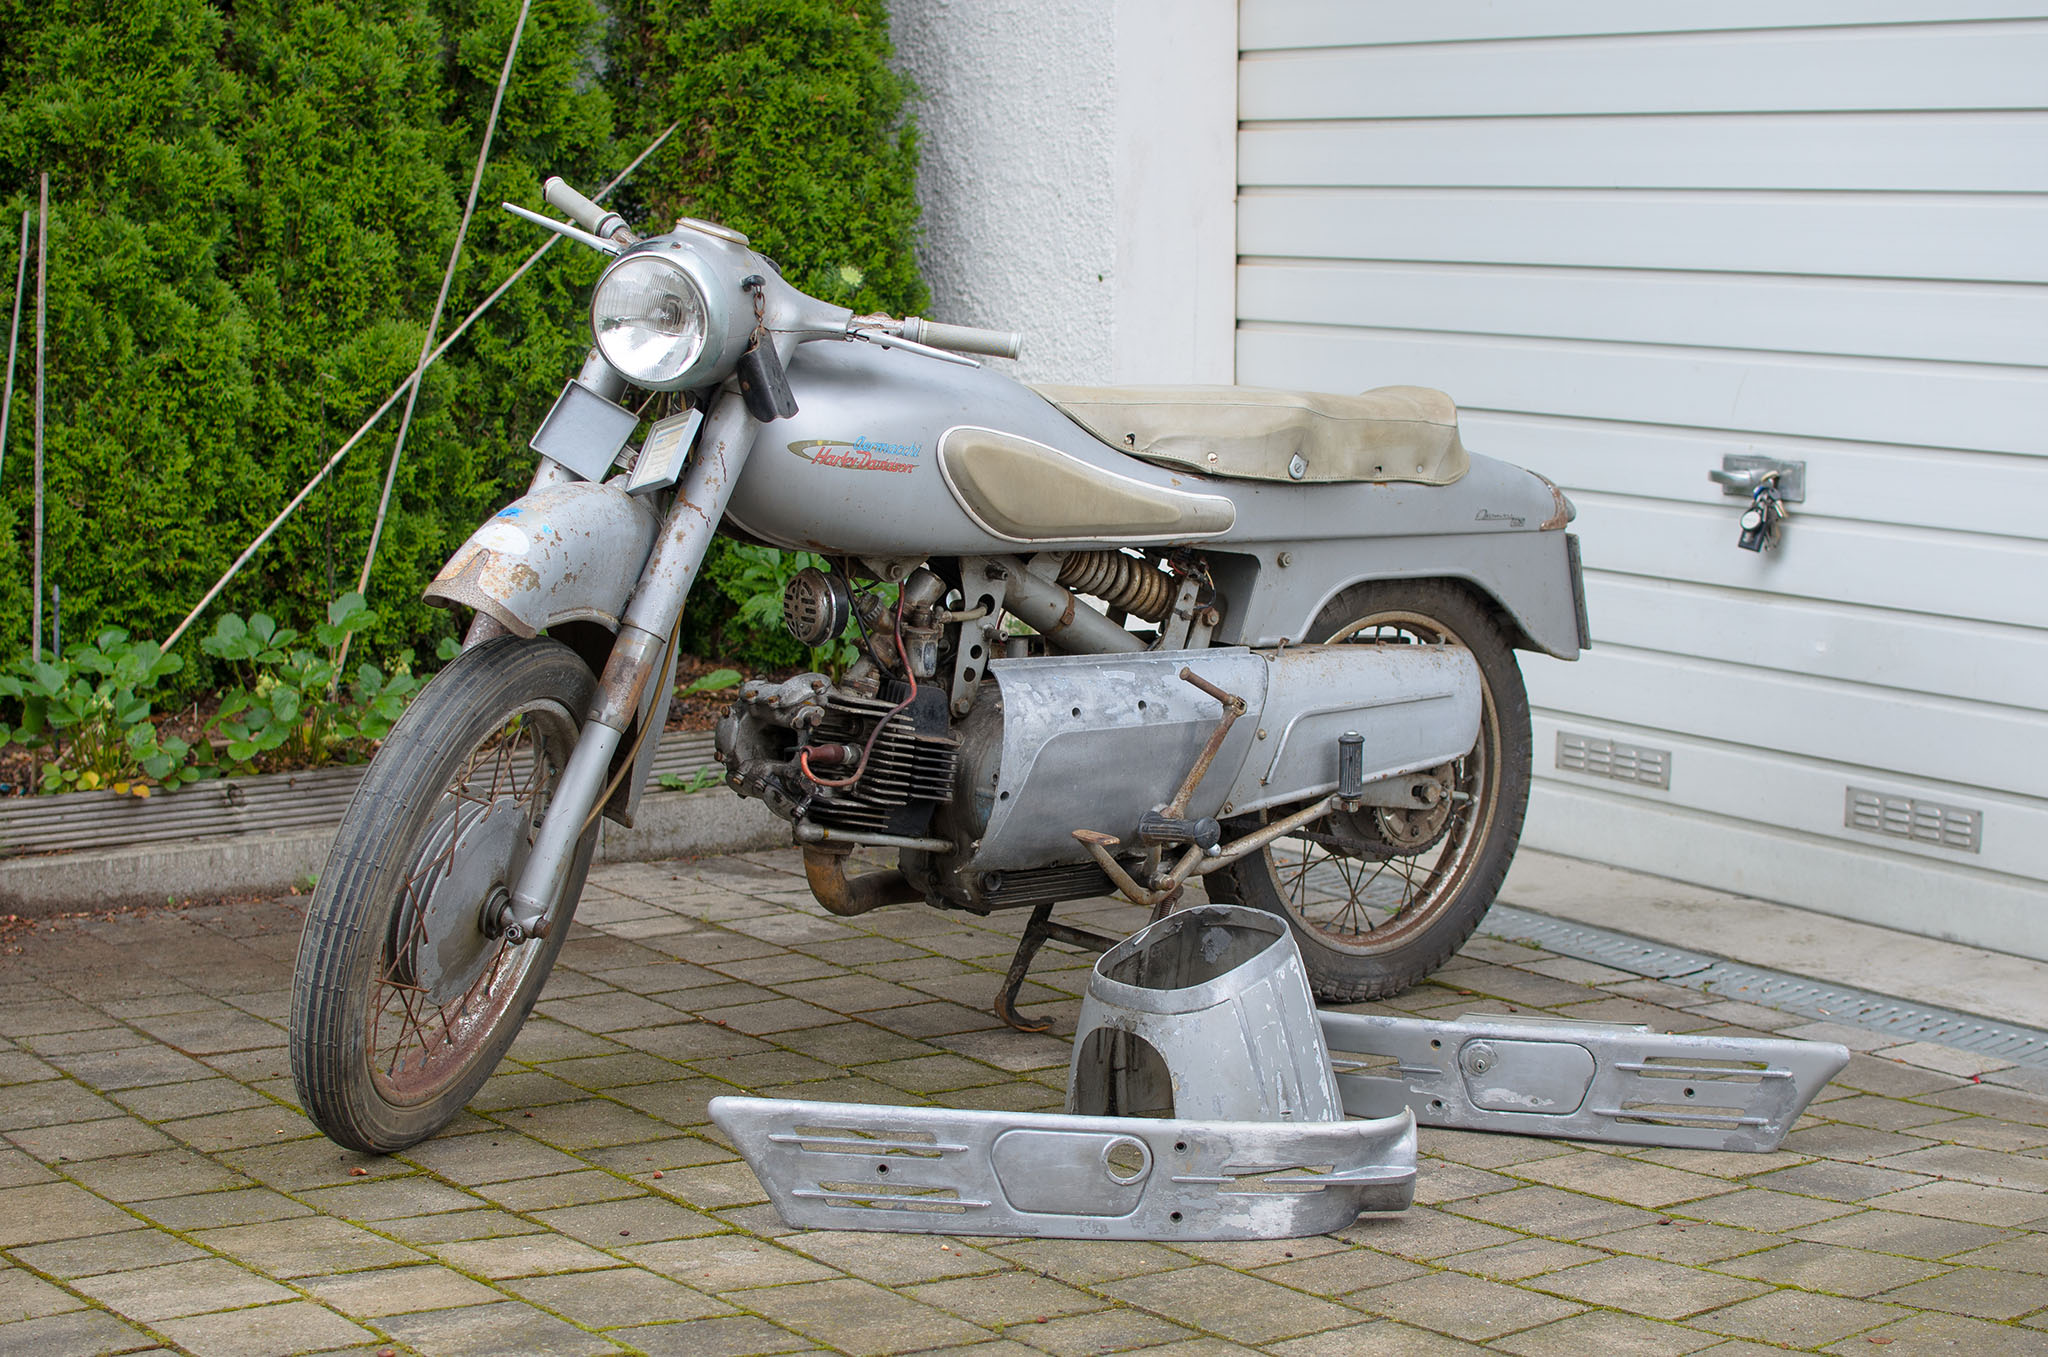
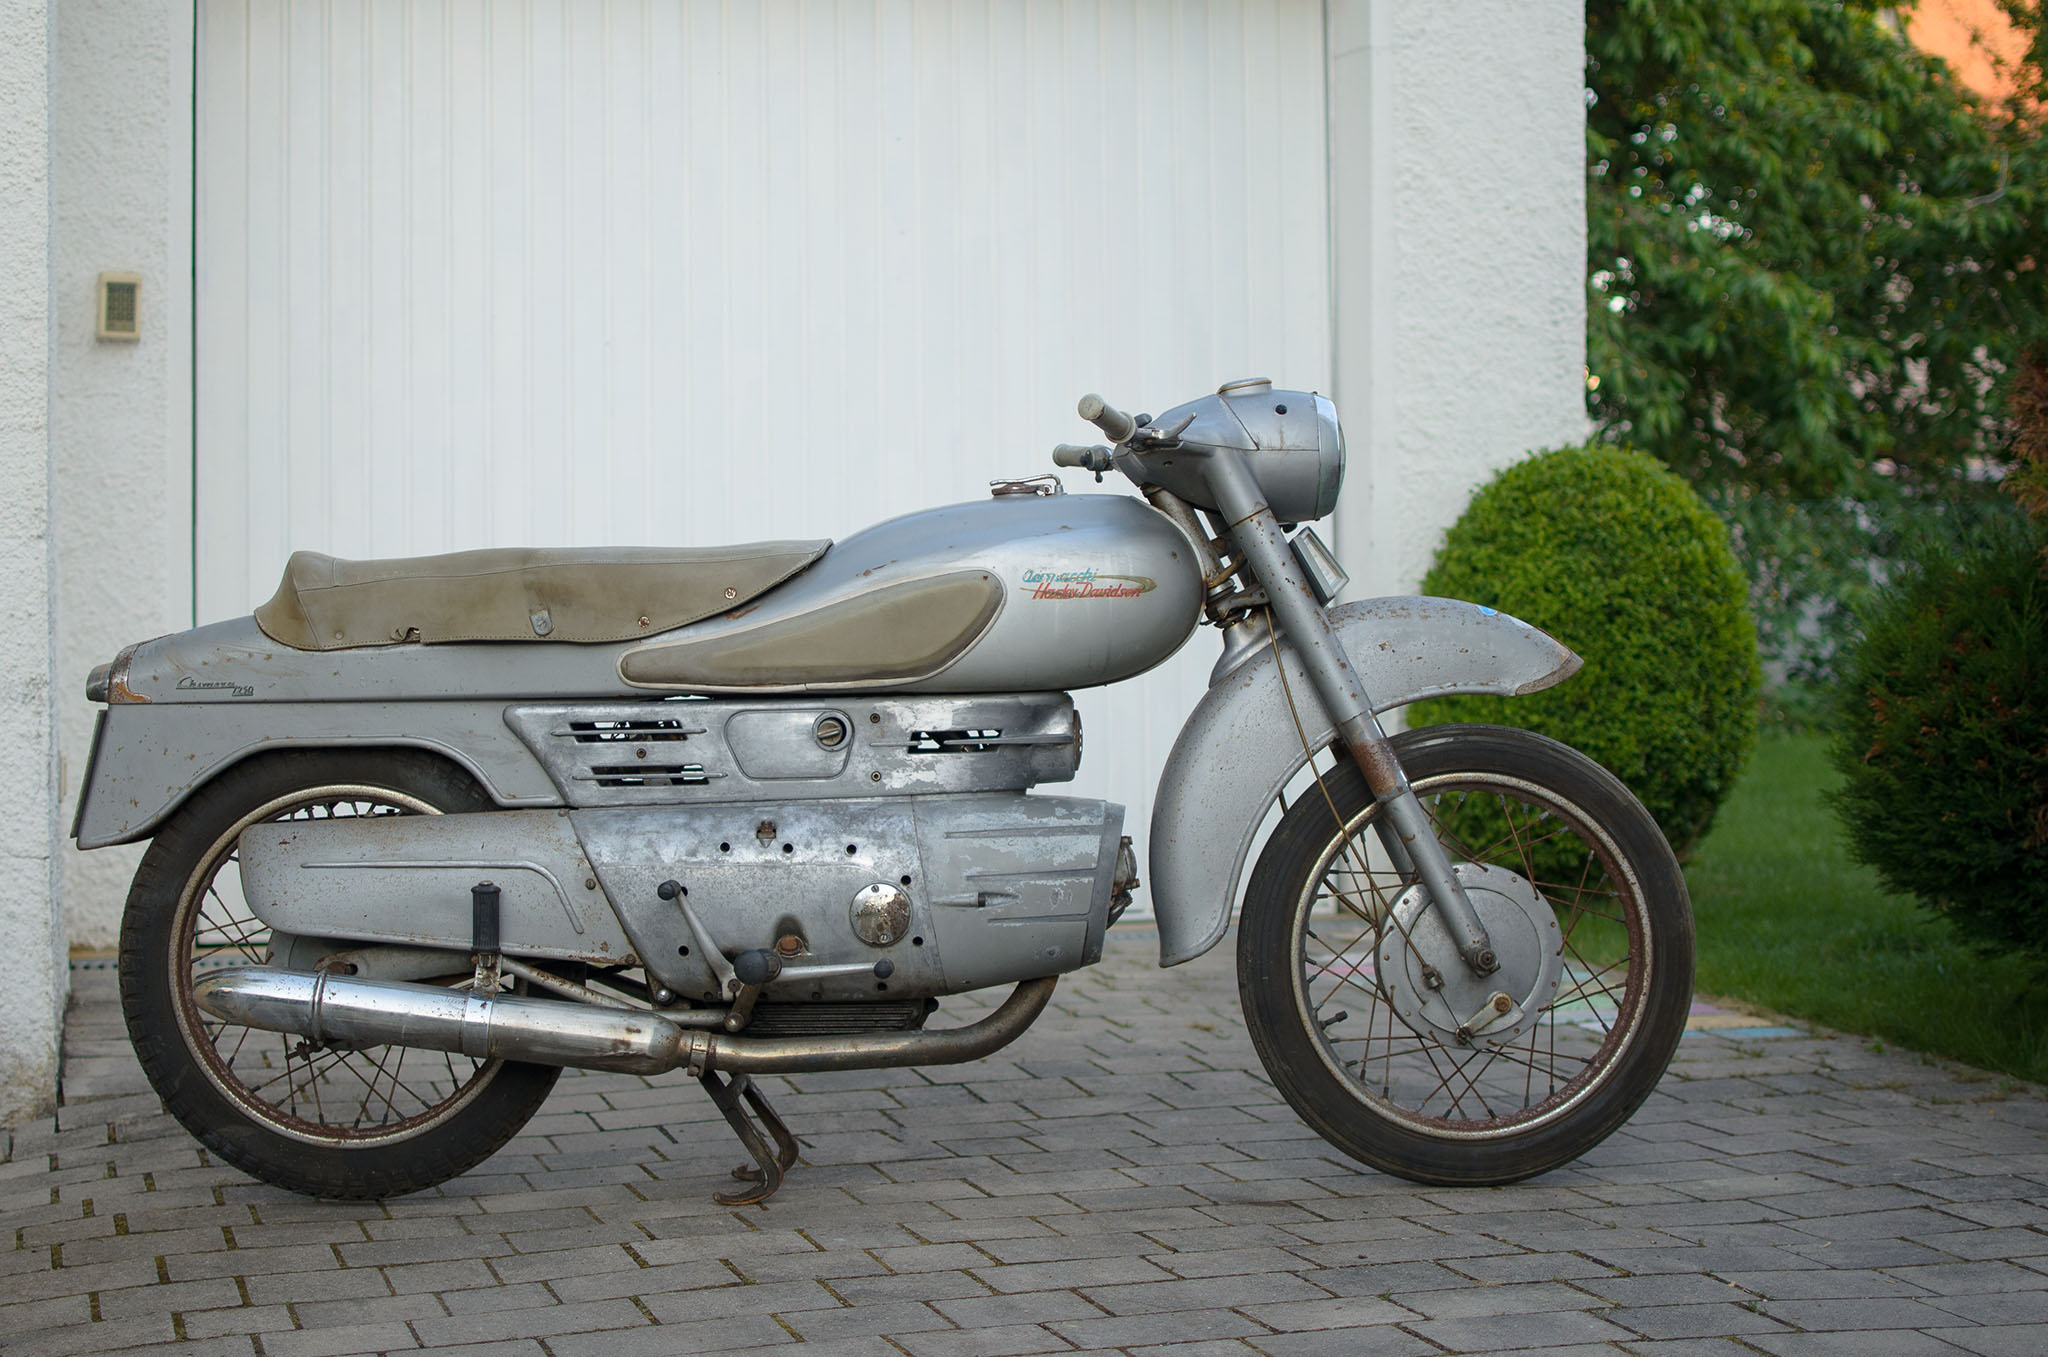
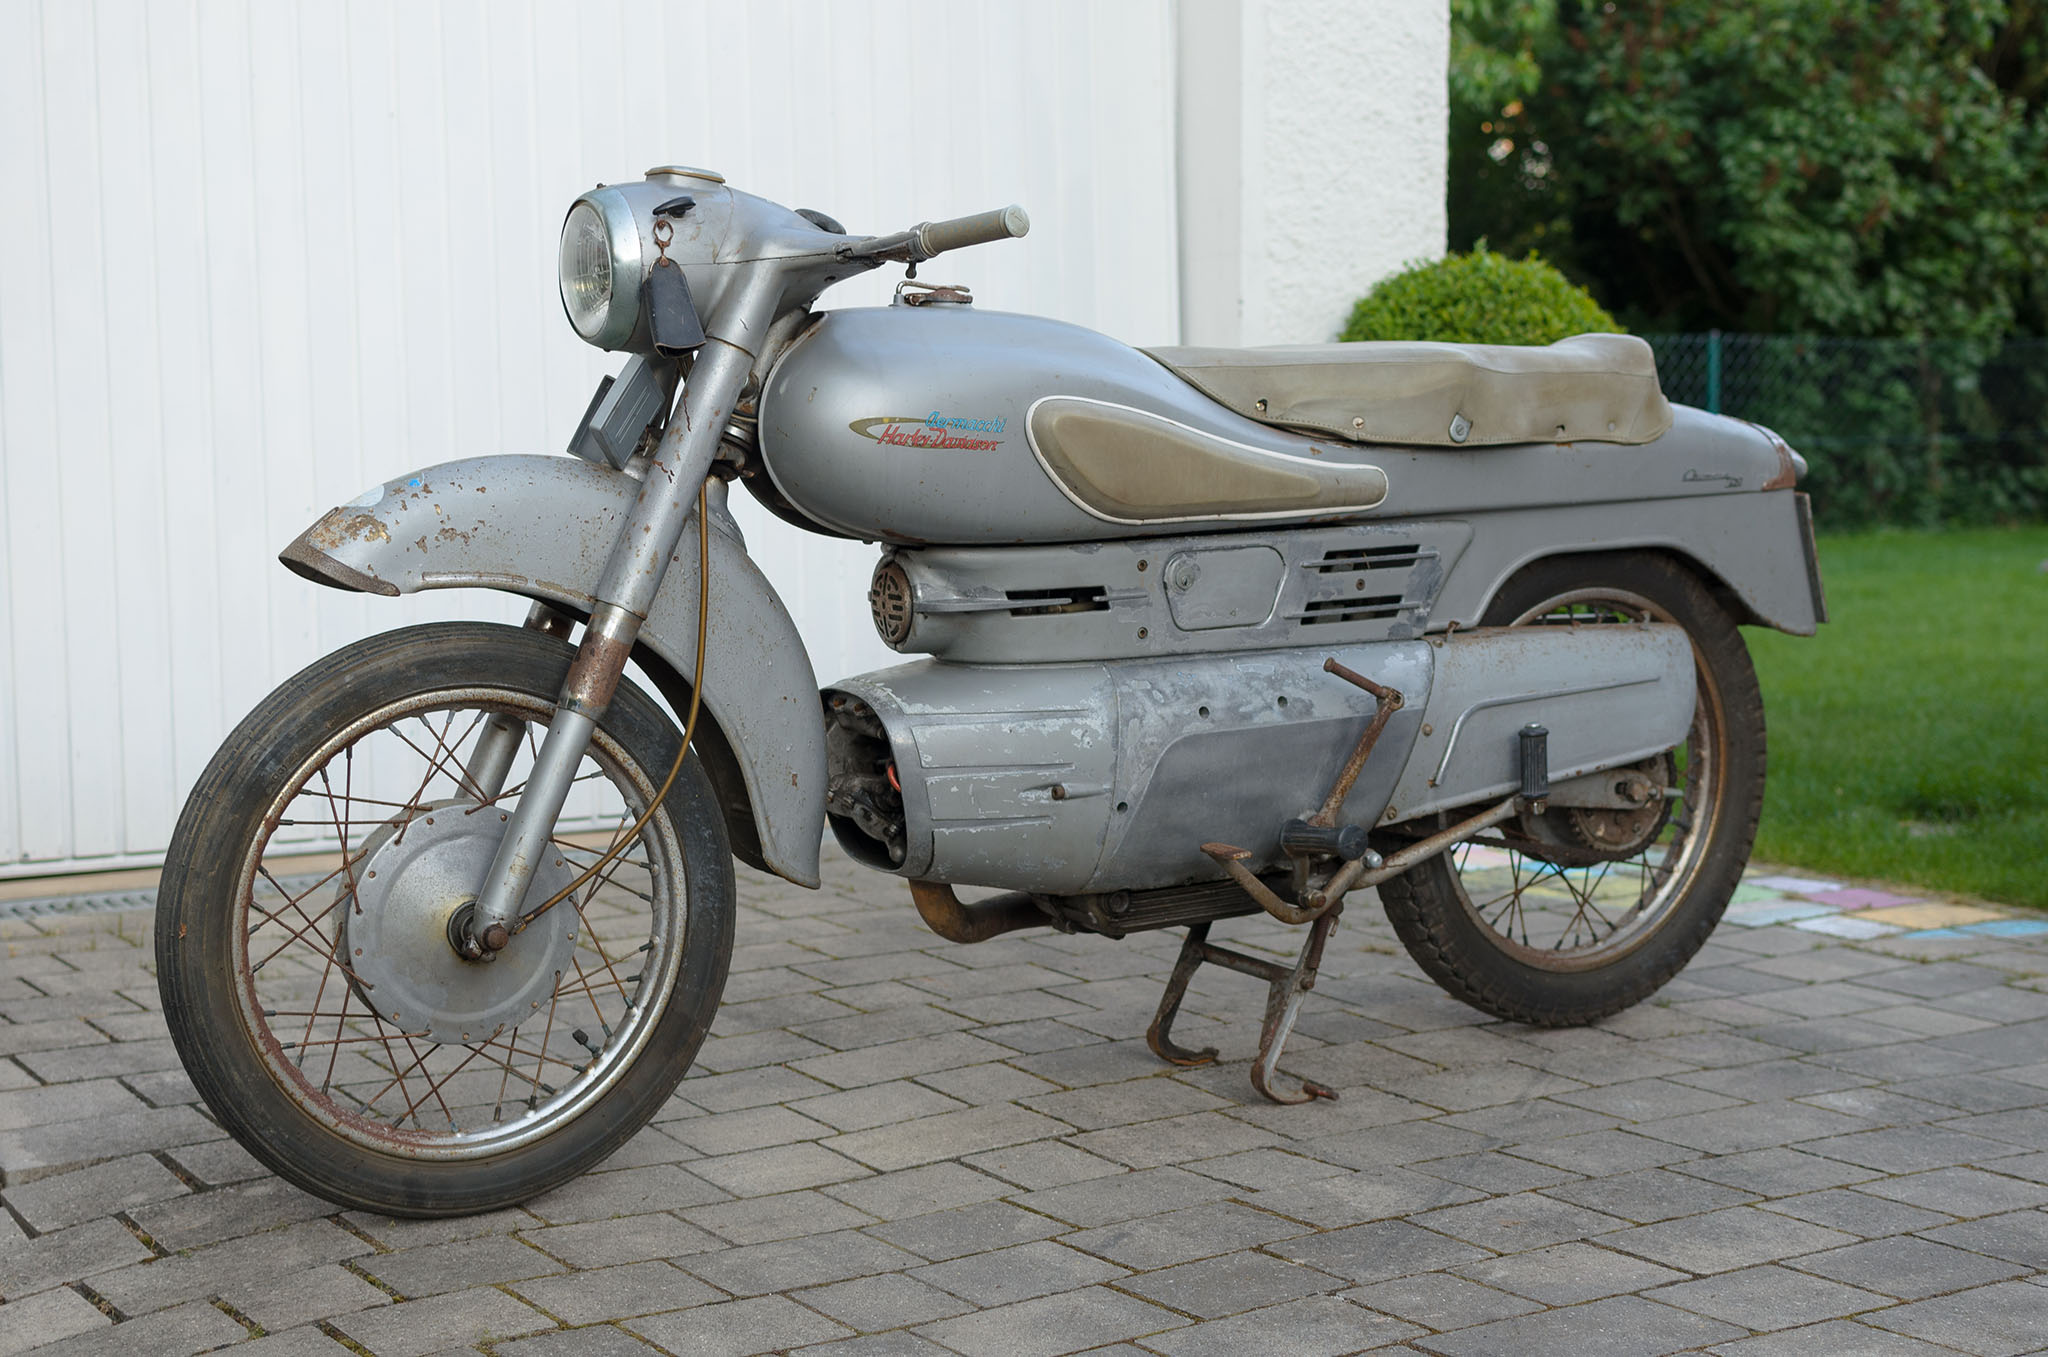
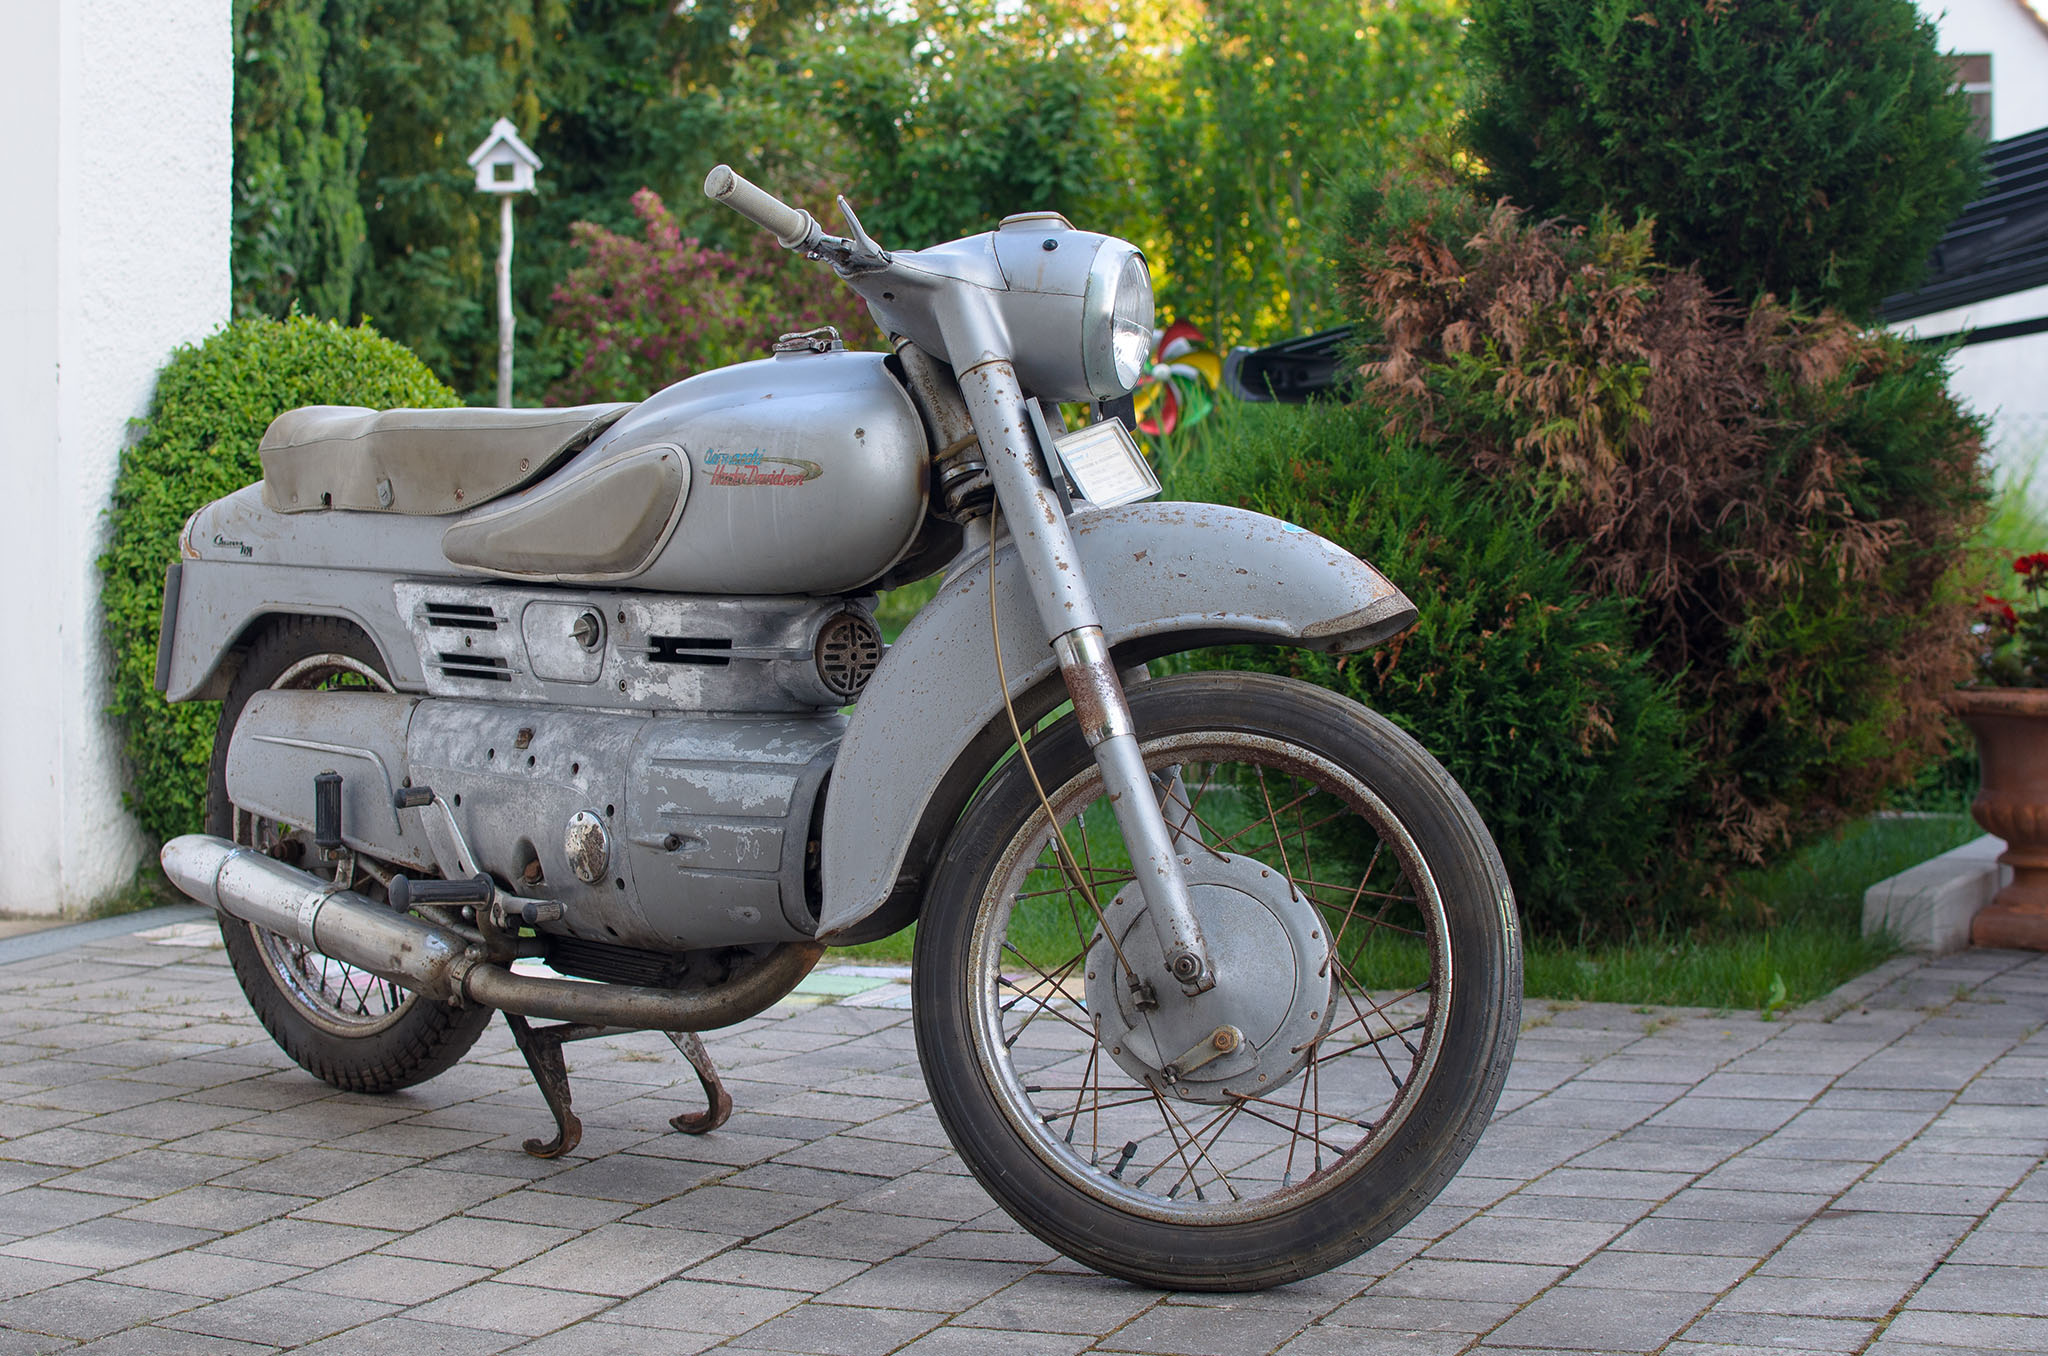
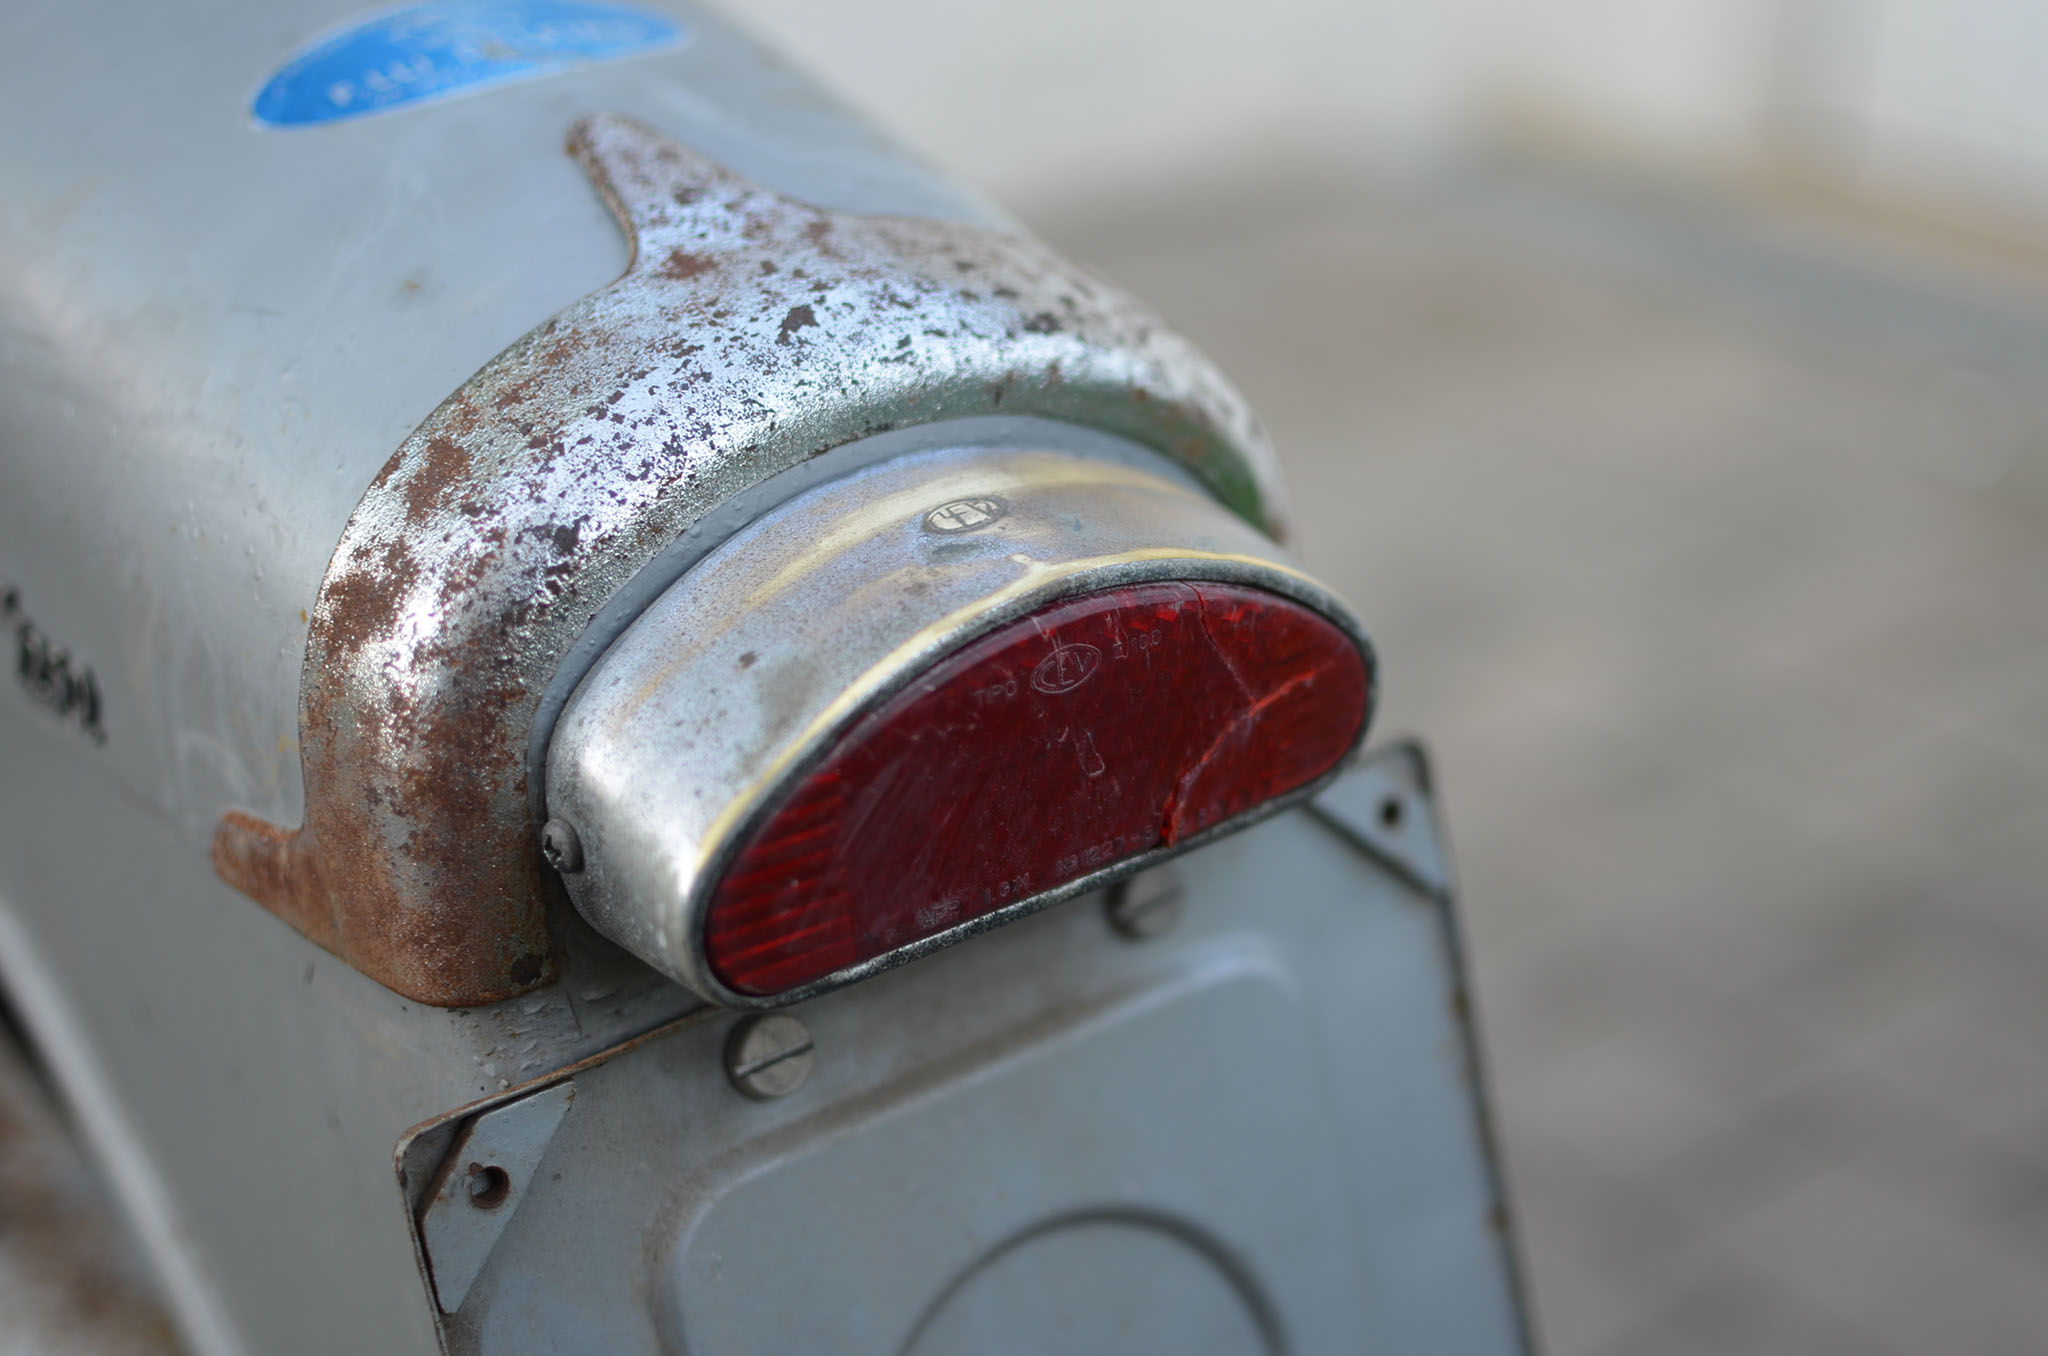
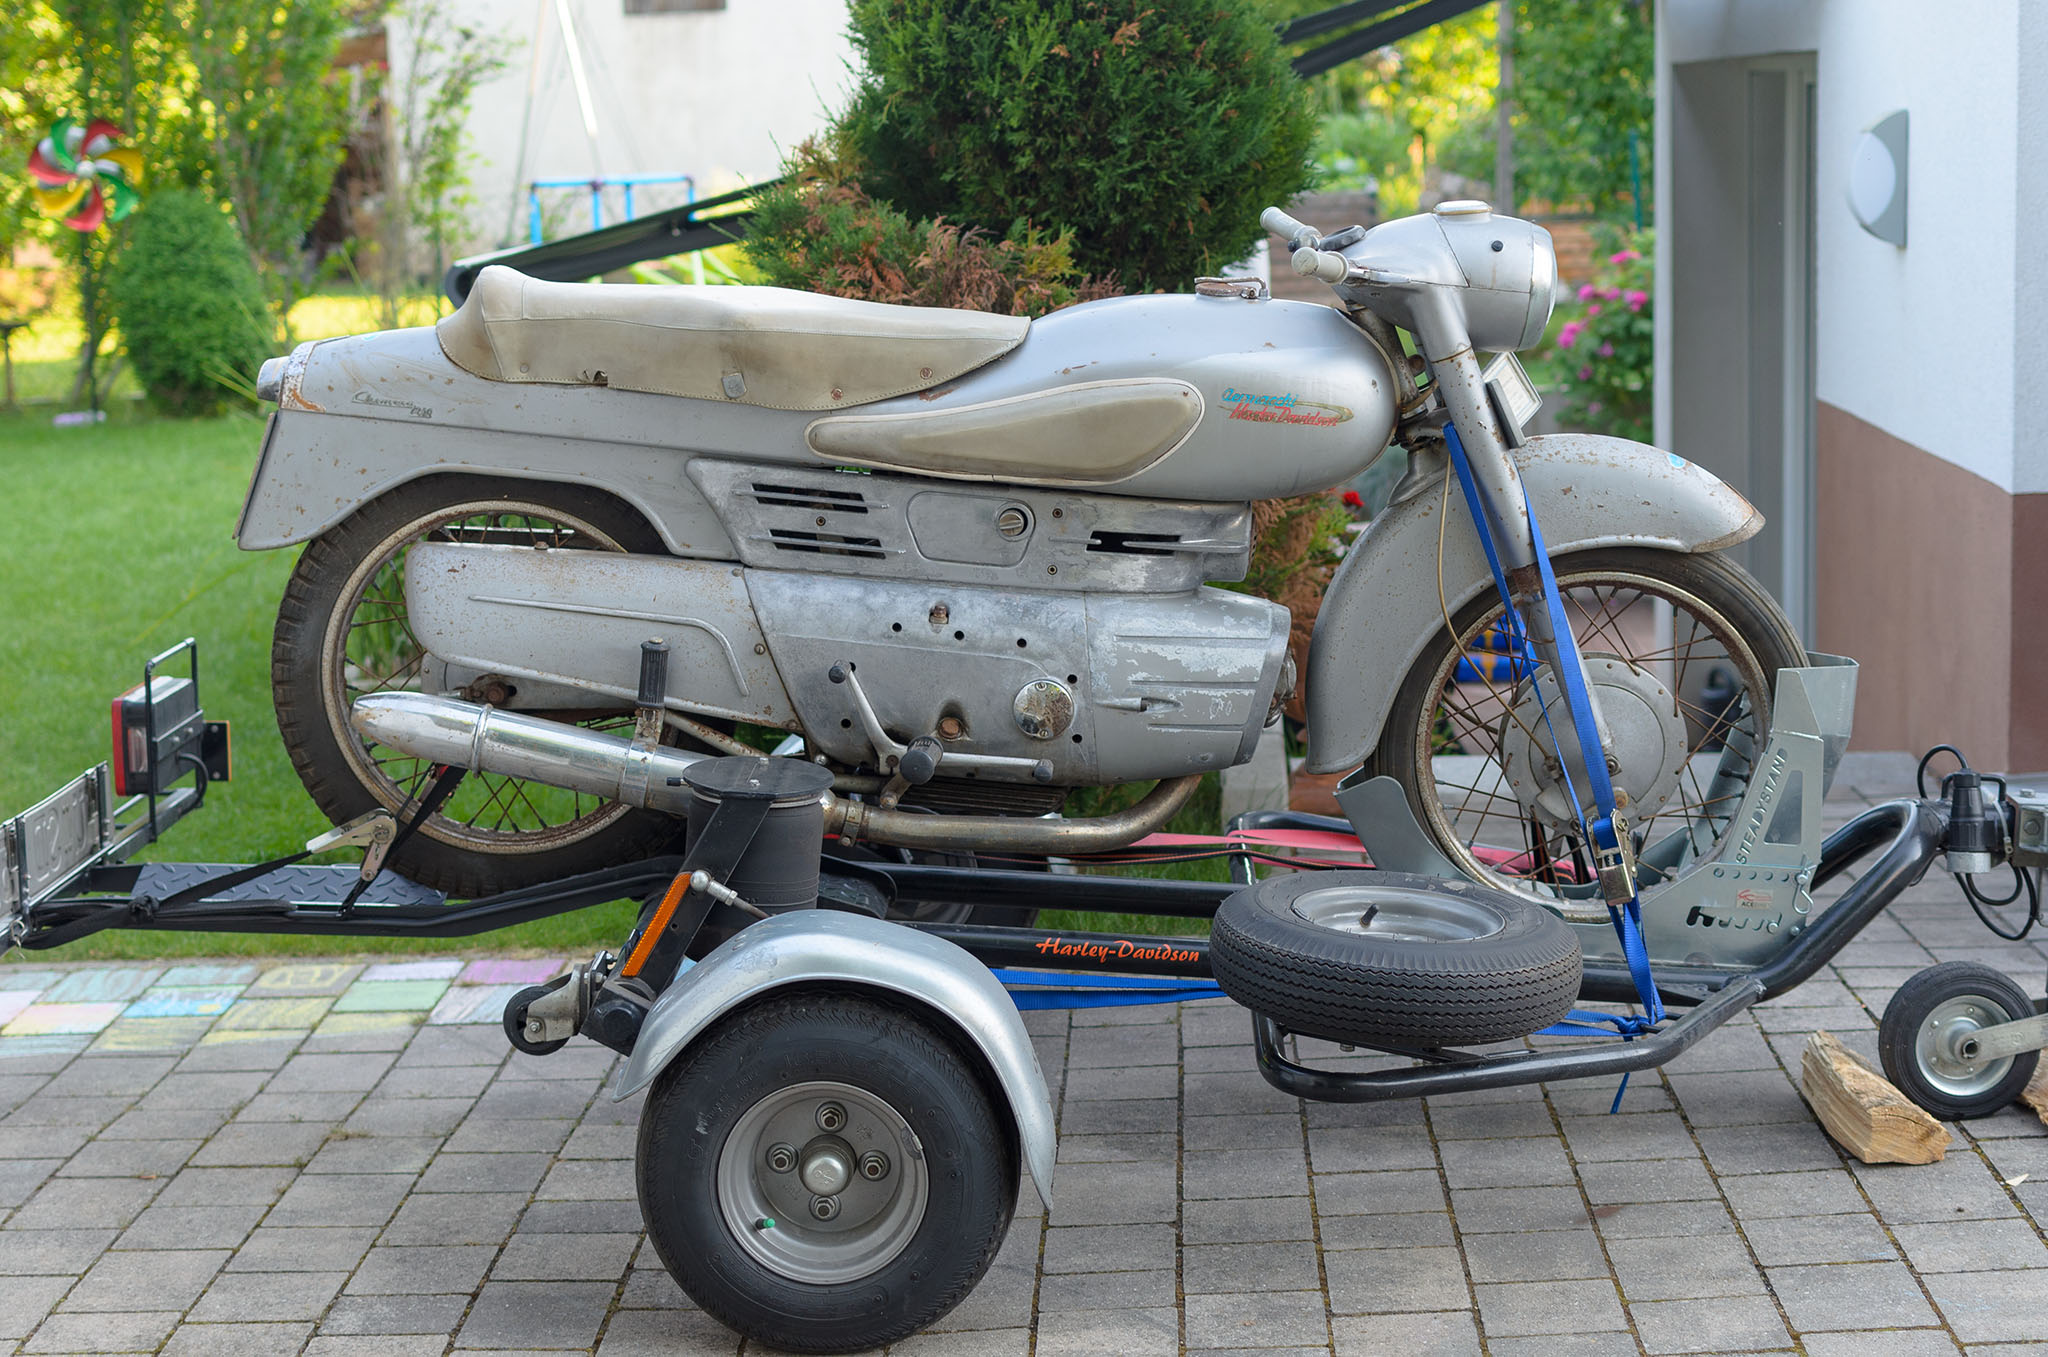
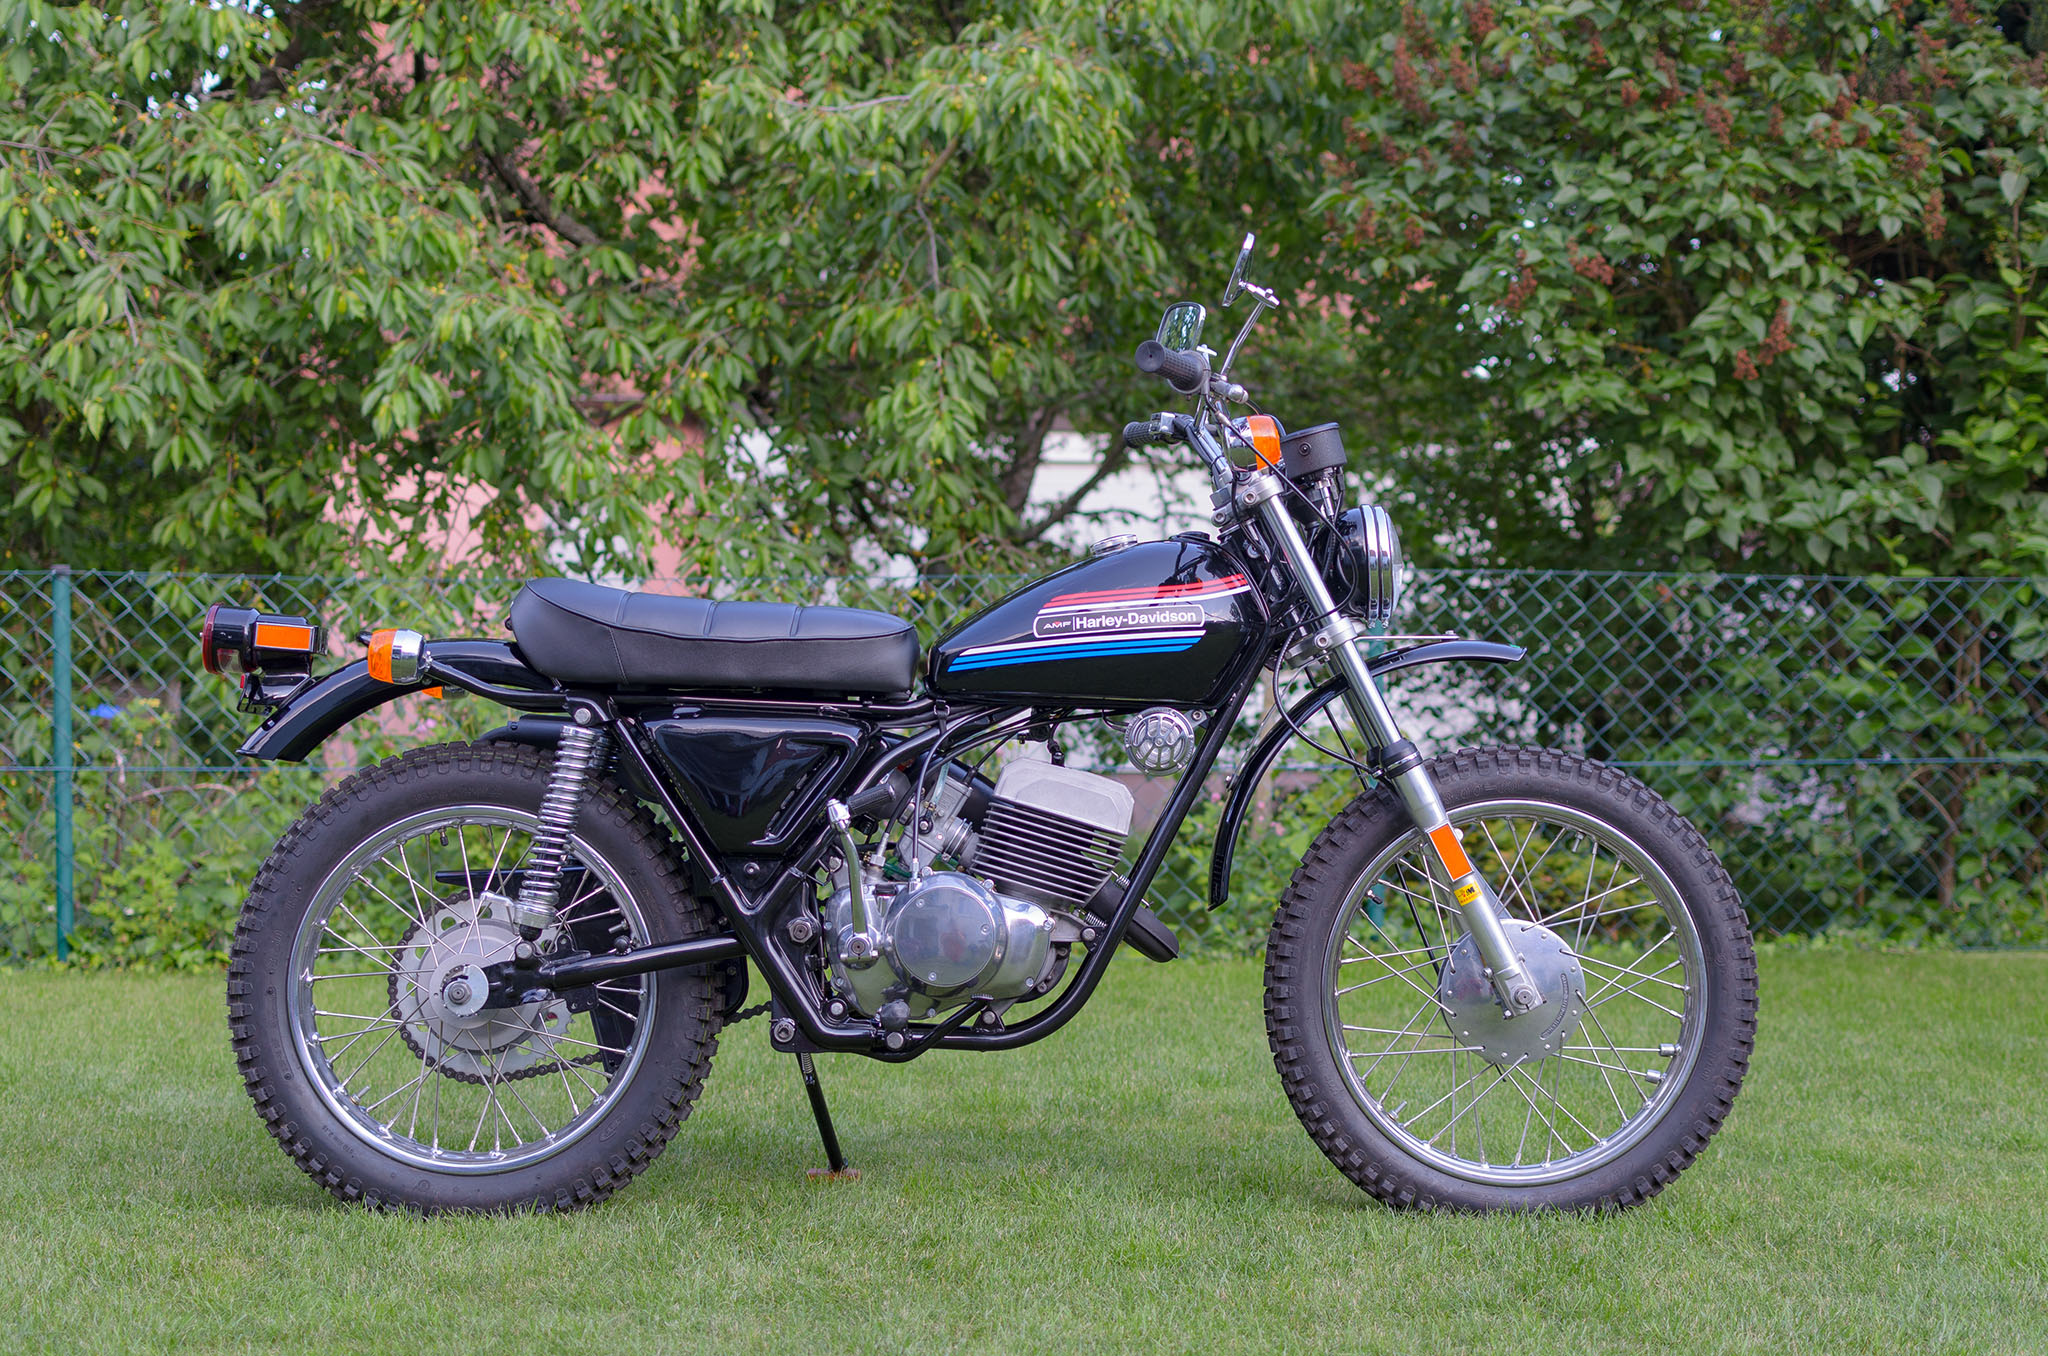
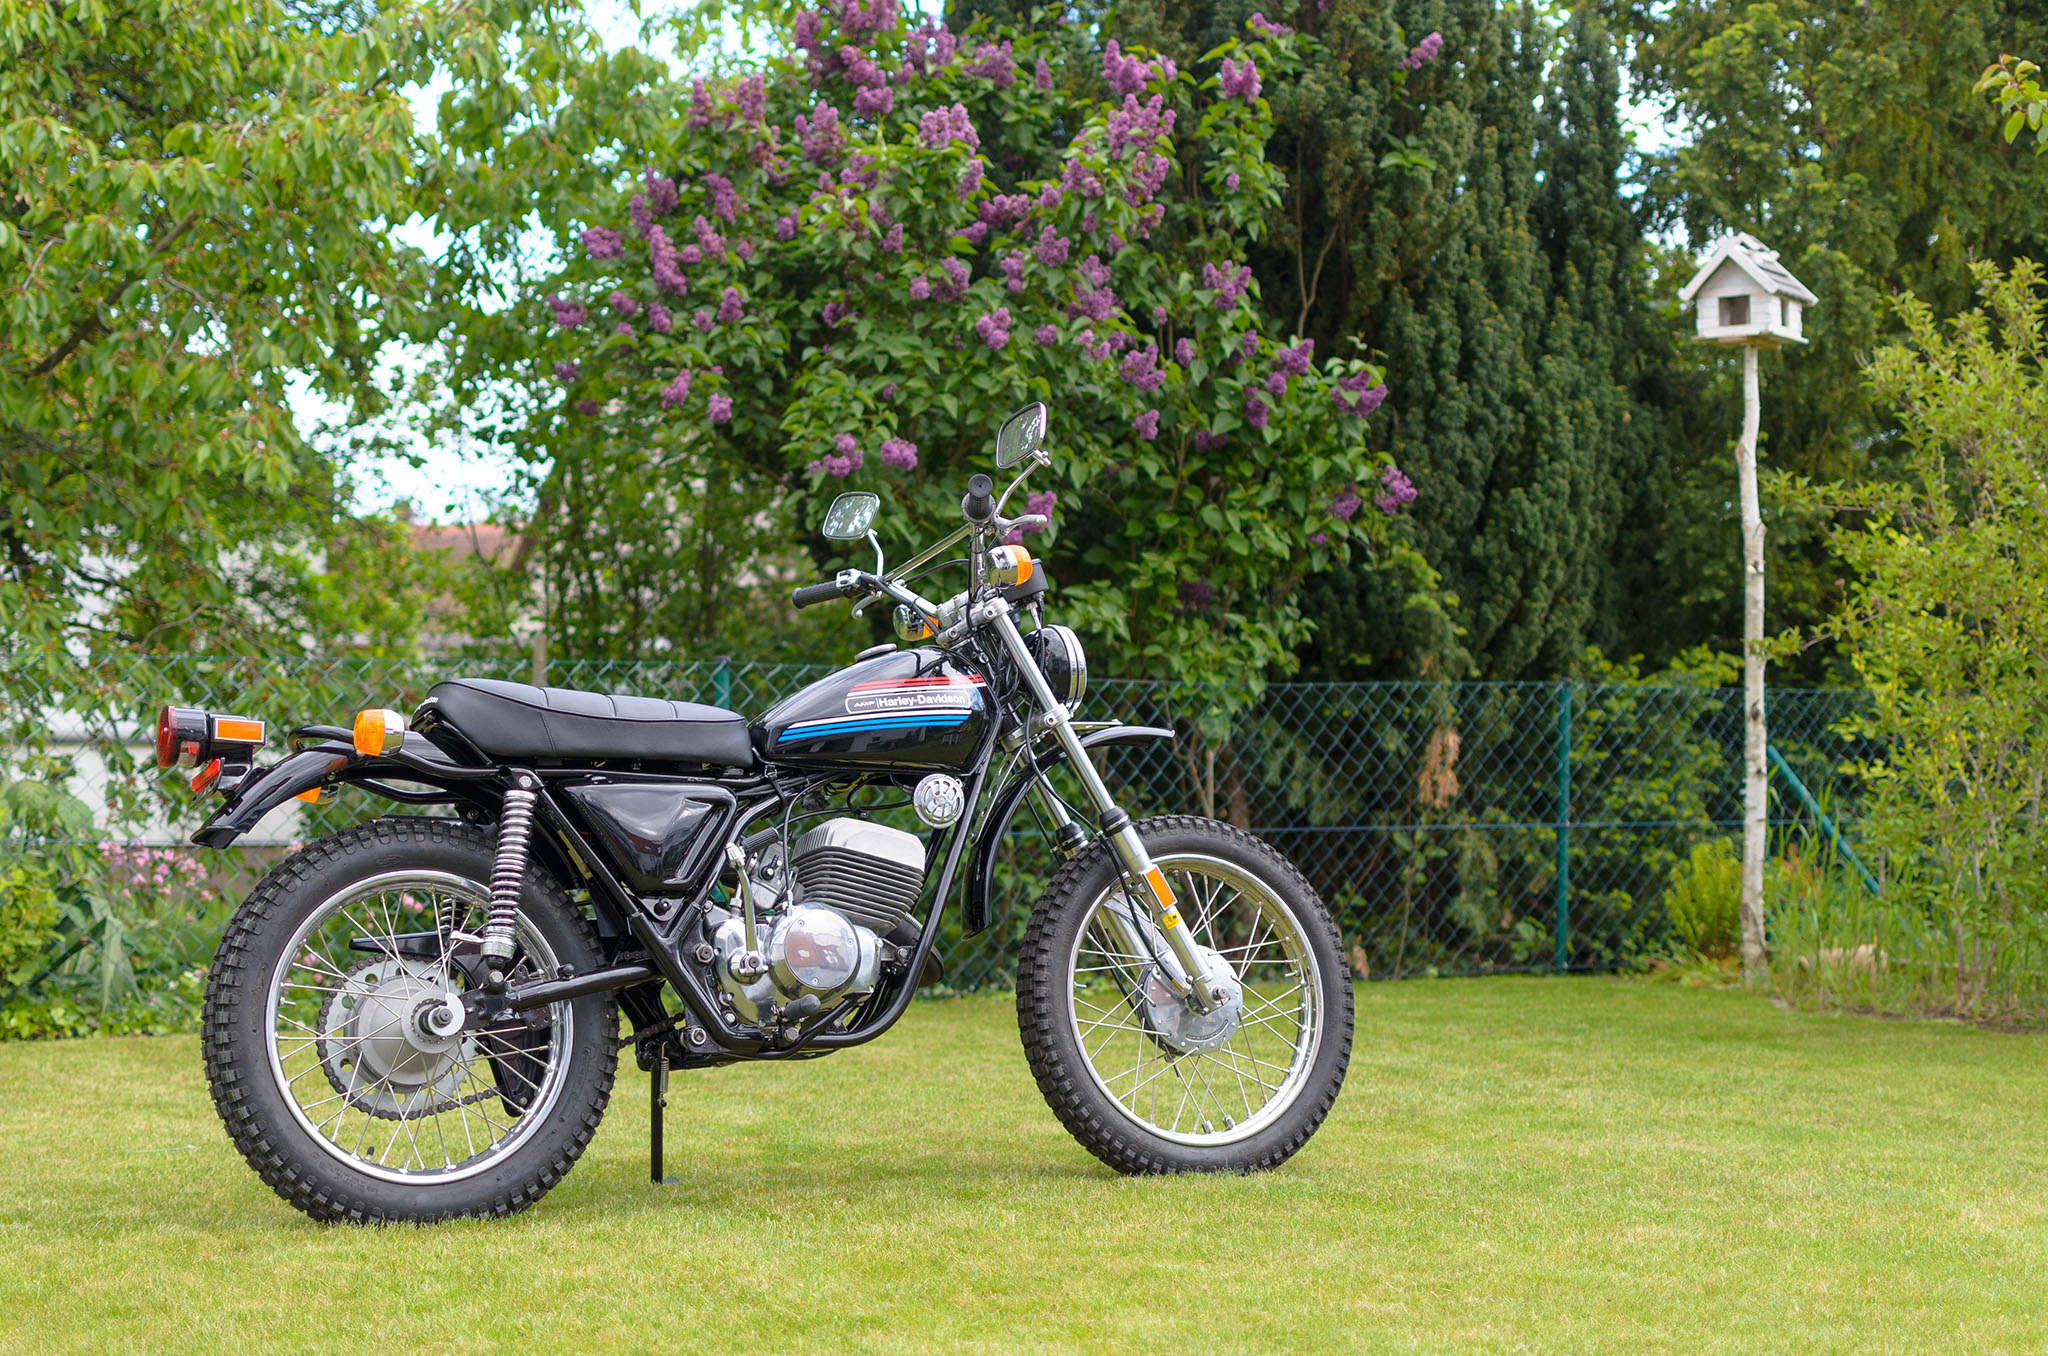
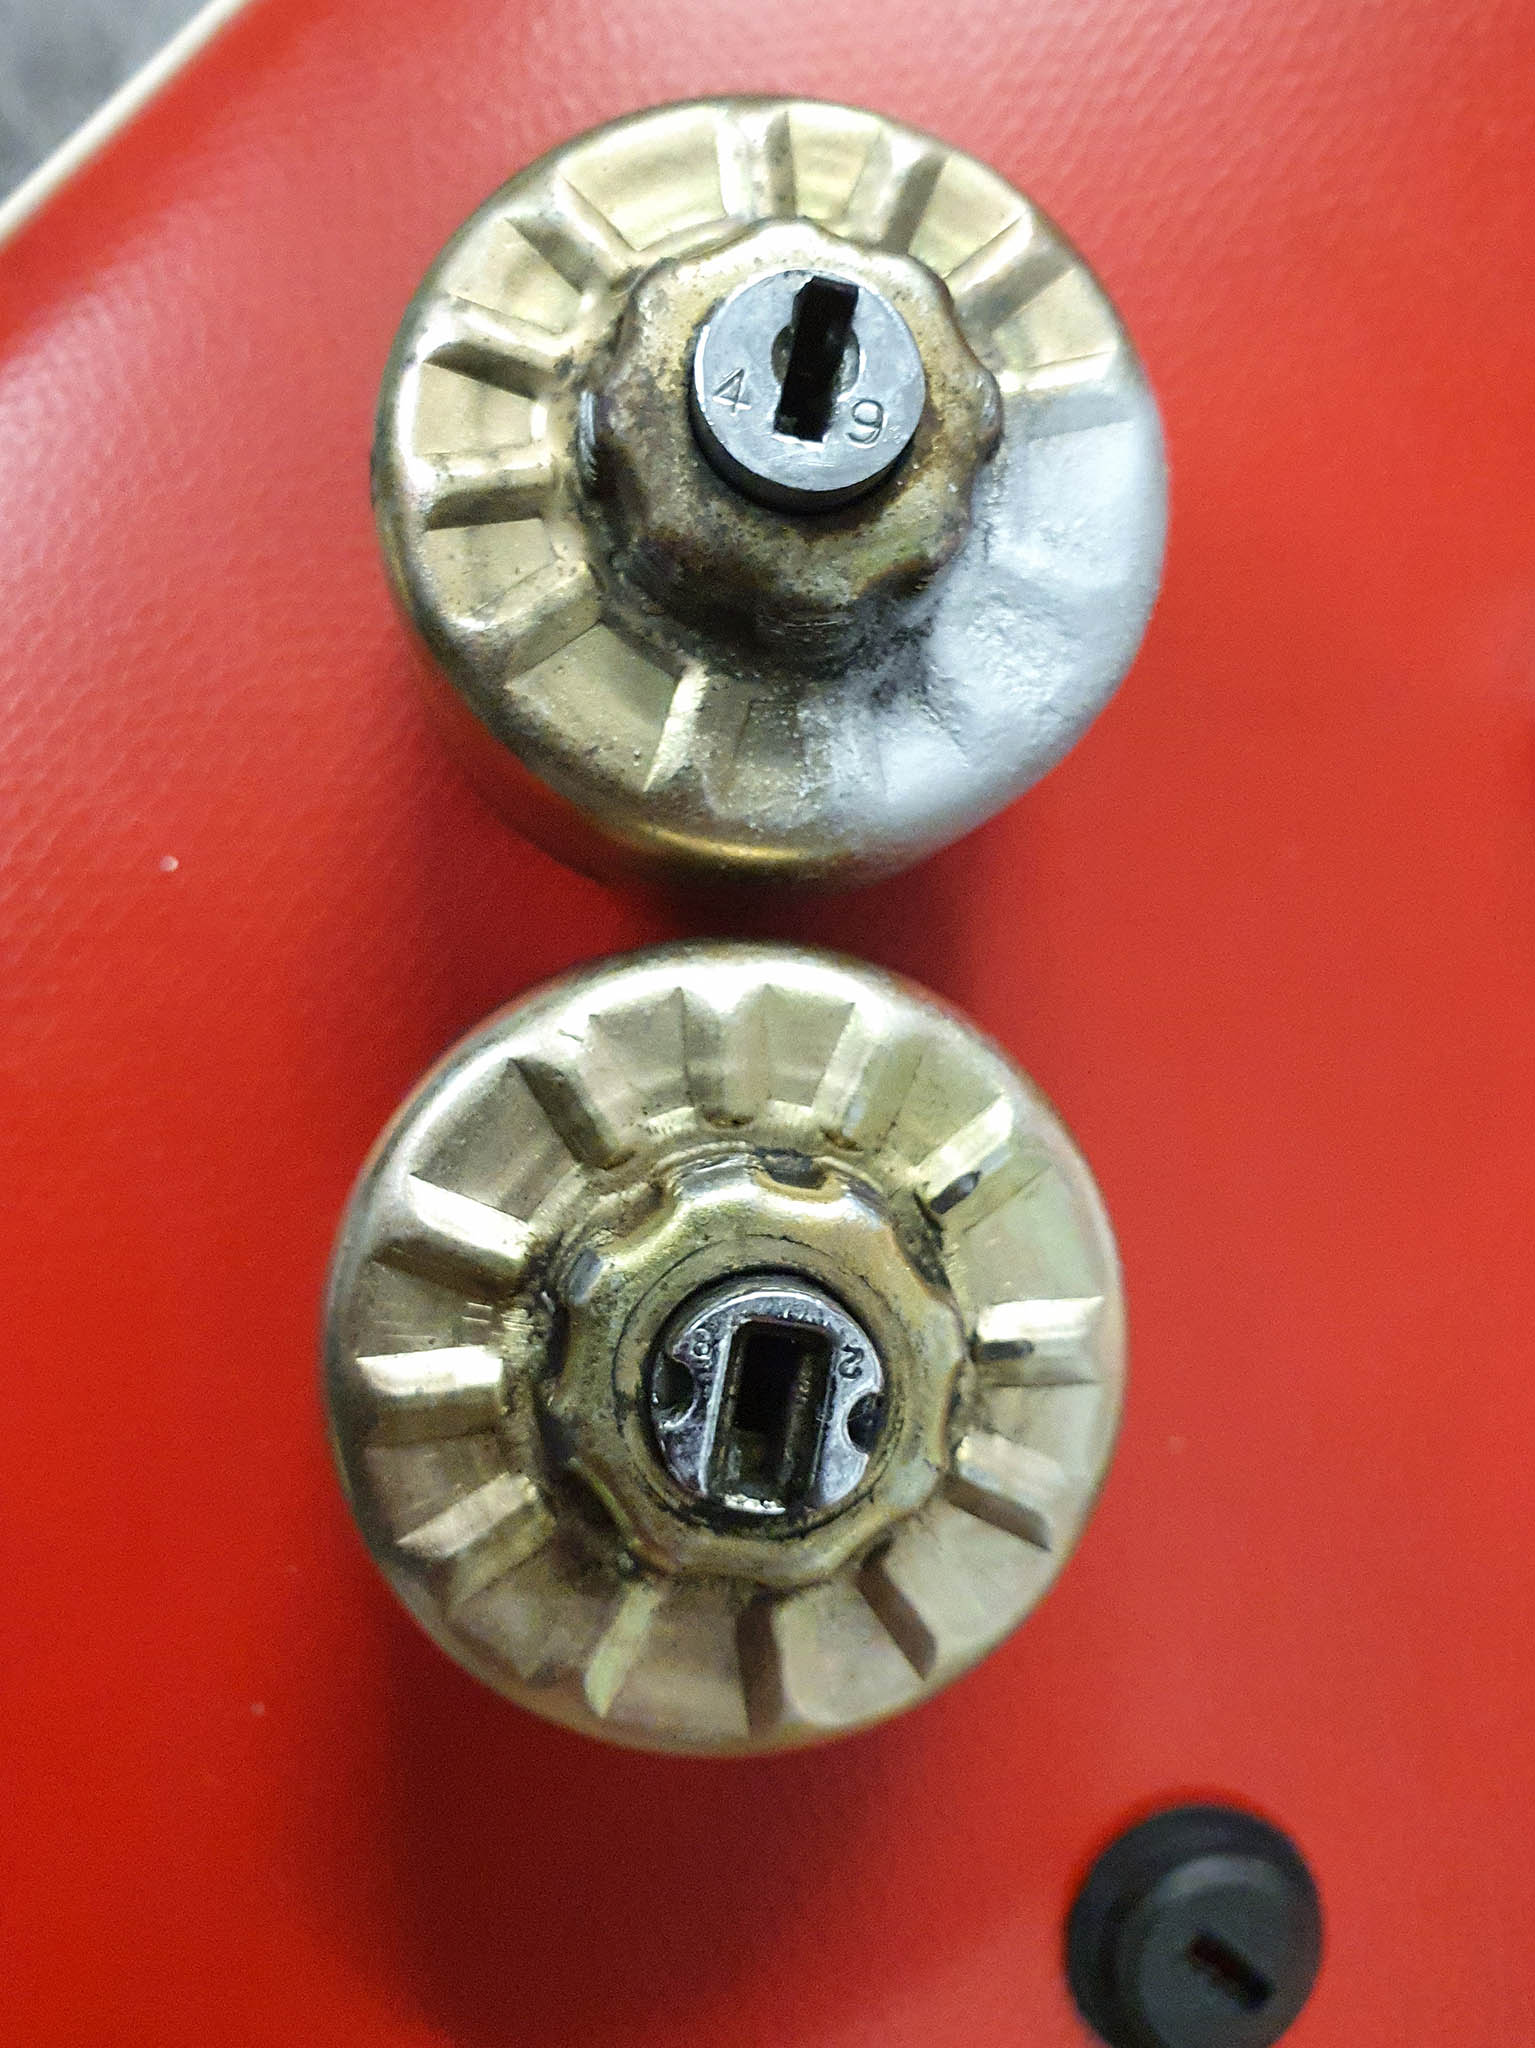
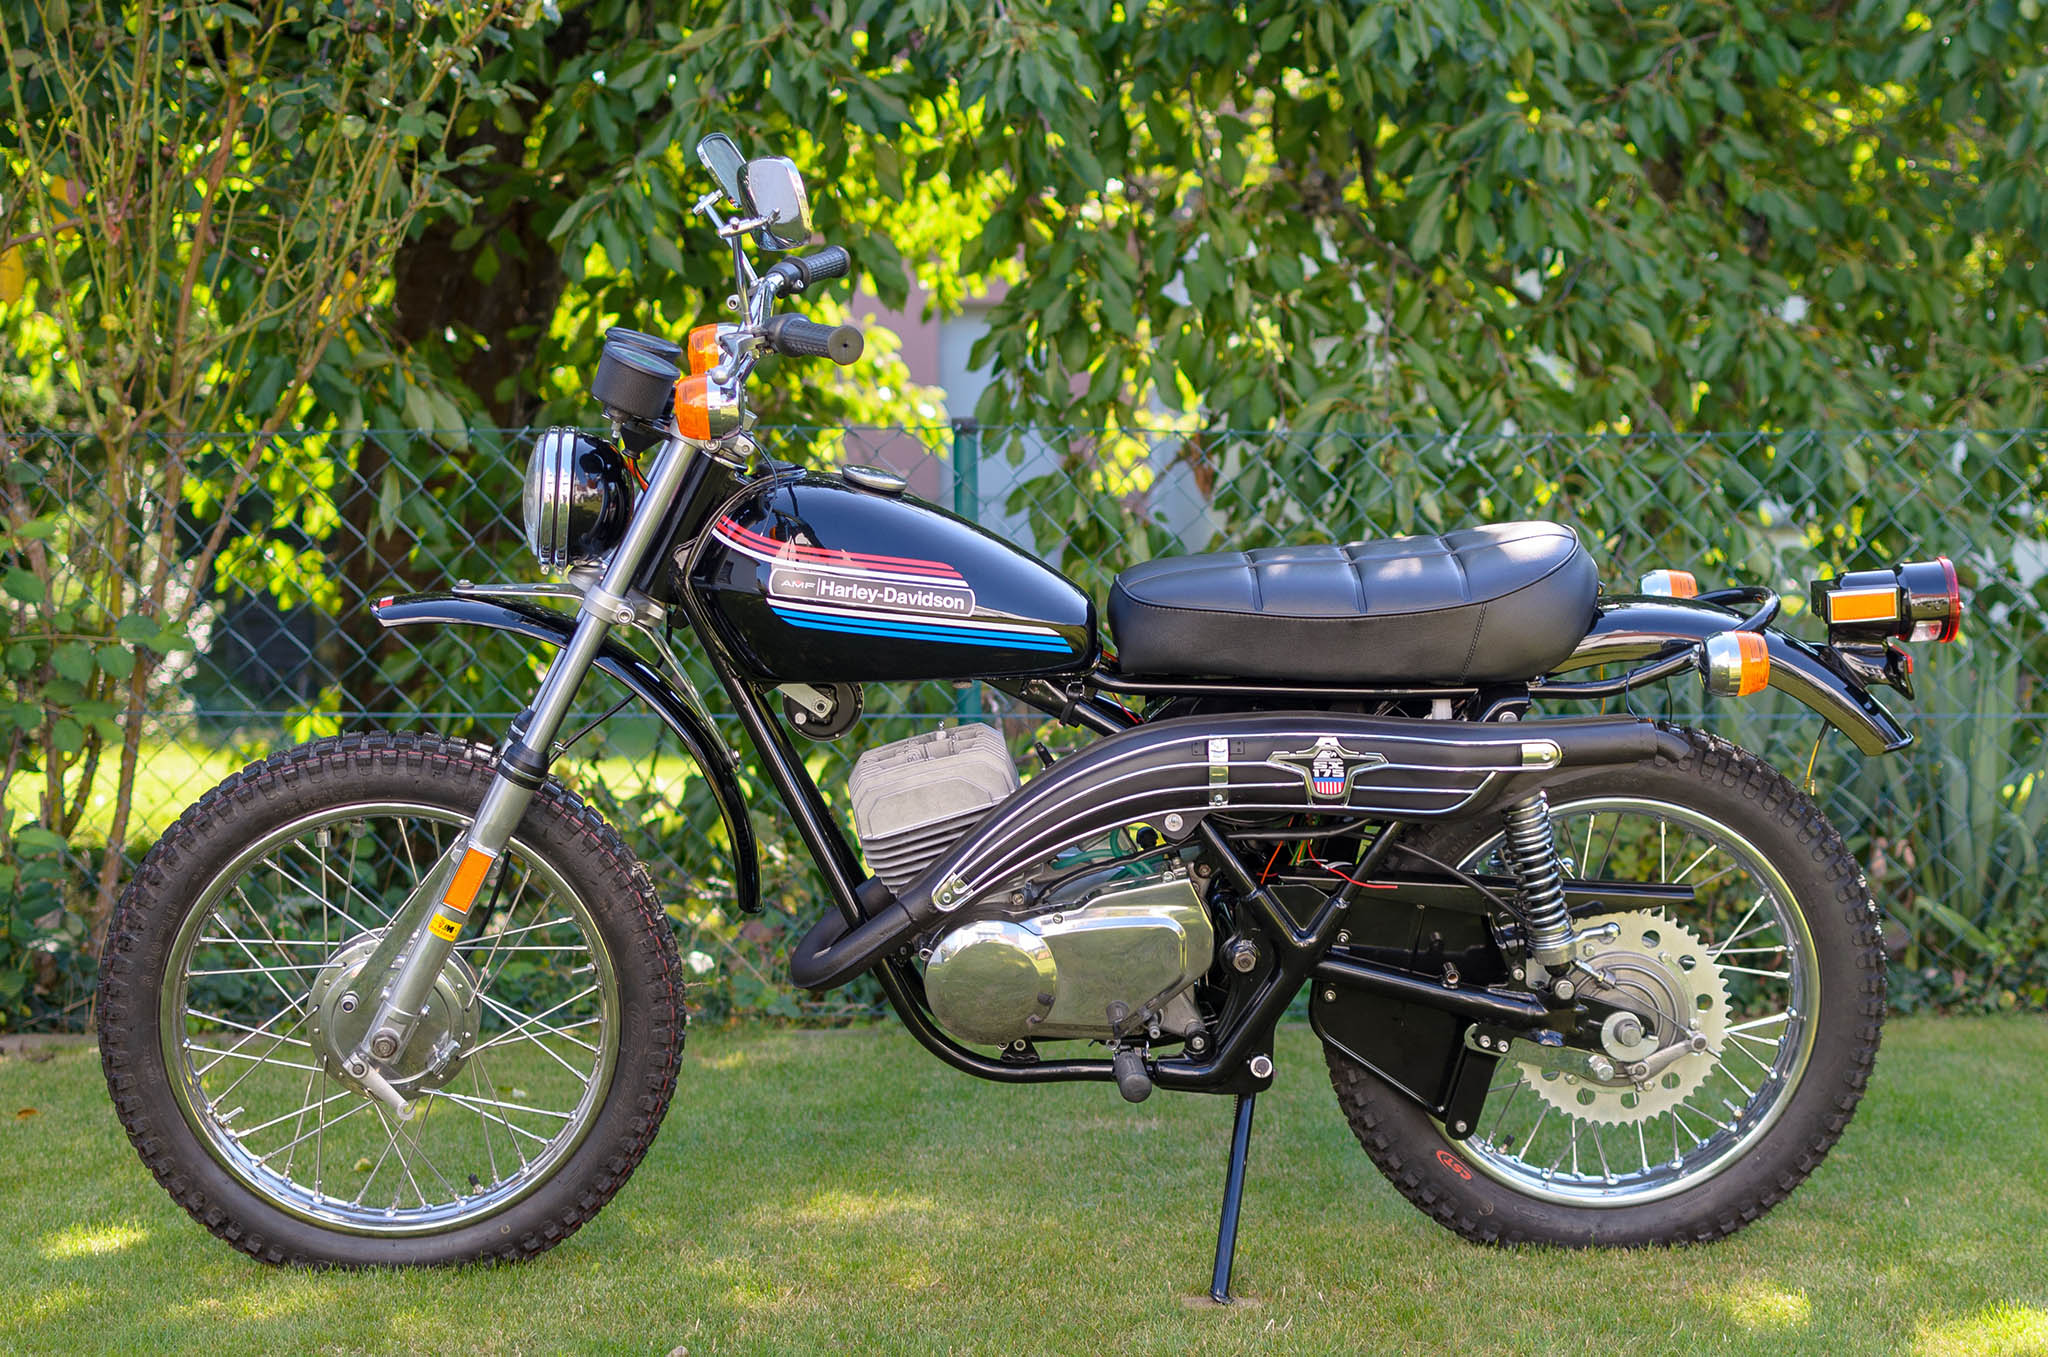
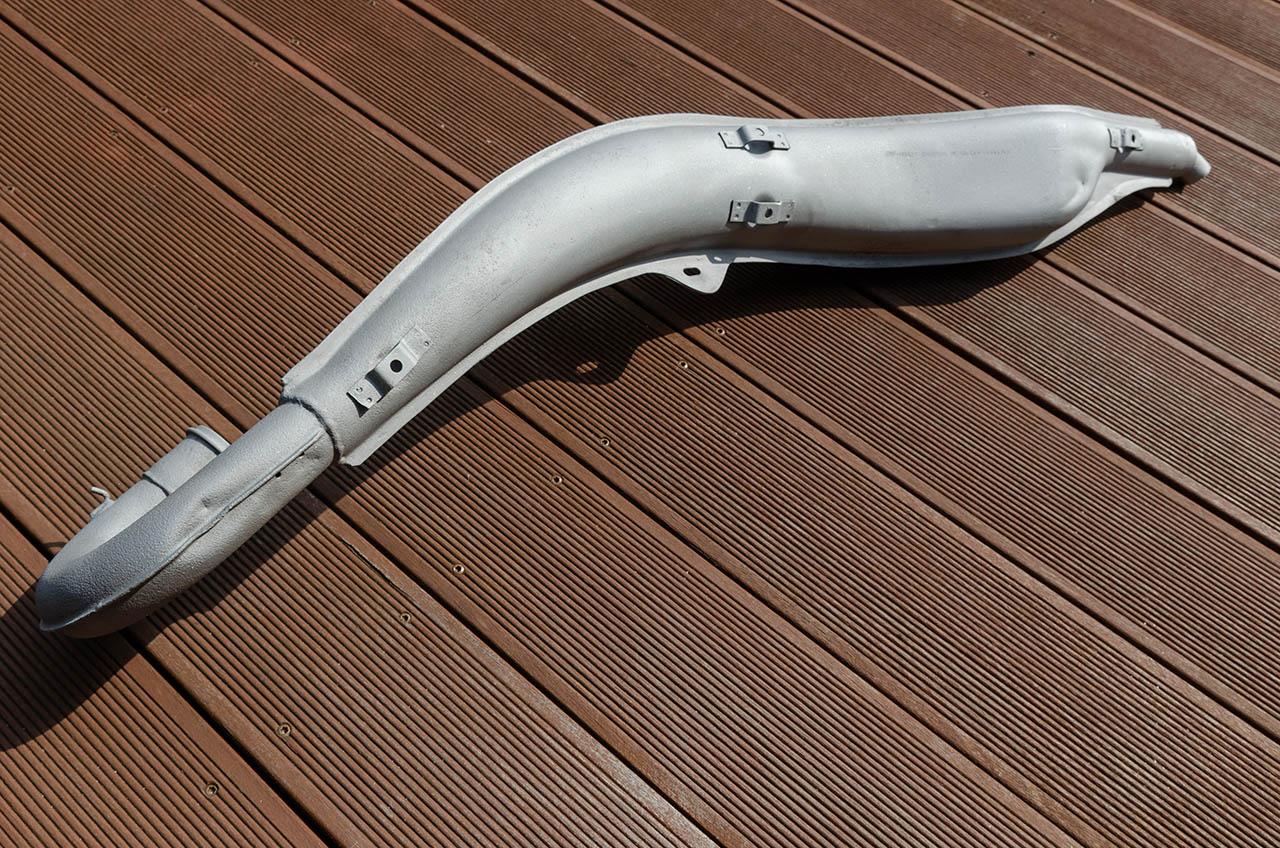
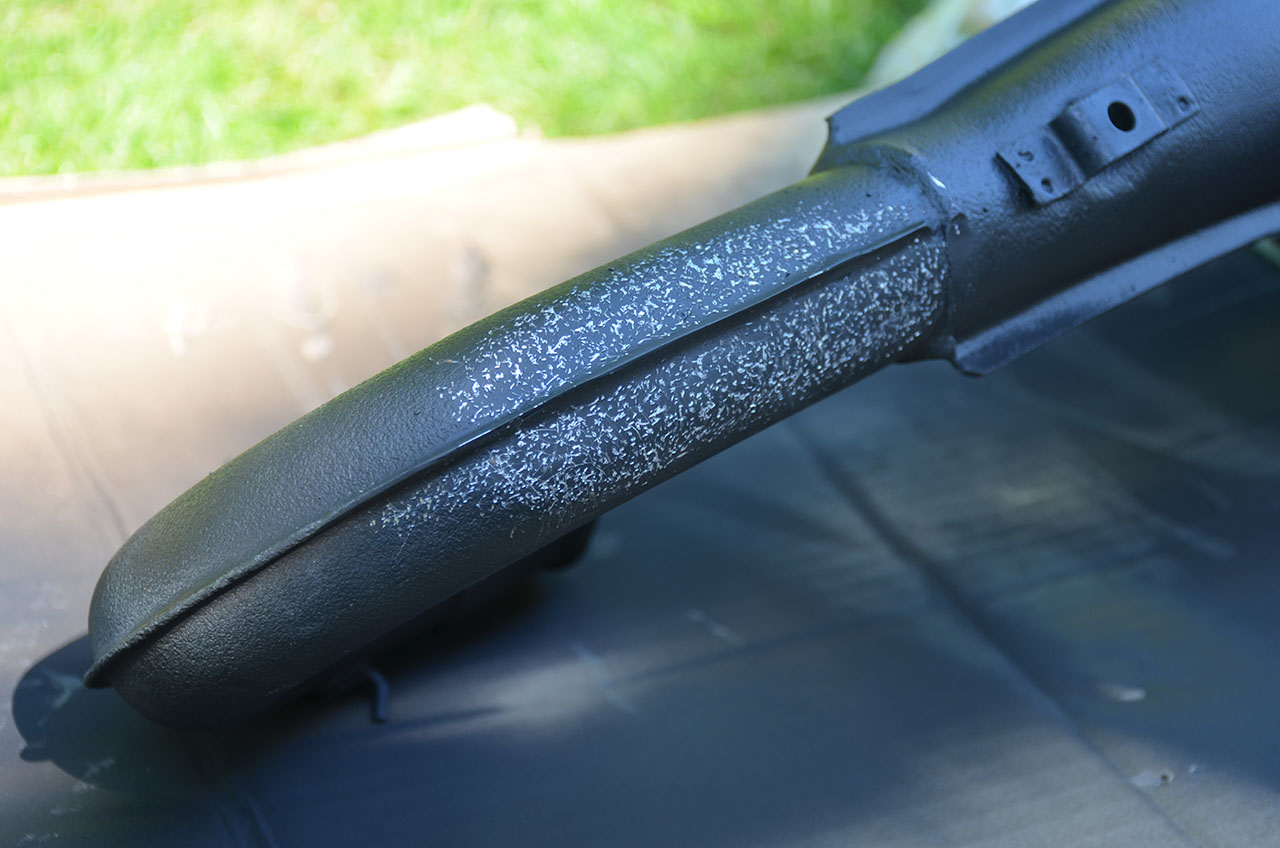
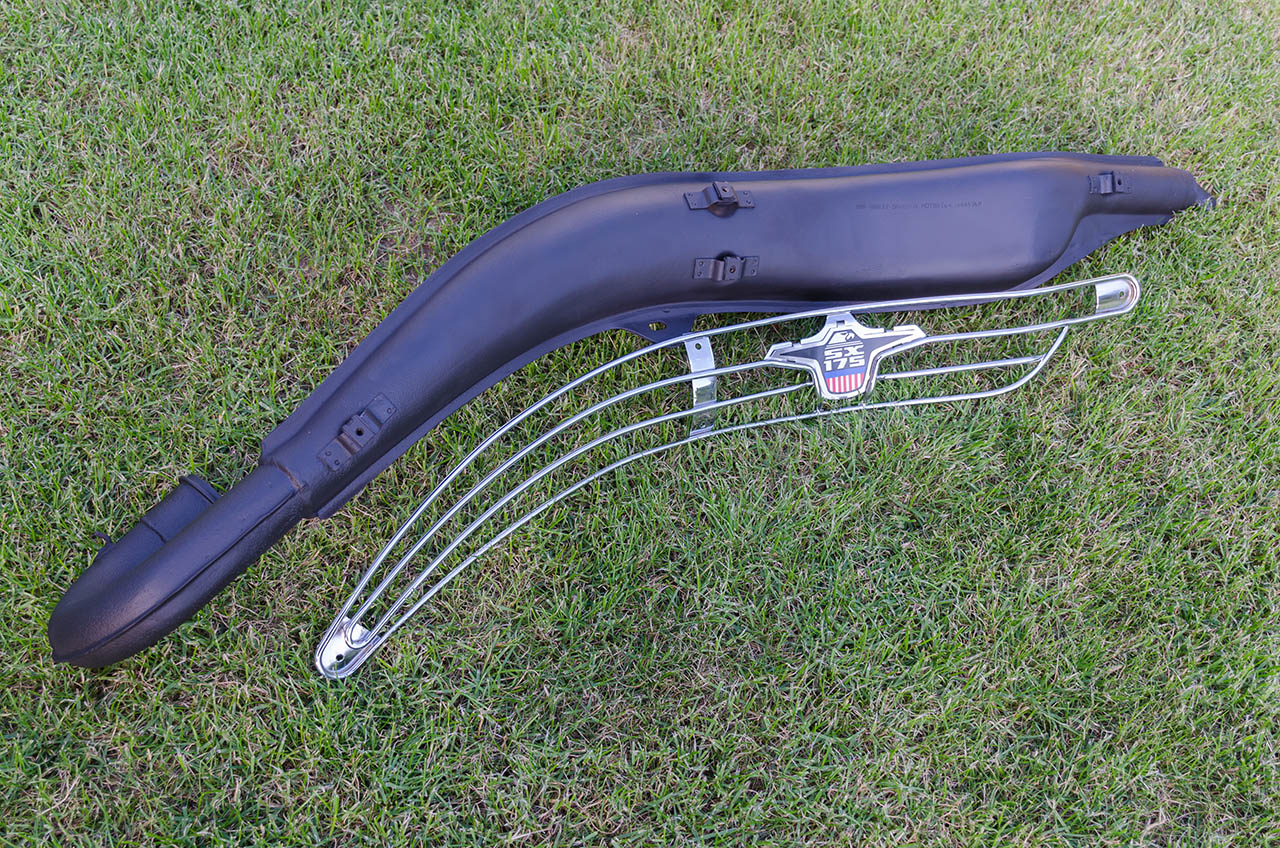
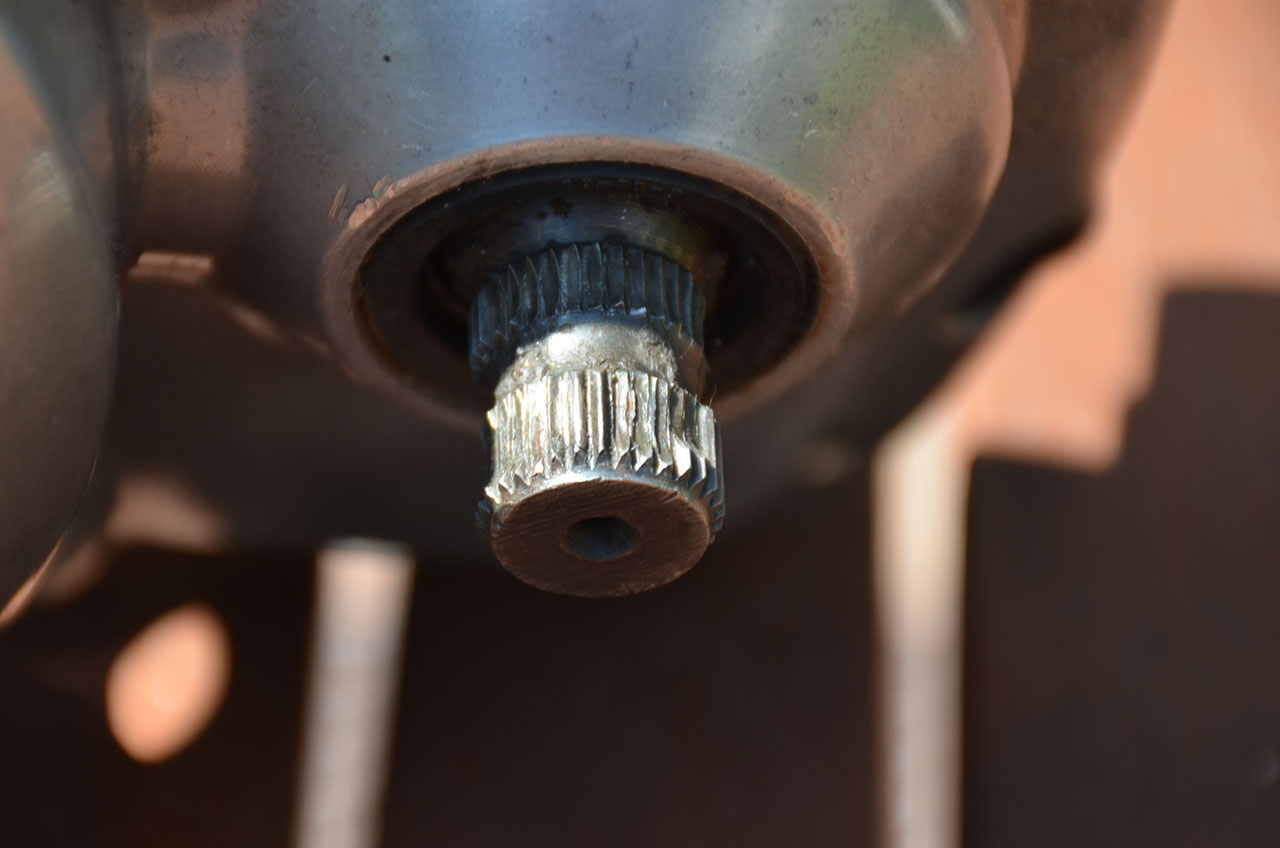
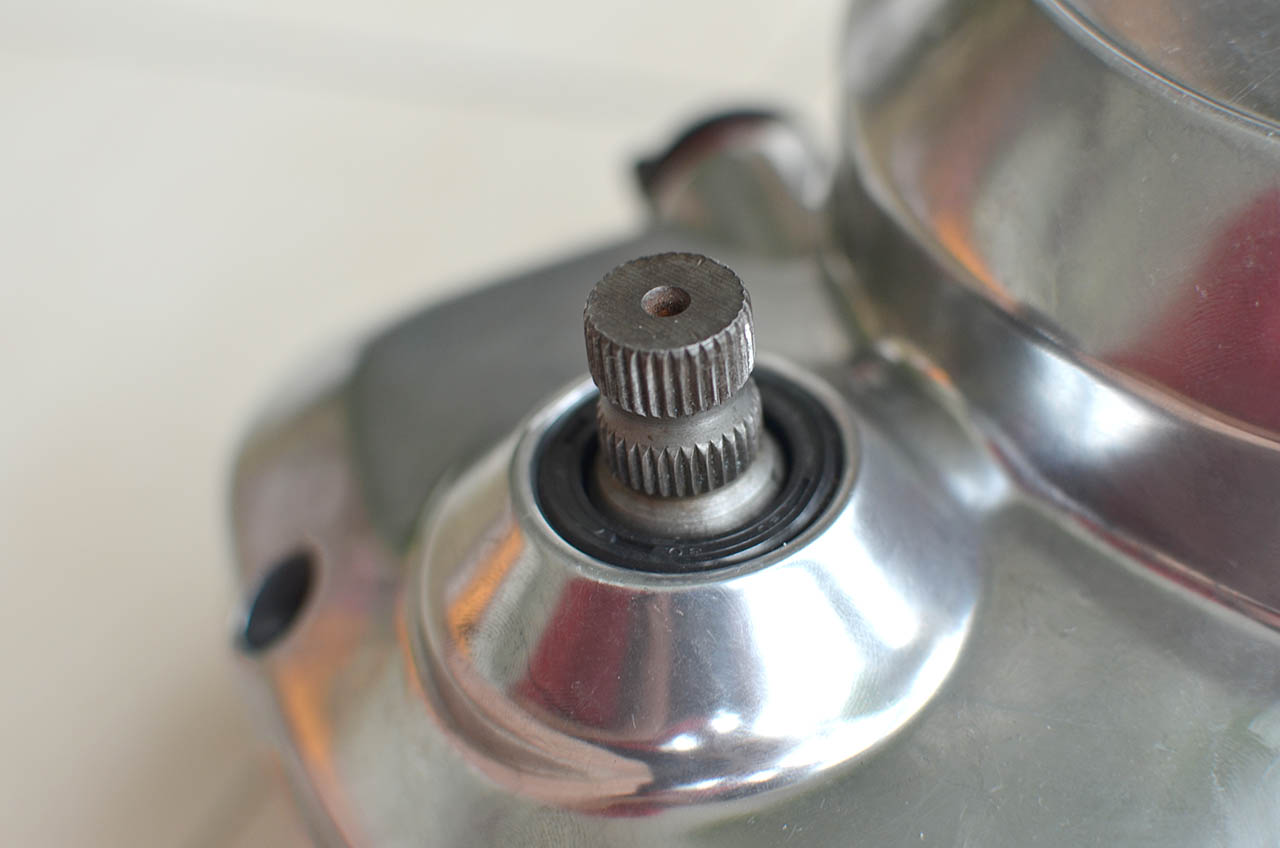
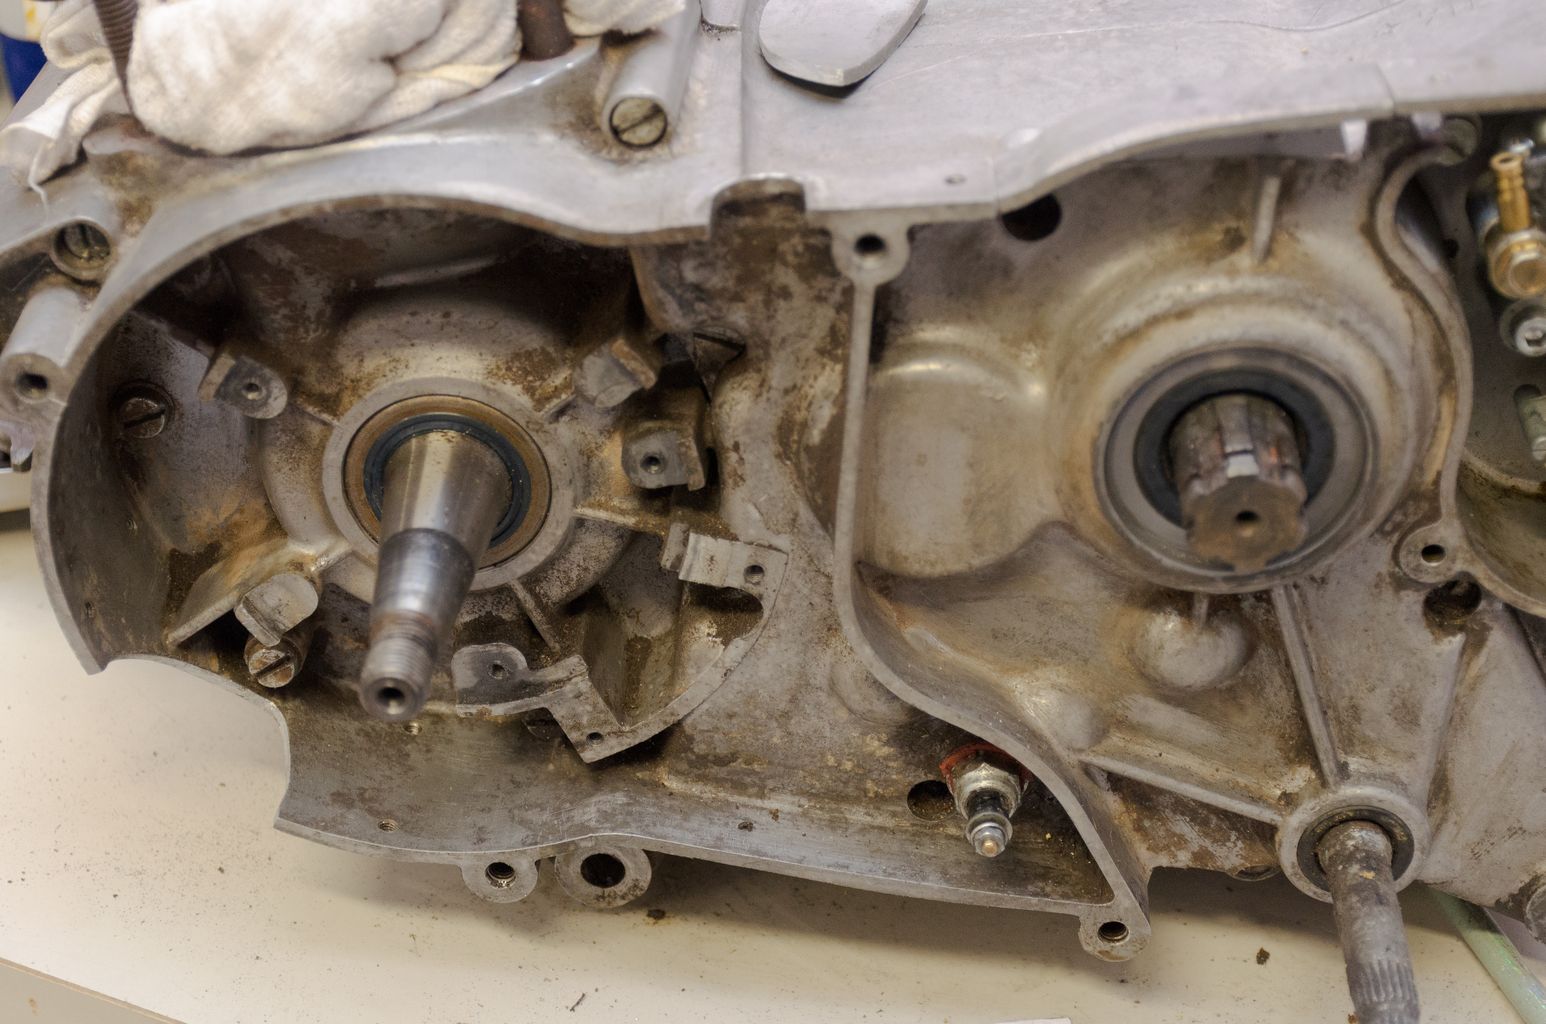
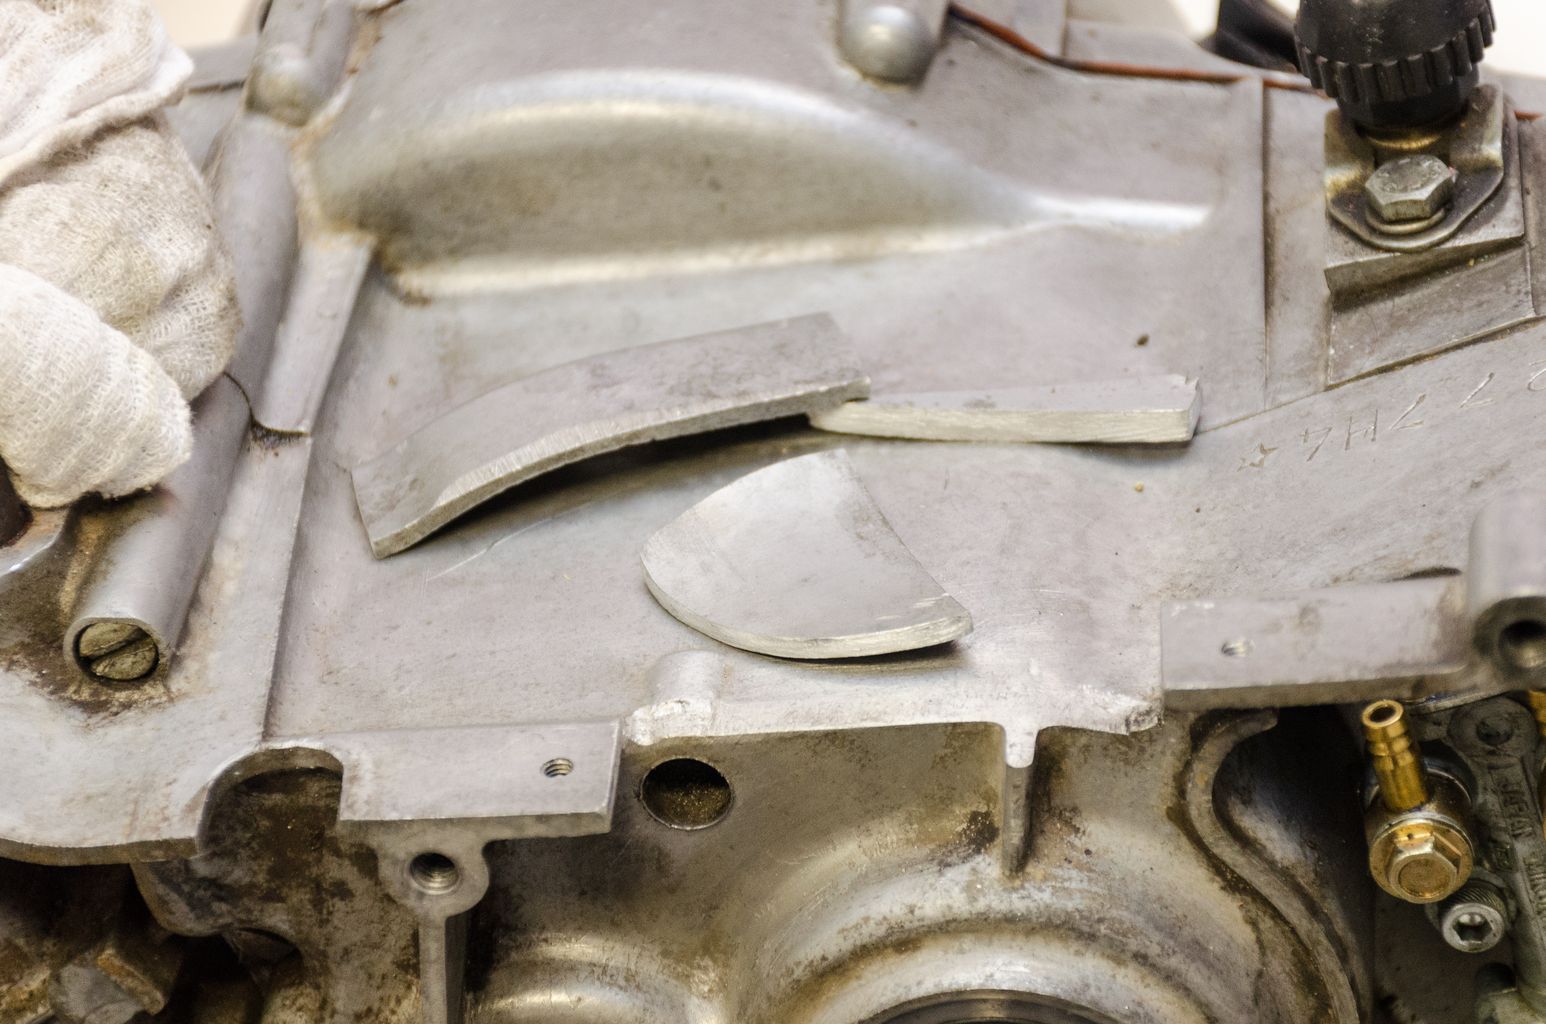
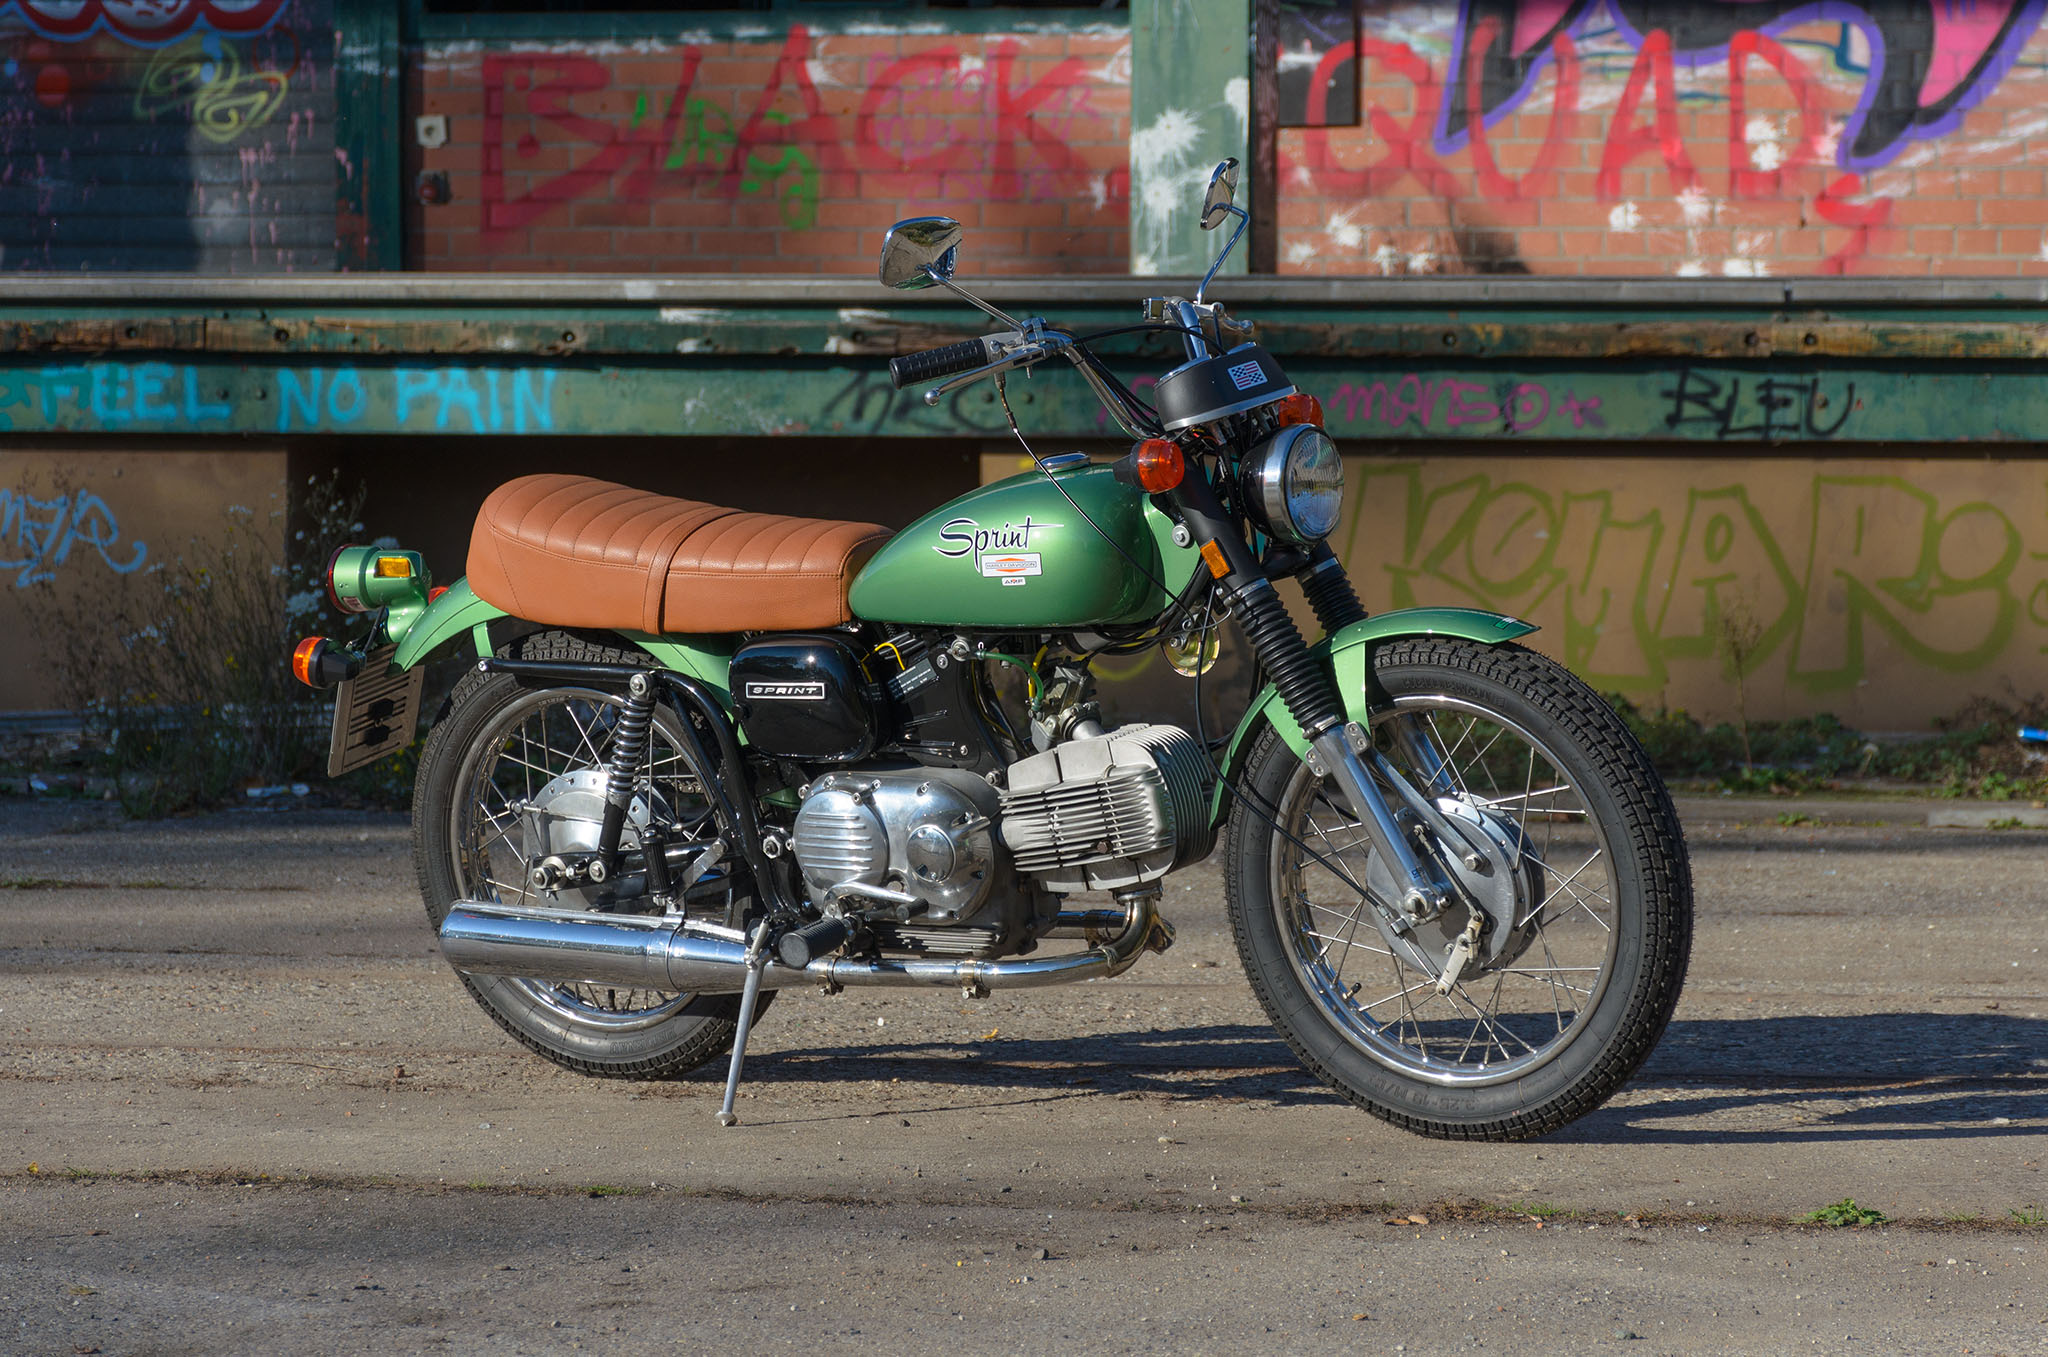
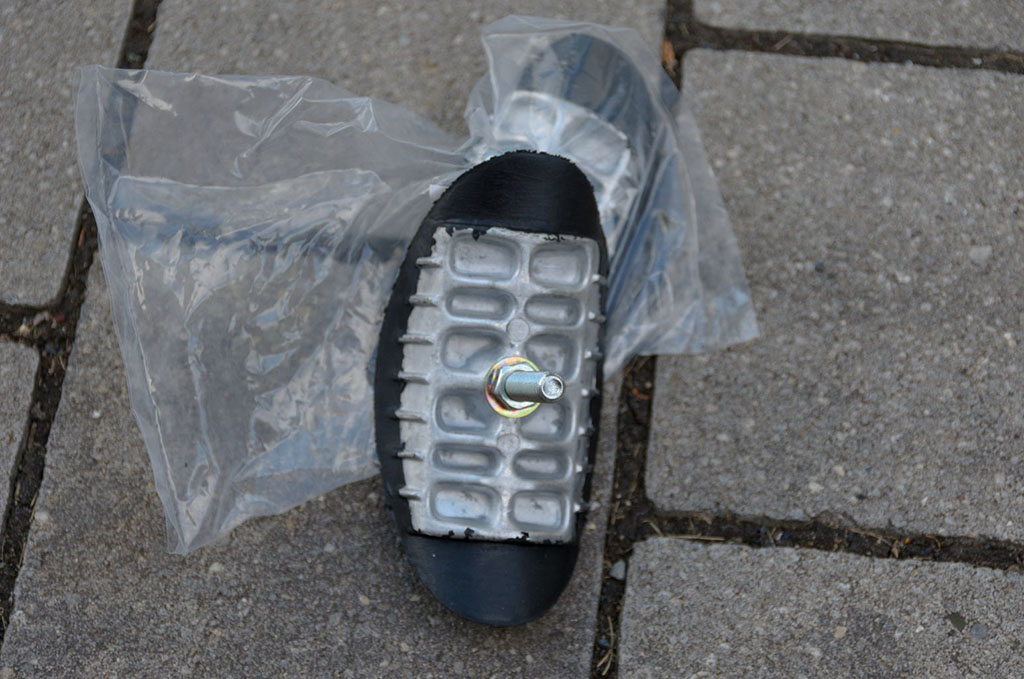
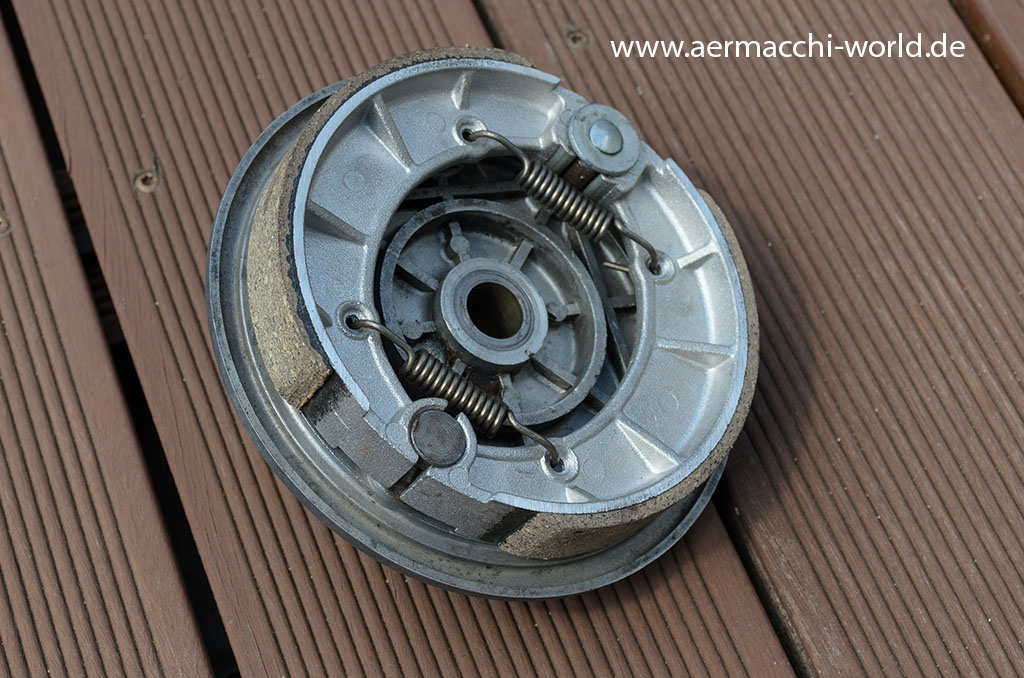
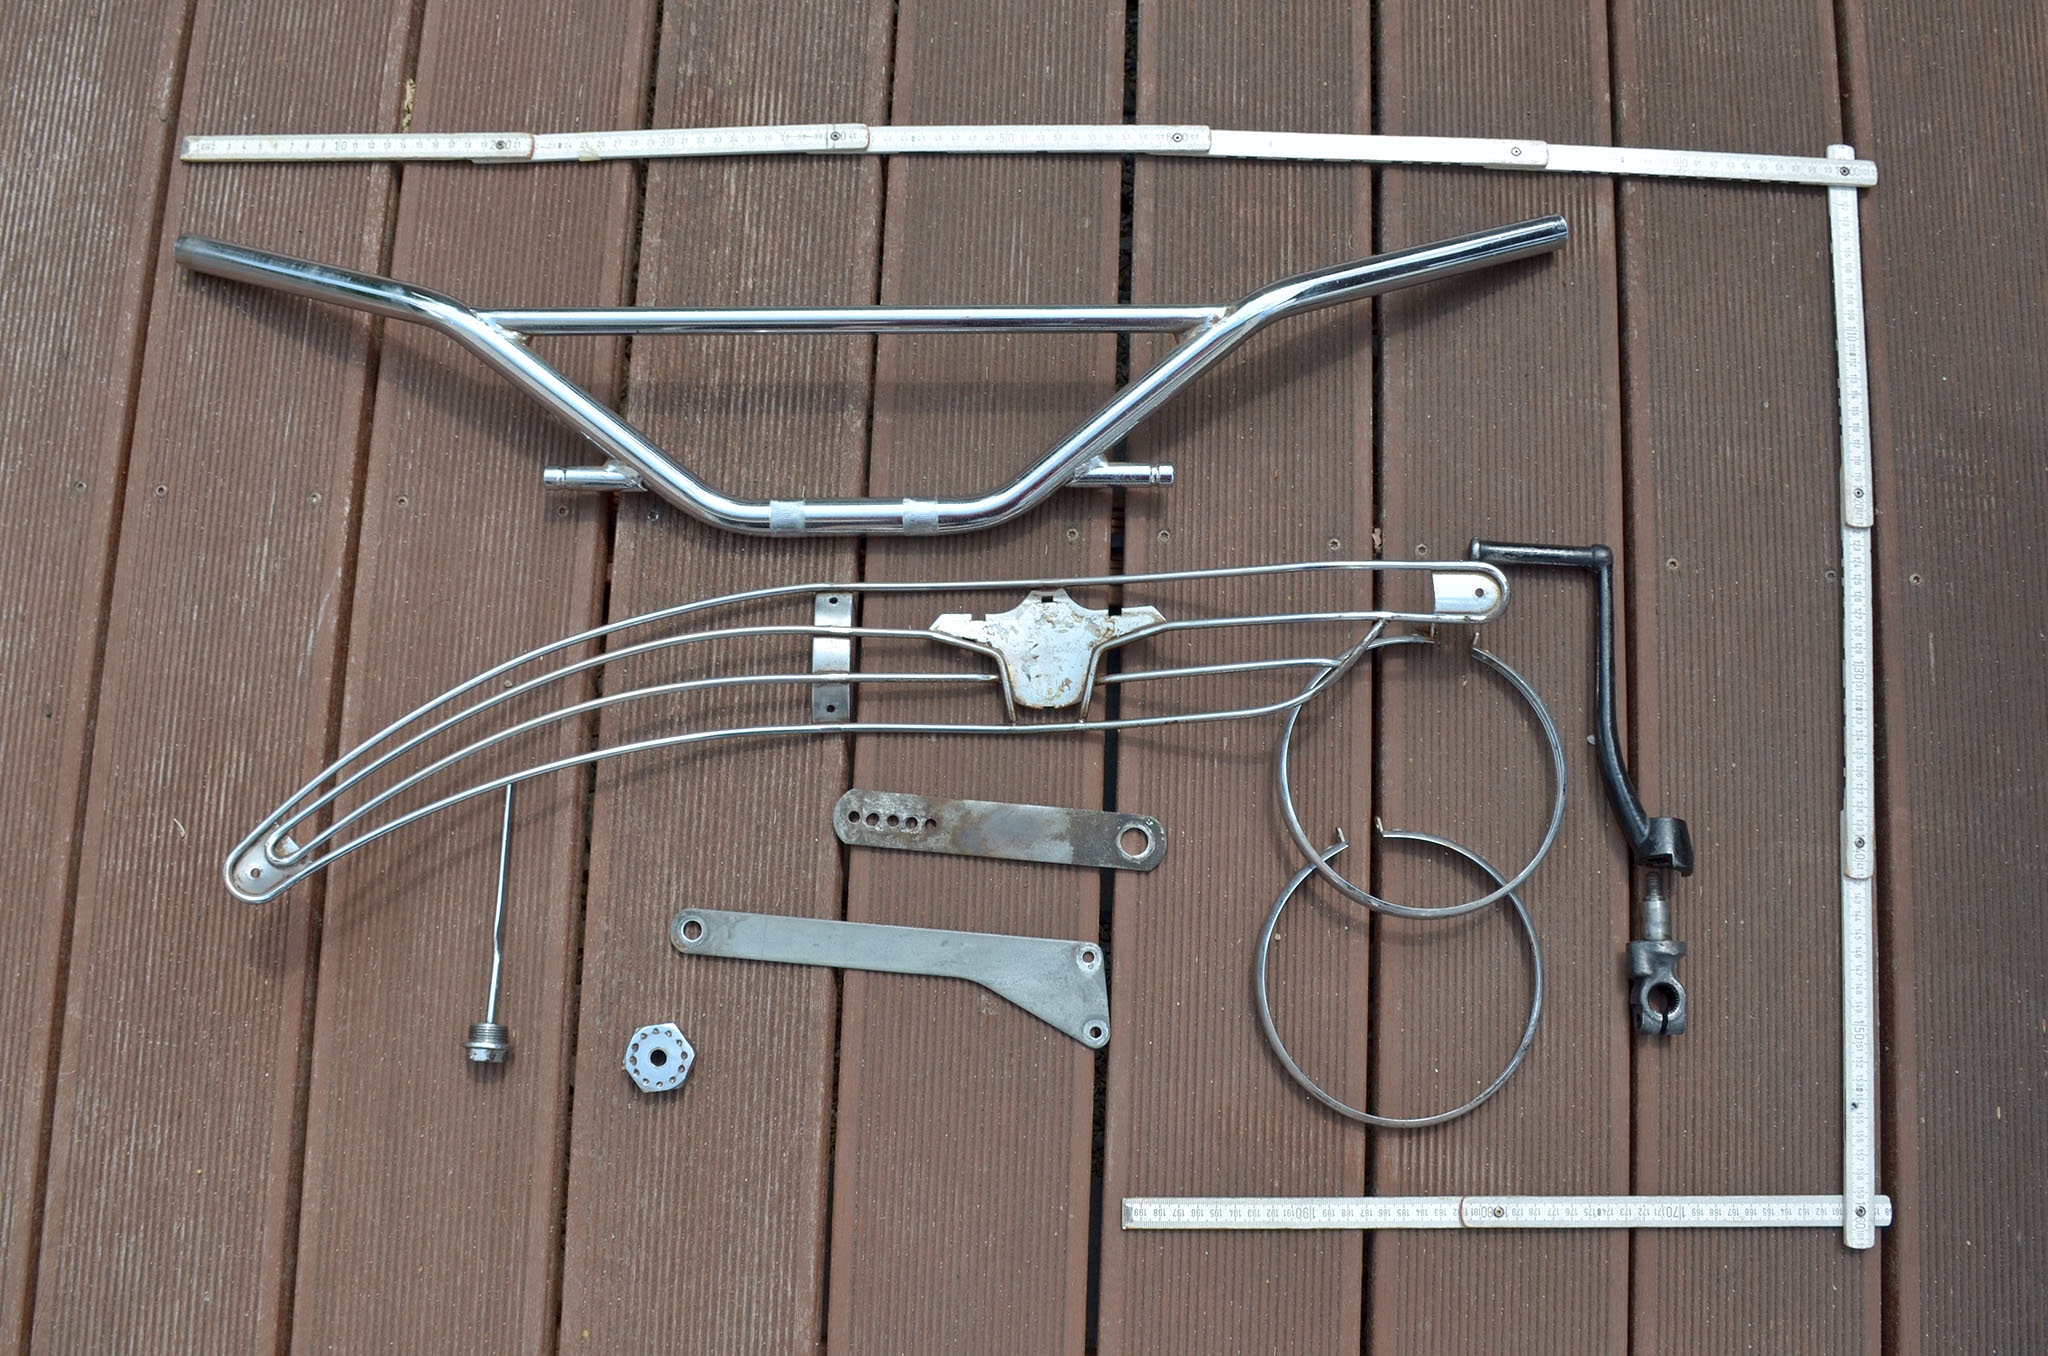
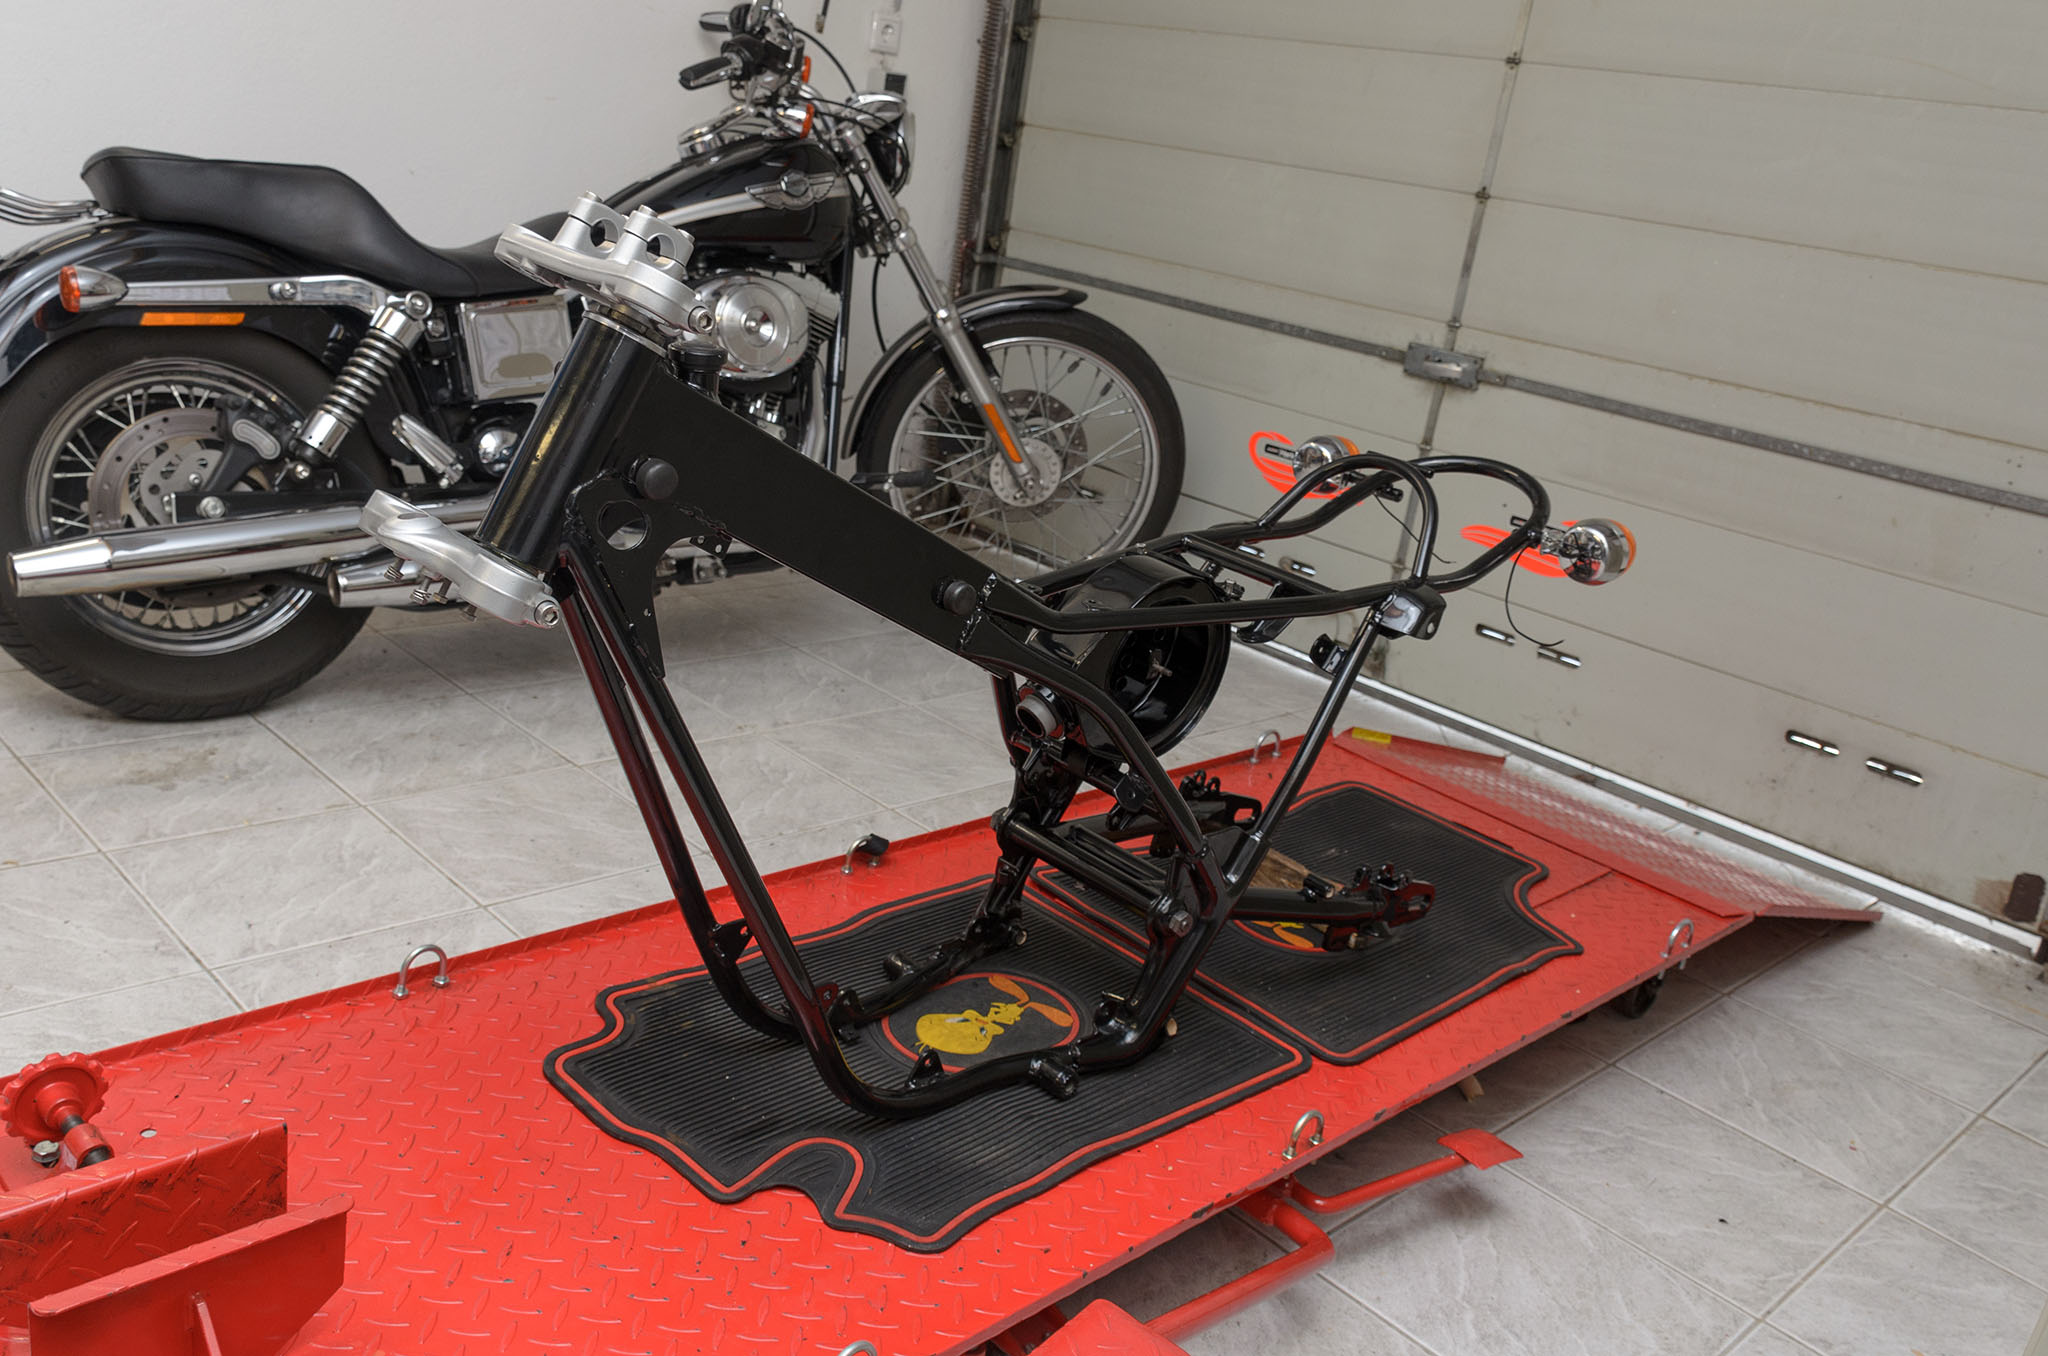
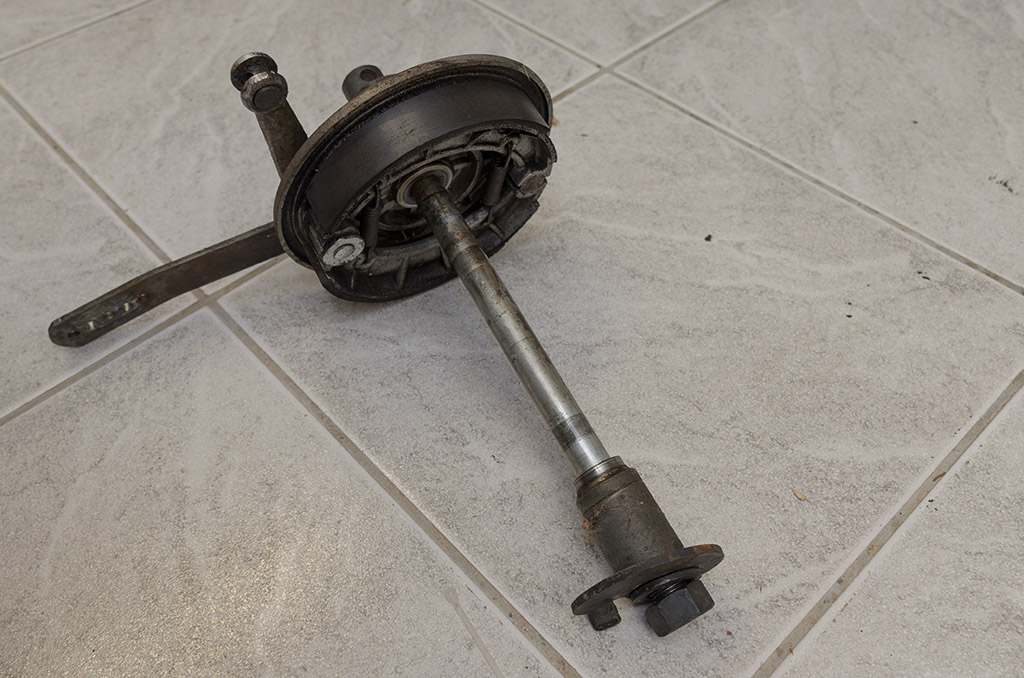
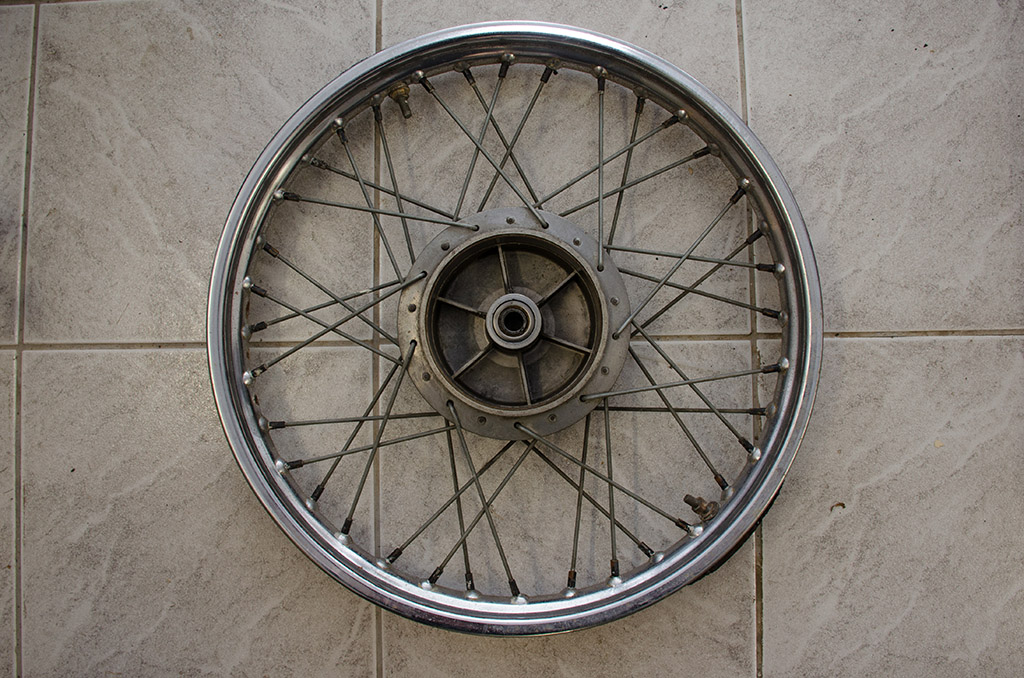
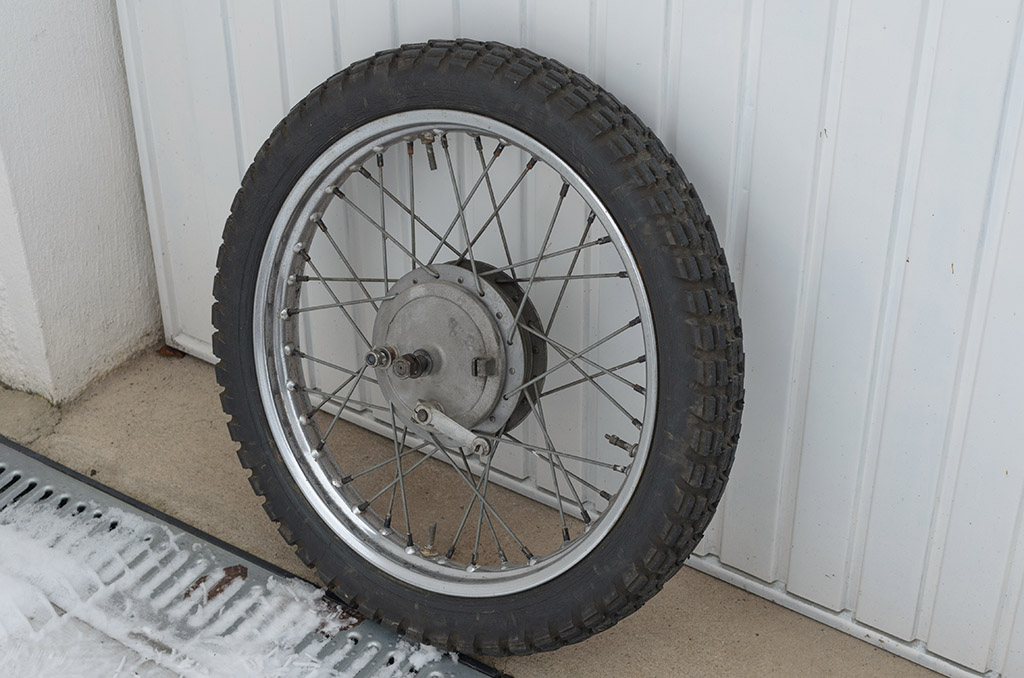
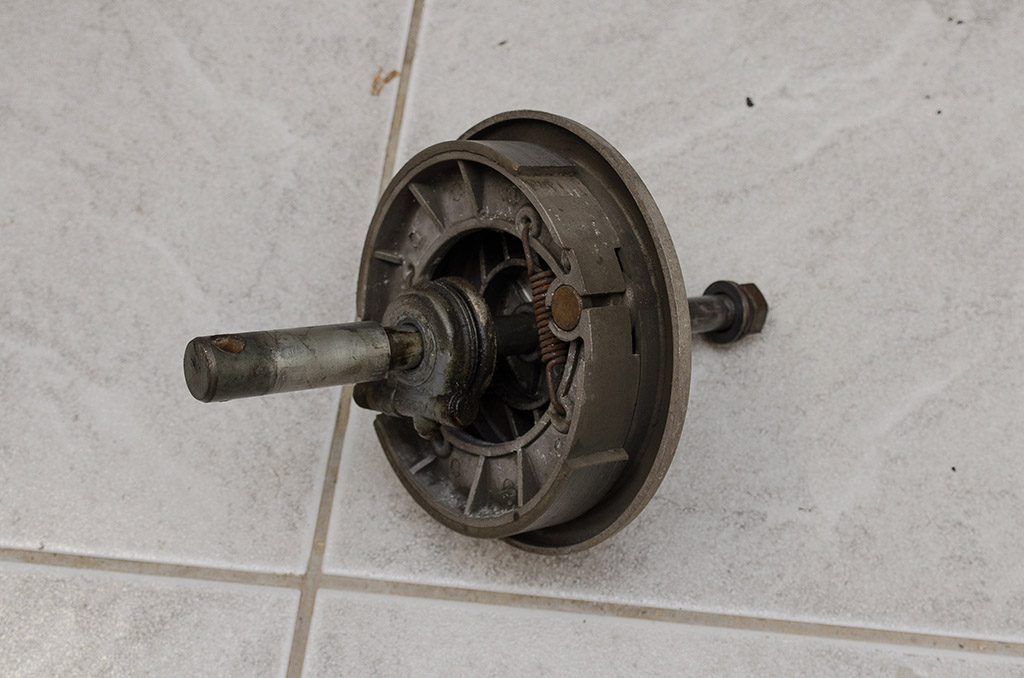
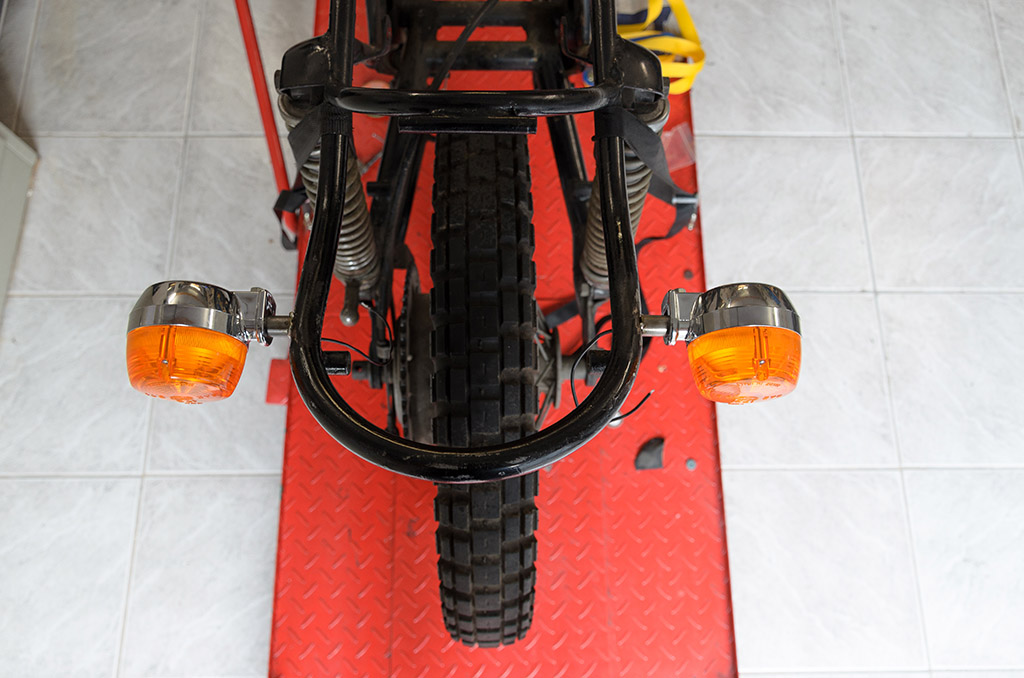
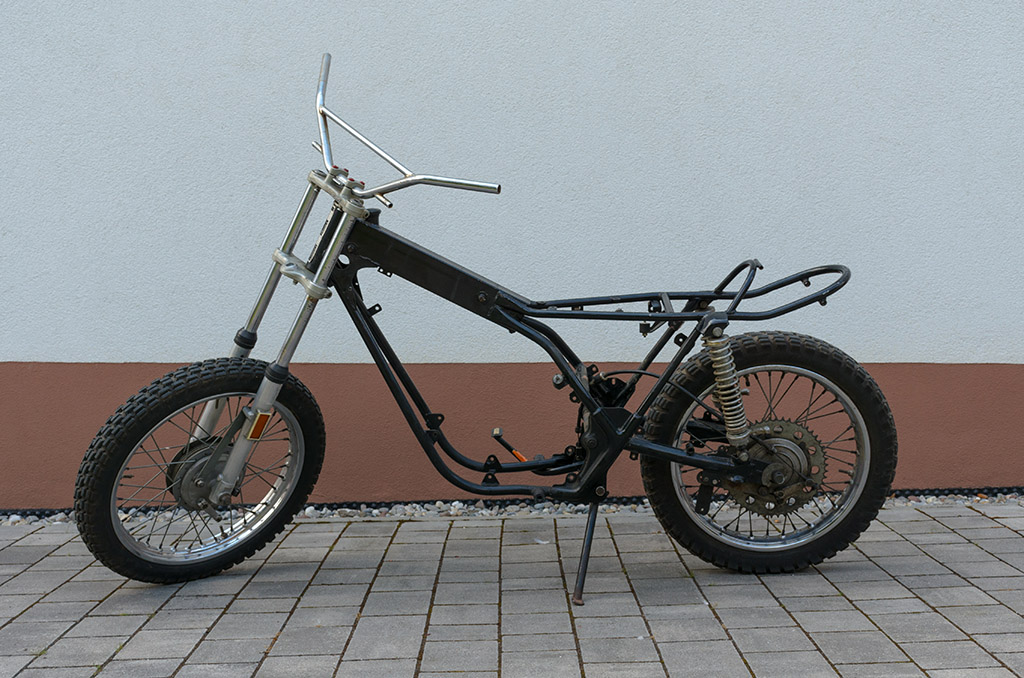
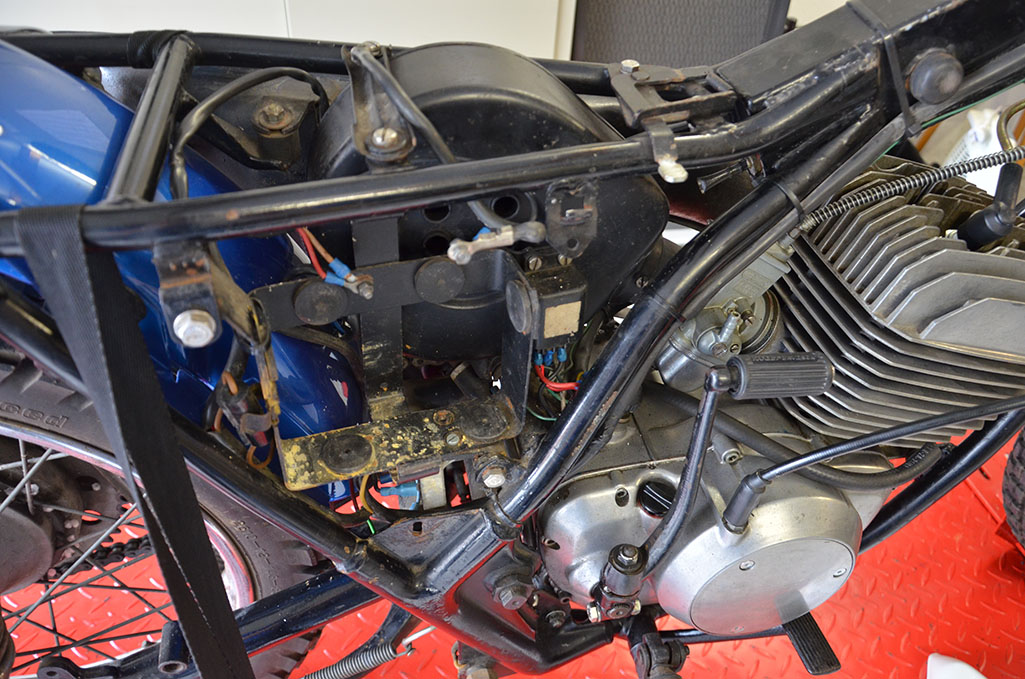
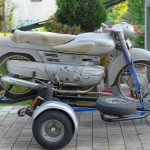
This is a 250cc Chimera. The exact model year is unclear at the moment The decals suggest that it is a model between May 1960 and 1963 as it already reads “Aermacchi Harley-Davidson. According to A.R.S.I.M.A the bike is in an overall original and complete condition and the grey color was experimental by factroy to show dealers new color options”. I am very happy about the condition, even both steering lock keys are there. I do not know if the engine might work, but the bike shifts and the piston is free. Engine and frame VIN are original and matching. I got an import certificate with the bike and a bill of sale.

What makes the Chimera special?

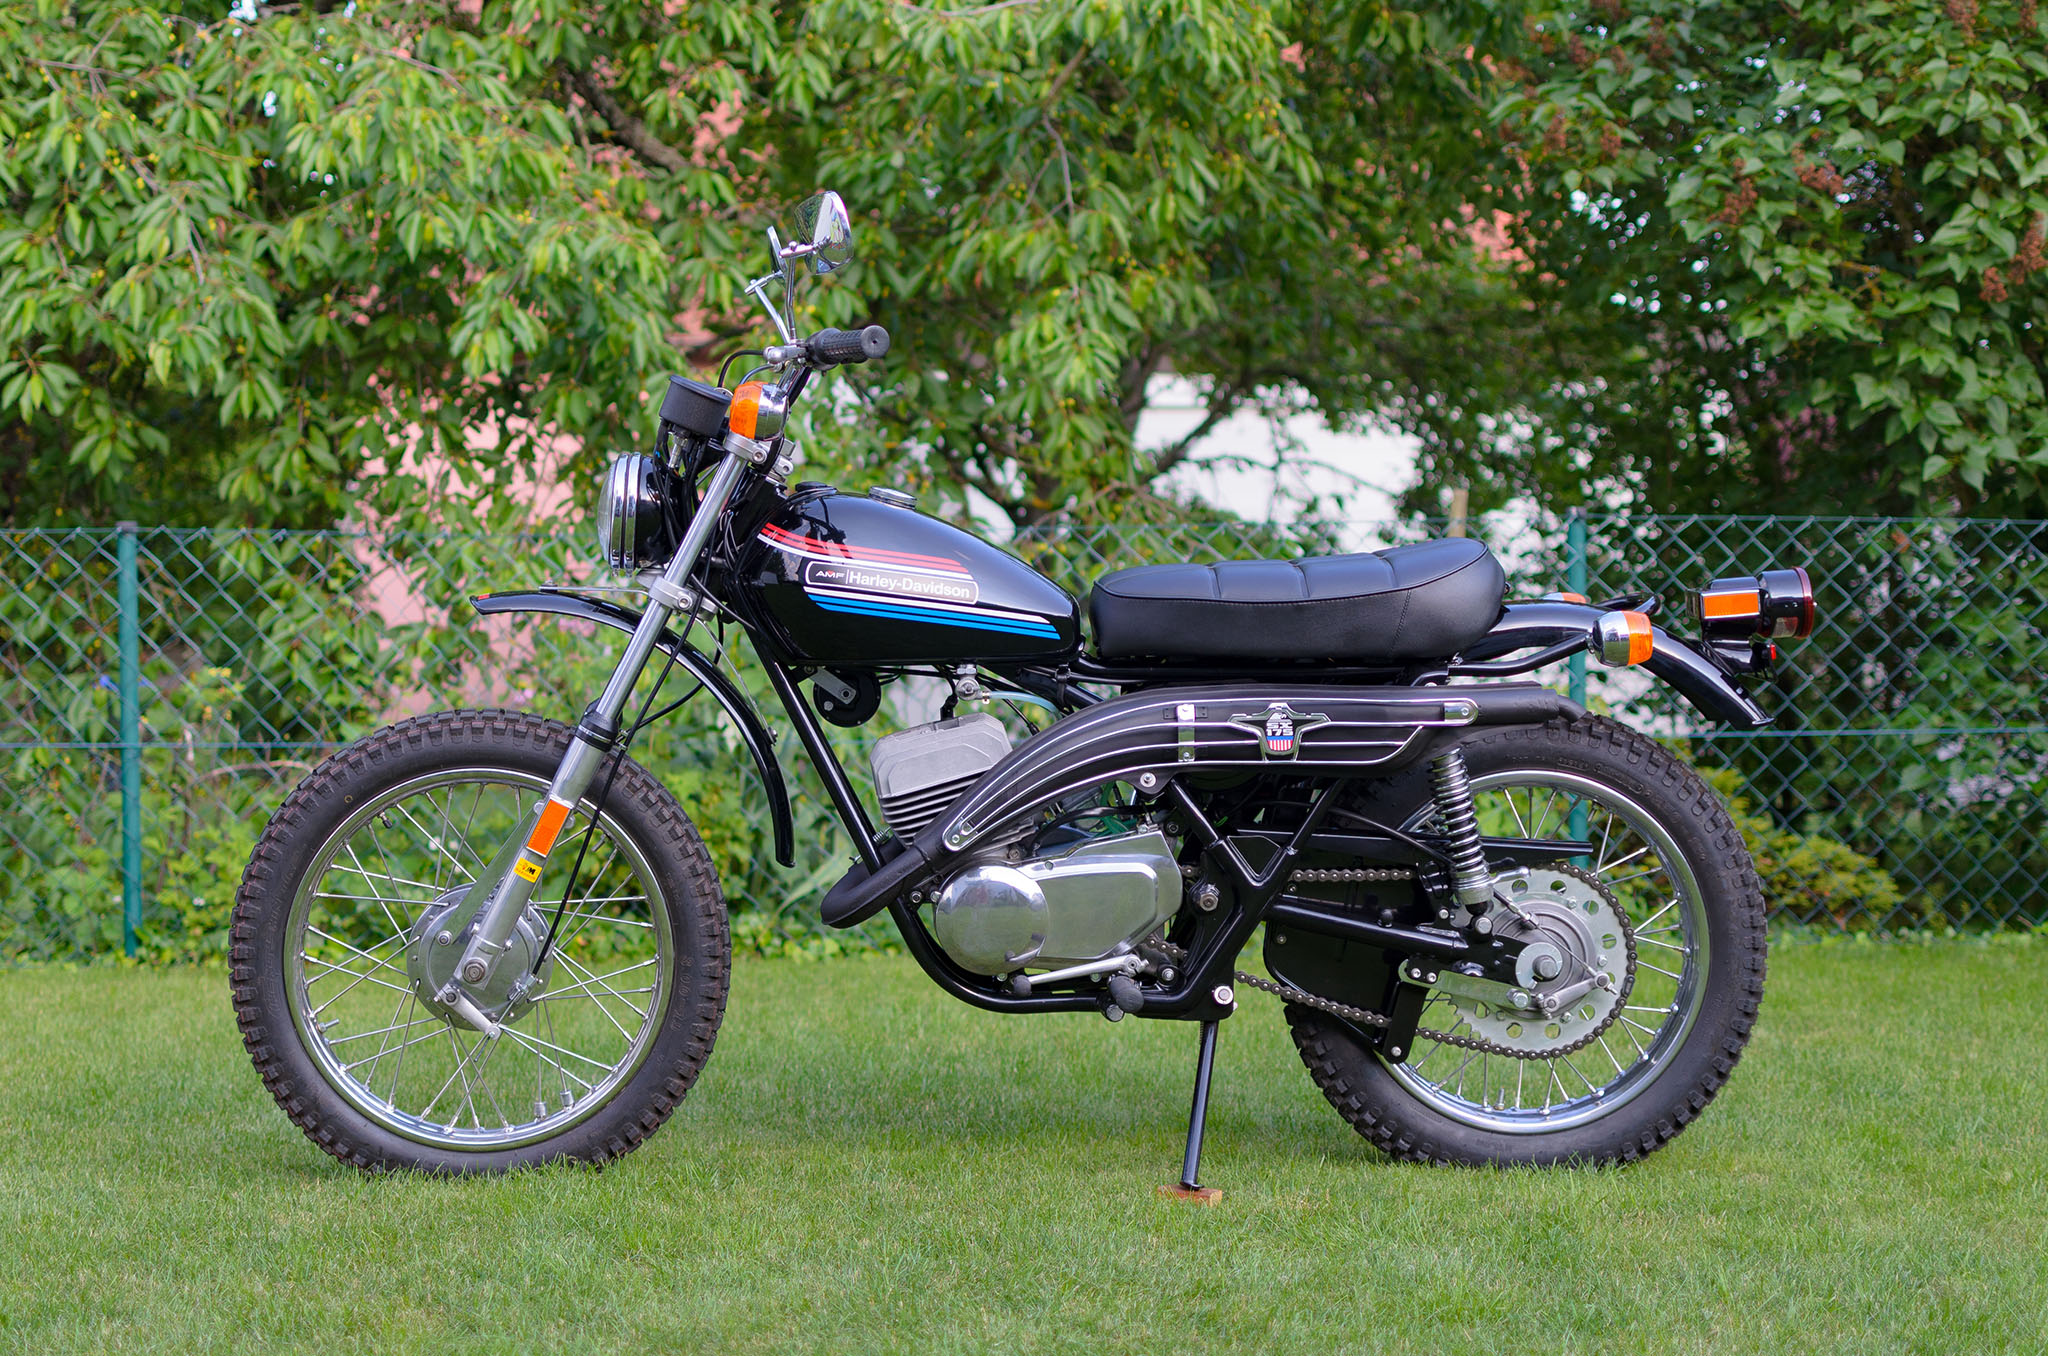
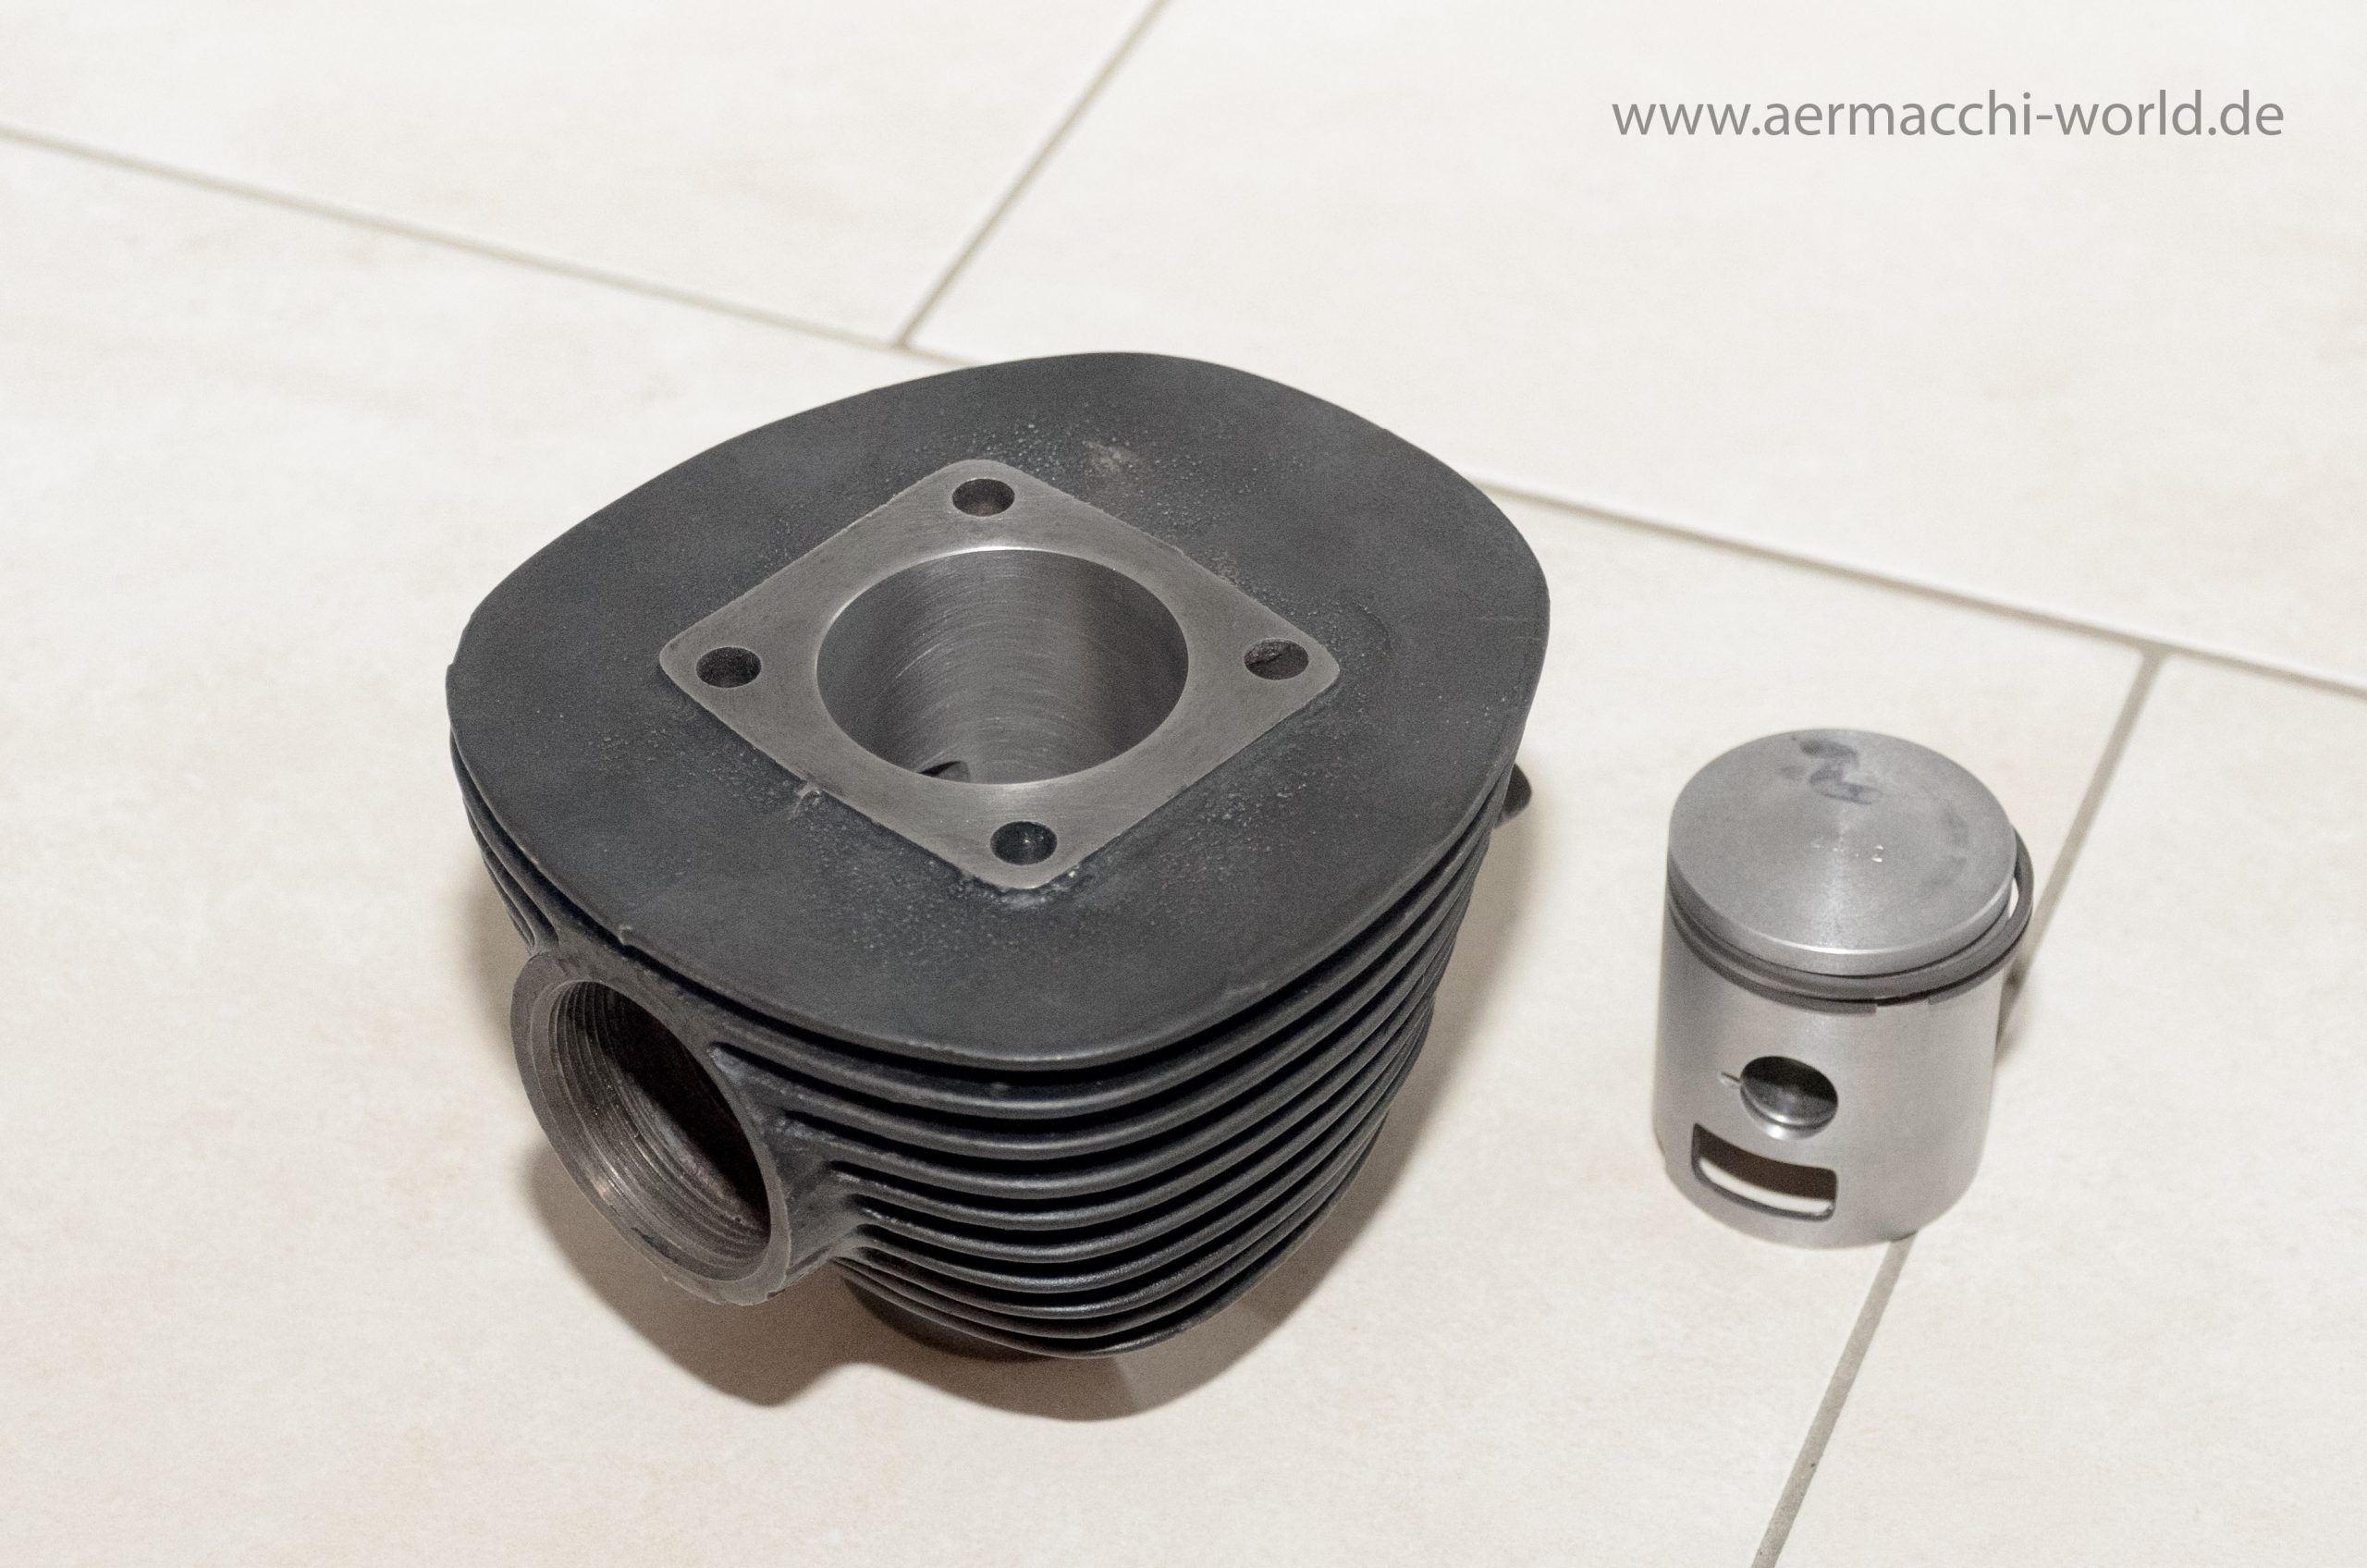
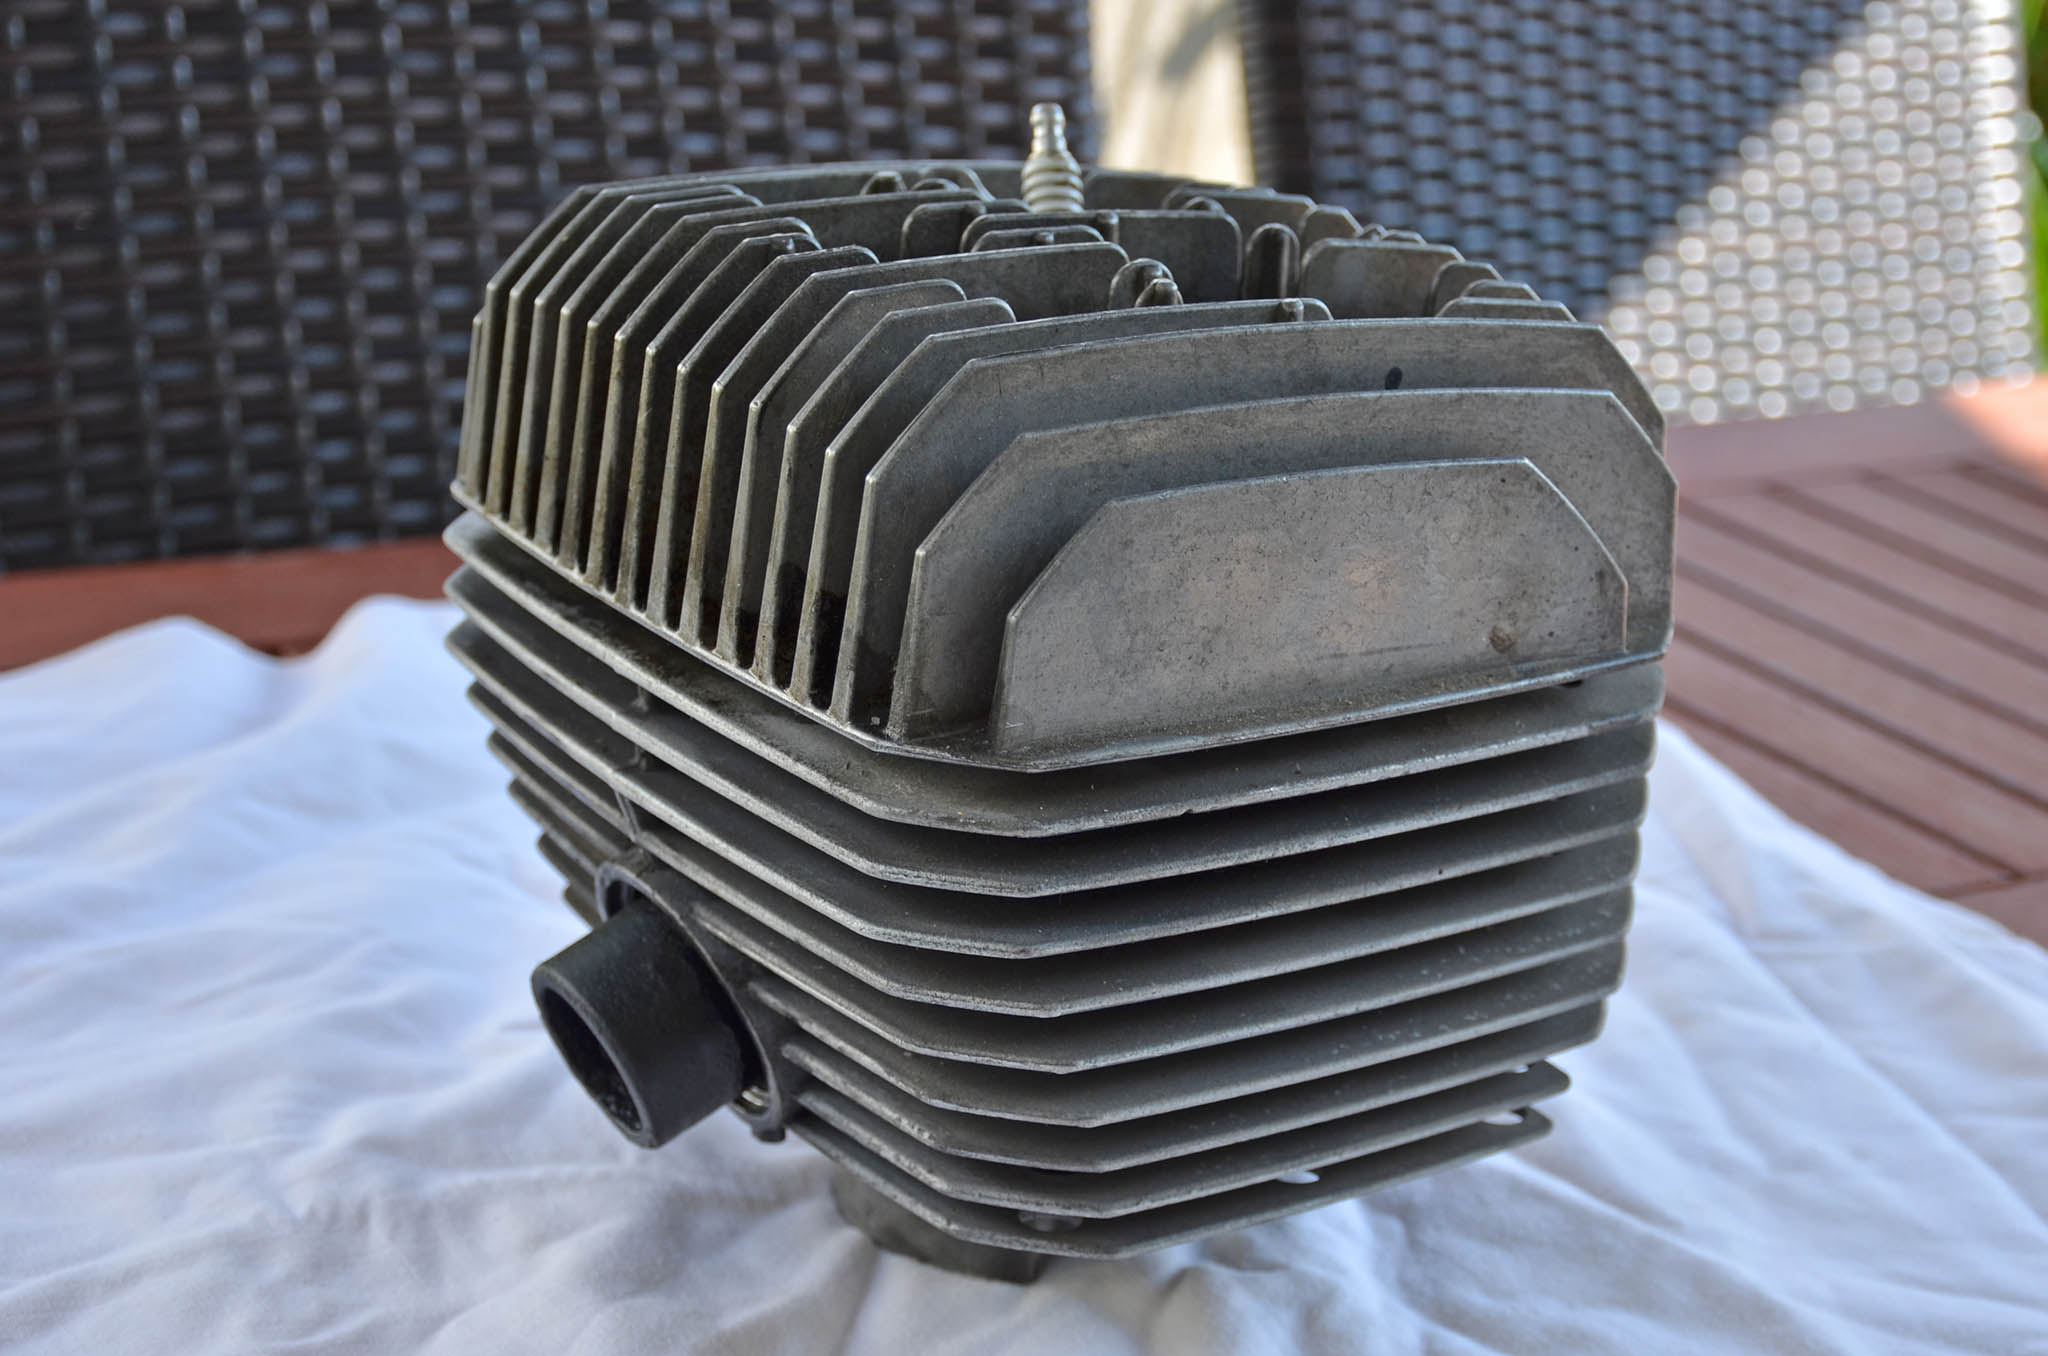
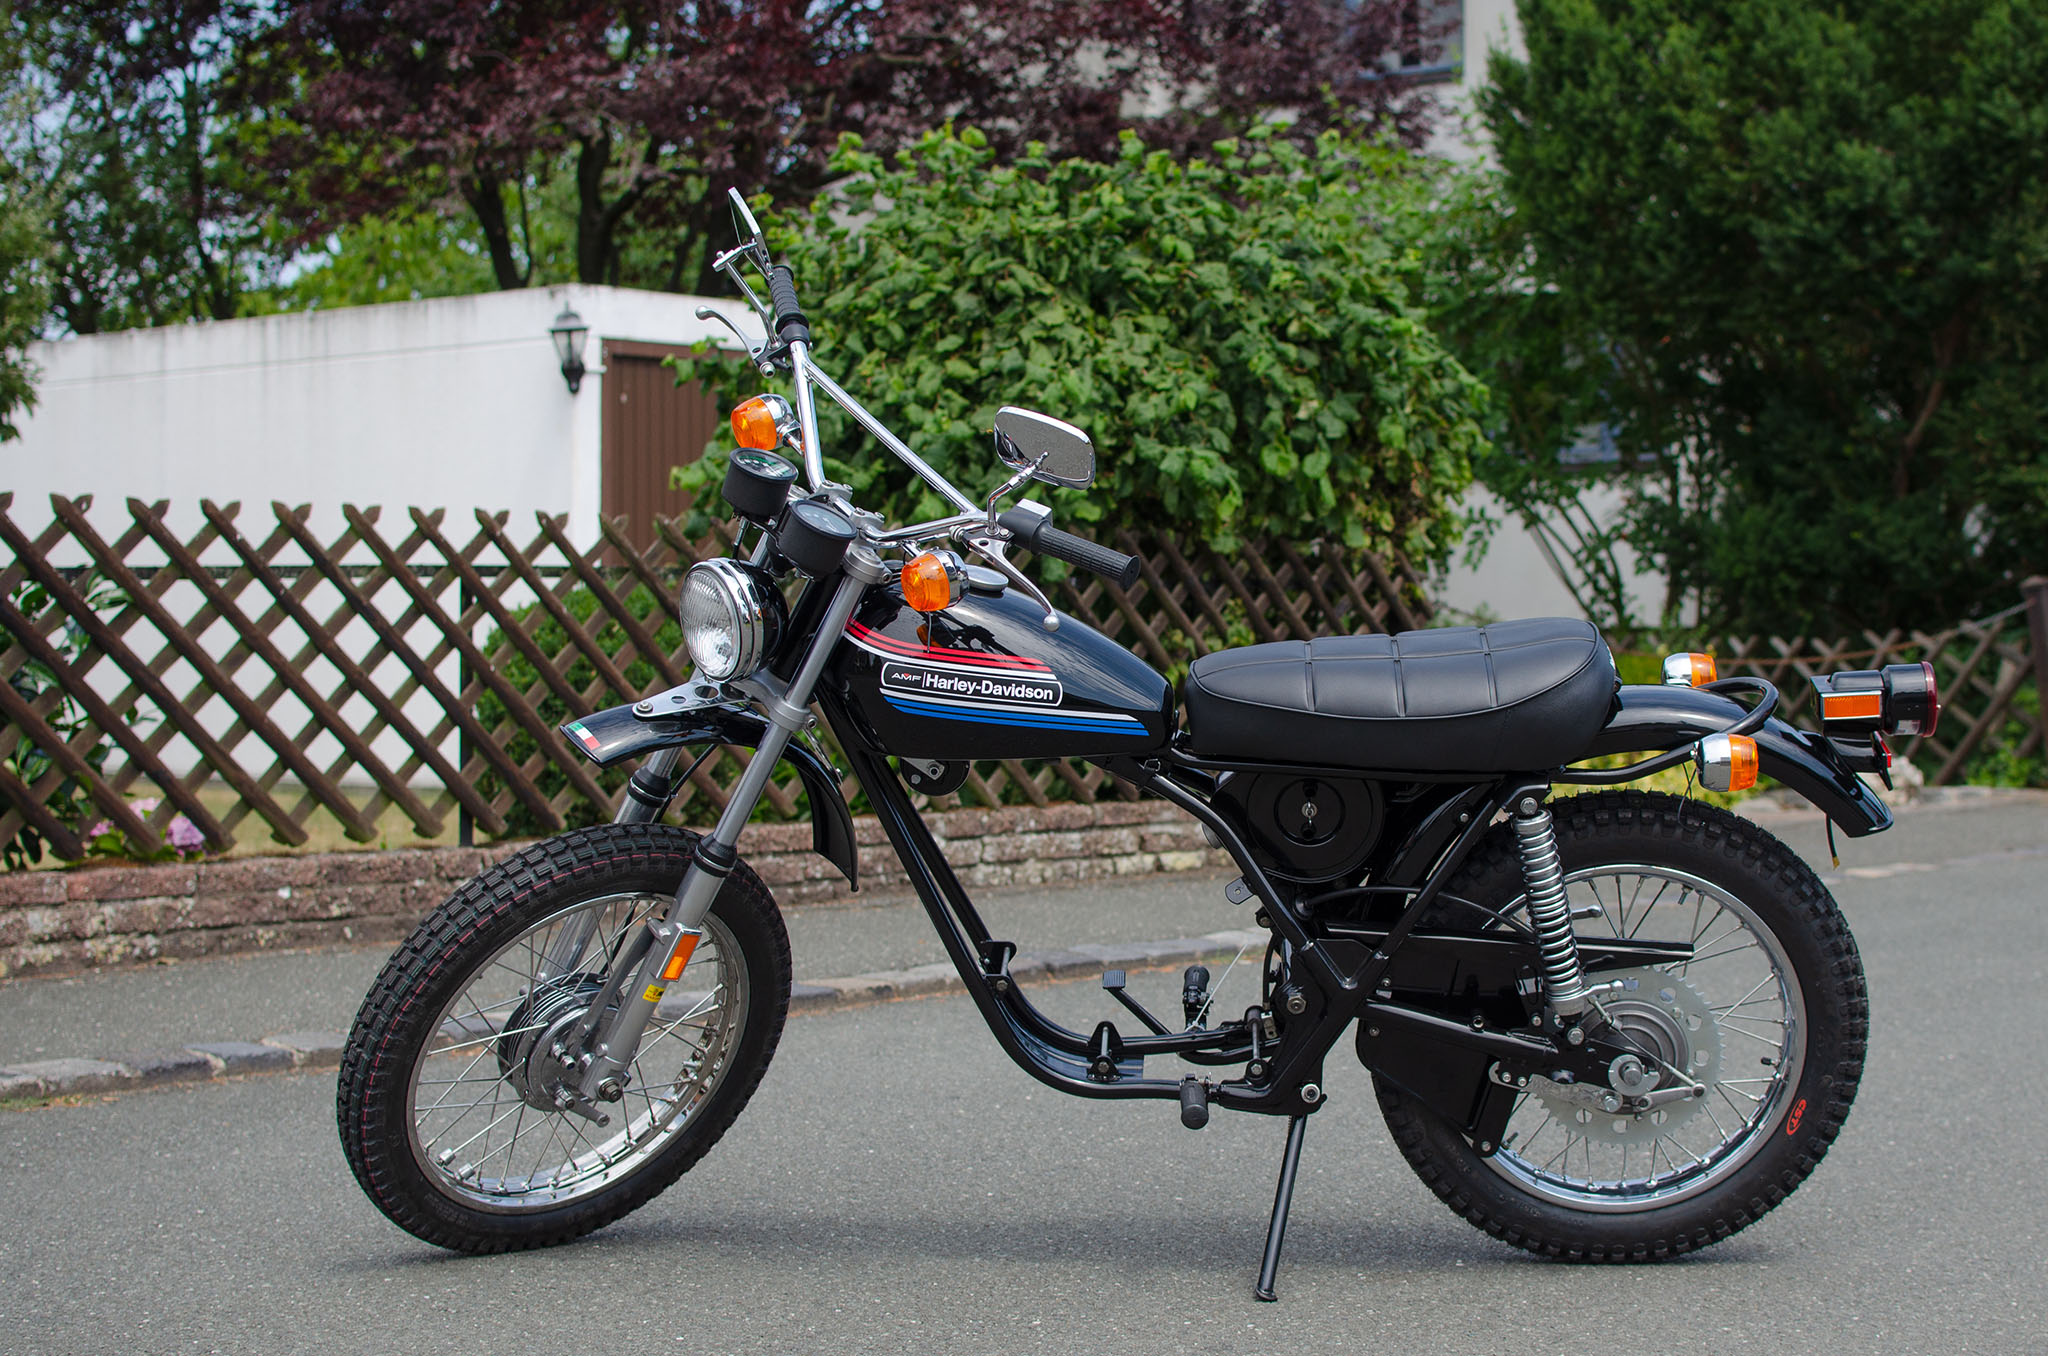
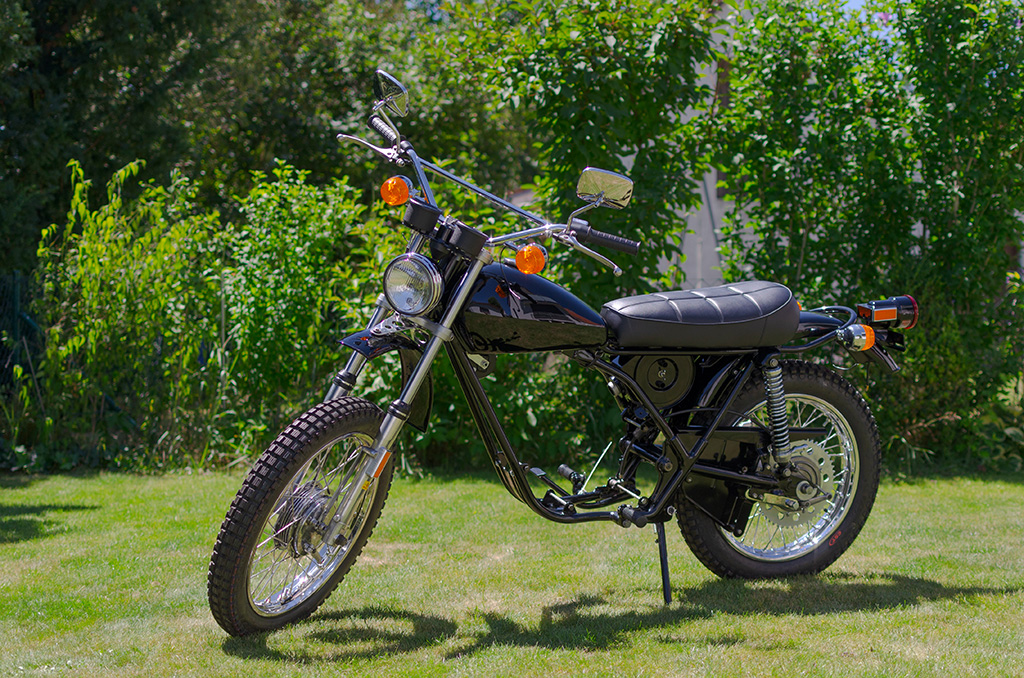
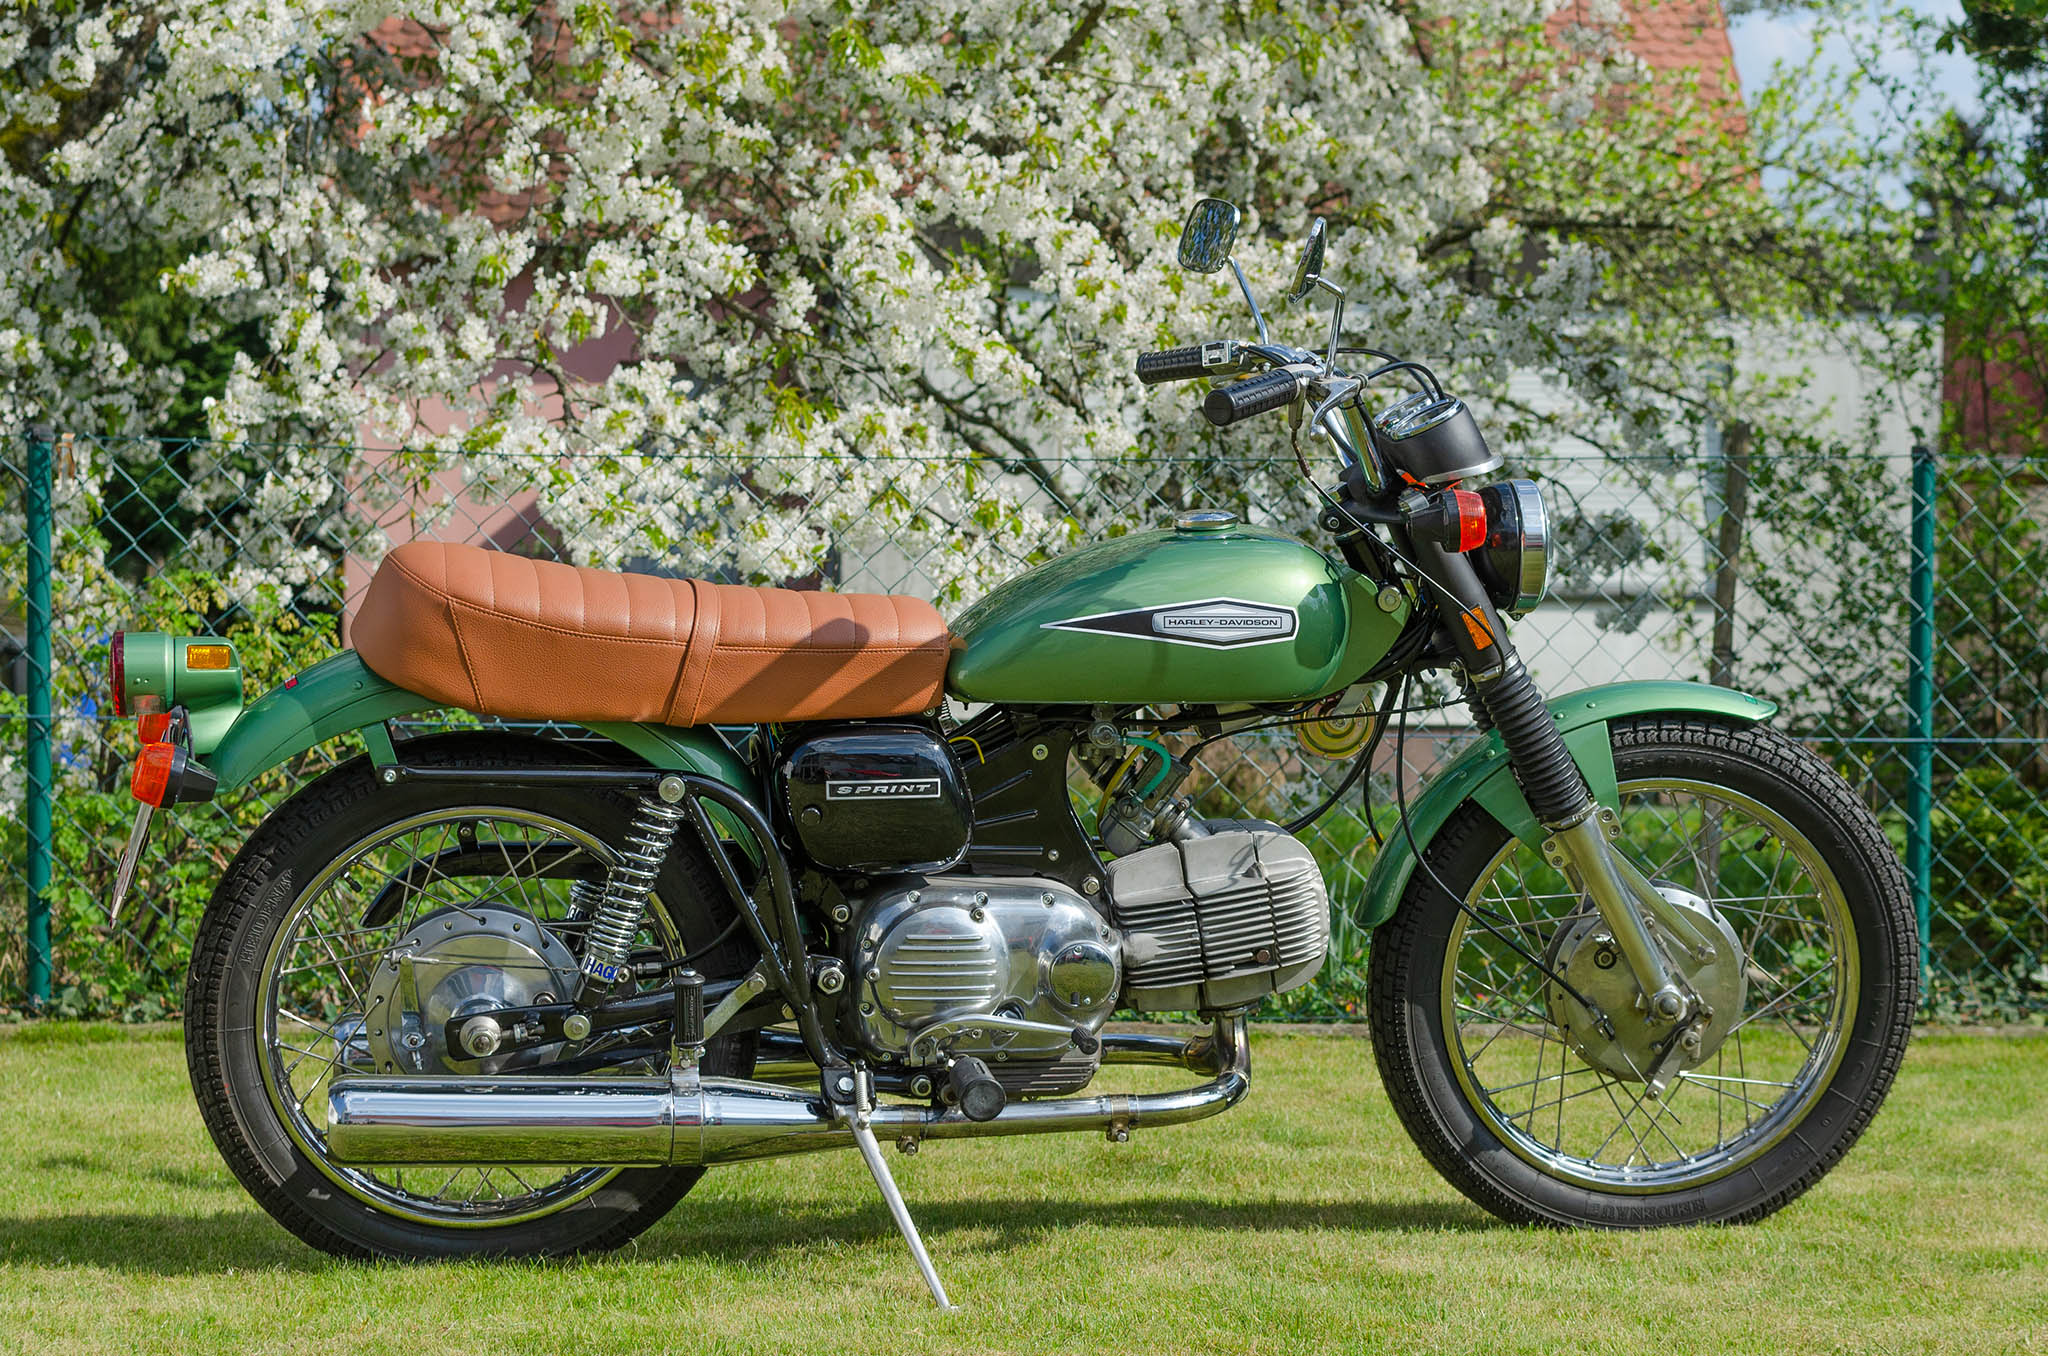
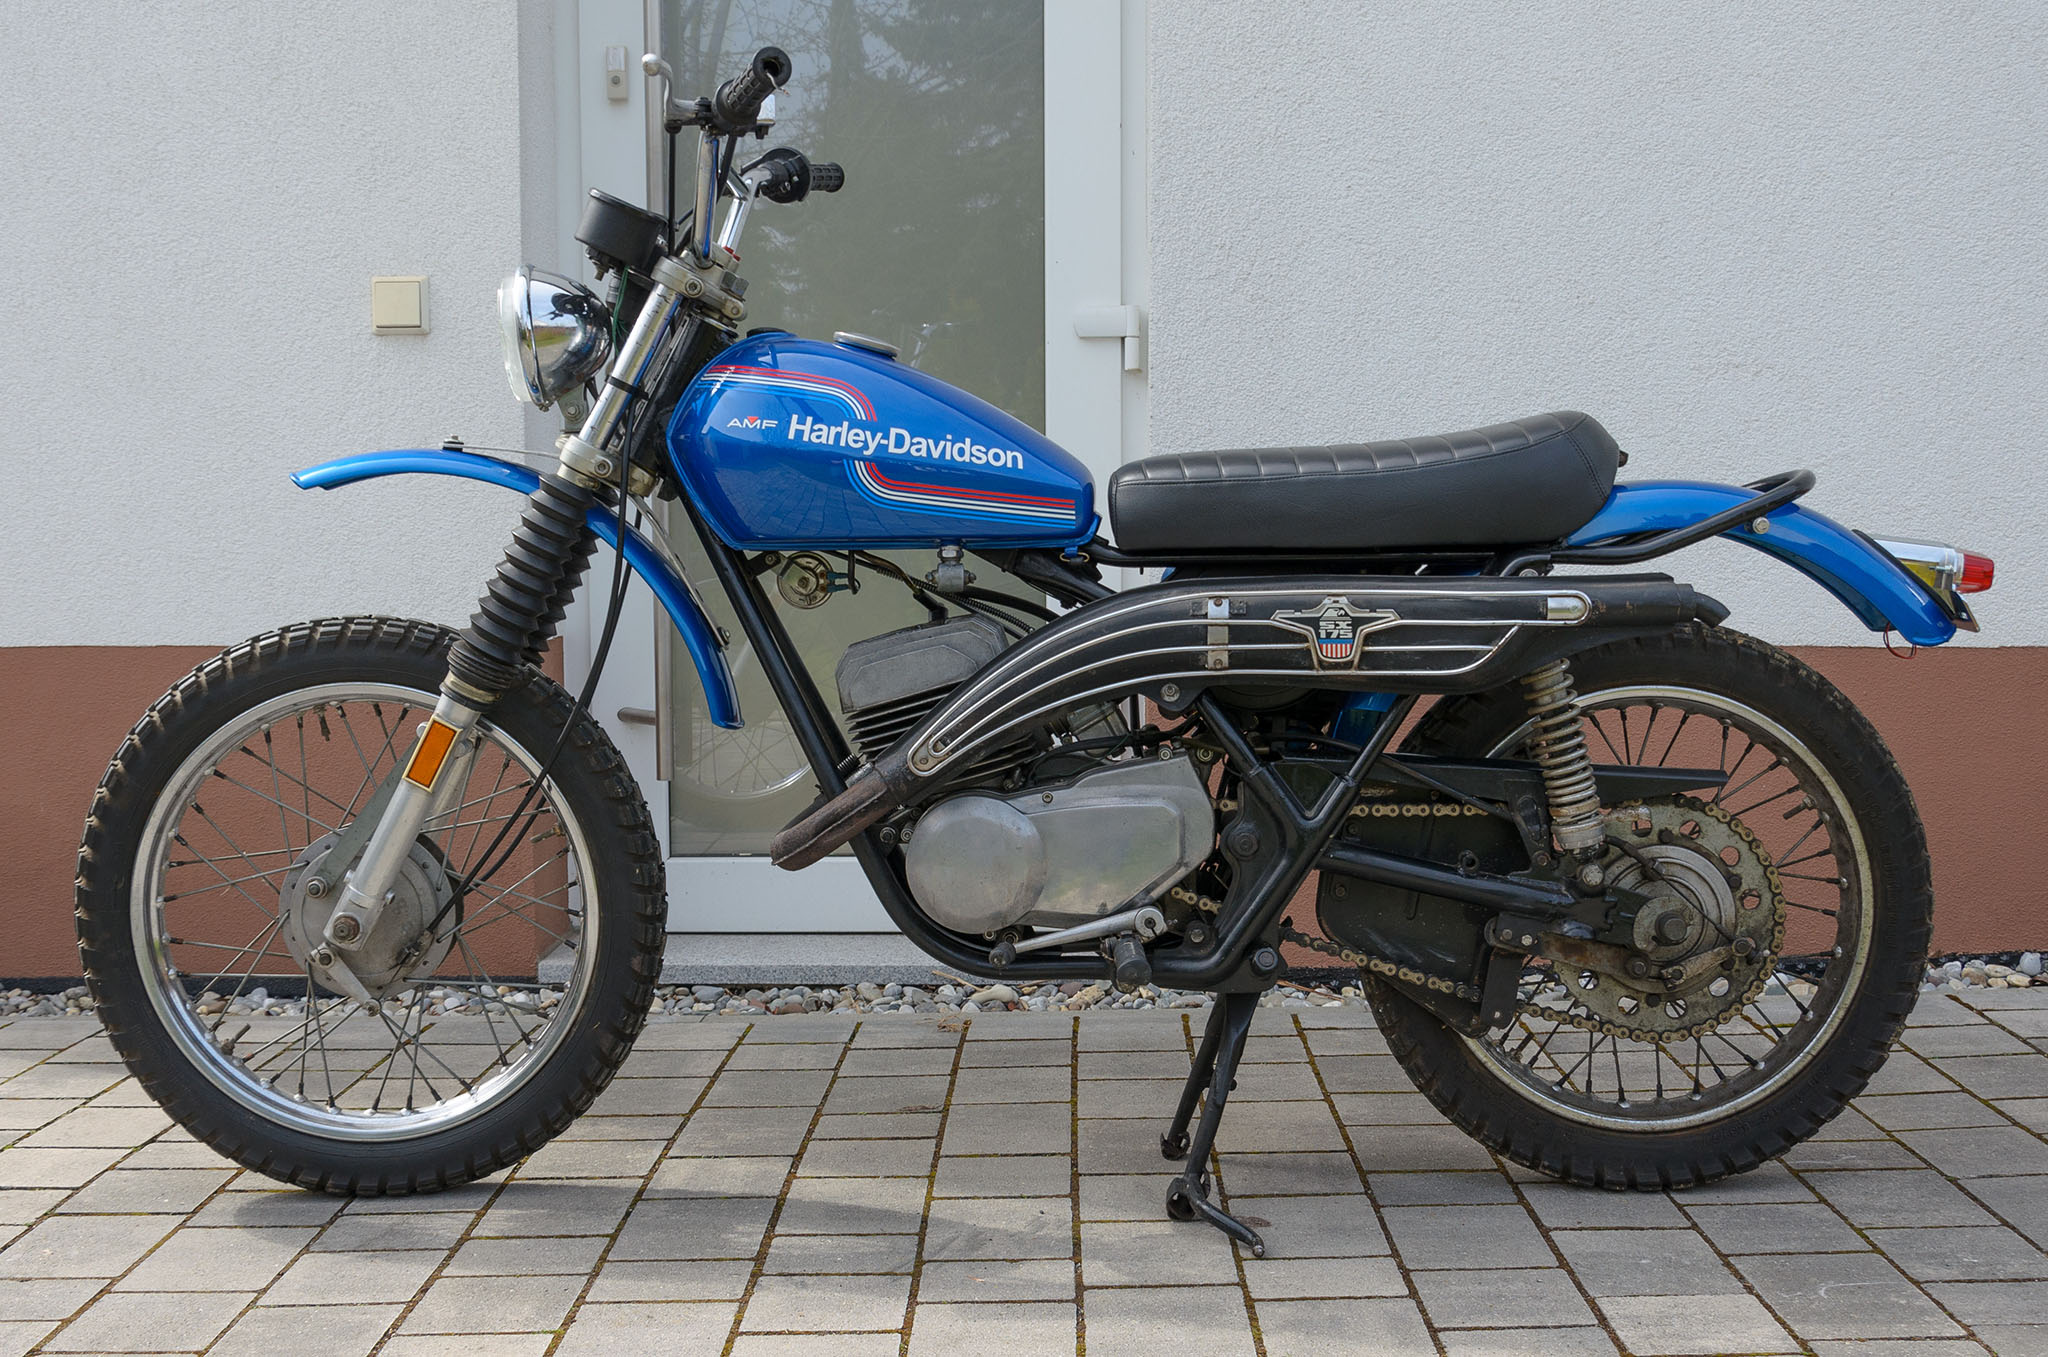
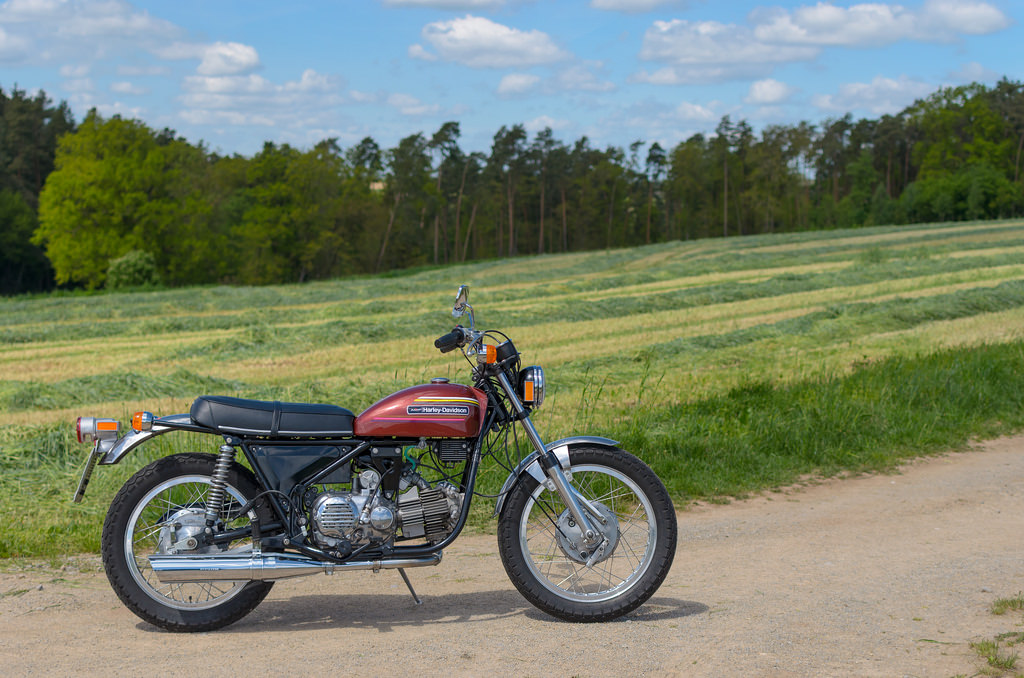
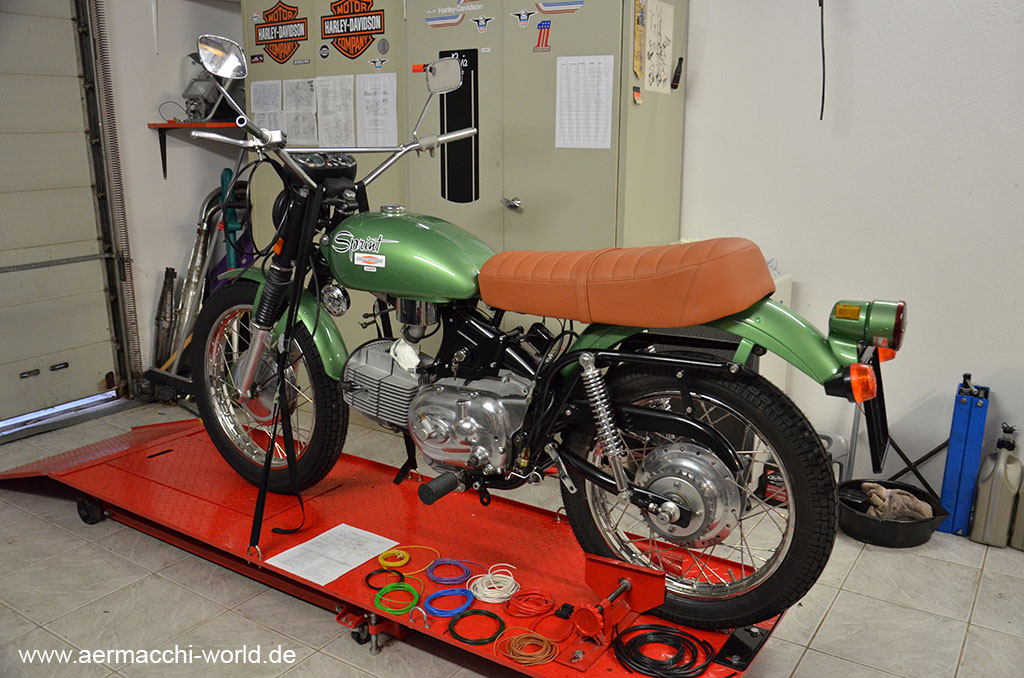
The Chimera is the ancestor of all the Aermacchi four-stroke bikes. The engine was developed especially for the Chimera by engineer Alfredo Bianchi. This new OHV motor with almost horizontal Cylinder was also used in later Aermacchi 175cc and 250cc models like Ala Rossa and Ala Verde and it was also the Basis for some sucessful Aermacchi racing bikes like the Ala d’Oro. The engine was later redeveloped as 350cc motor and in 1973 it got equipped with an electric-starter-motor until model year 1974 when AMF Harley-Davidson decided to stop the production of the italian four-stroke bikes in 1973.

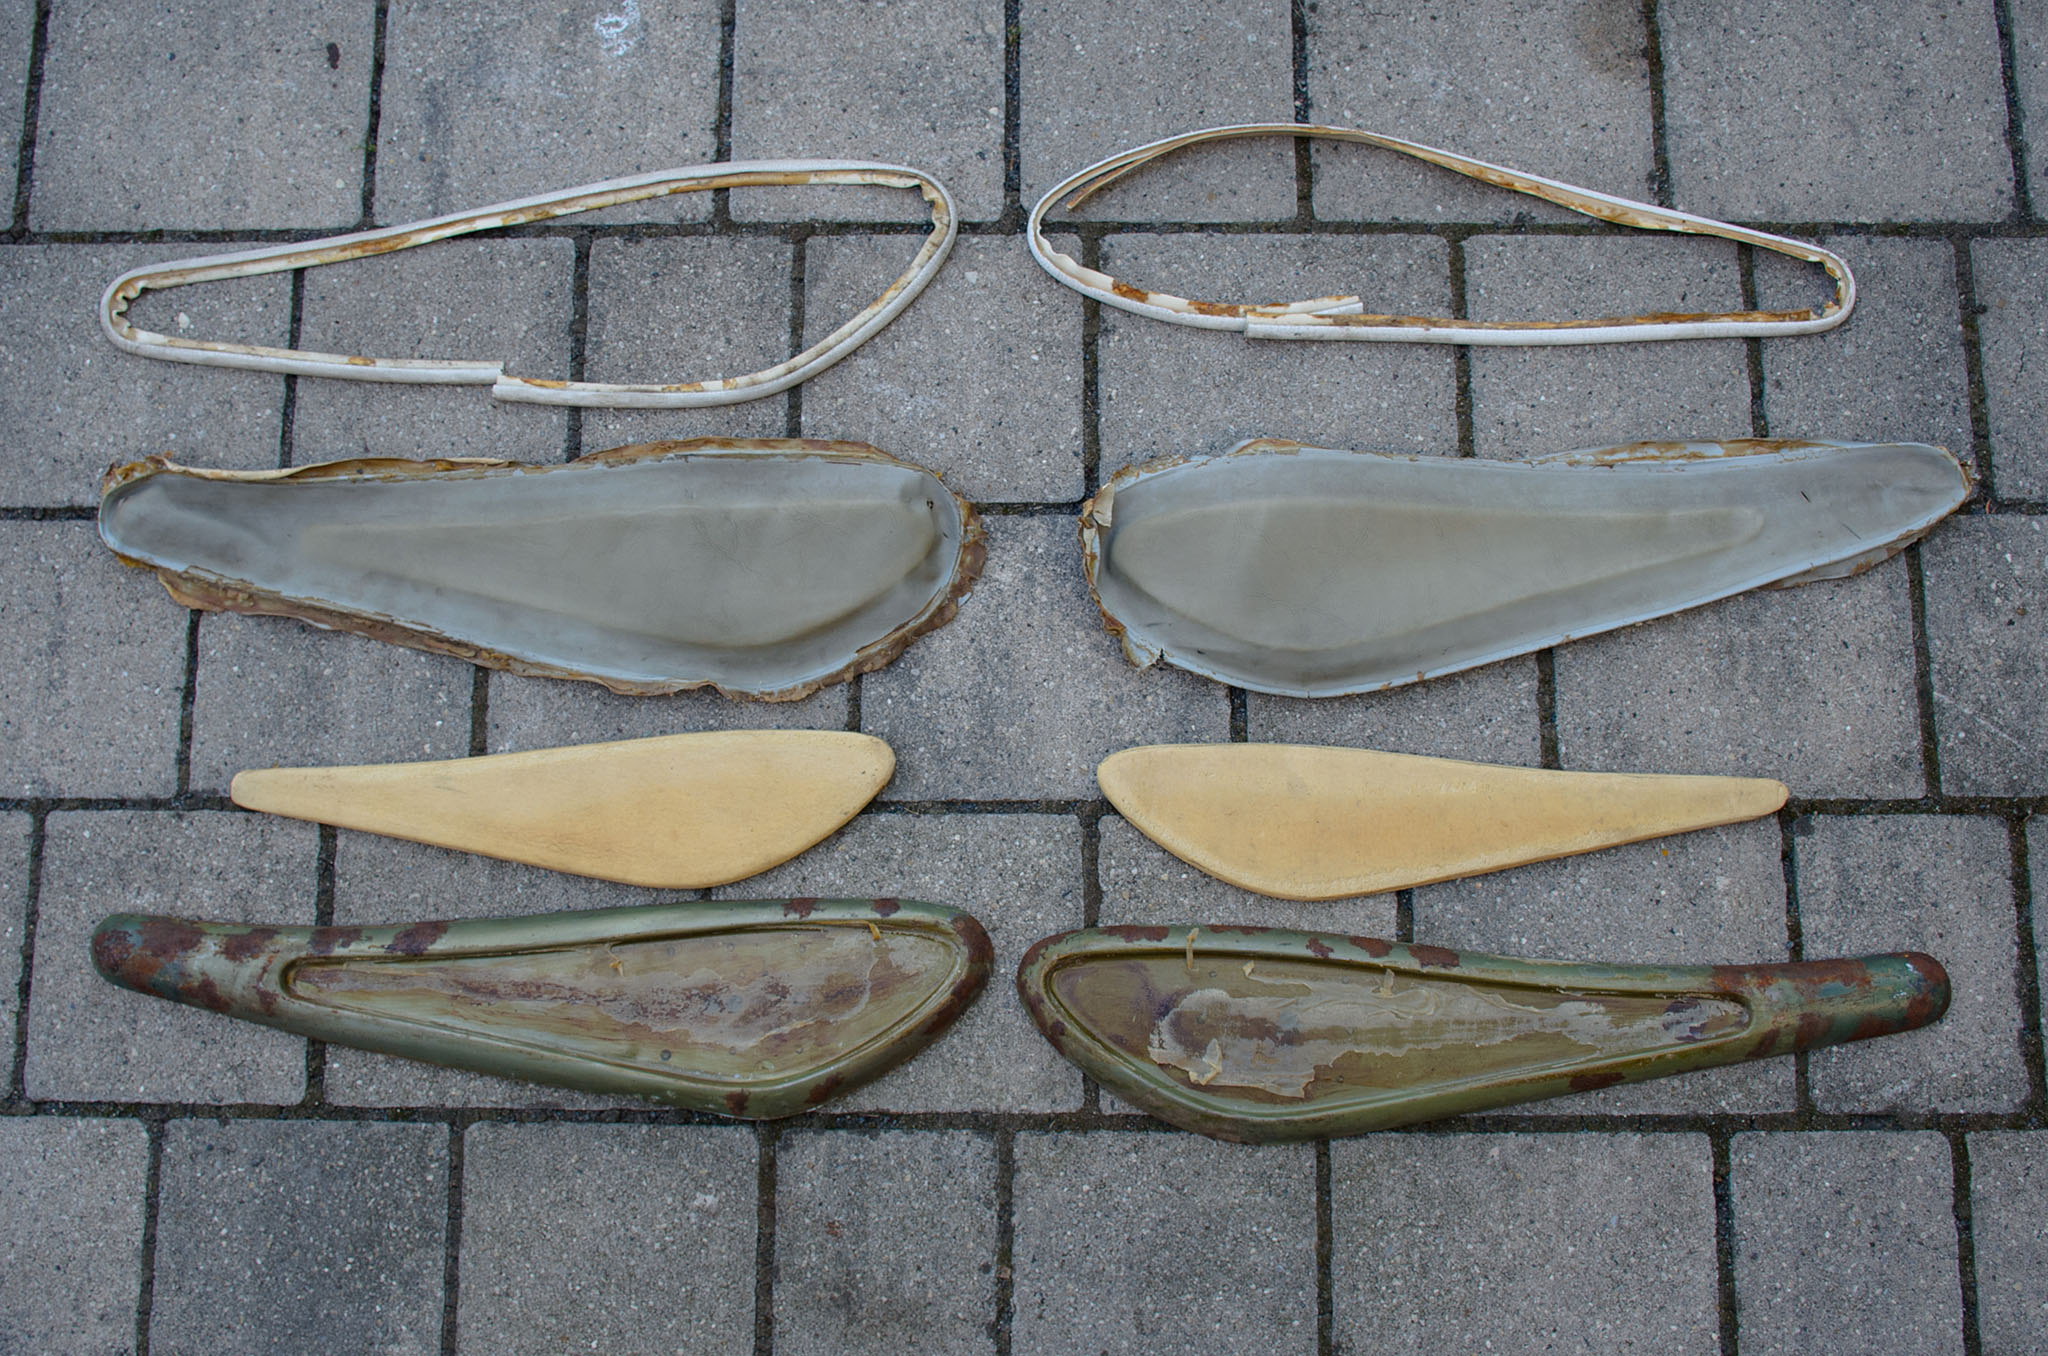
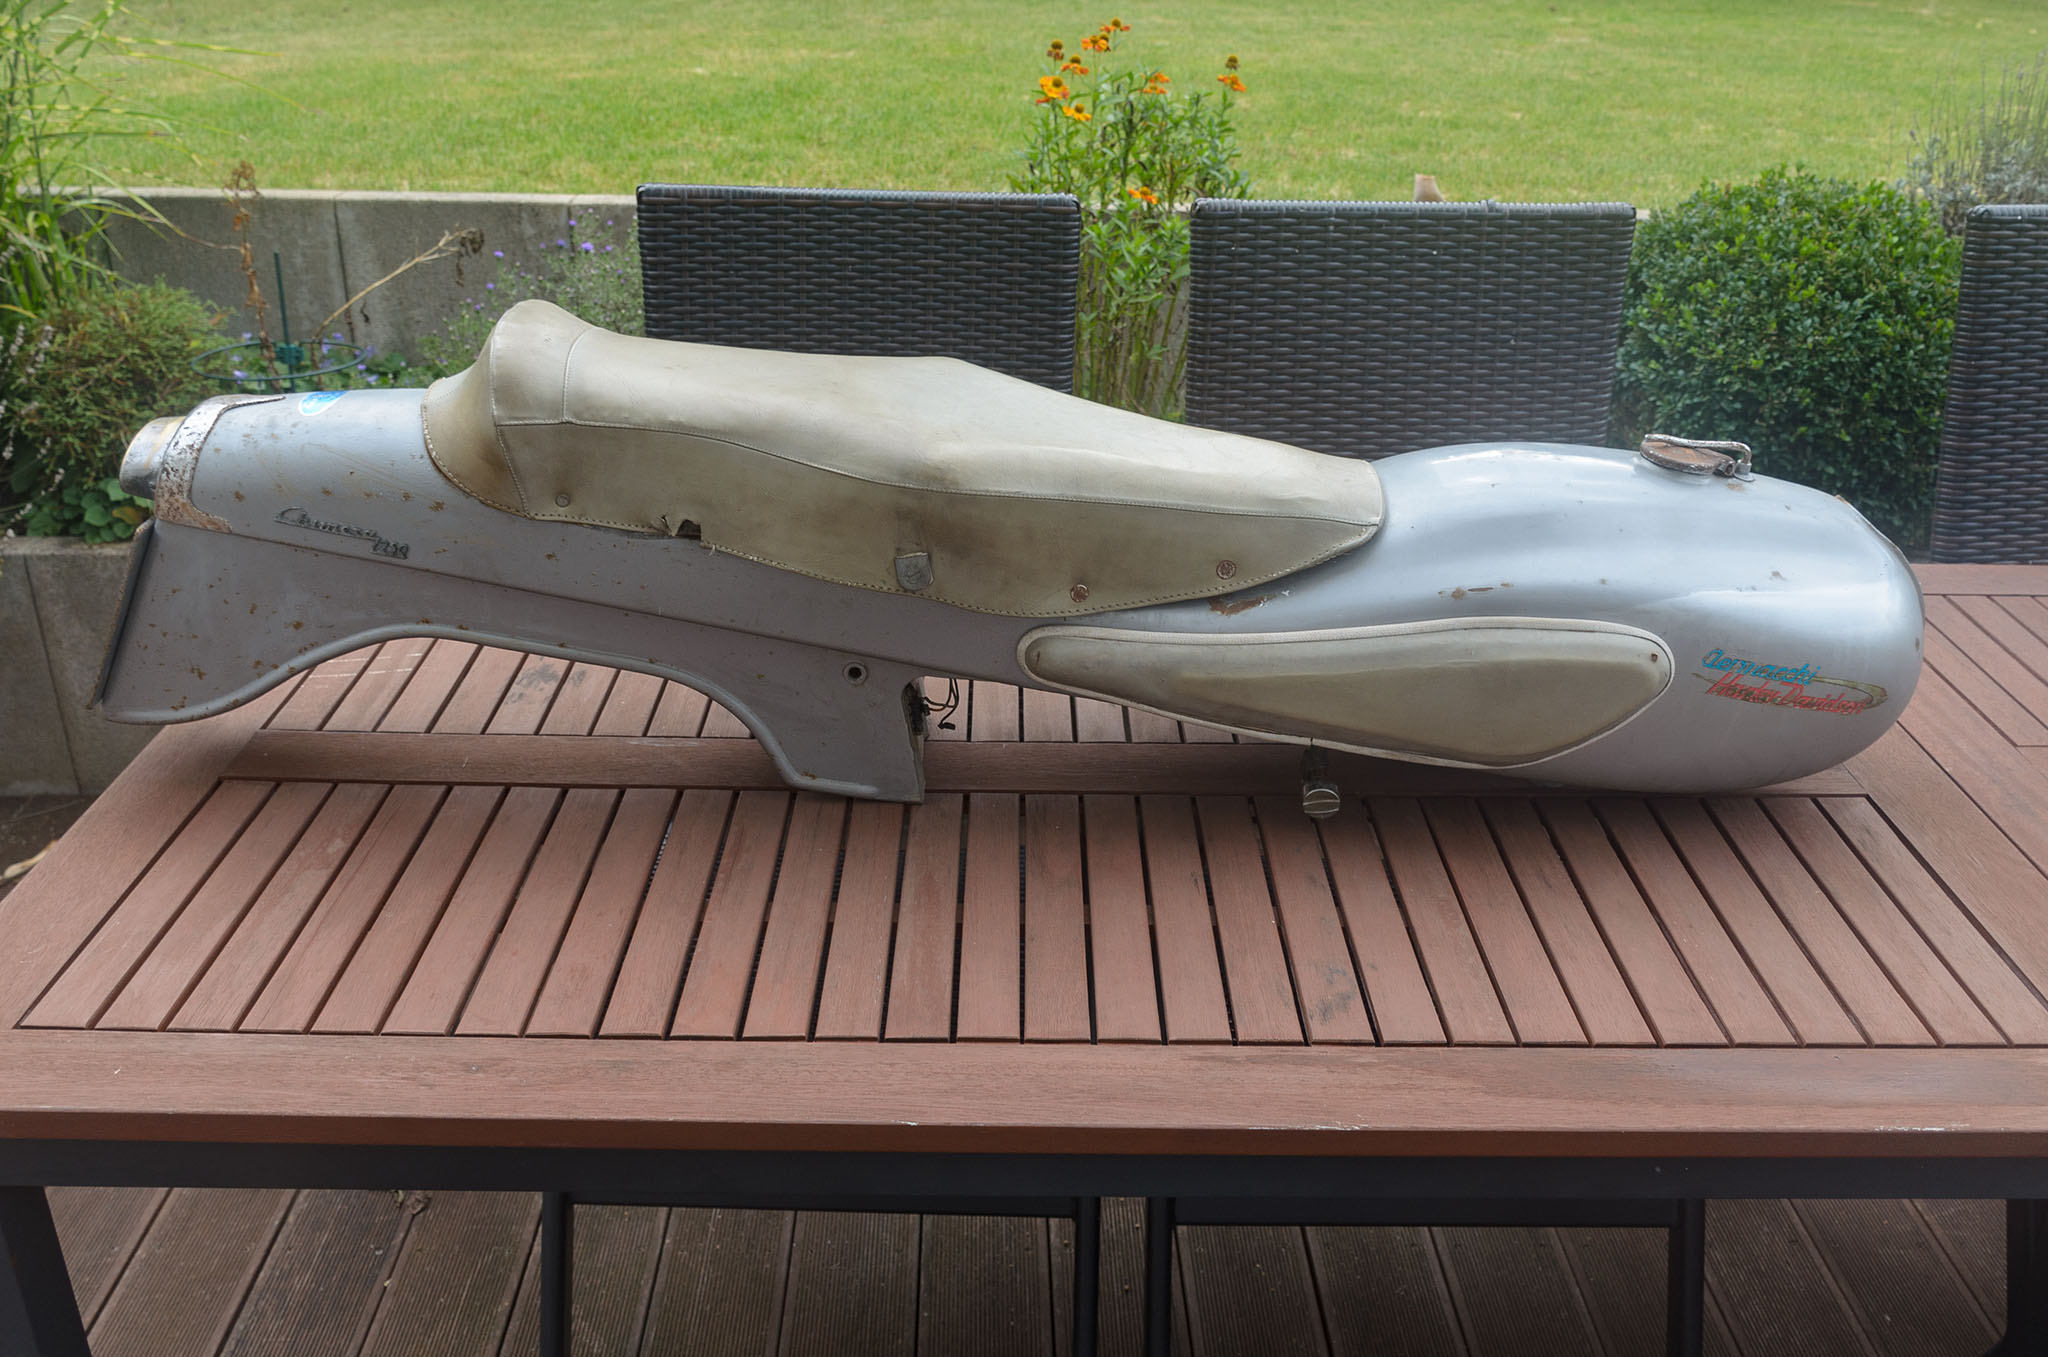
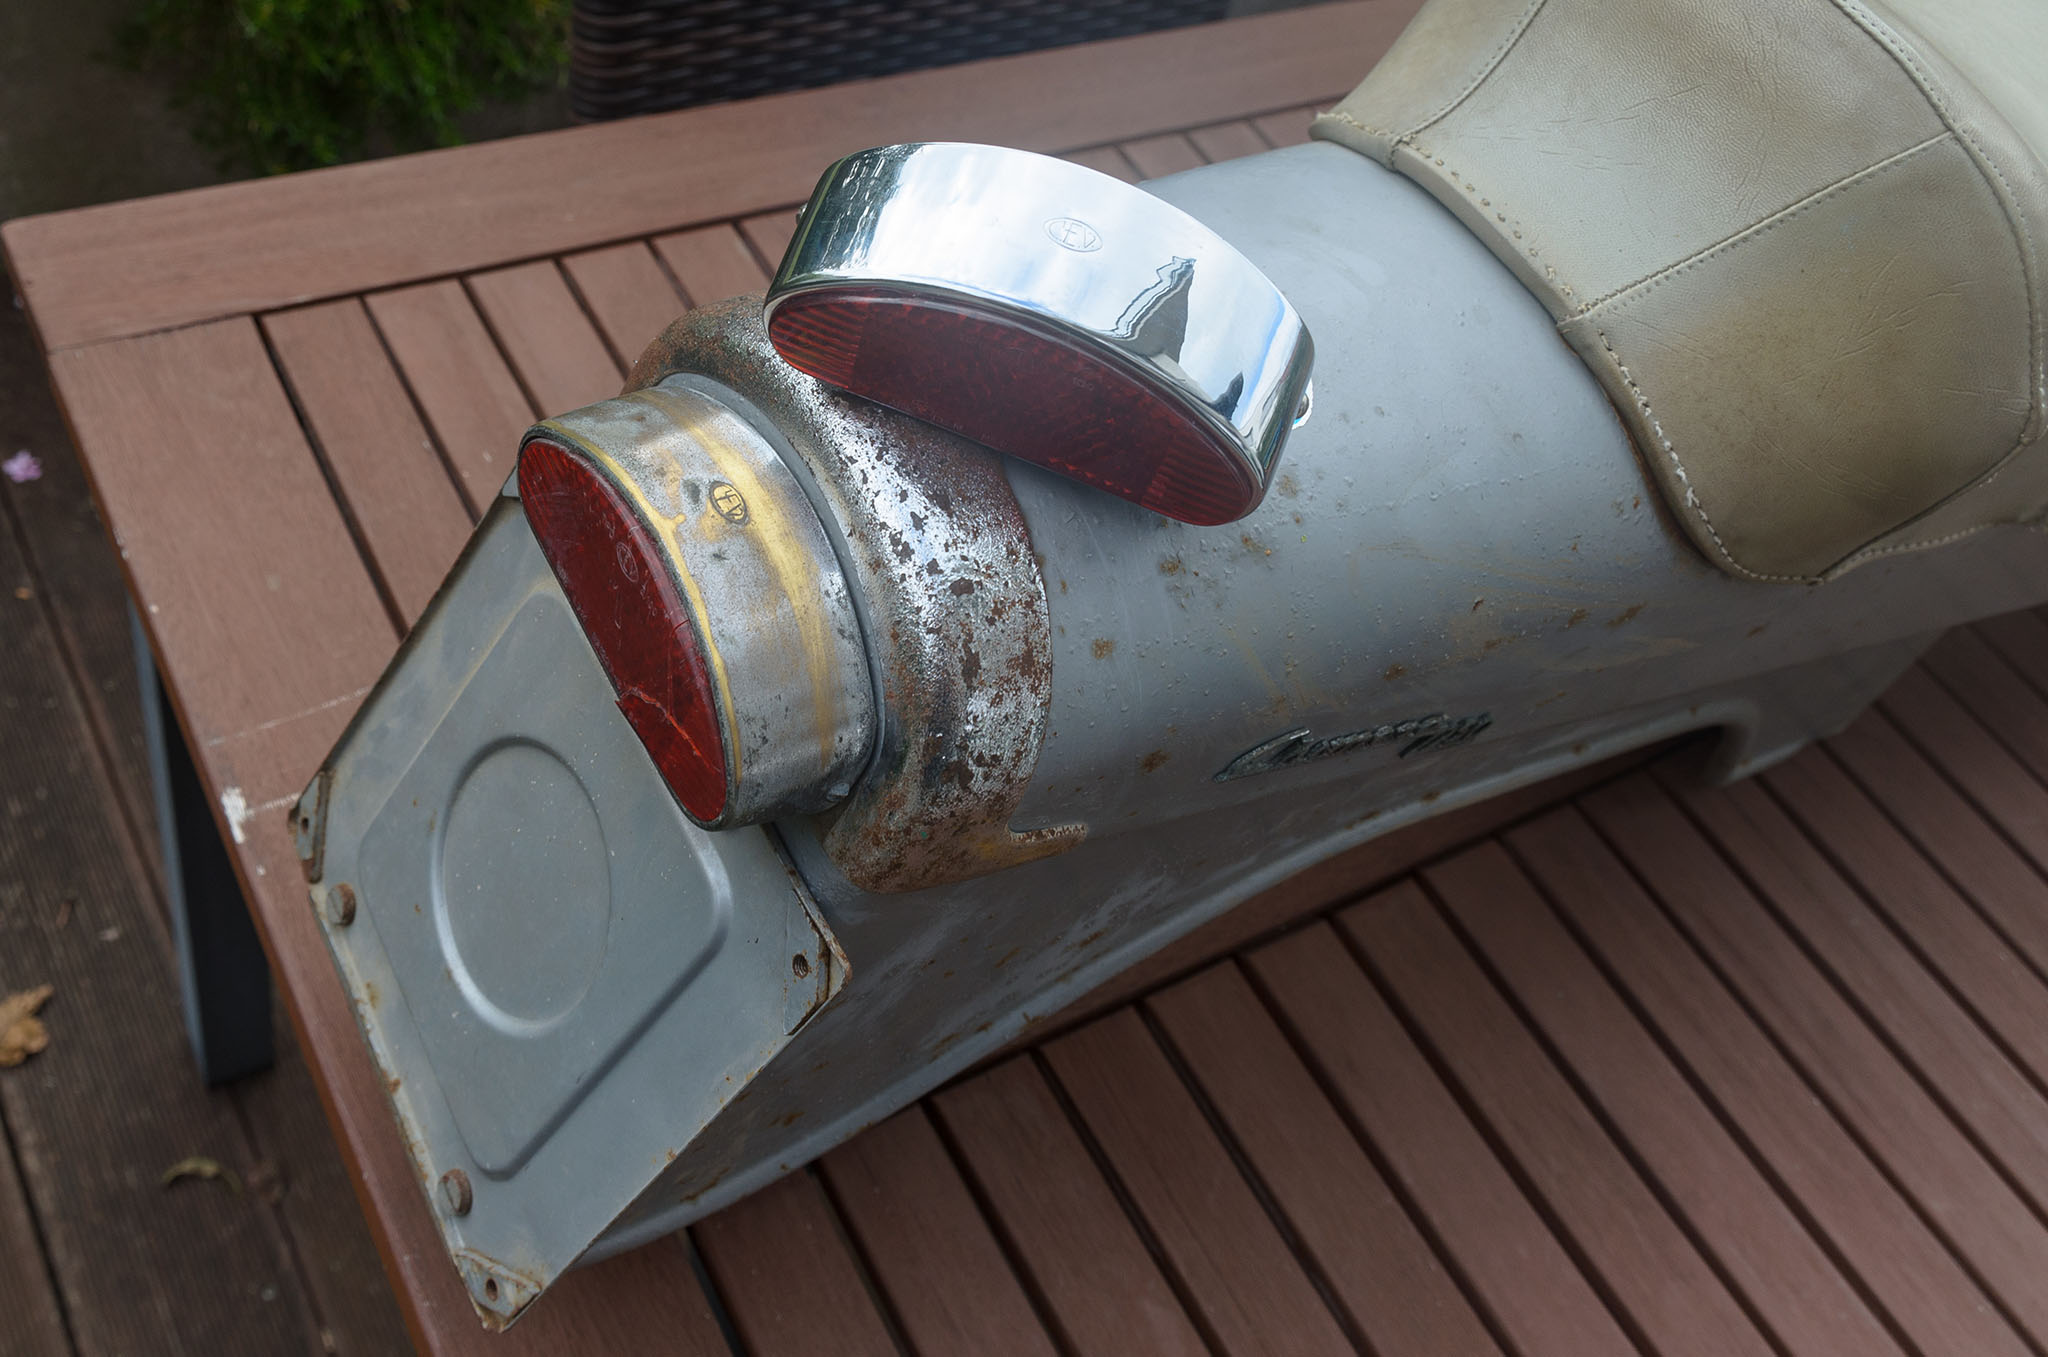
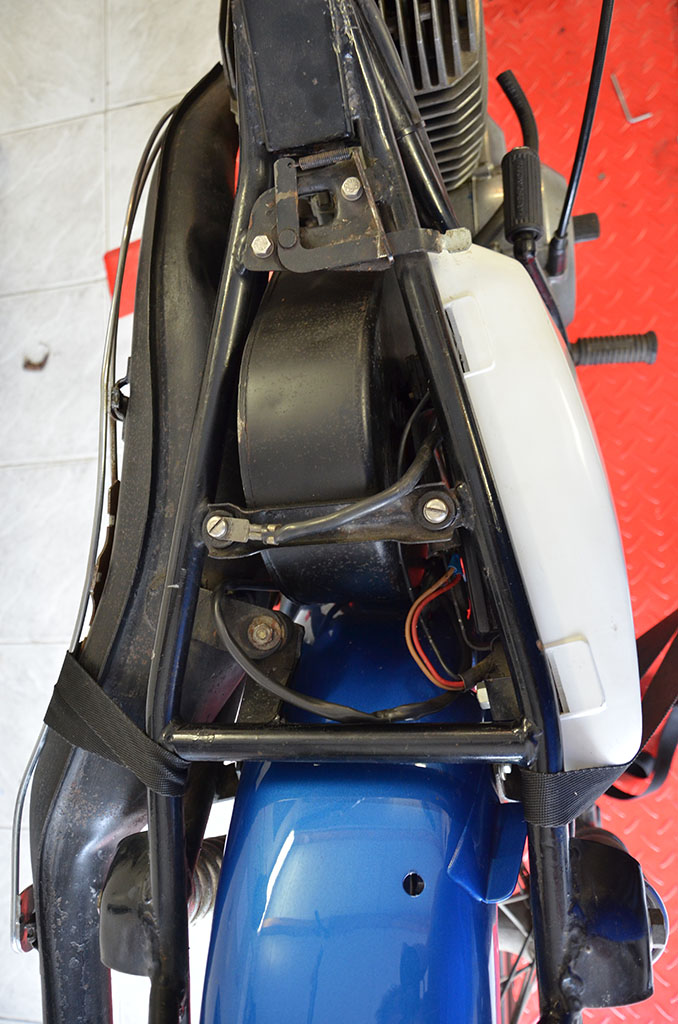
Designer Mario Revelli di Beaumont was contracted in 1956 by Aermacchi to design this new four-stroke motorcycle. He was an experienced designer and also a motorcycle race driver who was already involved in designing some famous Fiat cars. In the 1930 he also worked for Pininfarina. Revelli got free hands designing the Chimera. He decided for the futuristic enclosed engine housing in a “turbine desgin” and a uncommen gas tank which is one piece together with the rear fender to show Aermacchis ancestry as aircraft maker. The bike was unveiled at the milan motorcycle fair in Dezember 1956.

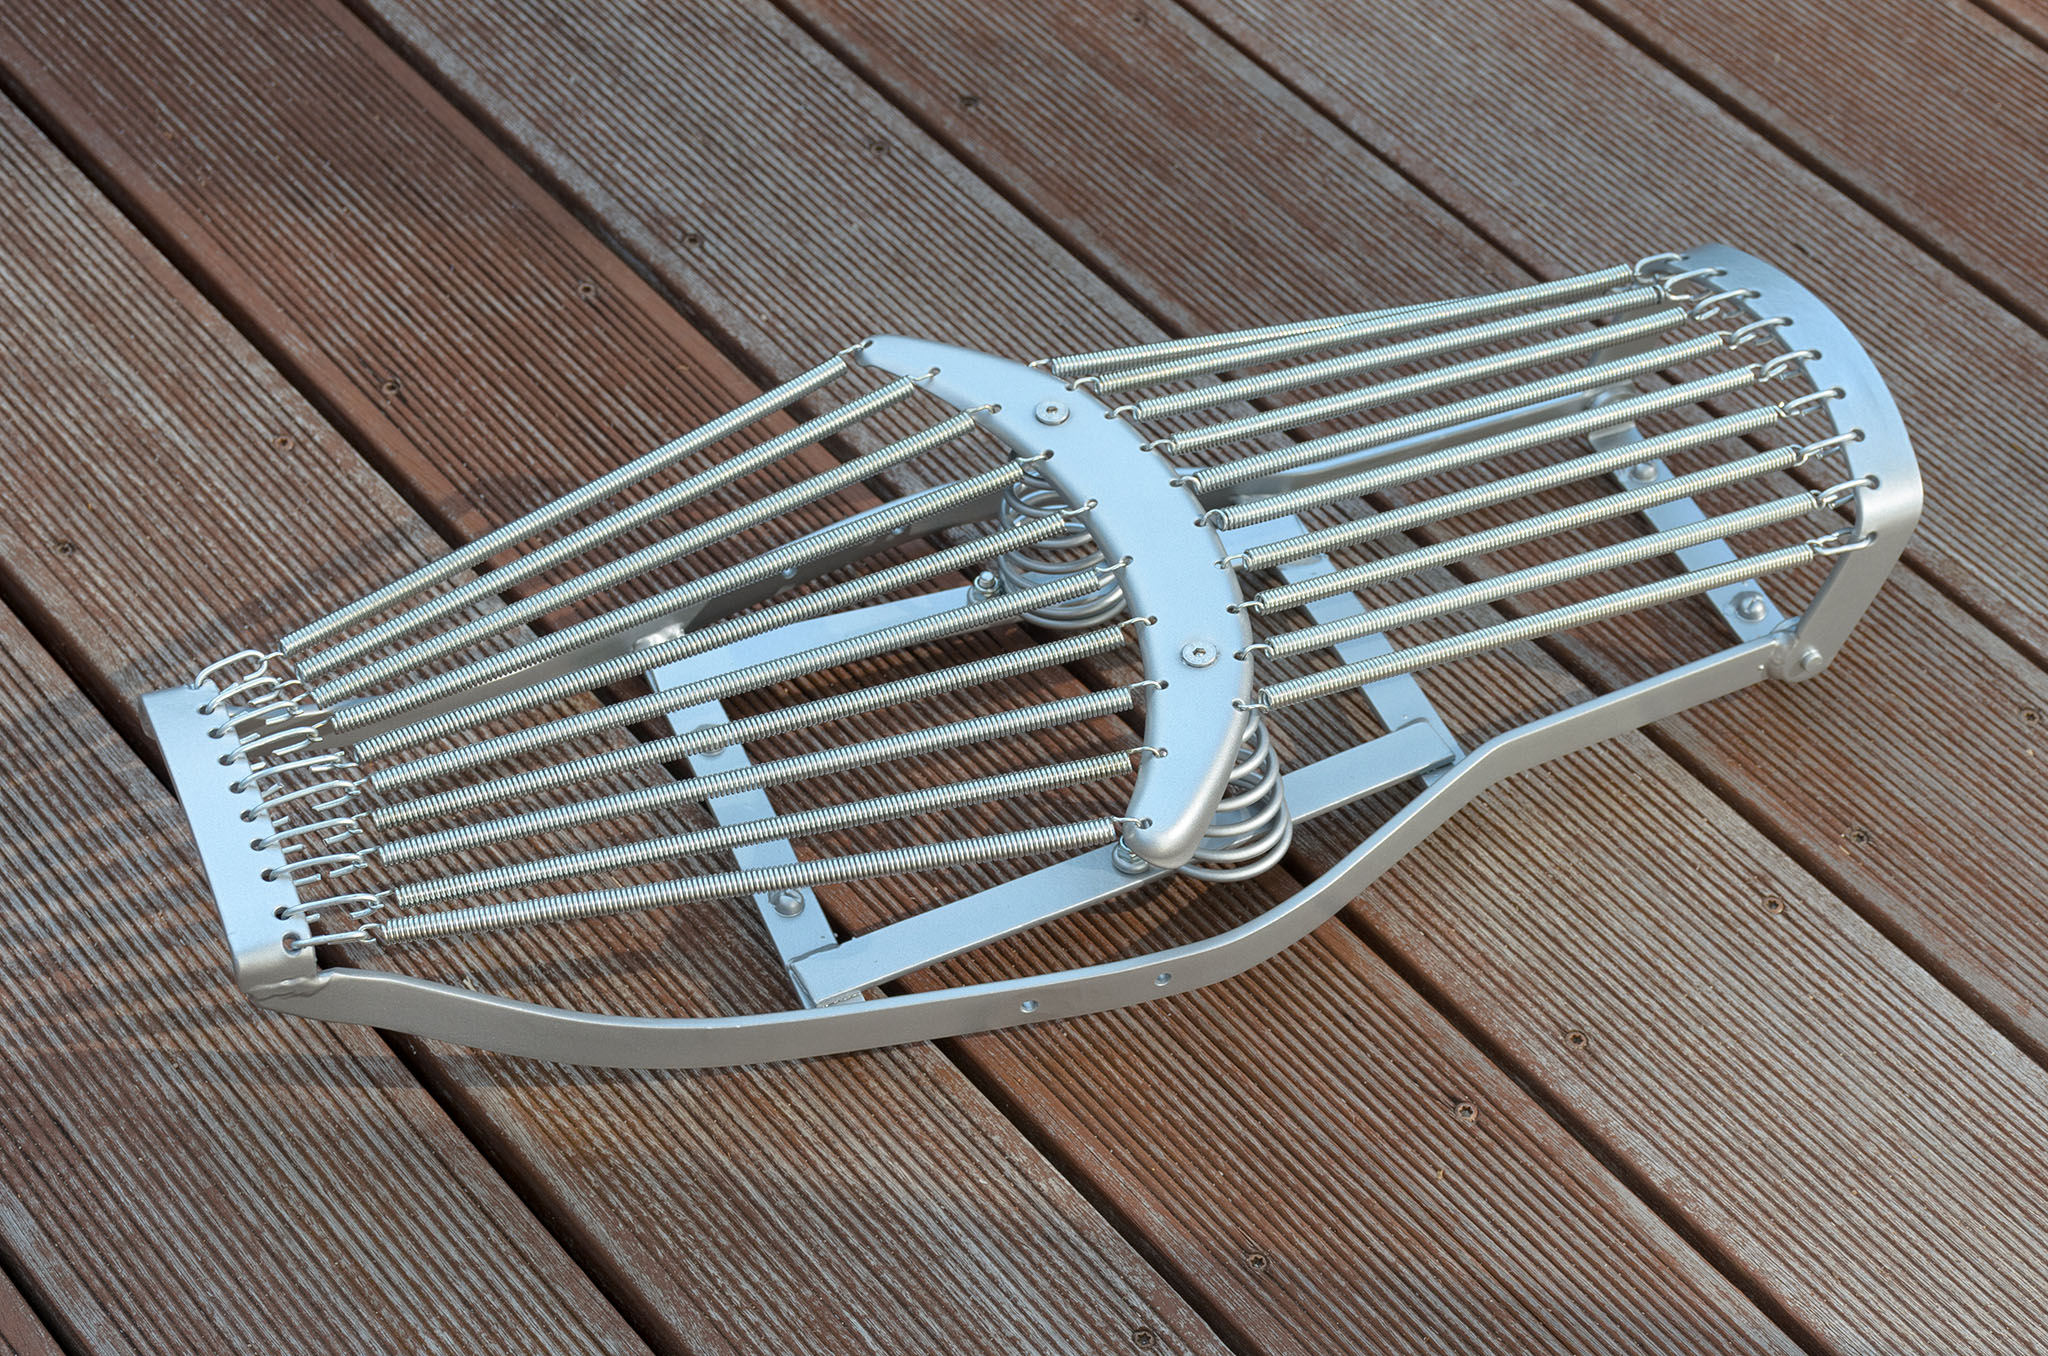
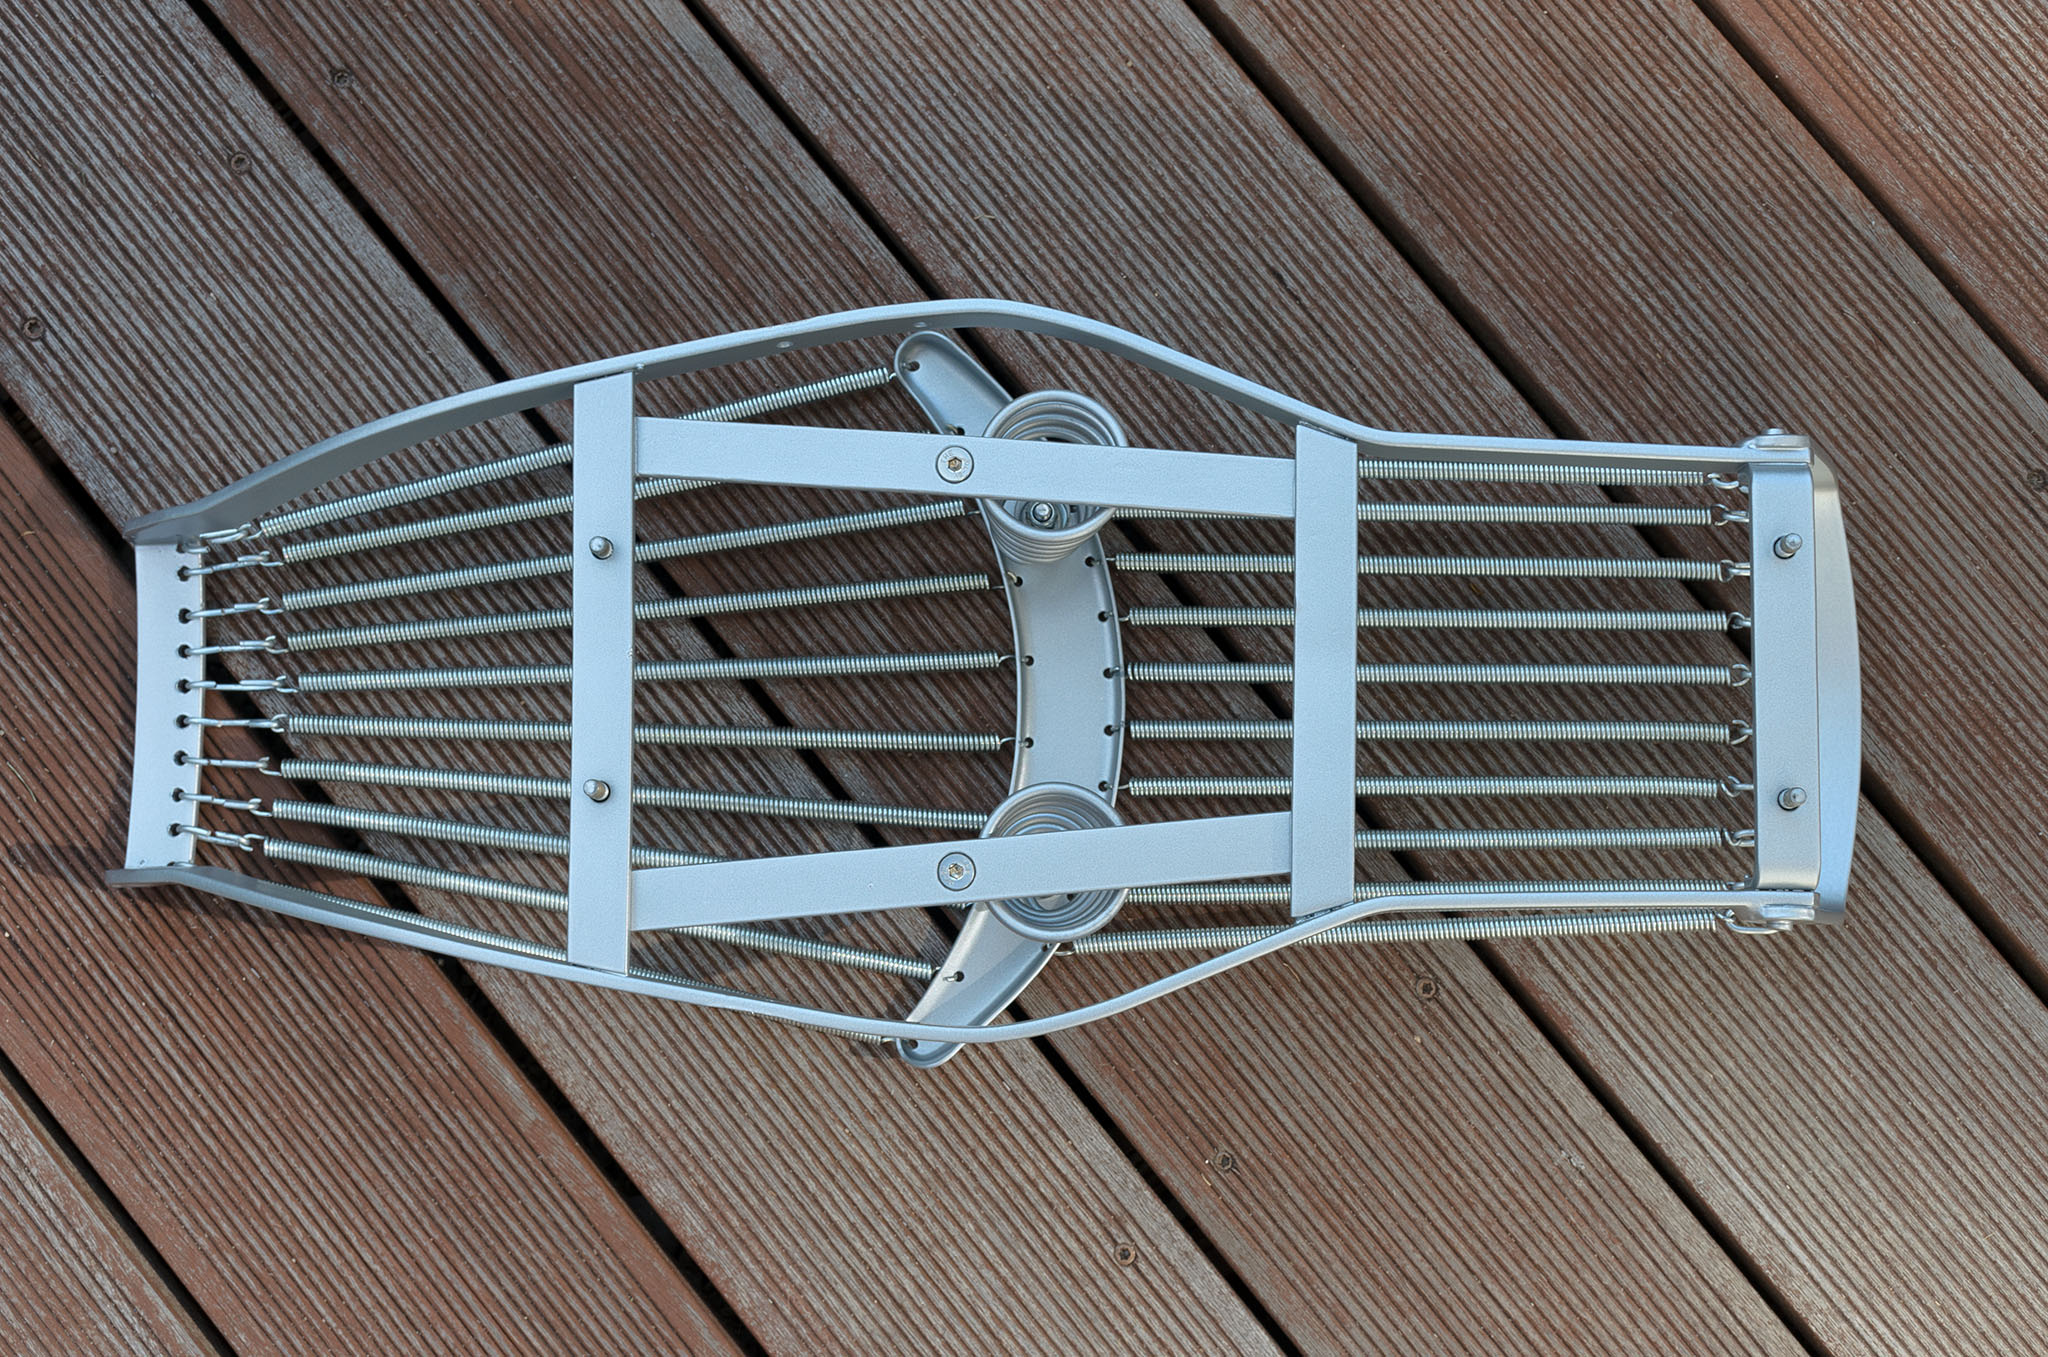
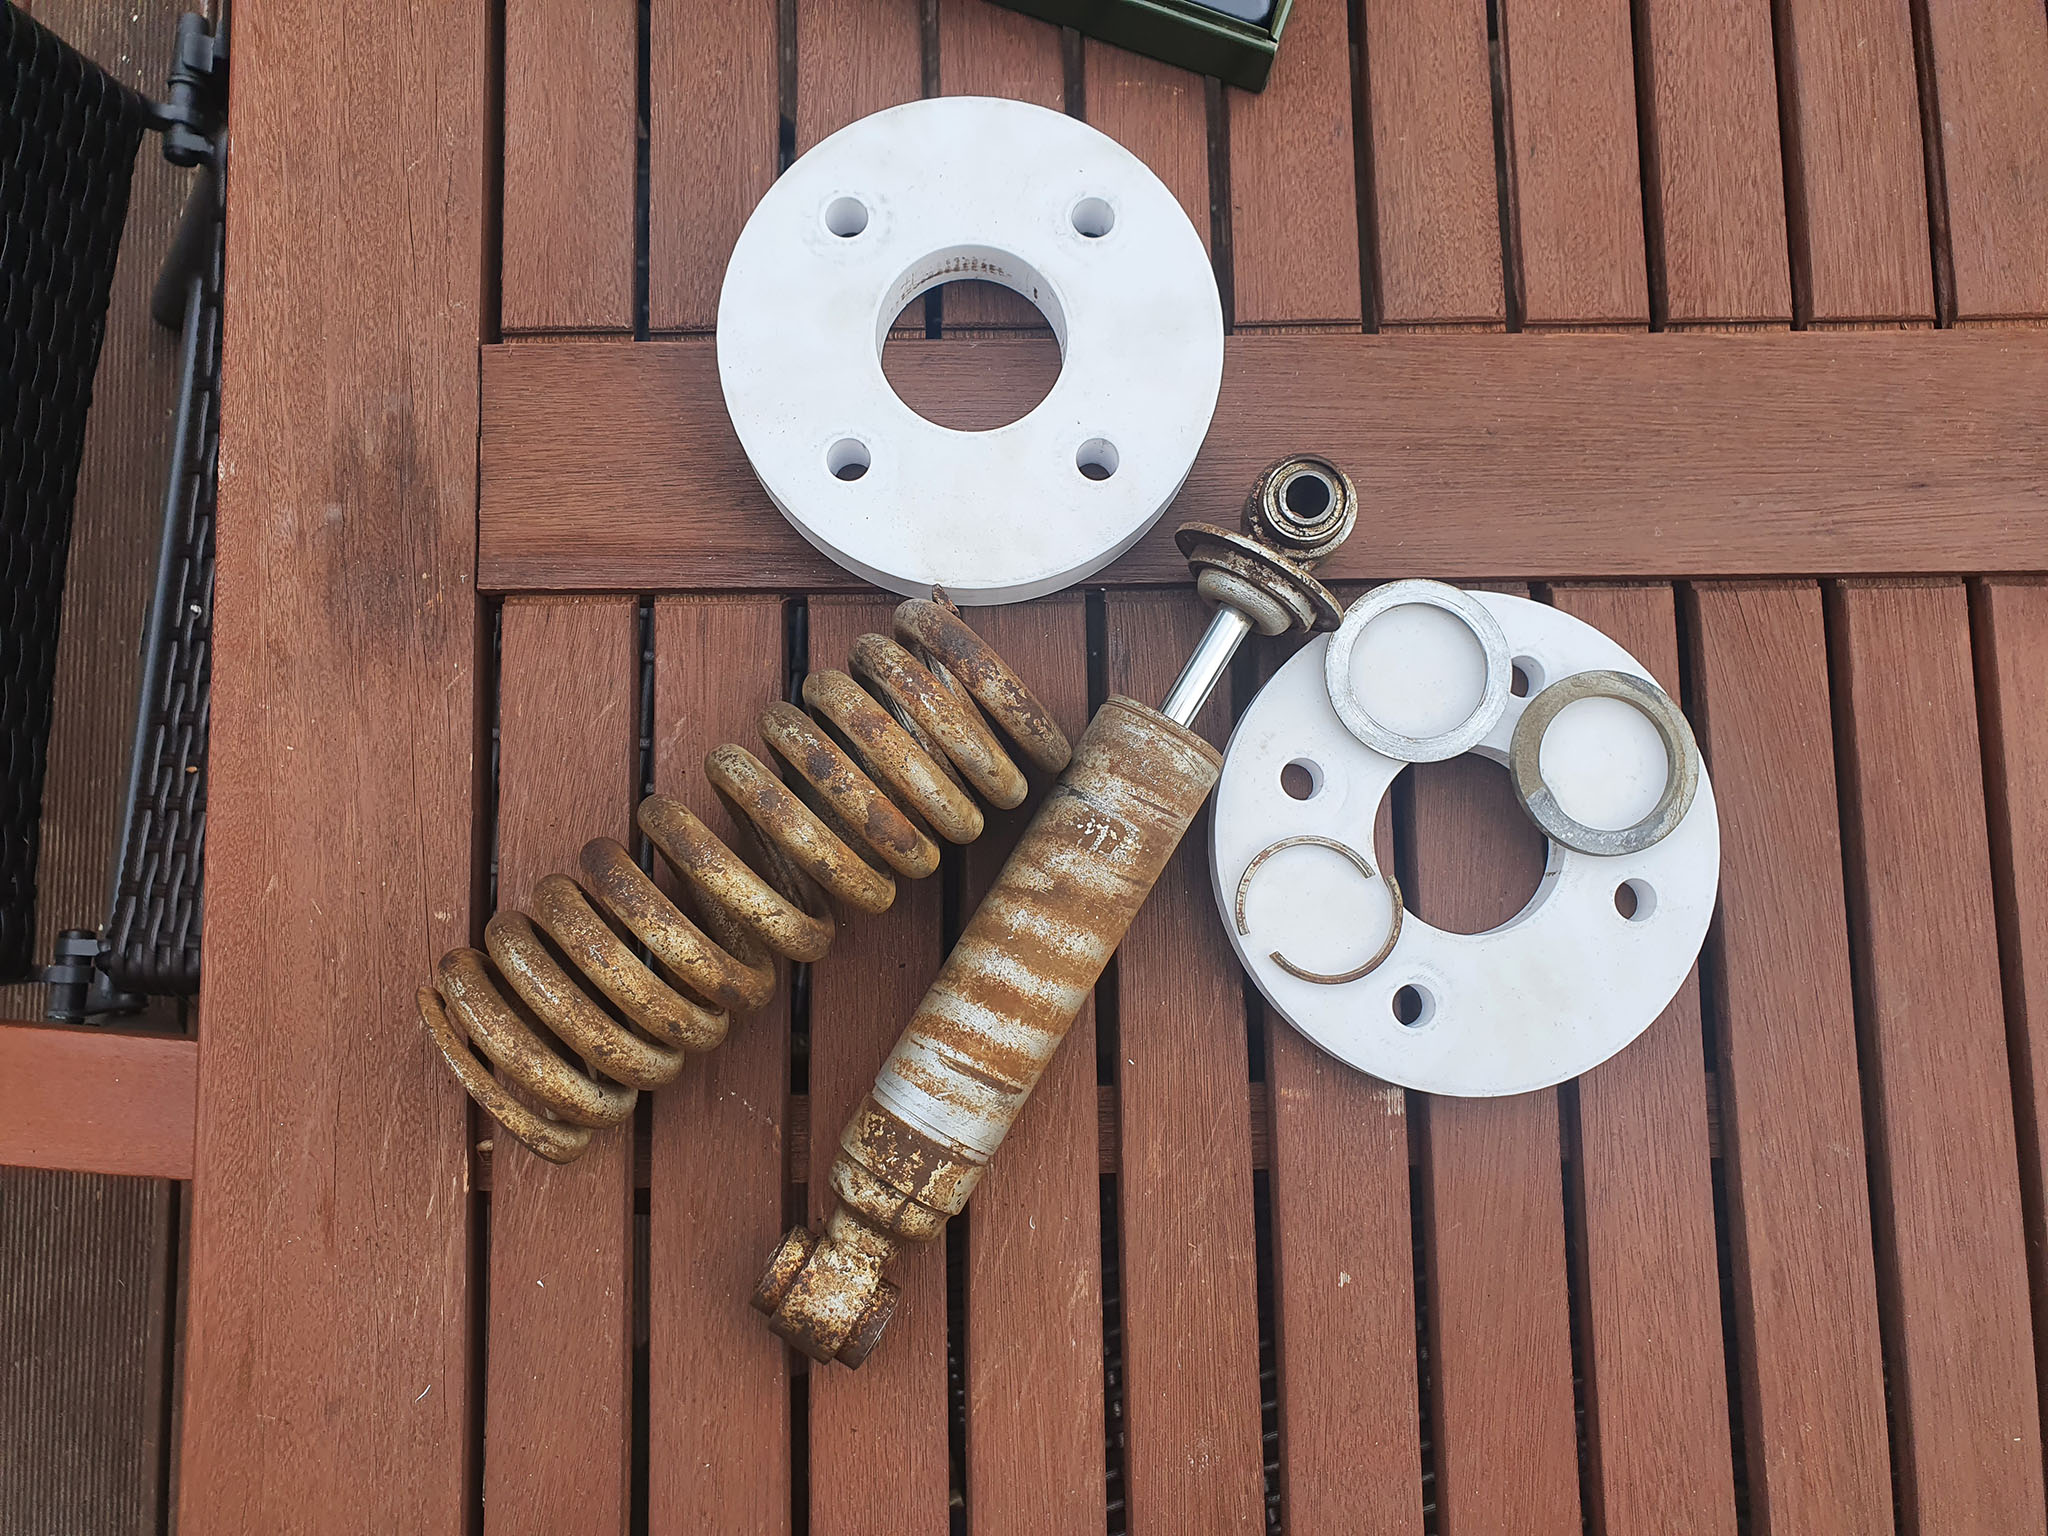
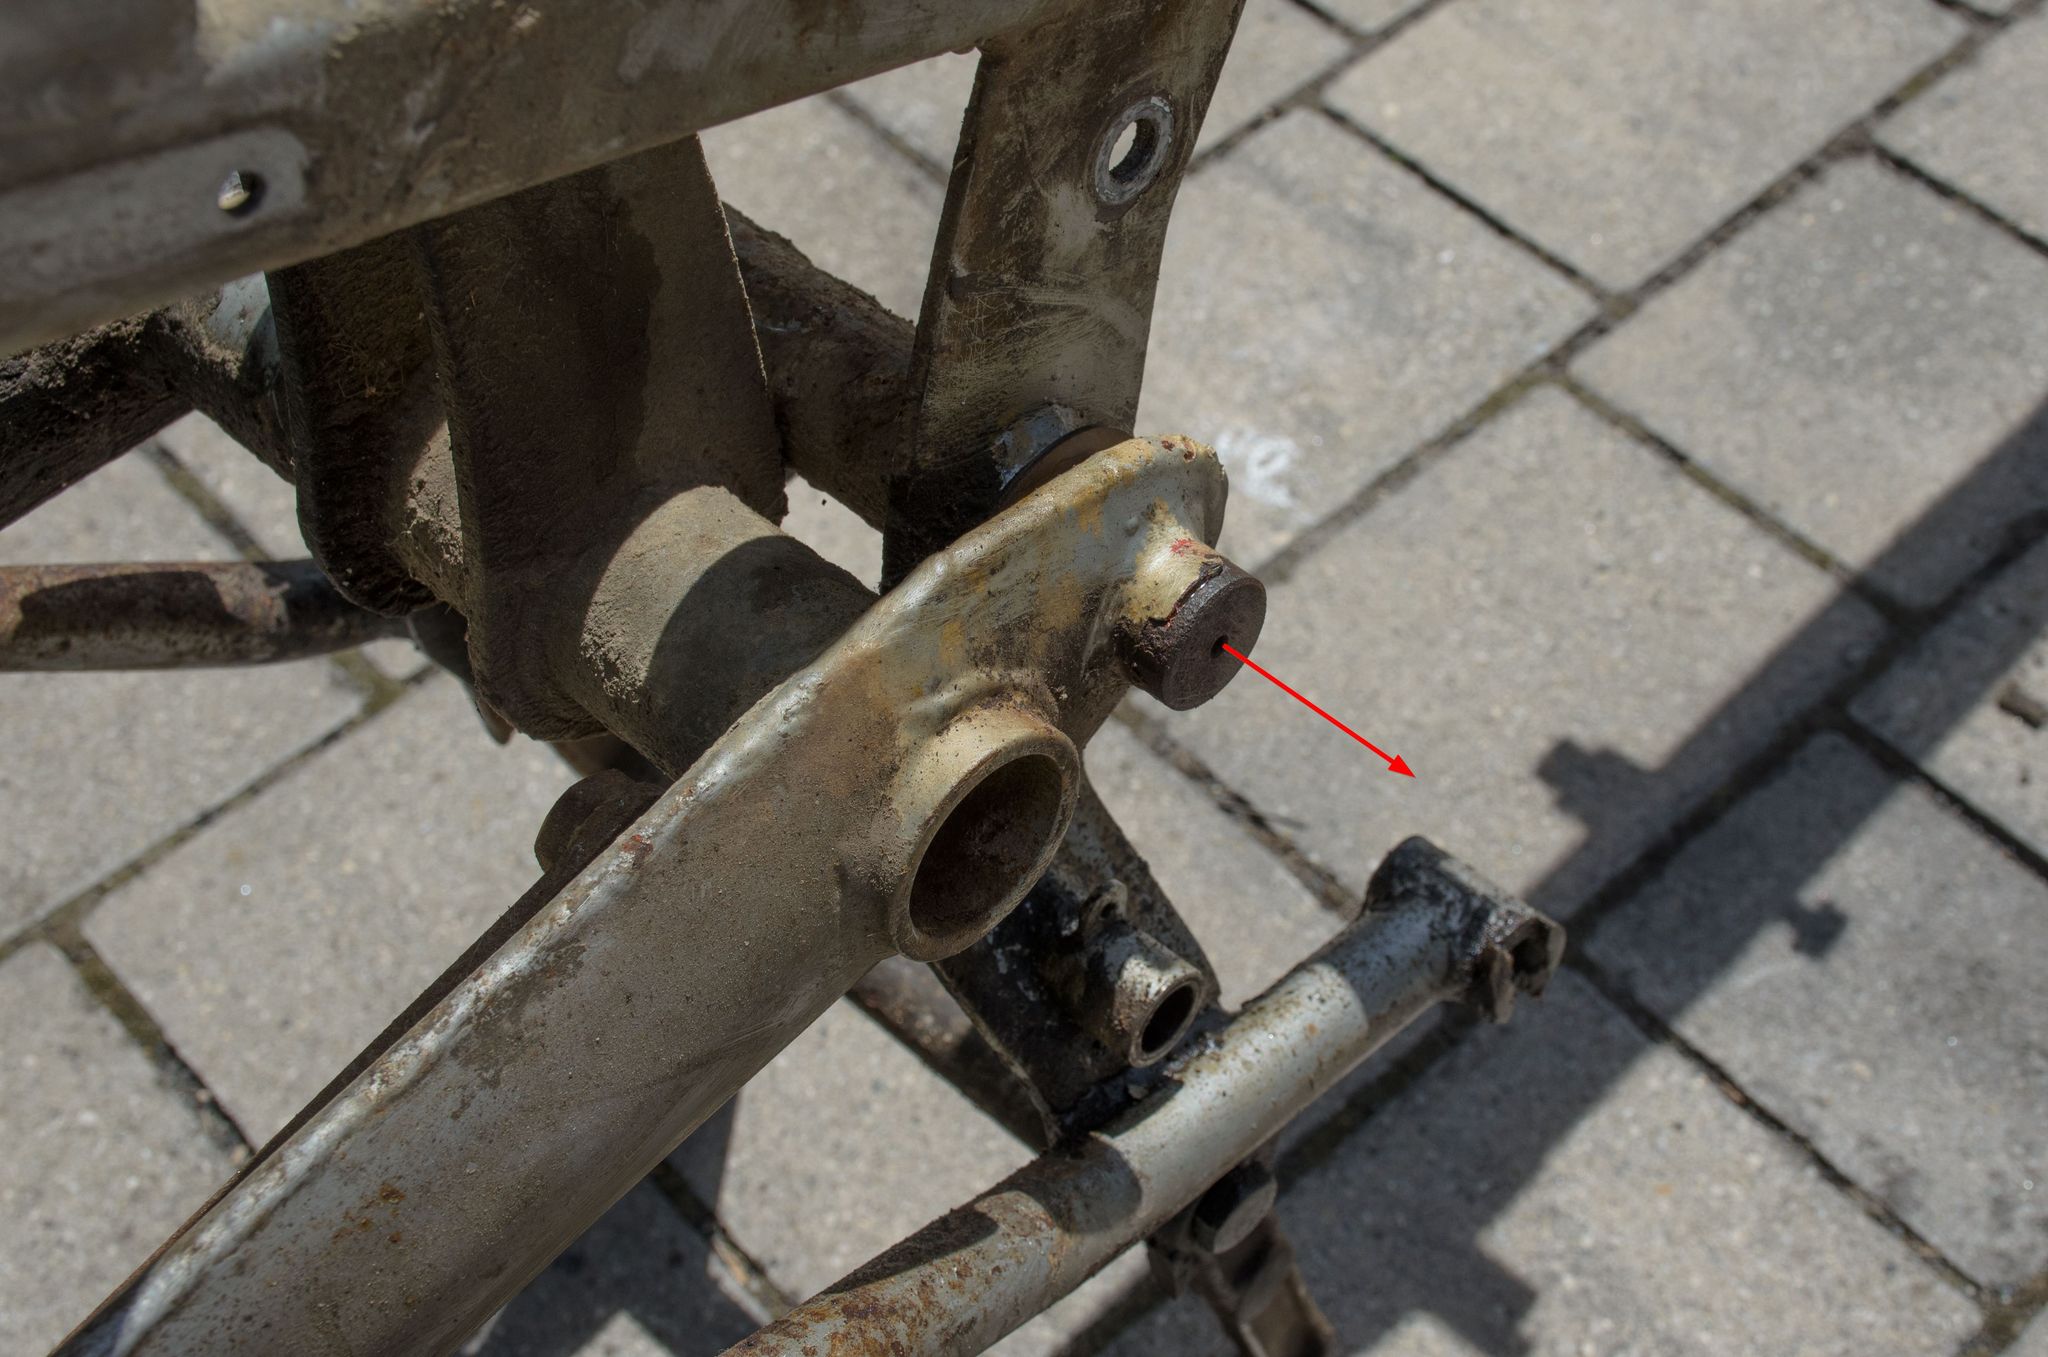
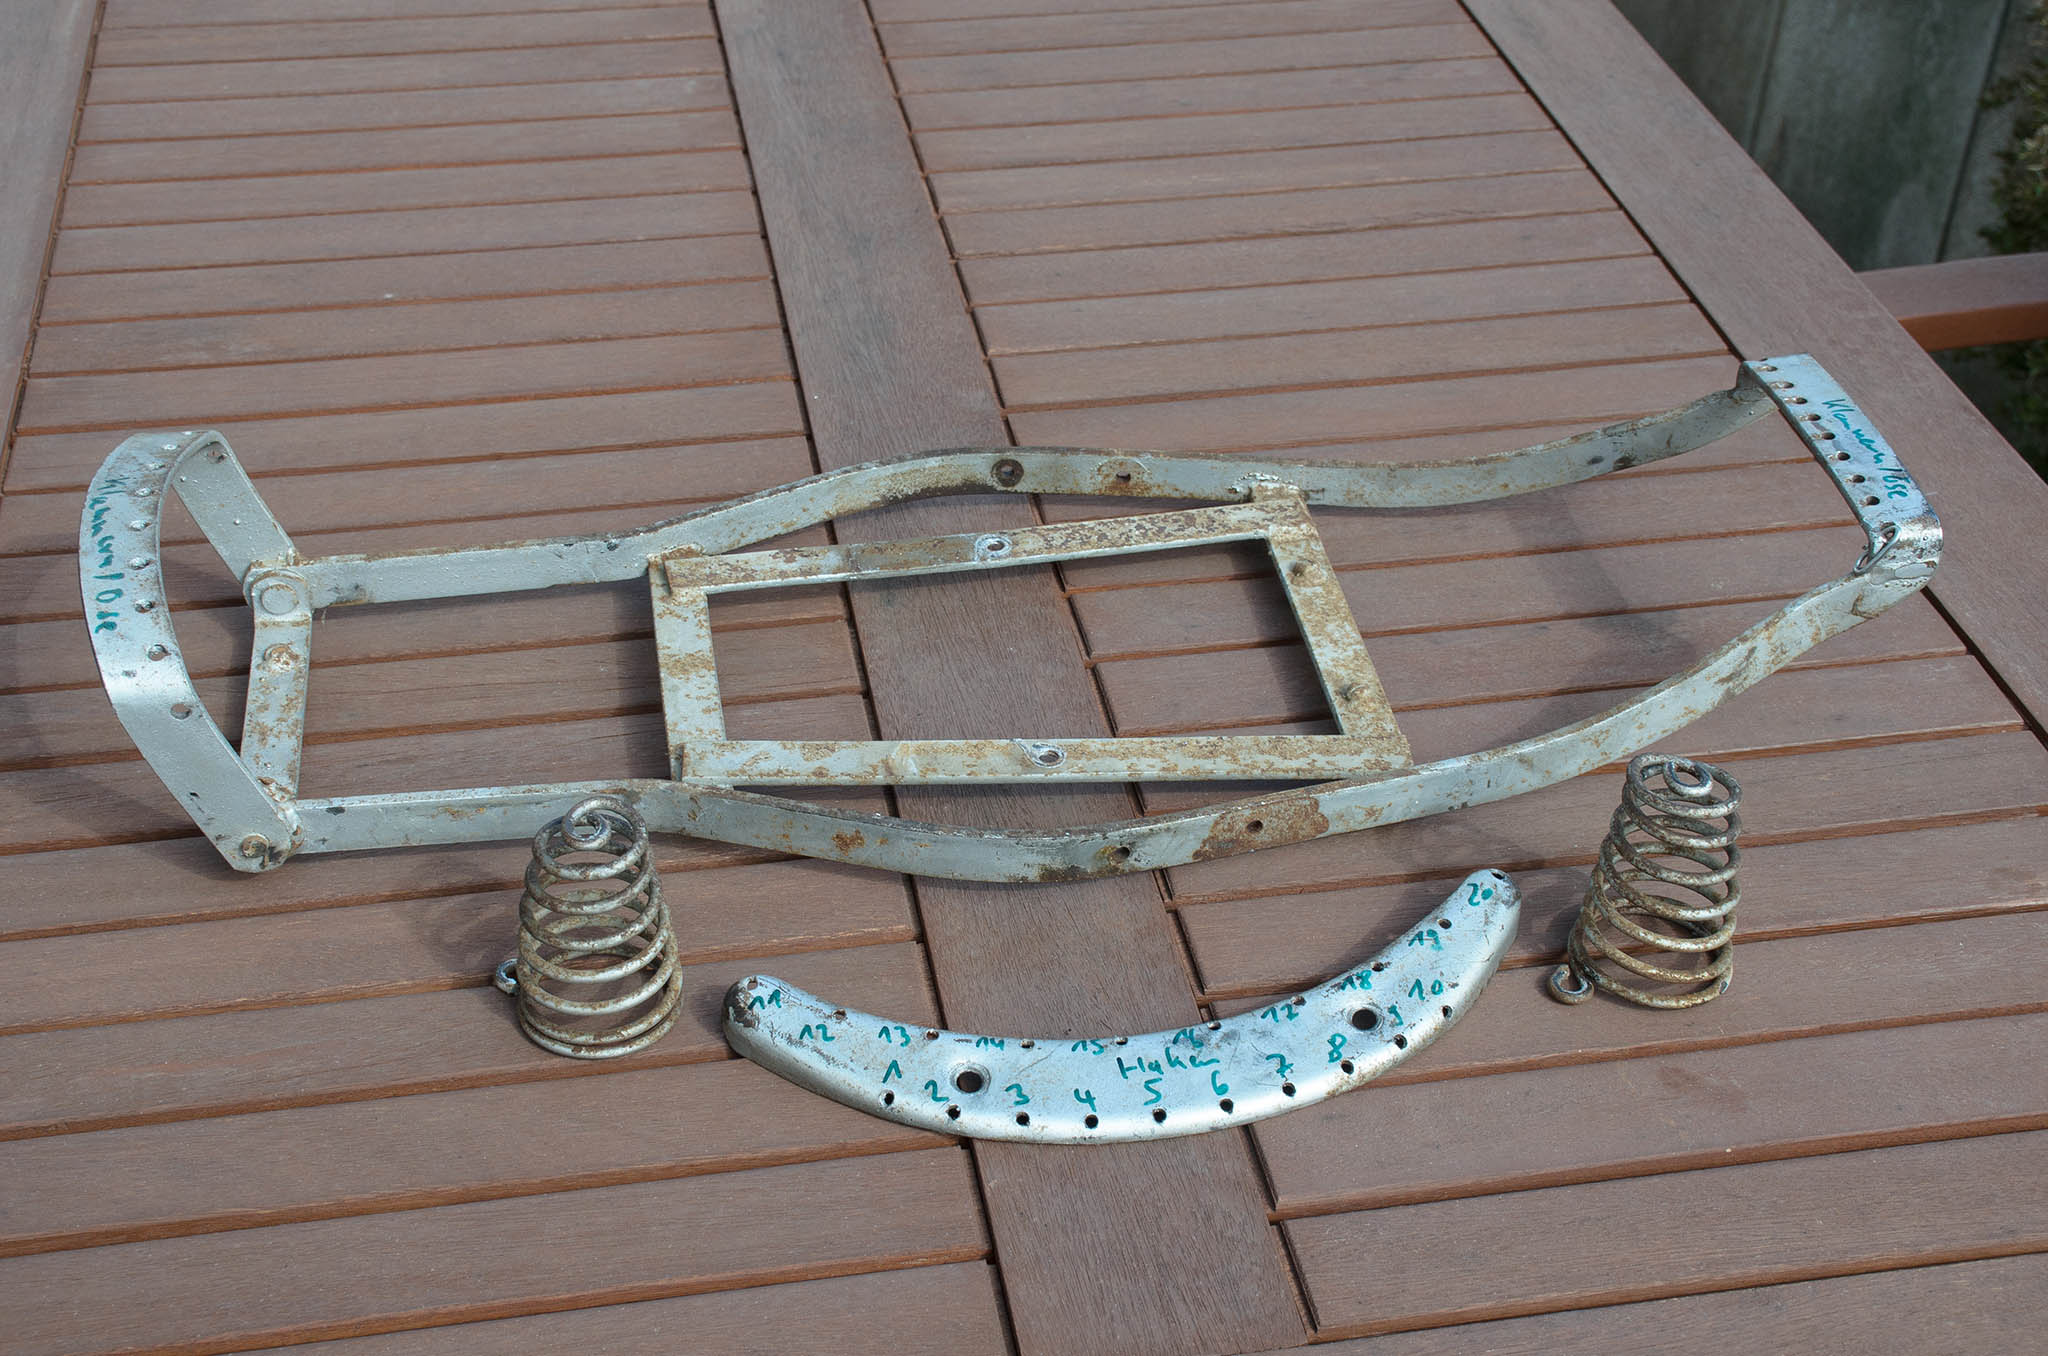
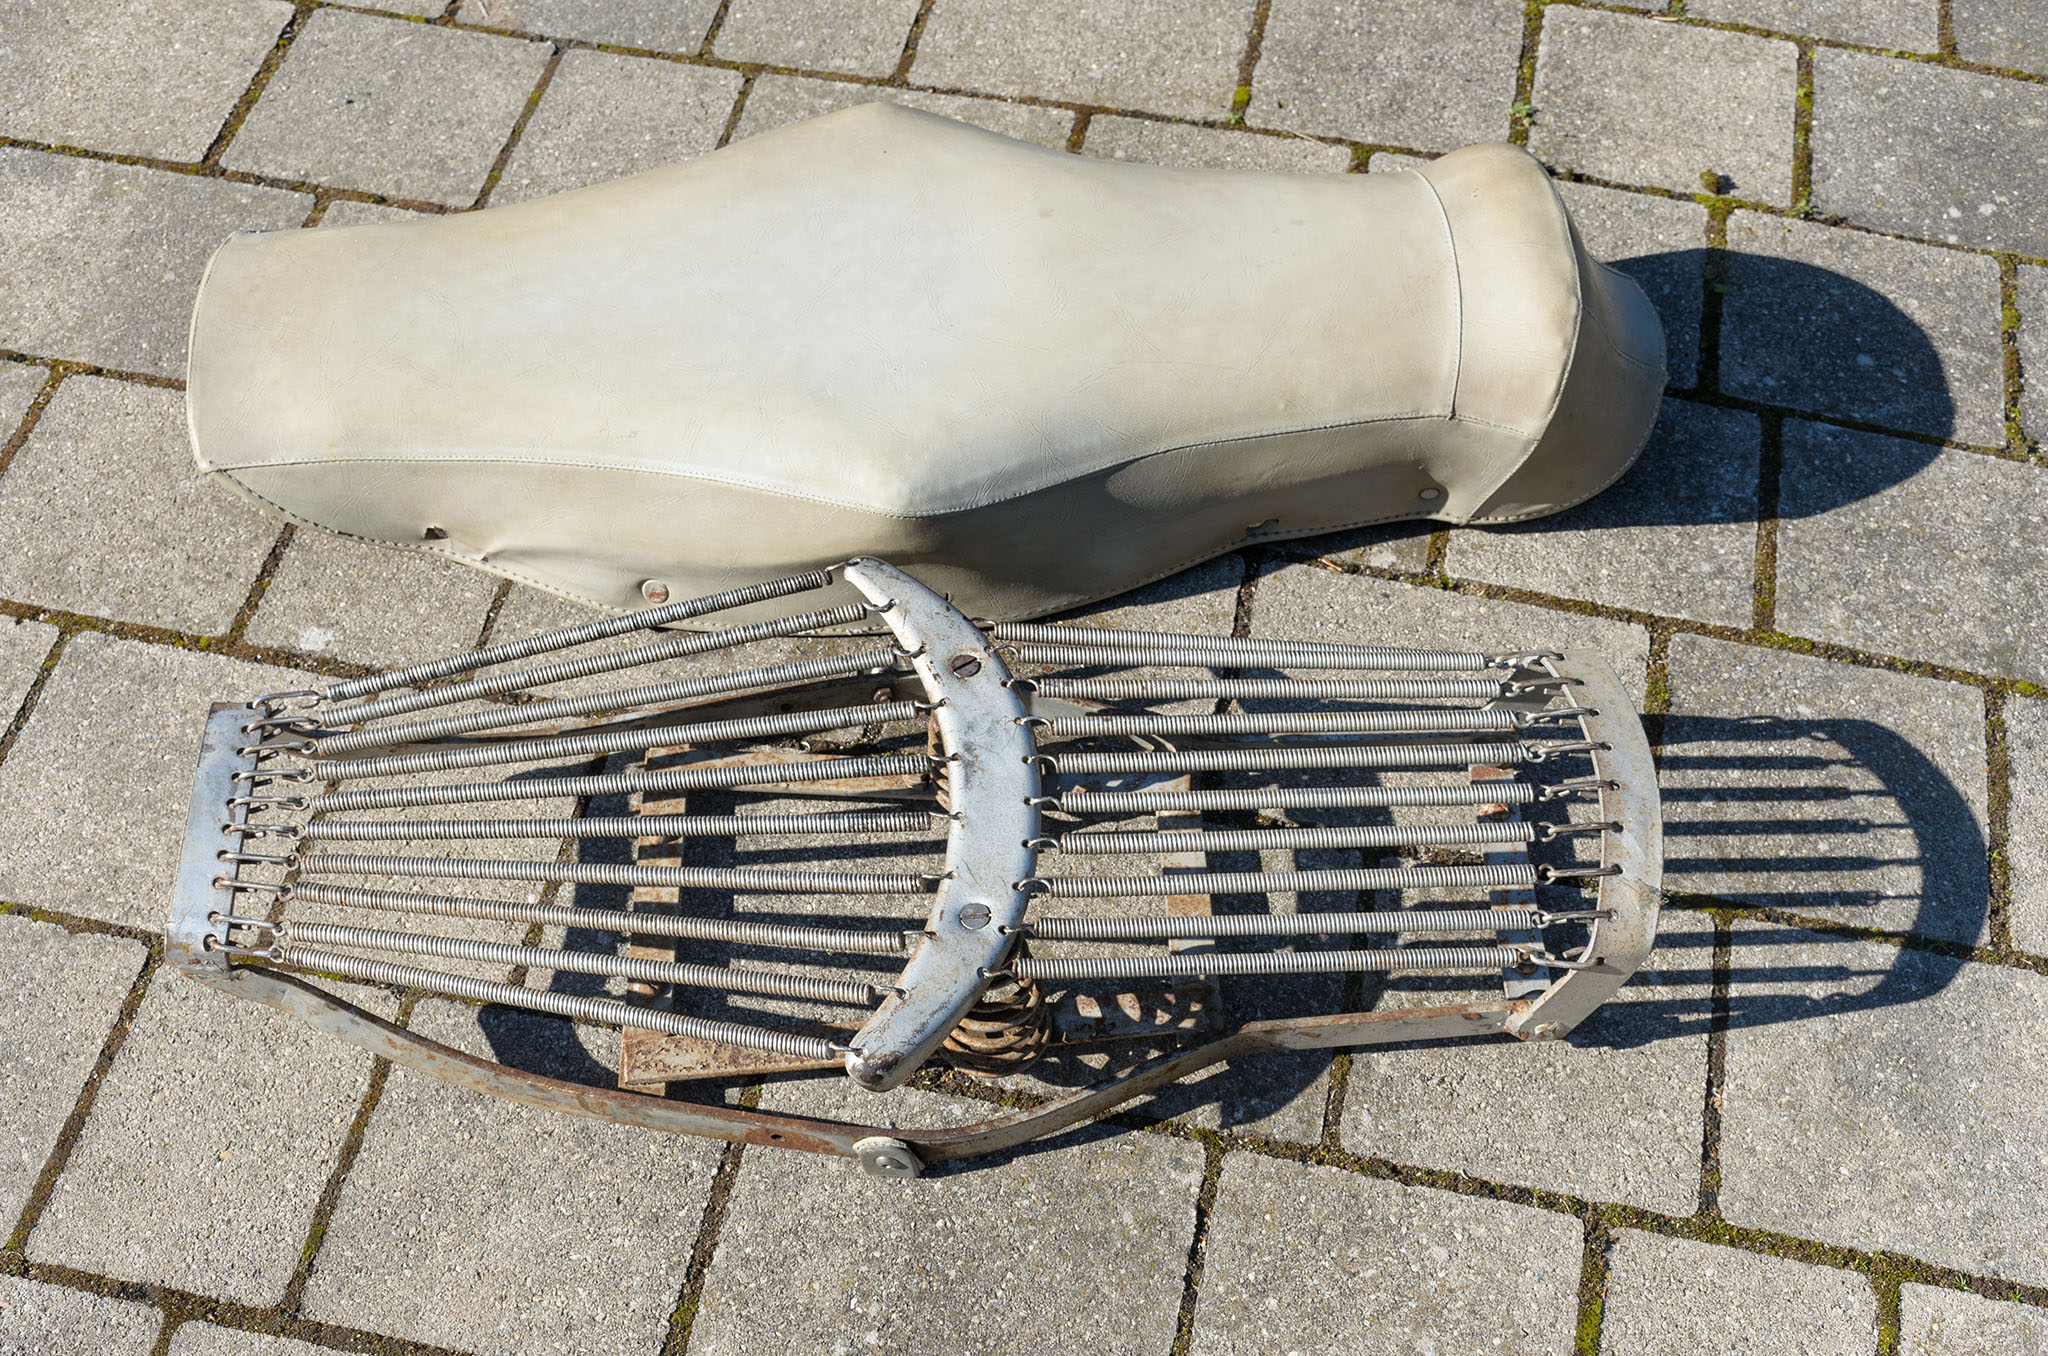
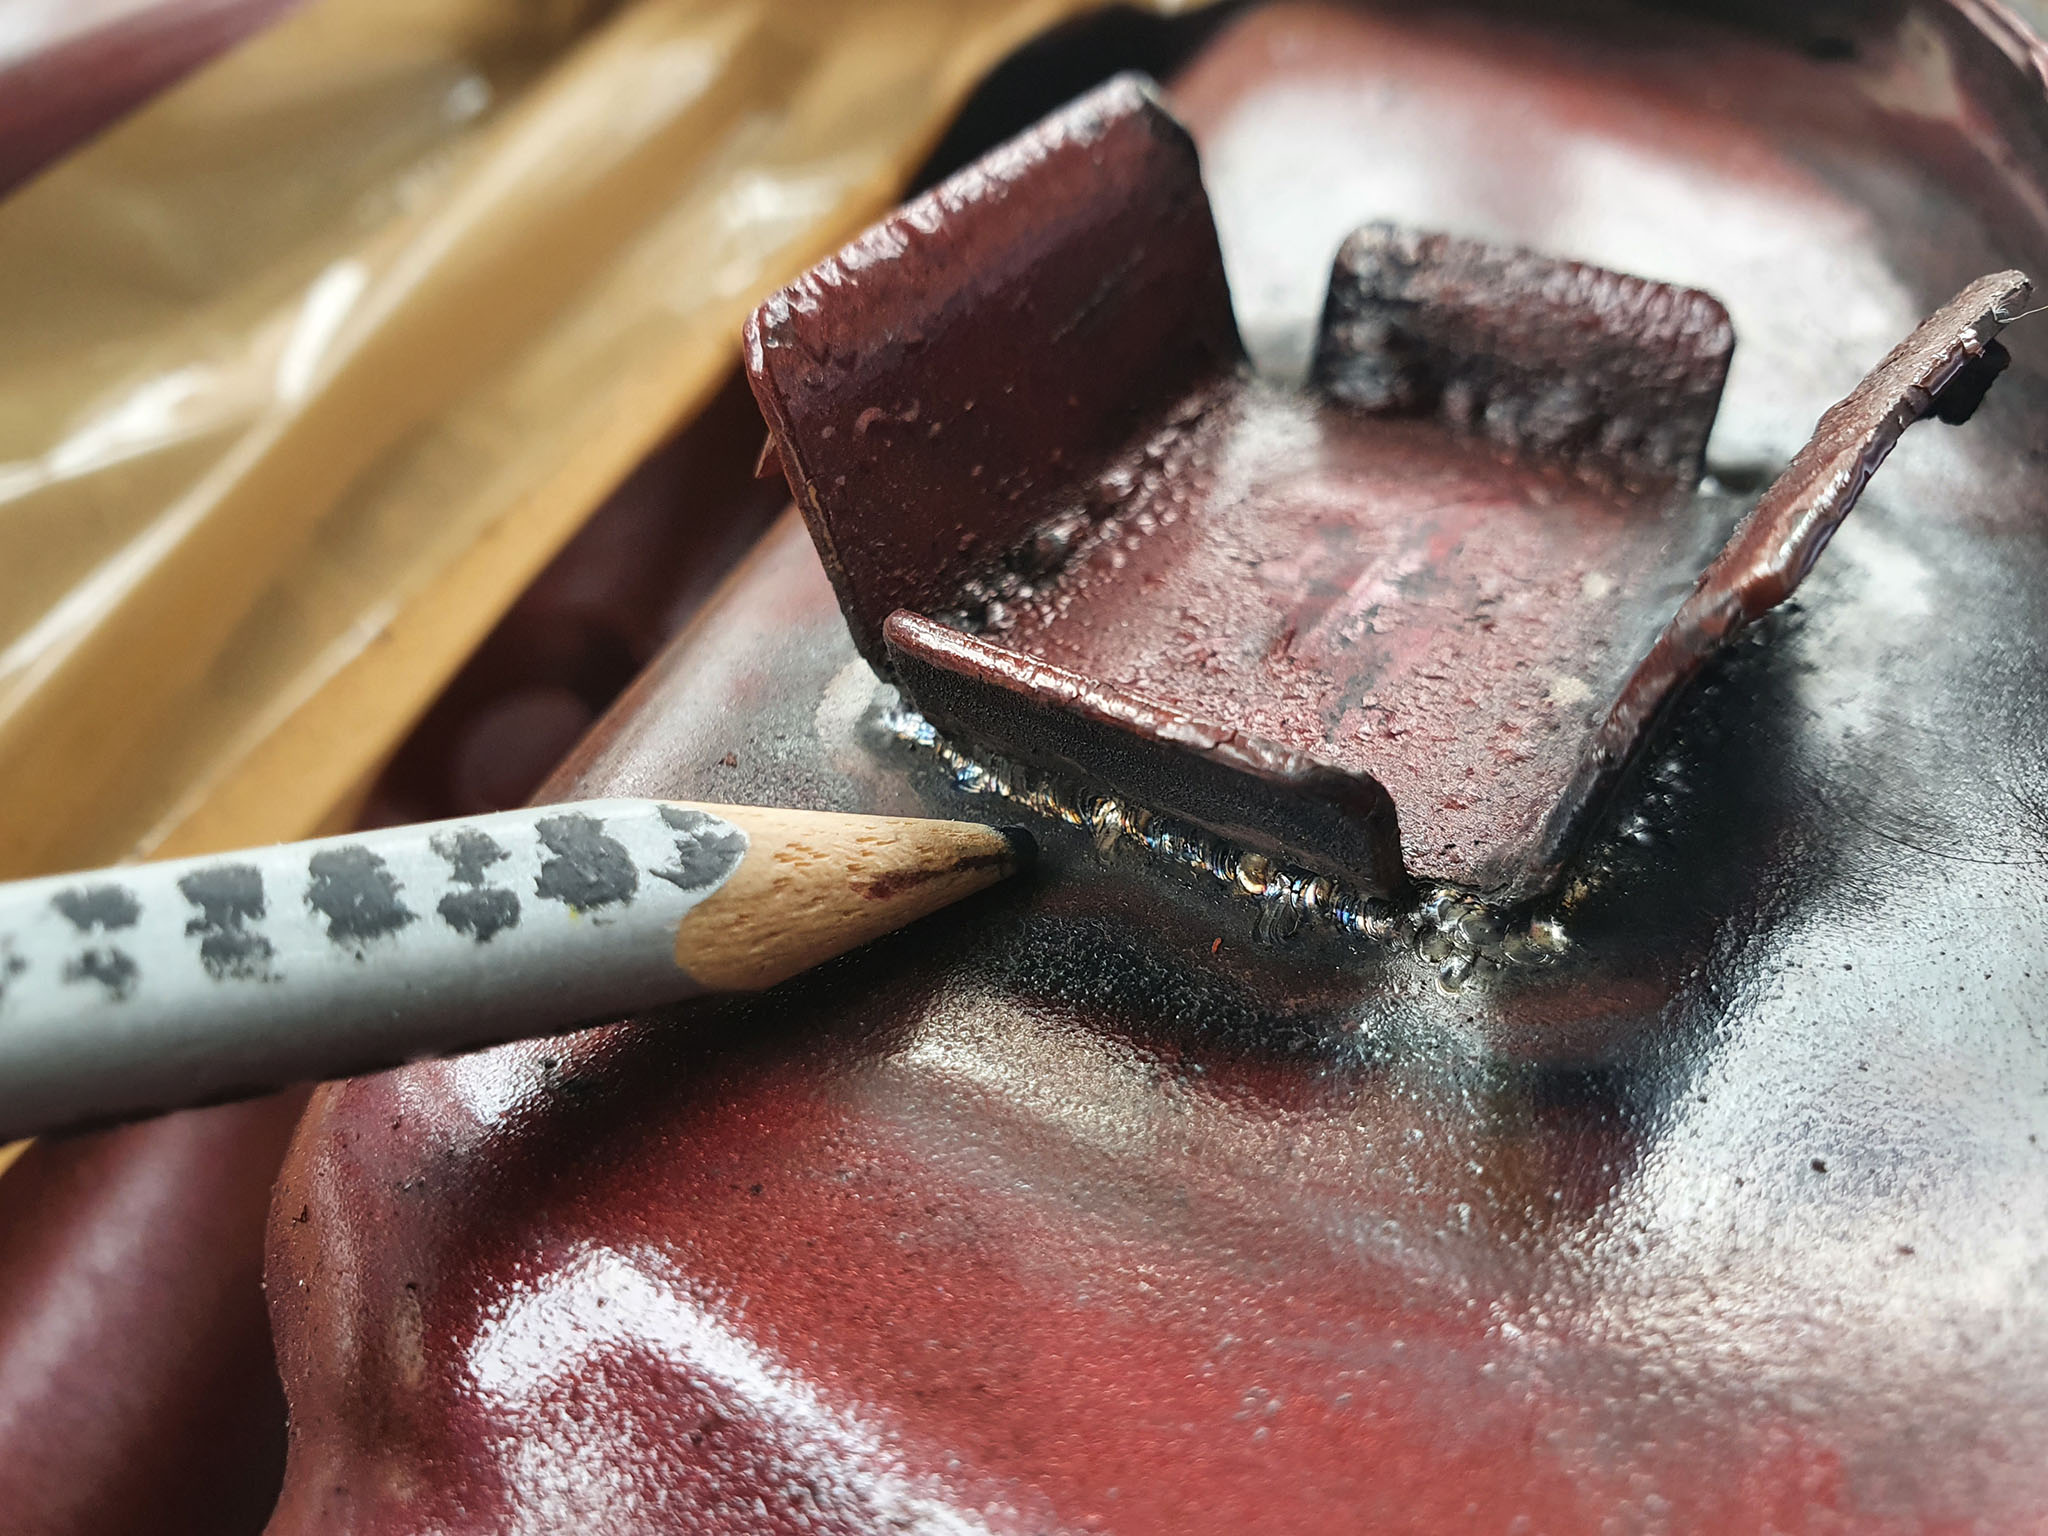
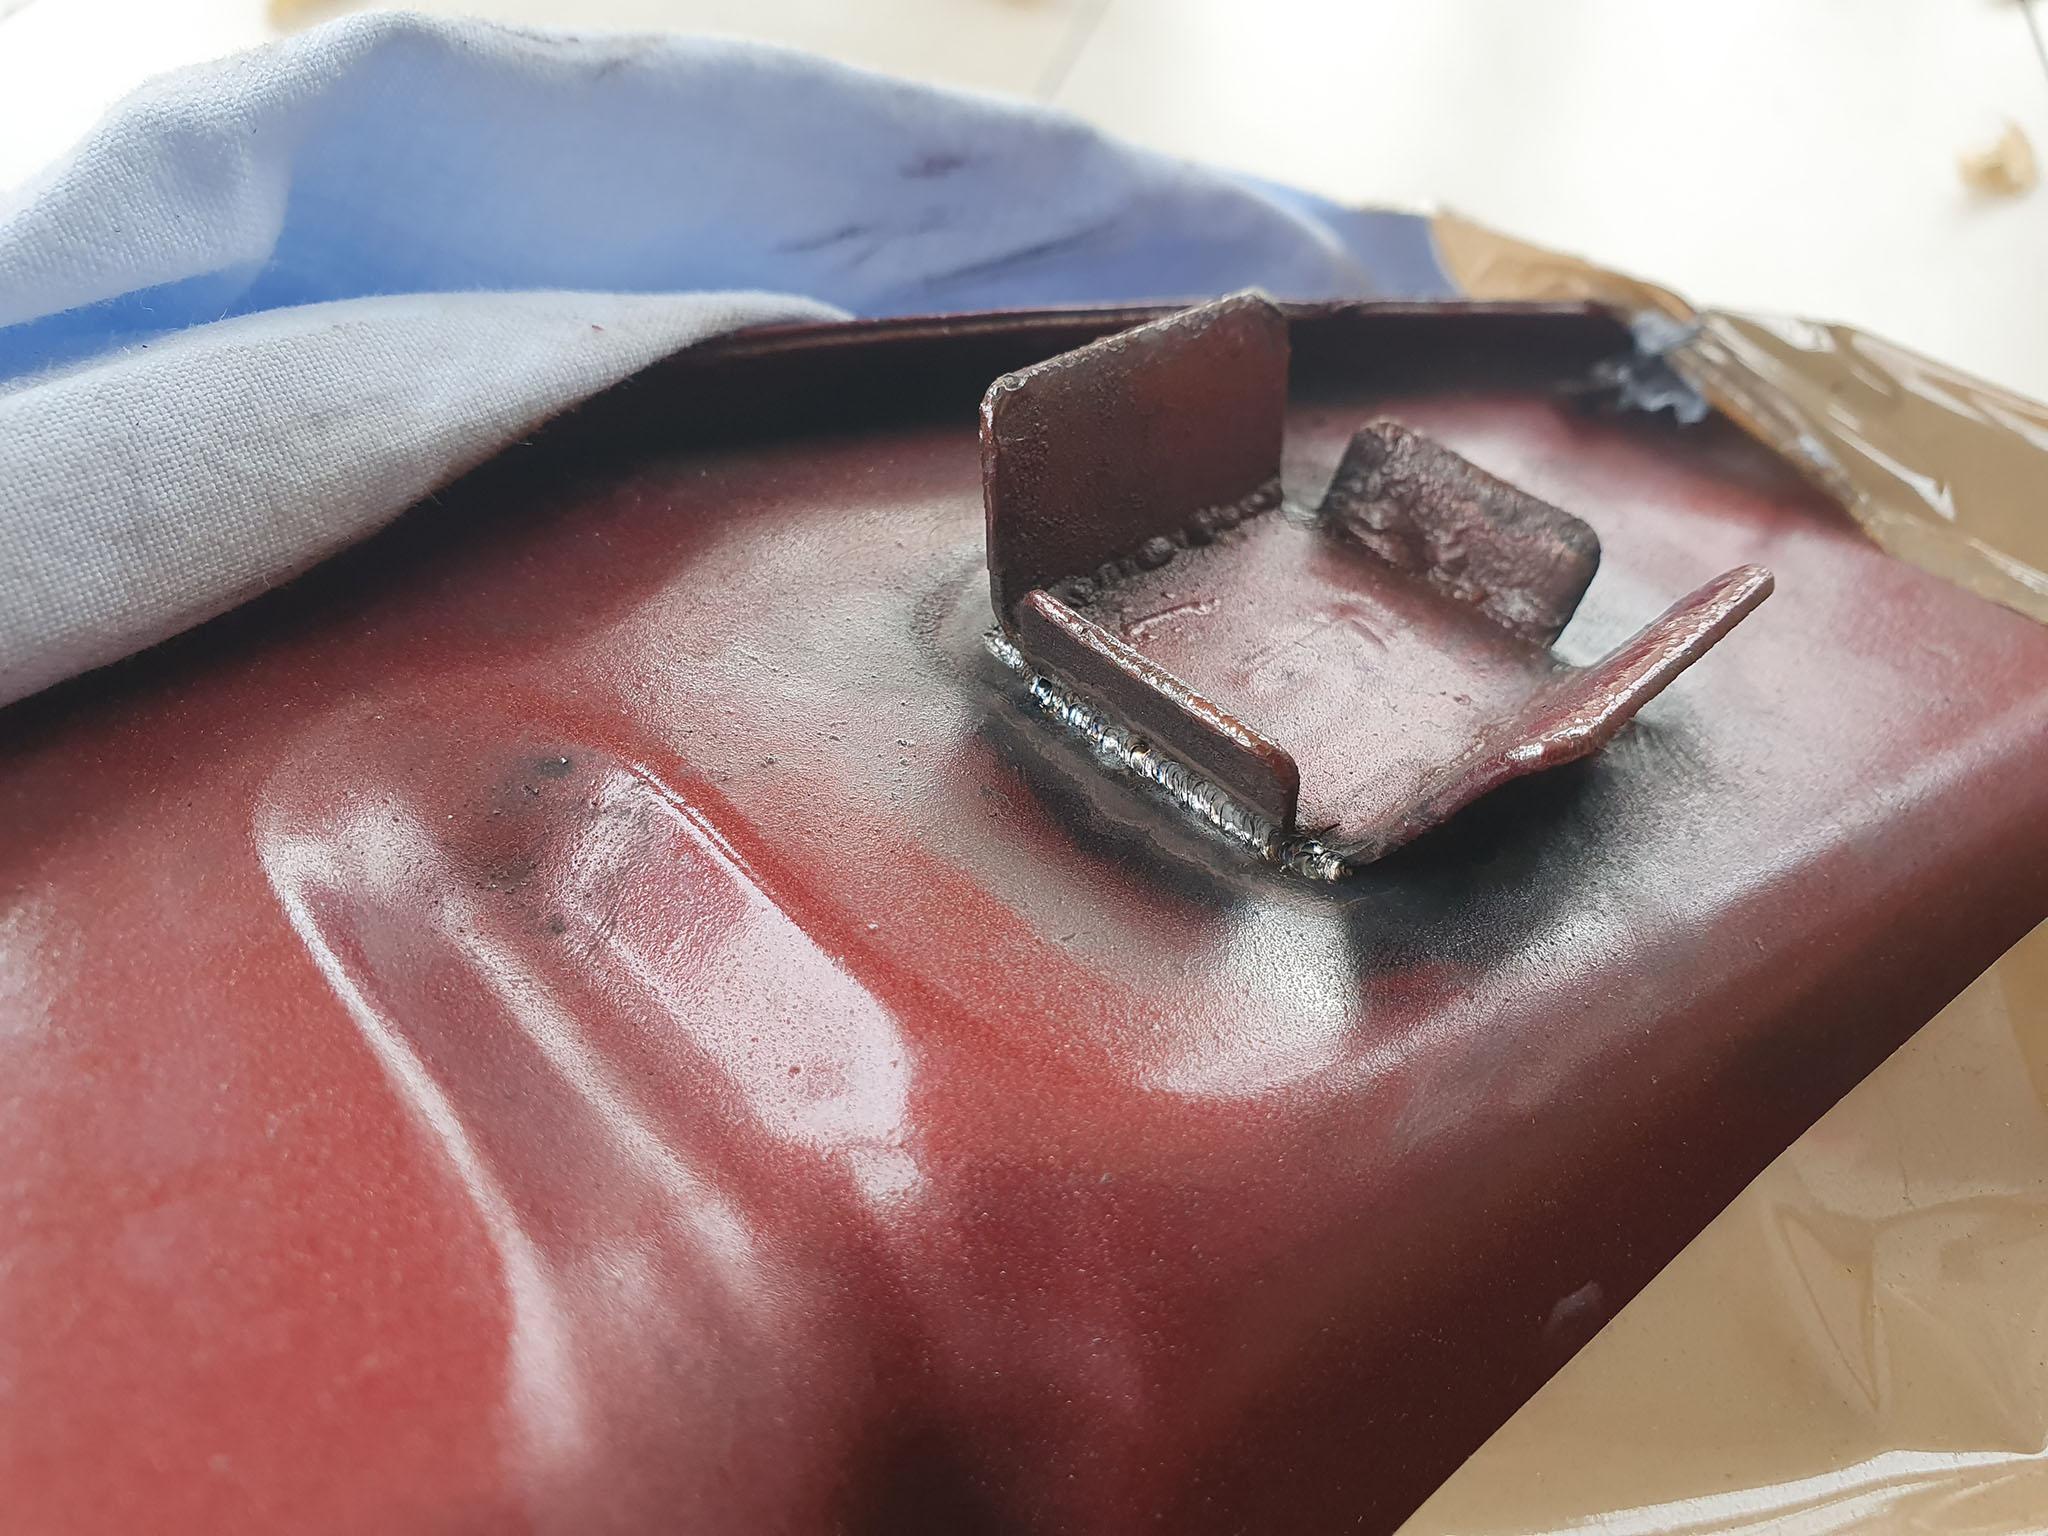
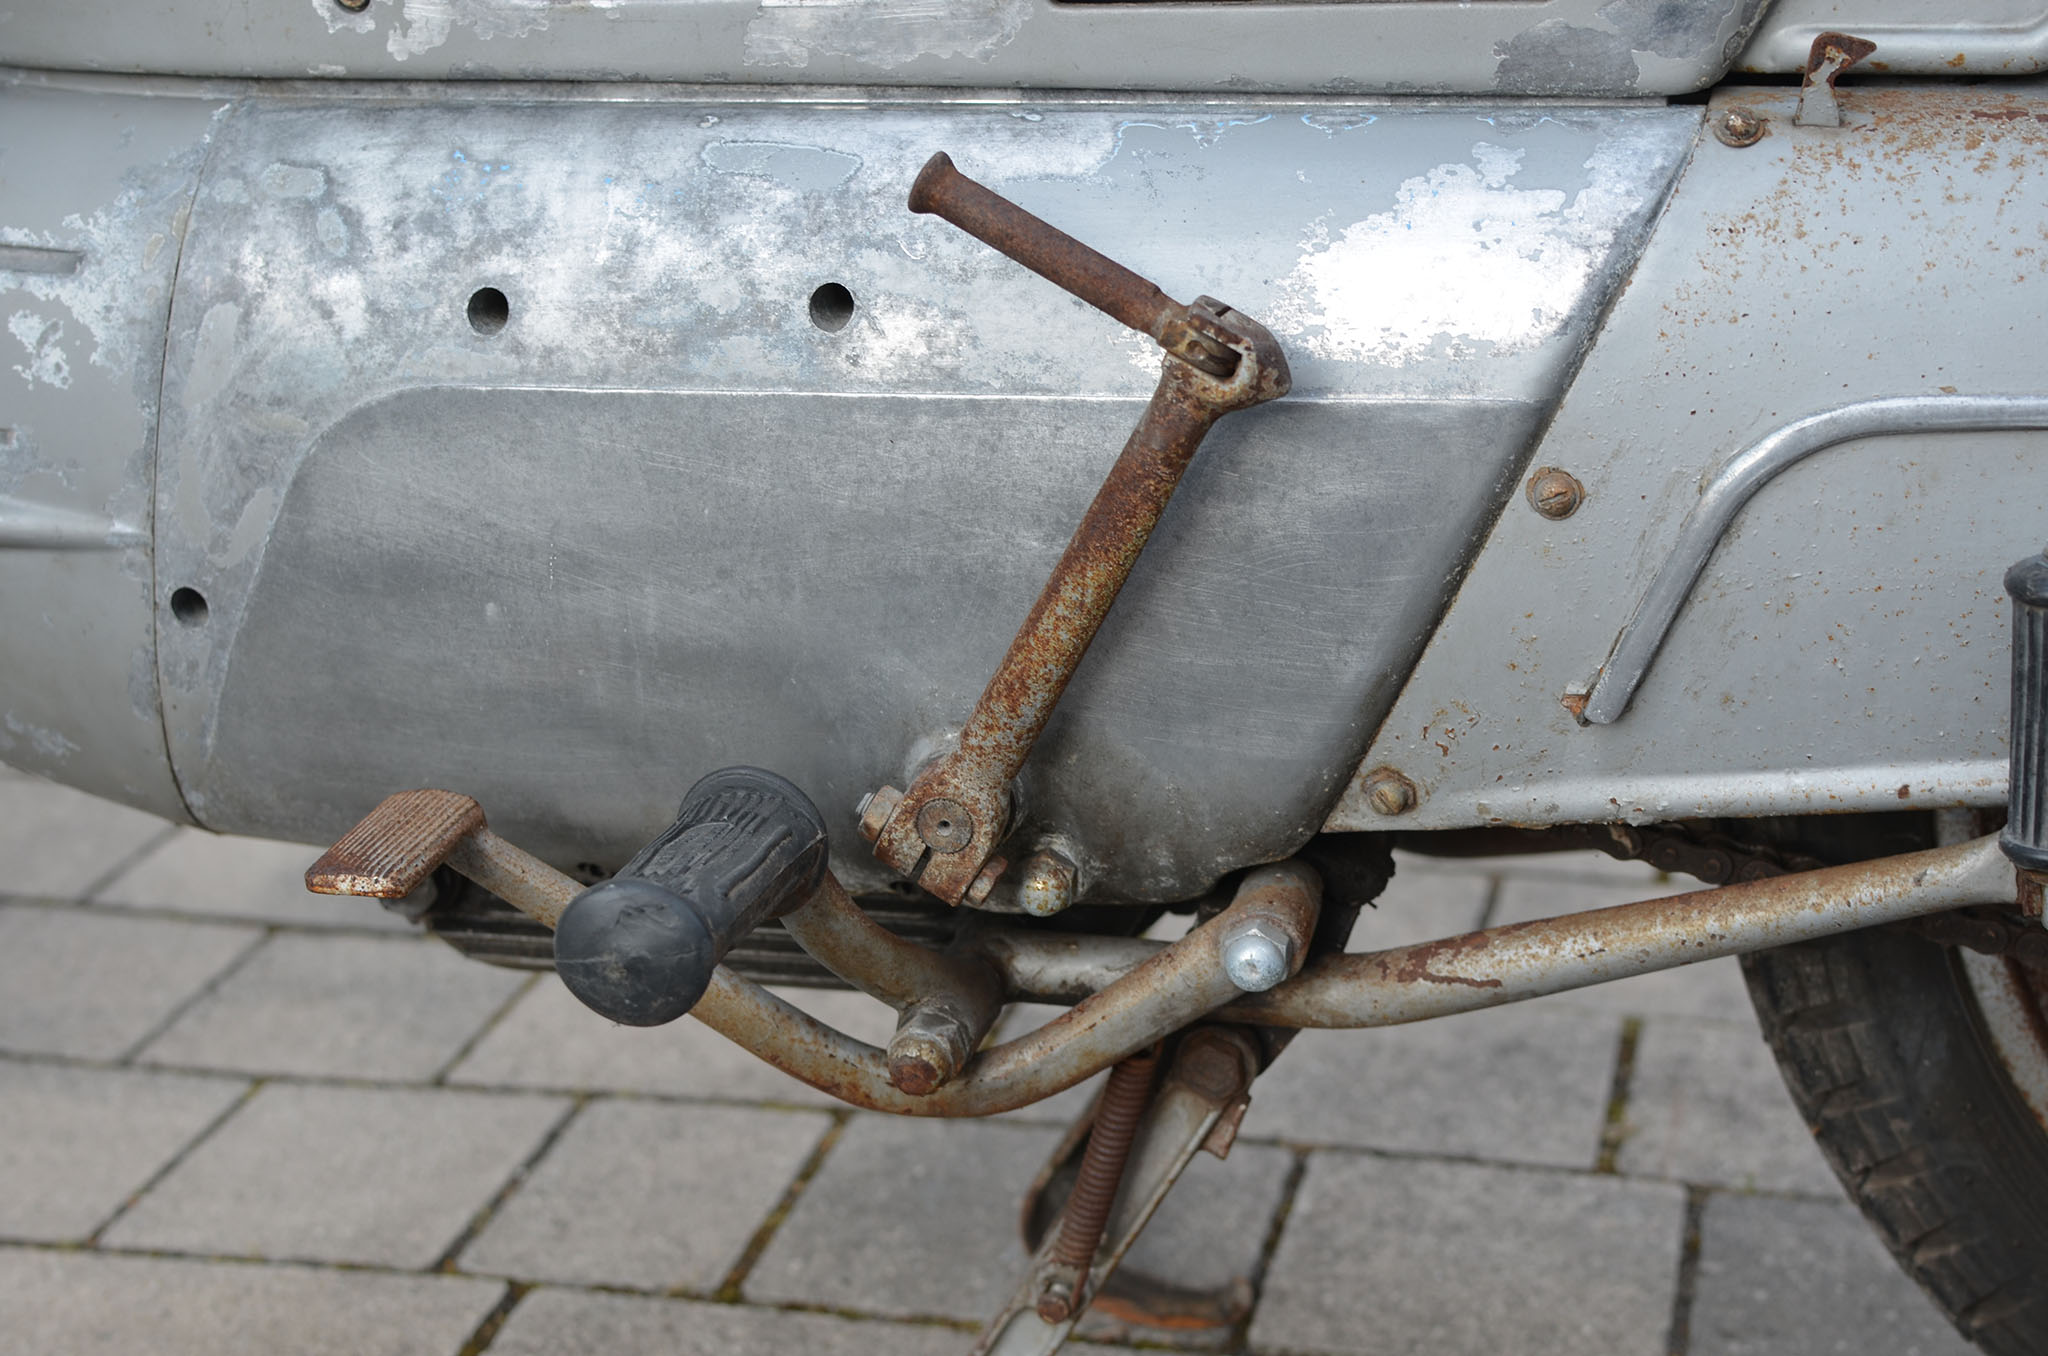
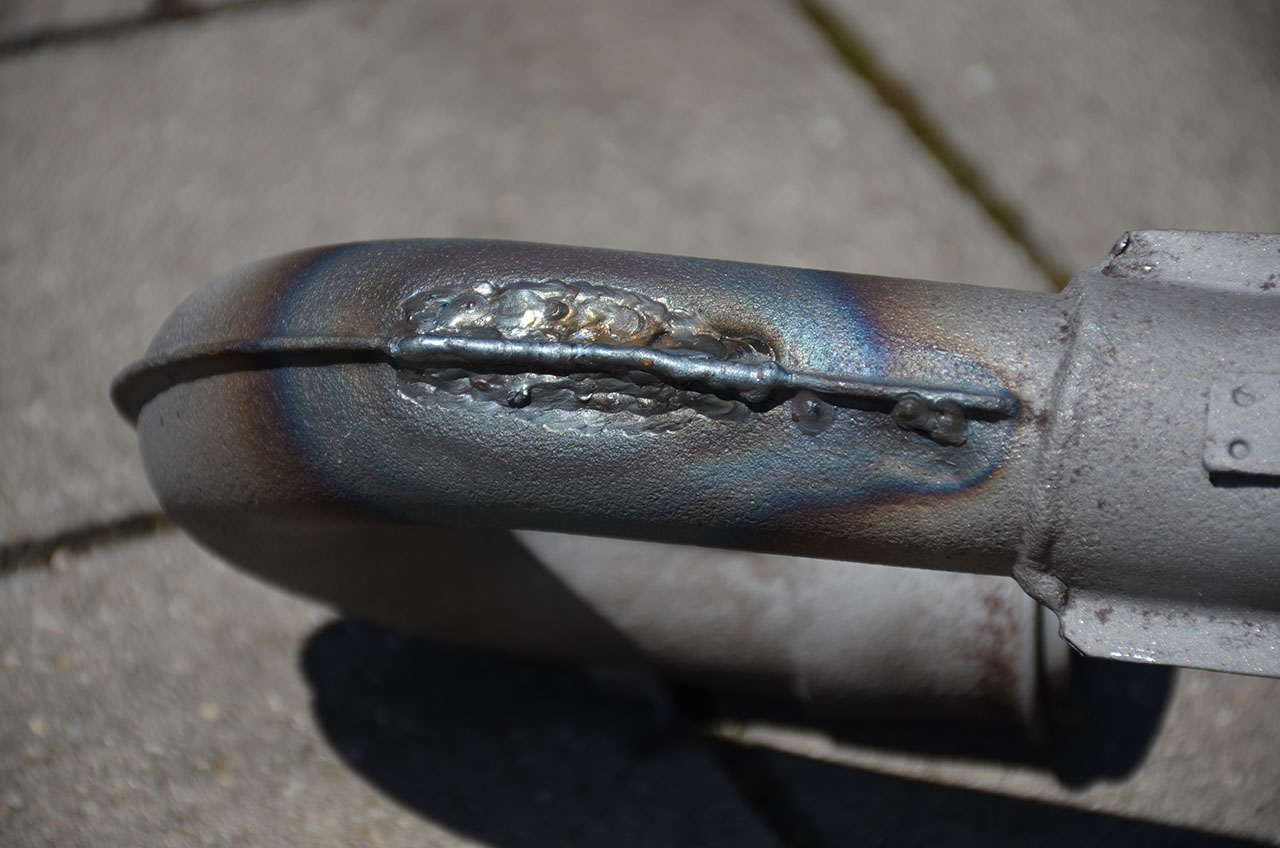
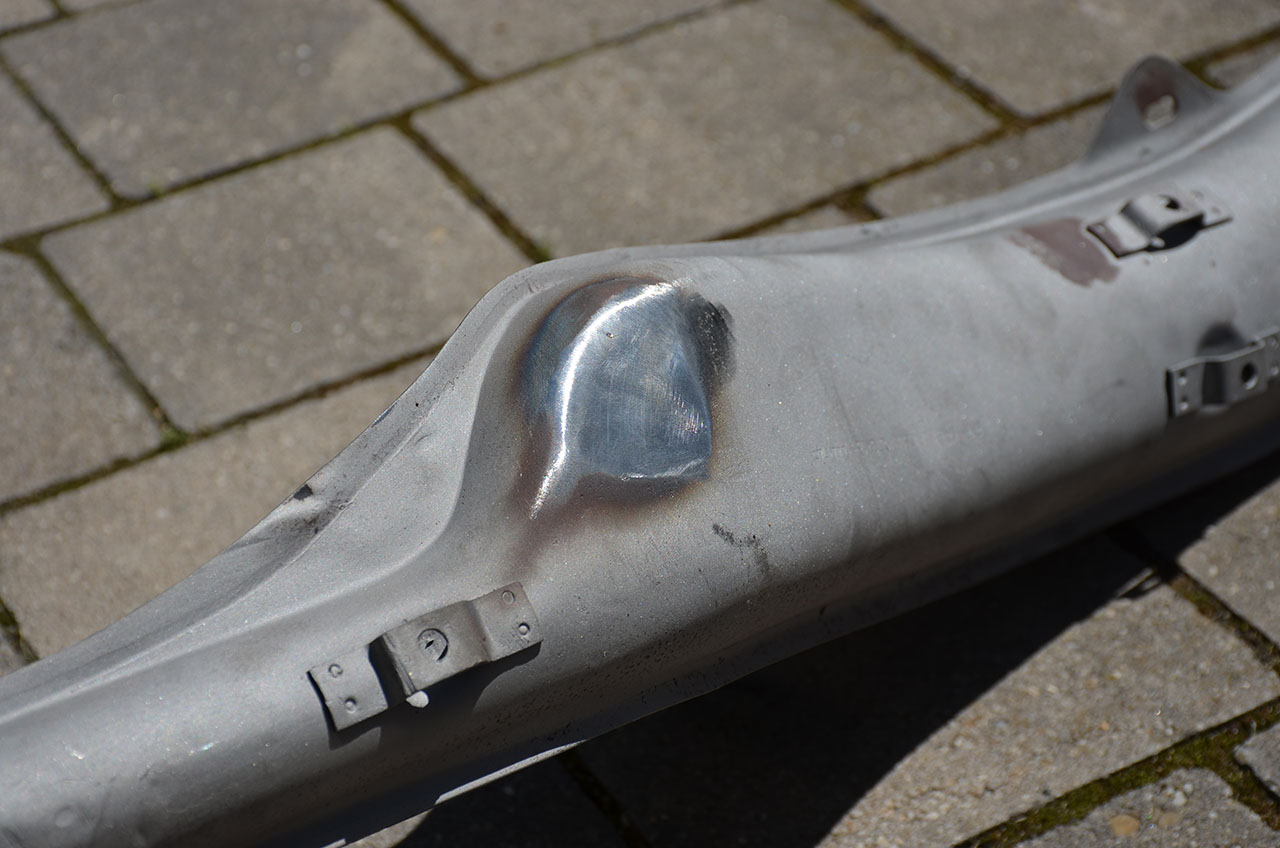
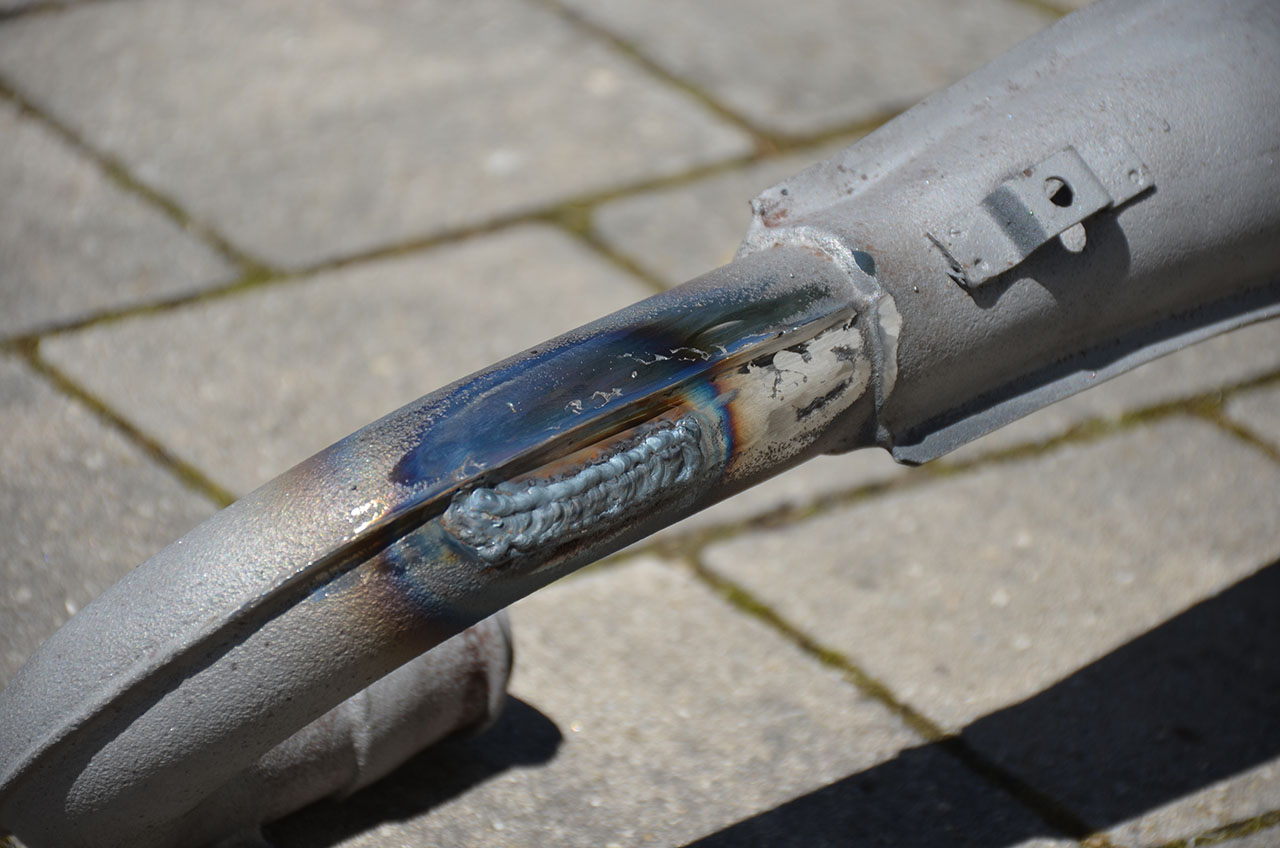
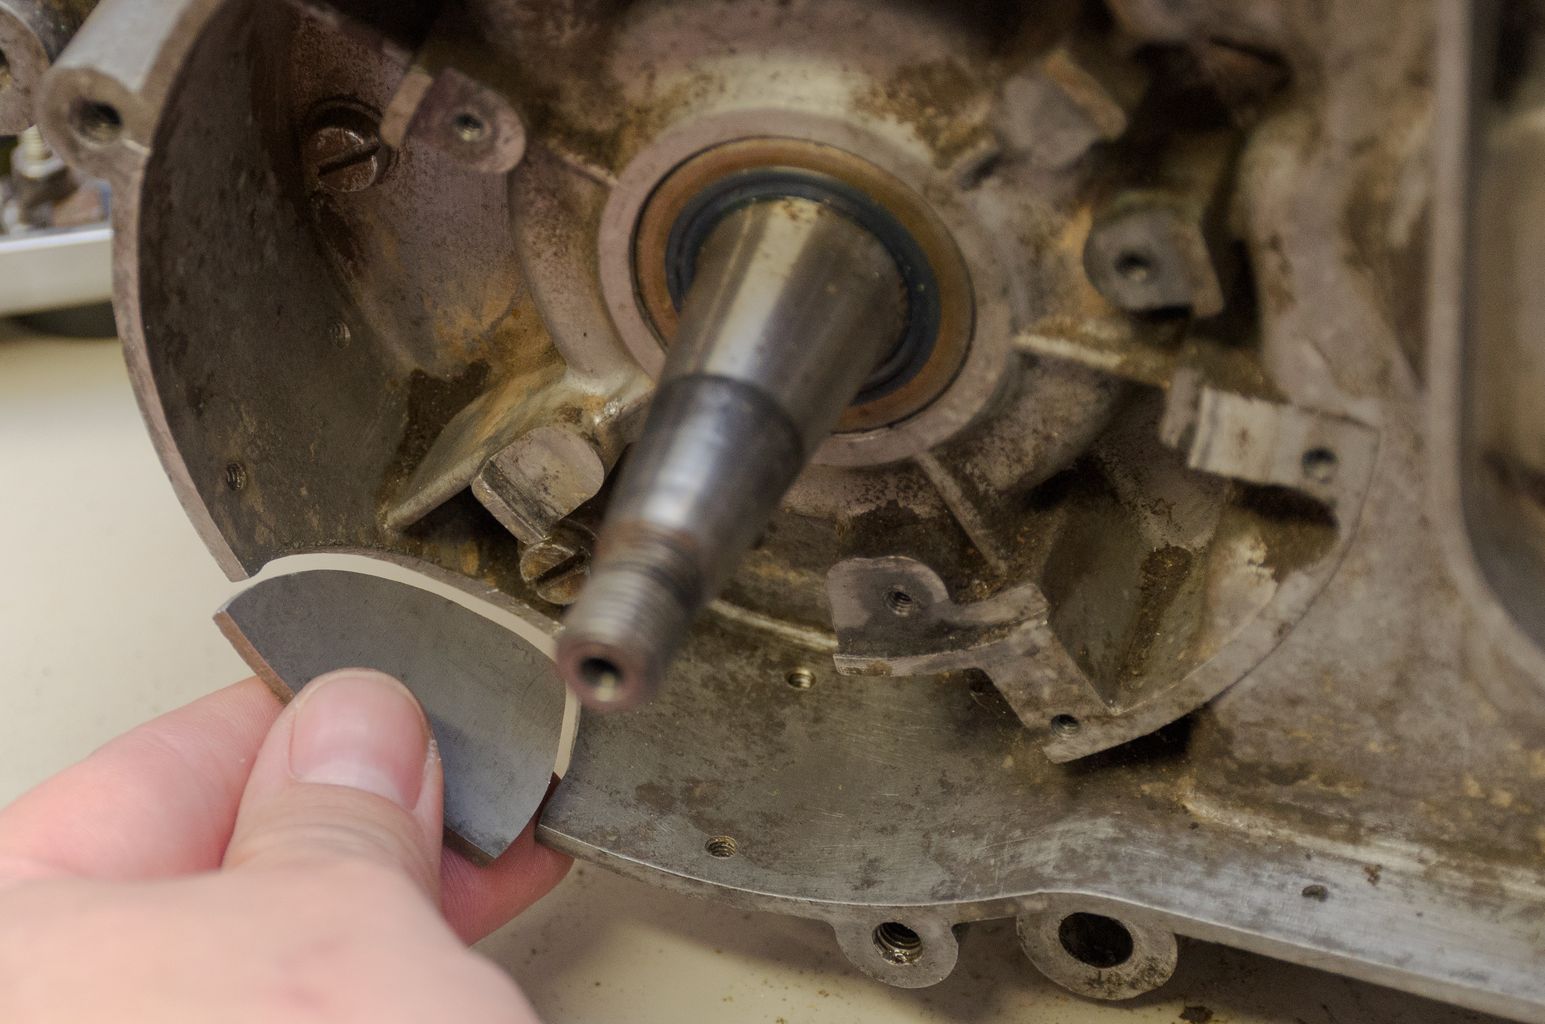
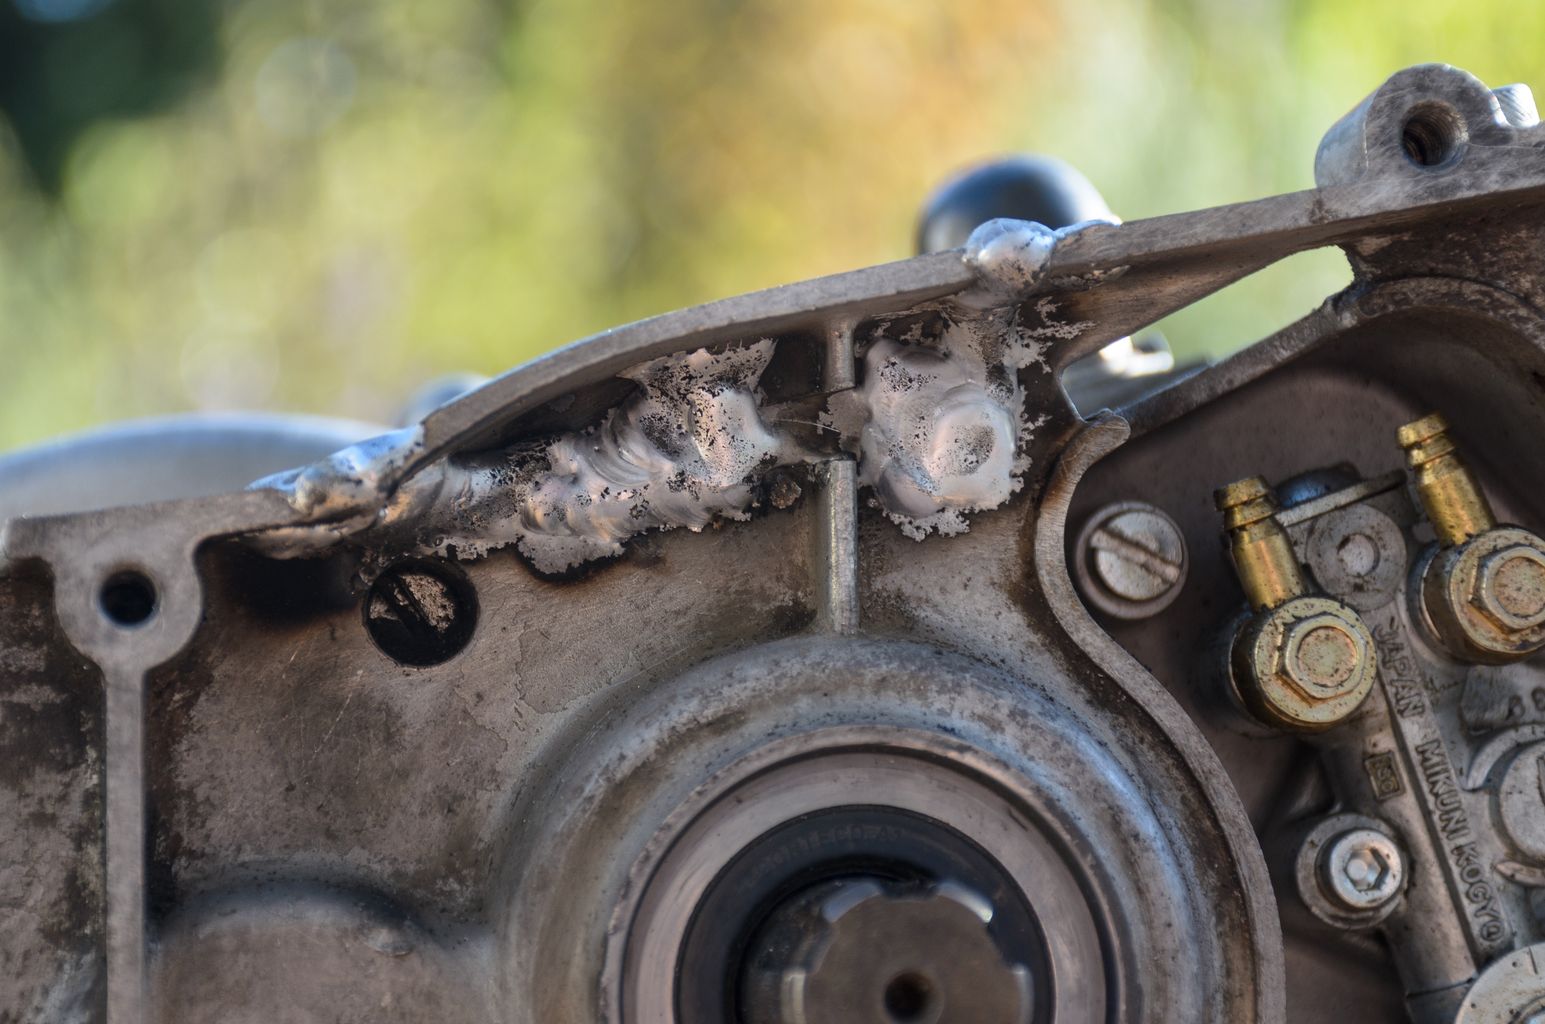
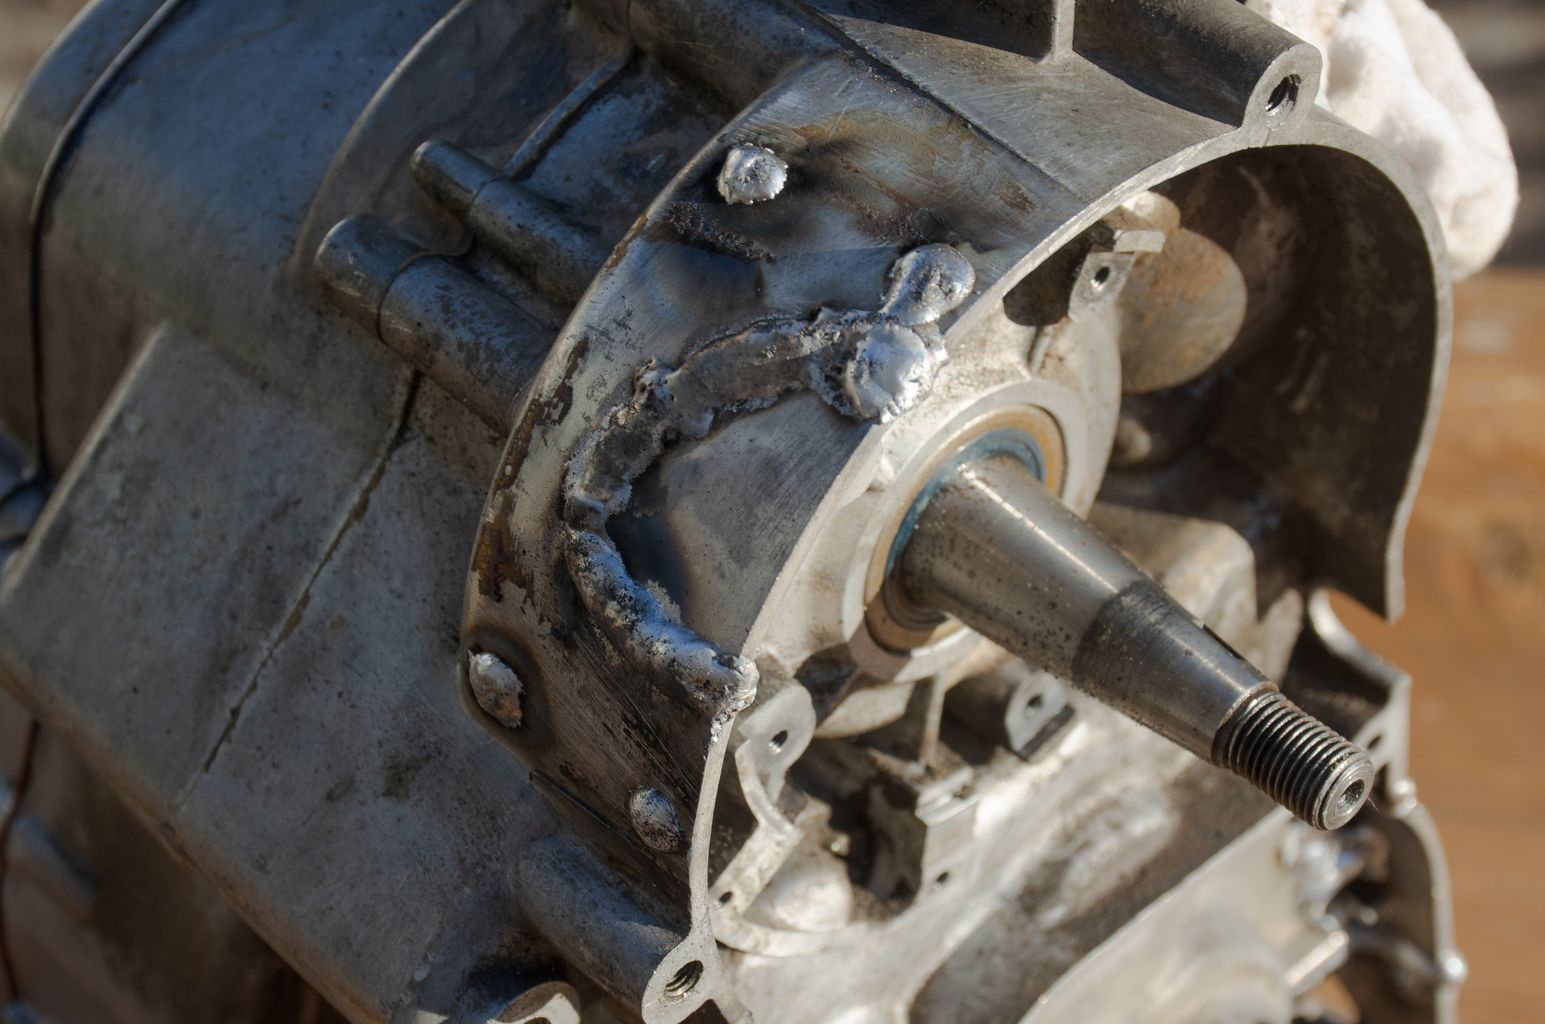
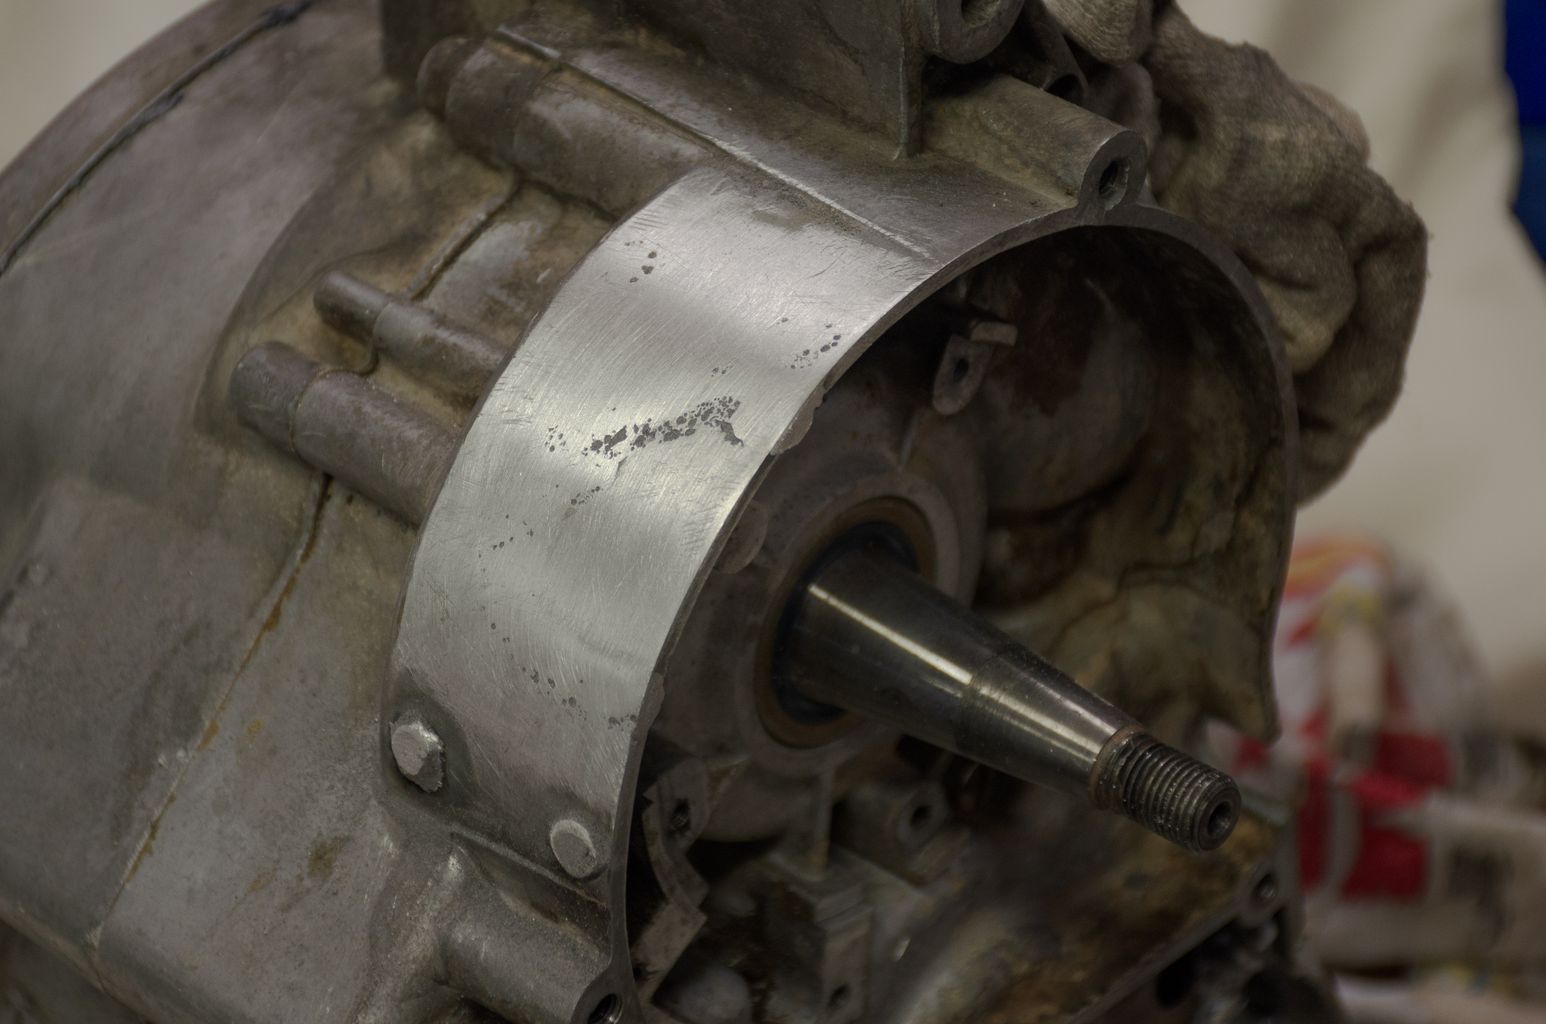
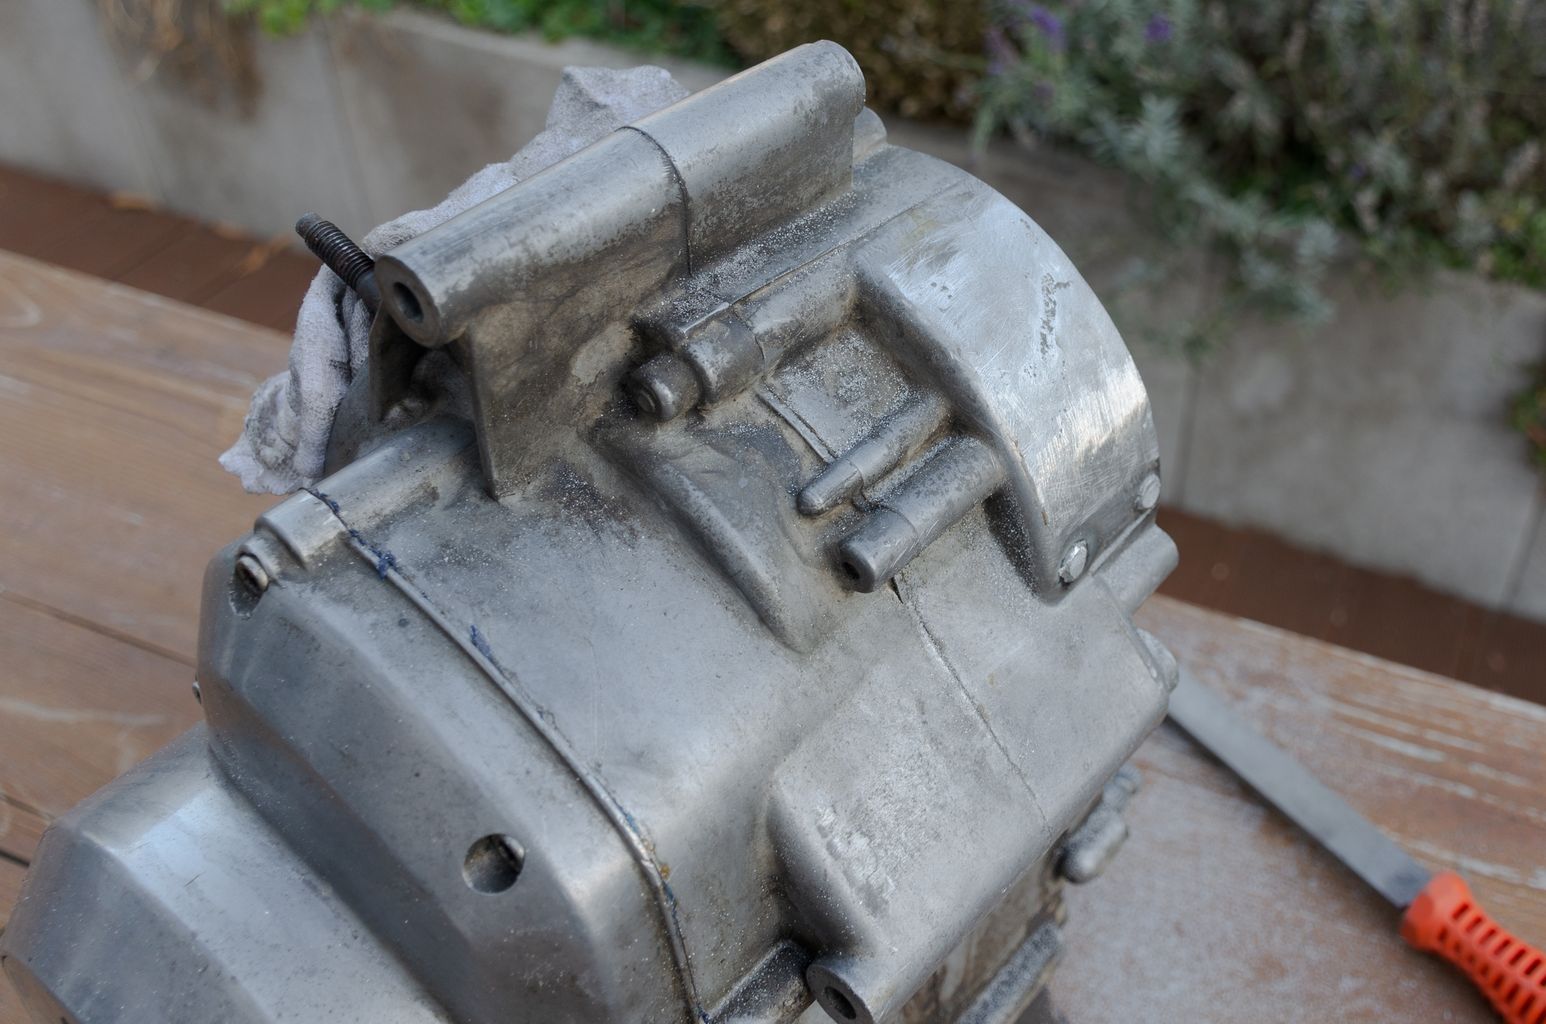
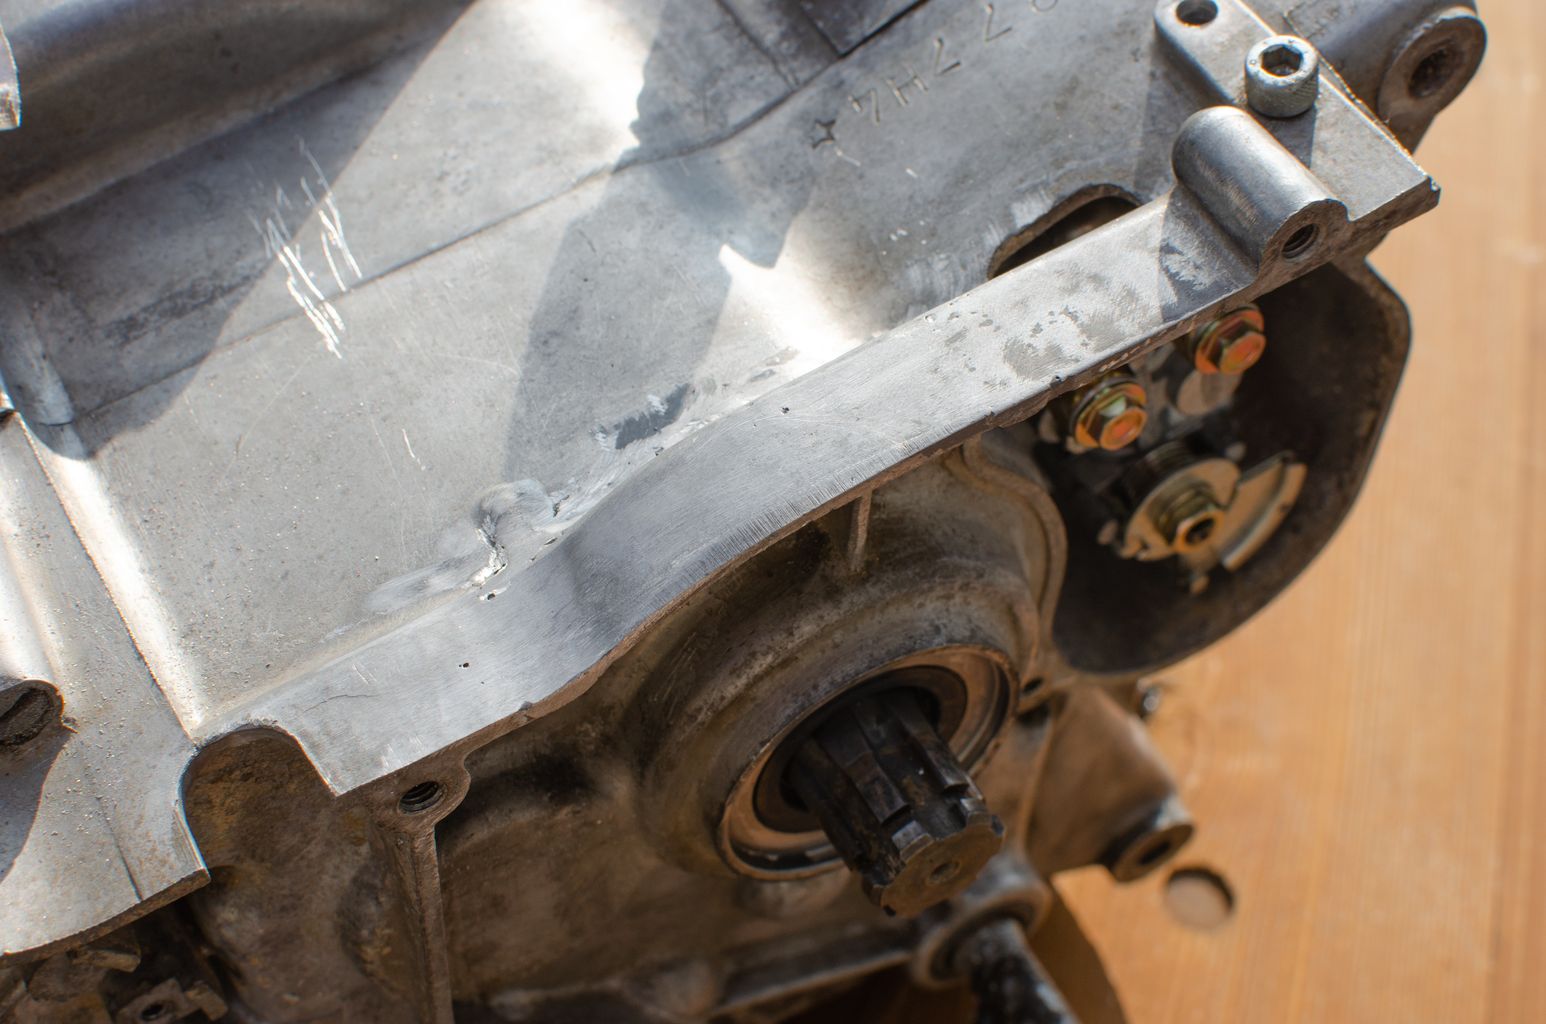
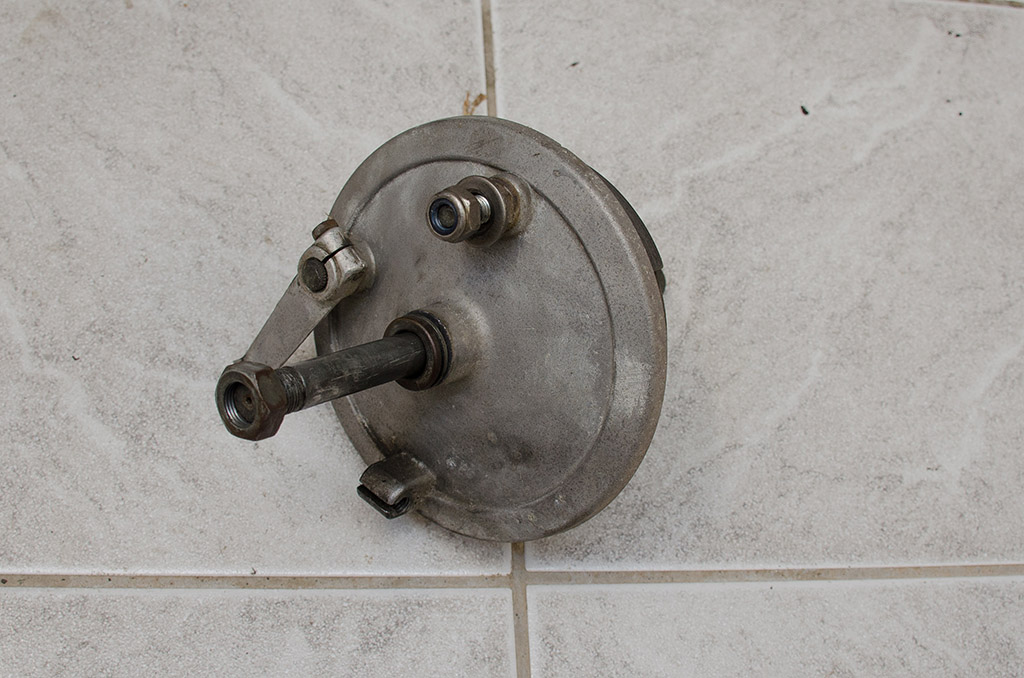
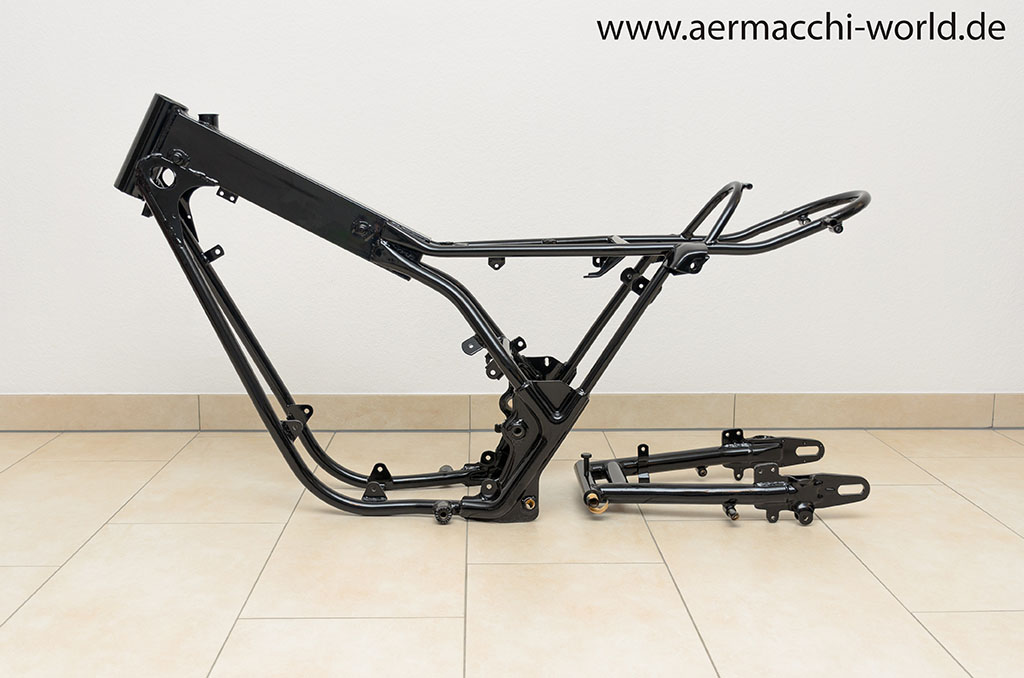
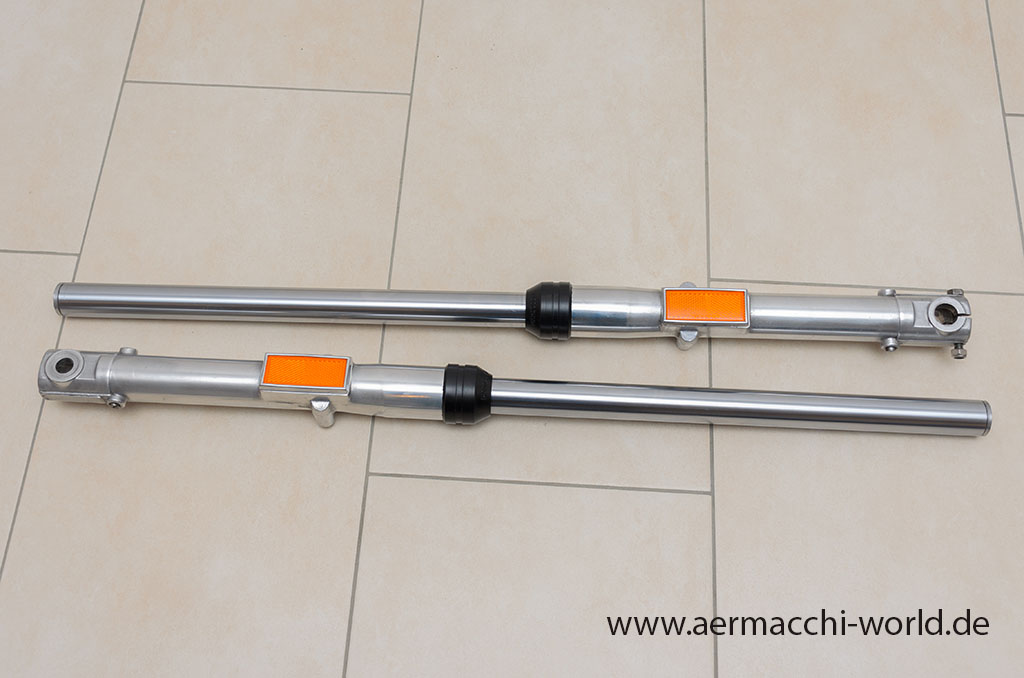
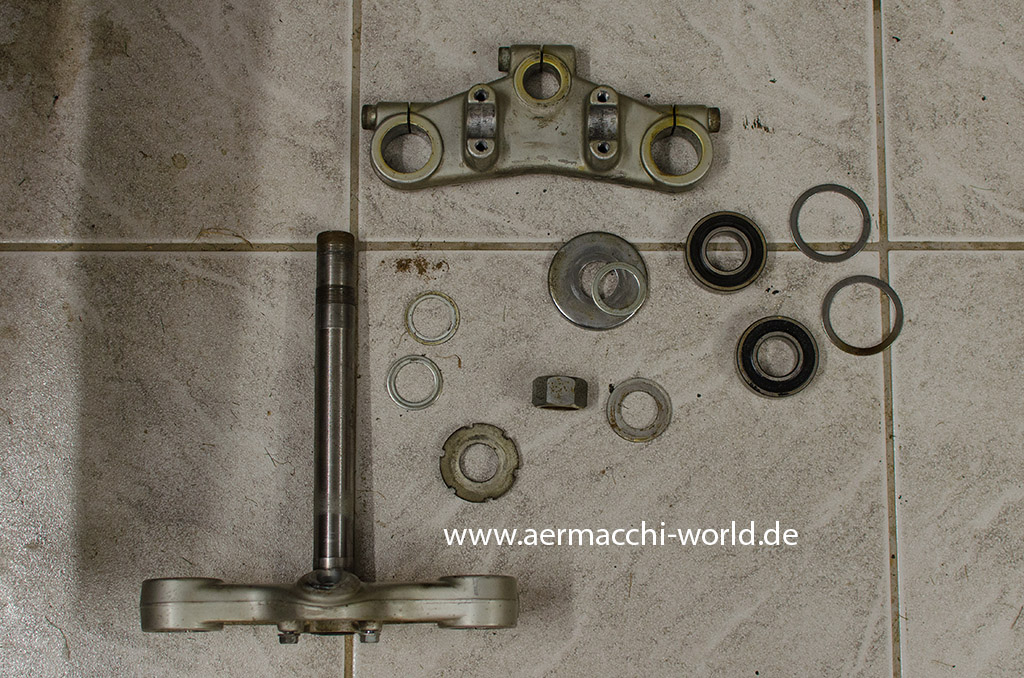
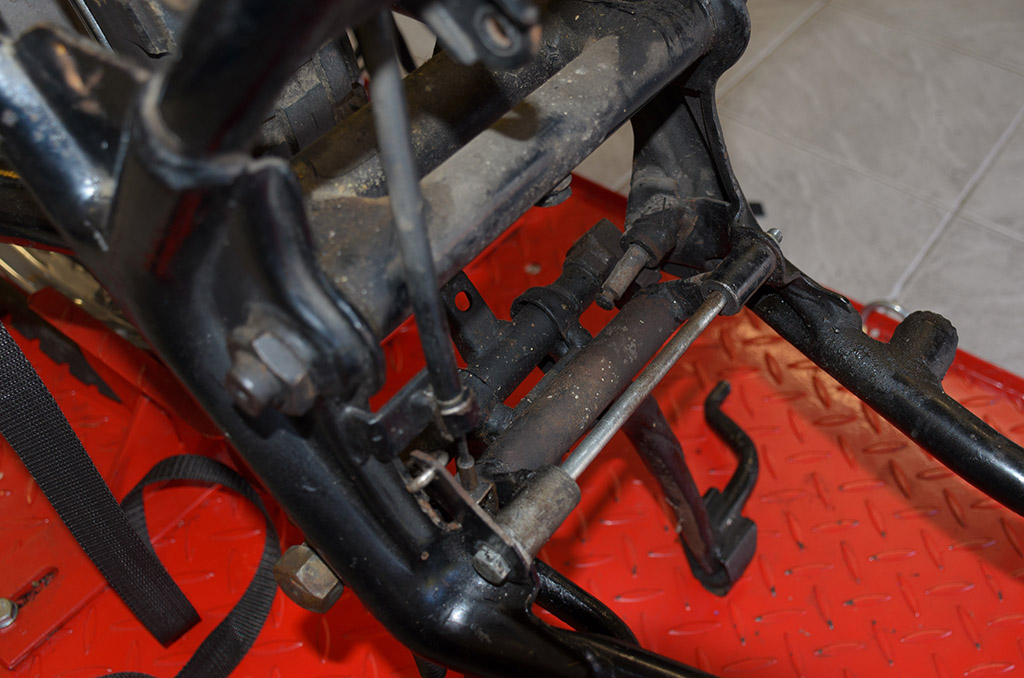
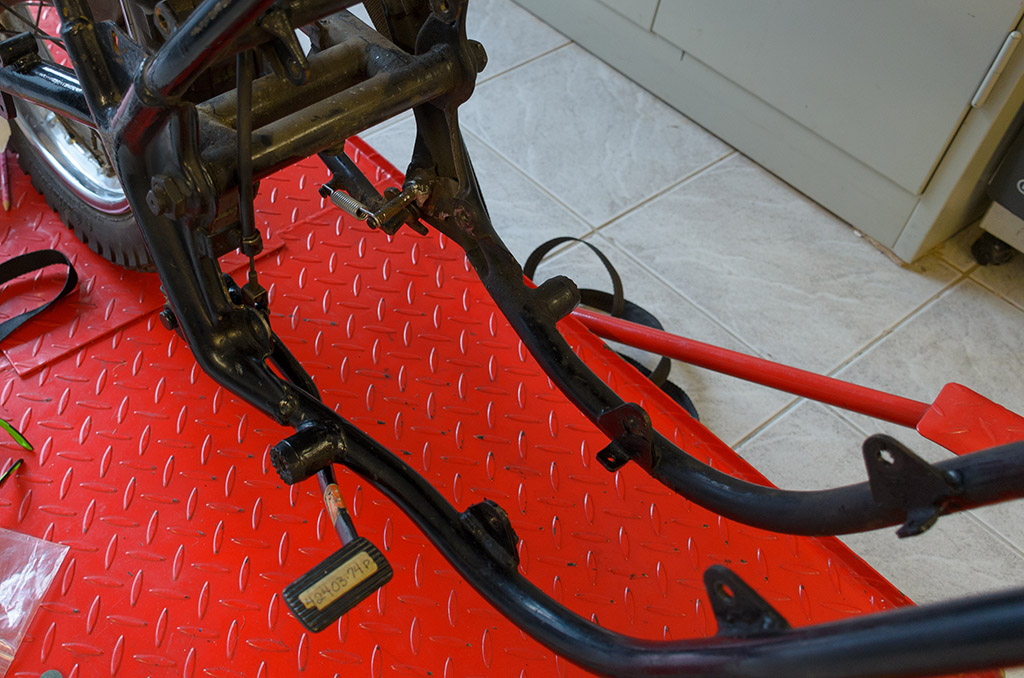
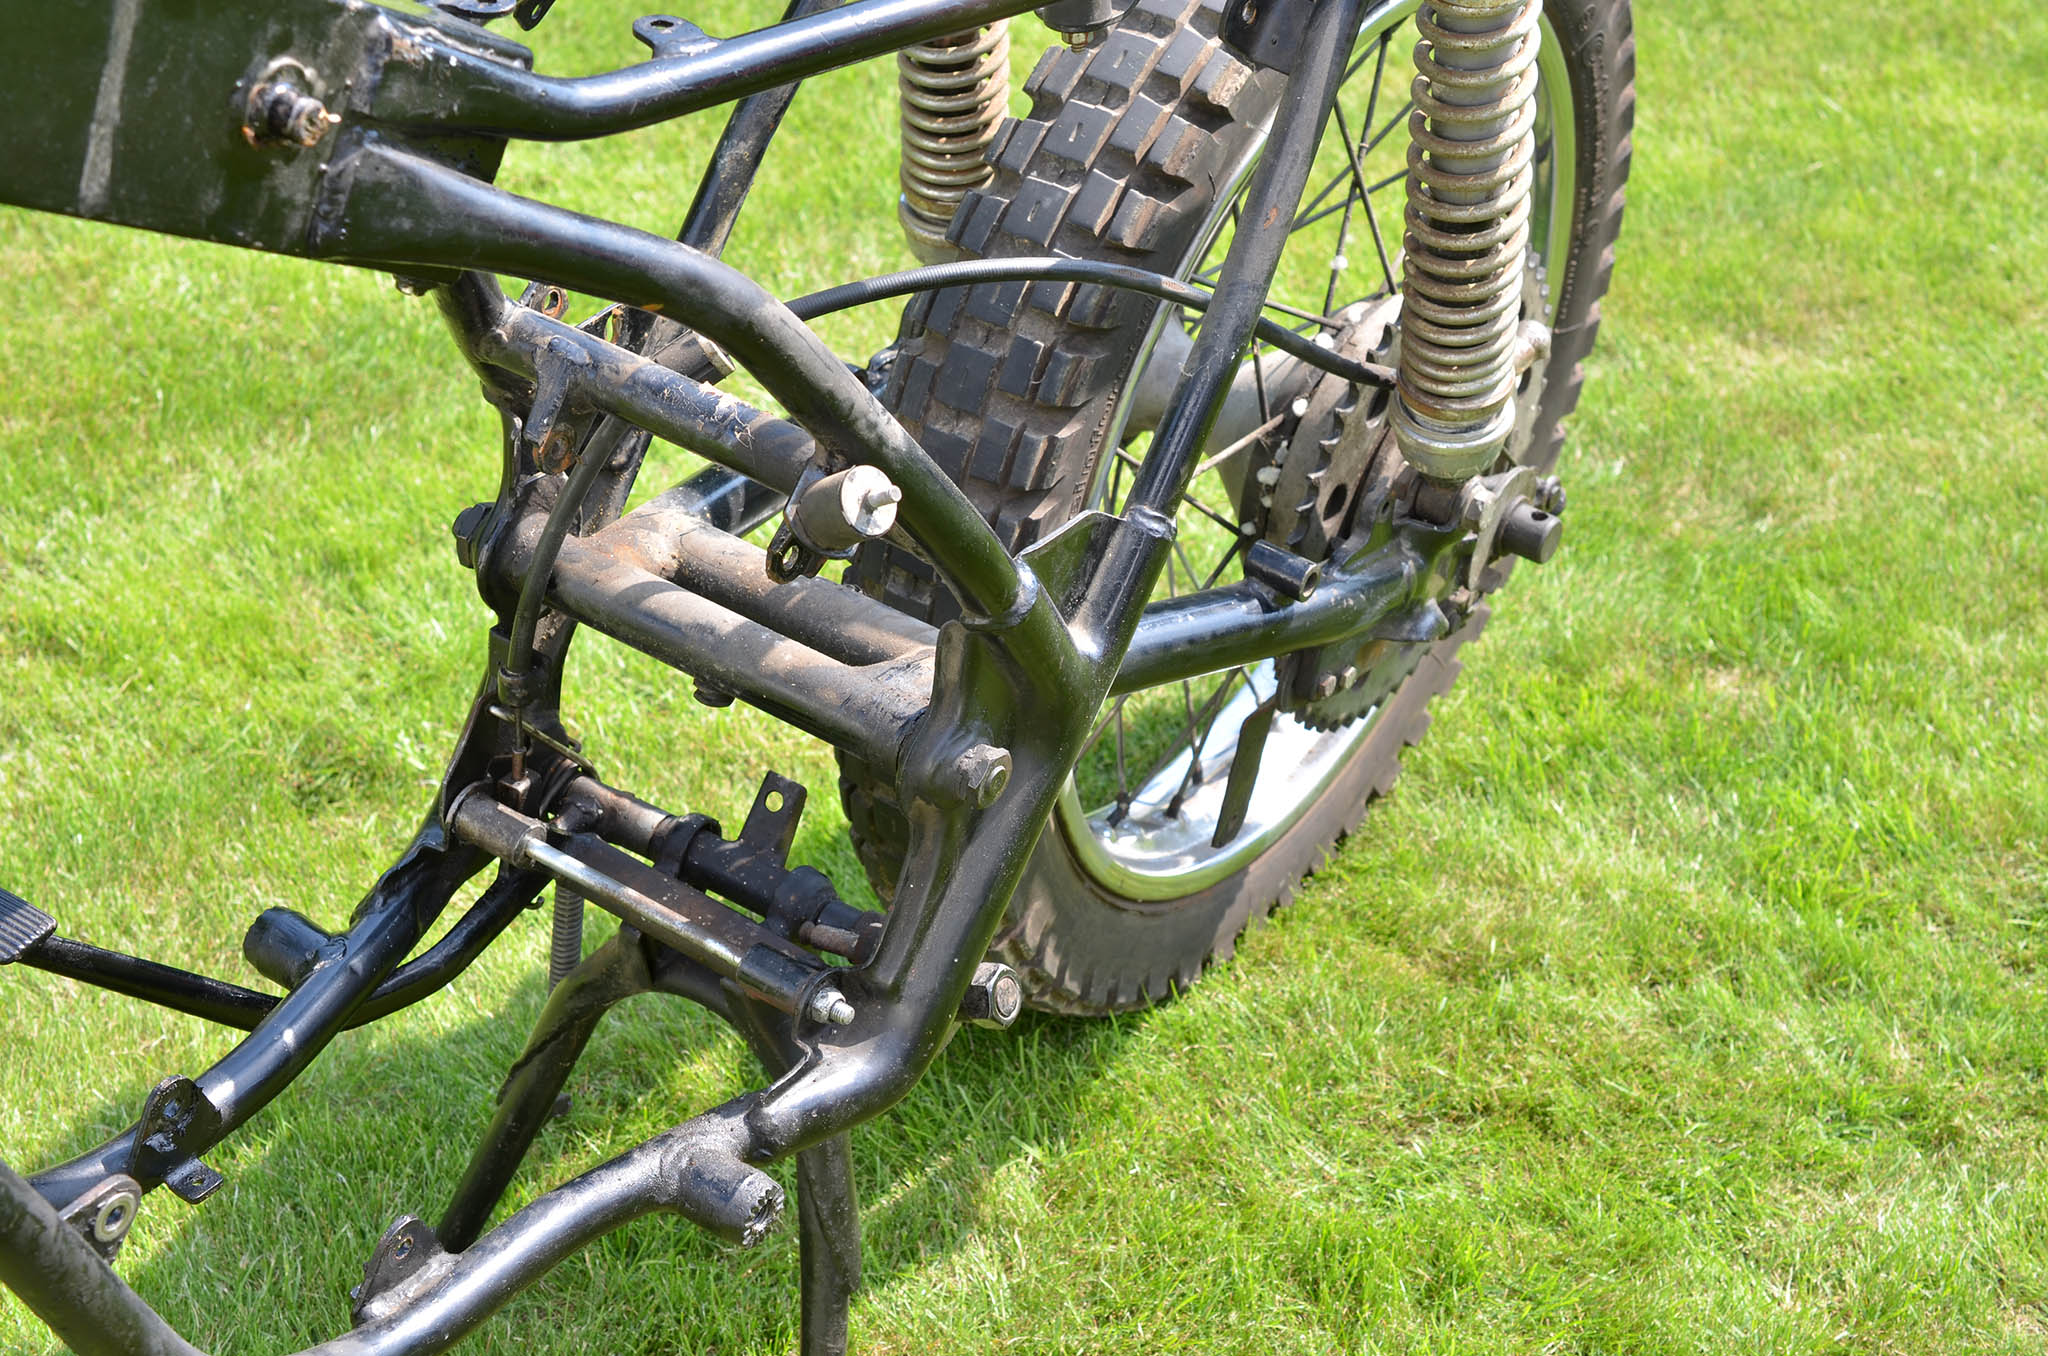
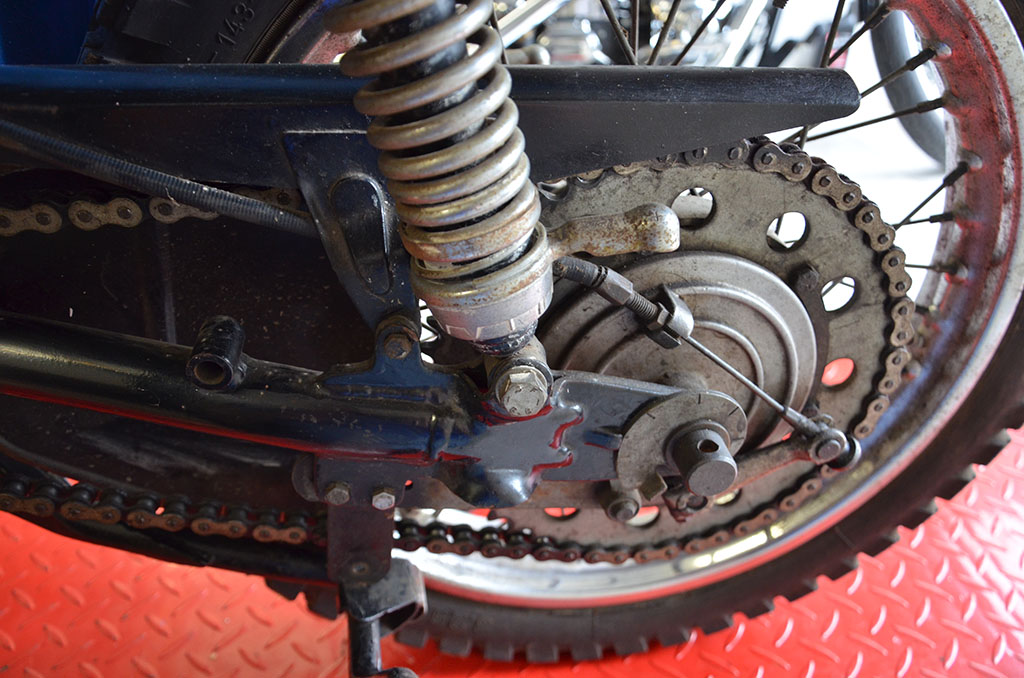
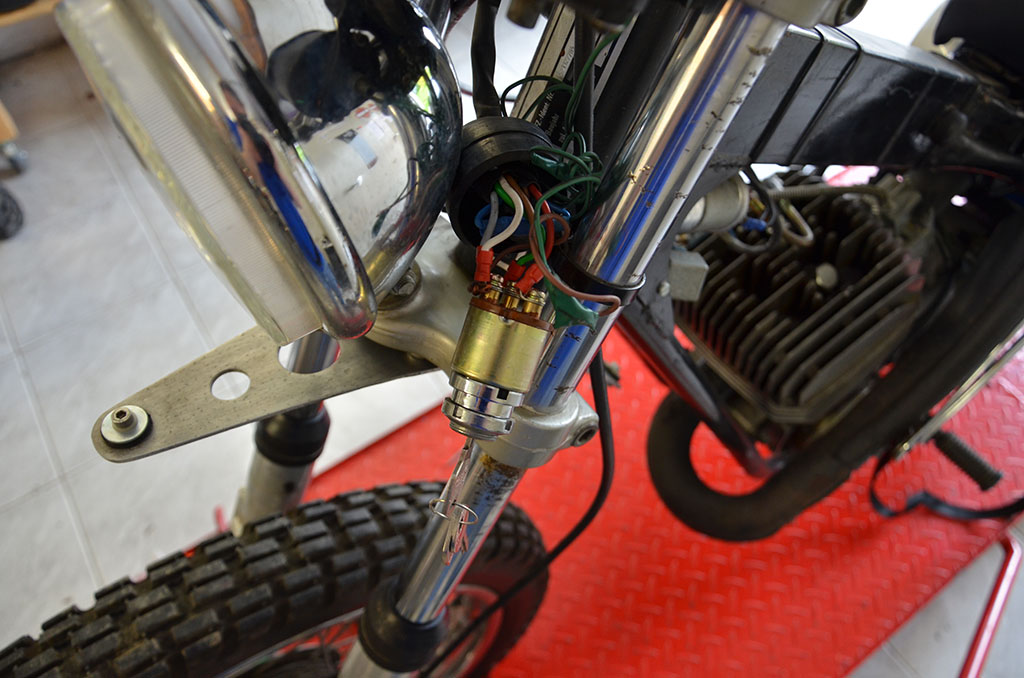
The Chimera is also one of the first motorcycles in the world where allen screws had been used. Parts of the body are aluminum cast and fit very precisely to avoid vibration noises. The engine side-covers themselves are part of the Chimera line and and made to fit perfectly into the design. The bike is as well equipped with a telescopic Upside-Down front fork and a monoshock rear suspension to not disturb the elegant linie of the bike.

Beside all the effort and money that was put into the project the Chimera didn’t sell well. Aermacchi tried to boost the sales by upgrading the bike from 175cc to 250cc in 1958, but this did not bring the success they had hoped for. The production of the Chimera ended in 1964 with only 119 documented 175cc bikes and another 177 Chimeras with 250cc bore. However some more bikes had obvisouly been built, but there is no documentation about it today.

  • After rewiring the whole motorcycle I had a strange problem and only had a spark with the ignition switch beeing in the “off” position. As soon as I turned the ignition switch to “ignition” or “ignition & light” I had no spark anymore. After some try & error and asking Michael from the UK for help I learend there is a different between switches for 1974 models and switches for 1975 and later models. To be more specific, I was always aware there is two different versions of the switch: One version with the pattern: “park – off – ignition – ignition/light” and  one version with the pattern “off – ignition – ignition/light – park”. What I didn’t know: One version connects the pins 6-7 when “off”, while the other version disconnects the pins “6-7” when beeing in the off position. All other functions are the exact same between the switches. Thankfully Bram & Jenny from Luxembourg helped me out with the correct ignition switch! Thank you!
  • On the first picture you can see a 1973/74 version and a 1975 & later version of the ignition switches
  • On the second picture you can see my brand new wiring harness connected to the ignition switch.

Crankcase

| Leave a comment

This time I didn’t split the crankcase as I tested the engine and it was running fine and strong. The previous owner also had a new piston and rings made for the bike.


As you can see in the first few pictures there had been a few dents and even holes in the exhaust manifold, also some smaller dents in the muffler. As the 1974 model has a different exhaust as the later models I wanted to keep this exhaust for my restoration. In the first step the exhaust was sandblasted and cleaned. After that the dent in the manifold was cut out and the exhaust was welded by a professional welder. I then grinded everything back to it’s original shape. As the welded spot had a very smooth surface compared to the rest of the abrasive or rough material I had to adjust this part to blend in again. In the end I sprayed it to it’s original black color again. The exhaust grill was already rechromed and ready to mount as well as my SX-175 emblem which was laser cut and custom built by myself.

The wiring harness was incomplete and in bad shape. It was also altered by the previous owner. I decided to make a complete new wiring harness from scratch.
As first step I colorized the original wiring diagram which helped me a lot for building a complete new wiring harness. This also meant buying a lot of cables in different colors.

Kickshaft and seal (20-30-7) needed a replacement. The clutch cover is ready for beeing remounted to the crankcase. Luckily I had a brand new kickshaft at home.

Obviously you can make functional parts with a 3D-printer as well. 🙂
I reconstructed the Insulators for the headlamp-shell in Blender and printed one in PETG, as after almost 50 years the plastic crumbled and I needed replacements.
Worked well and looks good.

Cylinder rehoned

| Leave a comment

I noticed noises from the cylinder when engine was running. The cause was to much play between piston and cylinder. I bought a oversize piston (first oversize) and had the cylinder honed to fit the new piston & rings.


This is my freshly dry ice cleaned cylinder together with the glass bead blasted cylinder head. Before and after pictures for comparison.
I heared a lot of people saying that dry-ice-cleaning ist by far the best method.I personally don’t see big differences to glass-bead-cleaning and it is also more expensive.

There were some pieces broken off the crankcase. One large piece was missing below the flywheel. I have no idea how this happend. Maybe a previous owner hit a stone while beeing off road with the bike? Another large piece seemed to be knocked out by loose chain. I bought a used left crankcase-half and cut out pieces to fit in as “spare parts”. I didn’t intend to replace the whole crankcase as I wanted to keep my matching frame & engine Vehicle Identifican Number (VIN). So, I went to a welder and asked him to weld my cut-out-pieces in my old crankcase. I asked them for laser-welding, but as you can see my request was totally ignored. This meant a lot of work for me as now there was a whole lot of material that needed to be grinded of. This took me a lot of time and two more rounds of adding material to get the surfaces smooth to blend in with te rest of the crankcase nicely.

Carb overhauled

| Leave a comment

Overhauling the 27mm VHB Dell’Orto carb was a routine work as I have done many times on my other Aermacchi bikes. Spare parts are still available and so I replaced most inner parts with new stuff. Those parts I reused as well as the housing were cleaned in an ultrasonic bath.

The gas tank had to be repainted as gasoline went underneath the paint around the gas cap. As the decals got to be pulled of for this I decided to go with the 1970 this time instead of the 1971. I also replaced the rear shocks with higher quality Hagon shocks.

Rolling Chassis

| Leave a comment

Okay, at this point we had a good rolling chassis. All the parts are there and some are already restored like the frame, wheels and front fork.
>>Brake check?<<
>>Nope, doesn’t work!<<

Front wheel hub

| Leave a comment

Overhaul of the front wheel hub is complete. Everything cleaned and both bearings replaced with new ones (Size 6202). I also replaced the brake shoes with a brand new set as well as the springs.

Redone rear wheel

| Leave a comment


Here you can see the completly redone rear wheel. EVERYTHING was replaced with new or NOS parts: Hub, bearings, seals, chain adjusters, sproket, spokes, rim, tube, brakes, springs, tube holders and the tire itself. The last pictures shows my current progress and my design for reproduction gas tank decals for a 1974 model. Original decals are not available and the reproductions sold are not good enough in my opinion for a perfect restoration. You can also see that I was able to get a vented right side cover which was only mounted to the first models sold and then replaced by a different style.

Redone seat

| Leave a comment

The completely redone seat with the original seat pattern and Harley-Davidson lettering in the rear and a powder coated seat pan.


One of the best moments when restoring an old bike is to get the rechromed parts back, but also one of the most expensive moments. 🙂
The second picture shows some NOS parts I gathered for my project.

Litte ride out with a friend. This is somehow an interesting picture as the bikes are so similar but on the other hand so different.
In front the european interpretation of an “Aermacchi” as sports bike with a light frame and without electric start. In the back the US interpretation of the bike as a two-seater vehicle with a large seat and electric starter.

I bought some NOS parts from my favorite parts supplier “Carl” who also found me a pair of perfect Sebac five-way-adjustable rear shocks. Those are really hard to find thes days. He also had a NOS rear fender for me.

A new air filter and seal as replacement for the old used ones. I also bought a new headlamp housing and I will replace the headlamp with a modern H4 to get some light out of it. I will also replace the ignition key and rubber boot as well as Speedometer and tachometer with NOS ones.

Old wheels

| Leave a comment

Old wheels:
Rear: Radaelli Rim 2.15×18, 36 spokes with a Continental 3.25×18 GS2 tire
Front: Radaelli Rim 1.85×19, 36 spokes with a Continental 3.00×19 GS2 tire


Powder coating

| Leave a comment

dsc_2100-2-aw dsc_2104-2-aw dsc_2113-3-aw
Parts back are back from powder coating and the meanwhile overhauled front forks are freshly polished and fitted with new seals (32-42-7), reflectors, sliders and new rubber dust covers.

Marzocchi fork

| Leave a comment

sx175-marzocchi

I have disassembled the front fork so I can overhaul it. The sliders will be replaced with NOS parts.

Marzocchi:
32mm;
Fork seals: 32-42-7 – two each side;

Turn signal posts

| Leave a comment

blinkerstange0 blinkerstange1 blinkerstange2 blinkerstange3

The previous owner of the bike did cut off the turn signal stuts so I had to remanufacture them and have them welded to the frame.

Street legal

| Leave a comment

First test ride with the GT-350 on public roads since it’s restoration. In the background you can see the castle “Cadolzburg”.

GT350-Spring GT350-Spring2
I really have to take care of getting the bike street legal now. I rode 4 kilometers and there is still some trouble, but I will get it managed…

SX175-Seitendeckel SX175-Lochoeltank SX175-Gabel SX175-Auspuff SX175-Ausbruch2 SX175-Ausbruch1

  • Fork tubes rusty -> Needs replacement (Marzocchi type)
    • Replaced with NOS parts
  • Reflectors on front fork needs replacement (easy to get)
    • Replaced with NOS
  • No mirrors
    • Replaced with correct early style HD
  • A hole in the oil tank? Why?
    • Repaired -> welded
  • Studs for mounting the rear turn signals missing
    • Built new ones and welded them to the frame
  • Paint of the frame is not nice anymore
    • Completely powder coated
  • Pipe bend and two holes with screws in it! Why?
  • Two broken out parts on the left side of the crankcase.
  • Side cover is a hand made metal part. Not too bad done, but why? I have a NOS one in stock -> Going to replace
    • Replaced with a rare early 1974 side cover (vented version)
  • Paint job is not done bad, but it’s a 74 model and someone used 75 decals. Also there is a wrong hole in the rear fender for an aftermarket taillight.
  • Wrong ignition switch ( Three connectors)
    • Replaced with OEM 10 connectors switch
  • Wiring harness in bad condition
  • Wrong horn
    • Replaced with NOS horn
  • No spark
  • Seat was redone okay. Top is still original, sides are replaced by someone
    • Seat pan powder coated, New original seat cover professionaly done;
  • Missing turnsignals
    • Set of NOS CEV turnsignals
  • Wrong handlebar
    • Replaced with OEM & rechromed
  • Aftermarket headlamp
    • Replaced with NOS headlamp shell
    • New reflector & glass
    • OEM headlamp rings rechromed
  • Tires are junk
    • Rear tire replaced with a new Cheng Shin C-186
  • Rims need rechroming or replacing
    • New rear wheel rim
    • NOS rear wheel hub
    • New rear spokes (stainless)
    • New rear tire holders
    • new rear tube
  • Side stand missing; Someone fitted a center stand to the bike. It’s done…okay, but not great
    • replaced with NOS parts
  • Rear shocks (SEBAC) needs replacing or rechroming
    • Replaced with NOS!
  • Instruments are usable but not nice
    • Replaced speedometer with NOS parts
    • Replaced rubber mounts with NOS parts
  • kick start is from a 75 model – that’s okay to me
    • NOS 1974 kick start


  • New project
    • It’s an early 1974 SX-175 (someone repainted it in 75 design)
  • Work done
    • Frame
      • Sandplasted & powder coated
      • Mainstand removed and replaced with original sidestand (NOS)
      • New fork lock (was missing completely)
      • Welded a hole in the oil tank
      • Rebuilt turn signal struts for the rear and welded back to frame
      • Skid plate sandplasted and powder coated
    • Wheels
      • New rims, new stainless steel spokes
      • New tubes, new tires
      • New seals
      • New real wheel hub
      • New brake shoes, linings and springs for the front & rear
      • New rear sprocket
      • New tube holders
    • Electric
      • New (used) ignition switch (was missing)
      • NOS original turn signal for the bike (were missing)
      • Rebuilt the whole wiring from scratch
      • Replaced headlamp with original CEV type but with modern H4 lamp
      • NOS tachometer
      • NOS speedometer
      • New front brake switch
      • NOS rear brake cable
      • Replaced licensce plate holder & taillight with NOS CEV parts
      • New NOS horn
      • New CEV169 switch
    • Fornt & rear end
      • Front
        • New head-bearings for the front fork
        • NOS front fork tubes (Marzocchi)
        • New fork oil
        • Front fork kegs polished
        • All seals replaced
        • New reflectors
        • Handlebar replaced (wasn’t original)
        • NOS handlebar grips
        • NOS brake & clutch levers
        • New speedometer cable
        • All cables replaced (carb, clutch, brake)
        • New rubber mounts for the instruments
        • New early HD-style chrome mirrors
      • Rear
        • NOS original rear shocks
        • Rear fork sandplasted & powder coated
        • Sand plasted and powder coated triple tree
    • Body works
      • Right side cover replaced with an original part
      • Airfilter housing sandplasted & powder coated
      • Battery cage, brake pedal, chain-guard sandplasted & powder coated
      • All screws replaced or overhauled
      • Seat pan sand plasted & powder coated
      • New seat cover
      • Repainted gas tank
      • Crafted new original gas tank decals
      • Front mudguard holder polished
      • Front mudguard repainted and new bushings
      • NOS rear fender also repainted
      • Side cover replaced with early original and repainted
      • New rubbers for the footpegs
      • New rubbers and rubberband for the gas tank
    • Engine
      • New airfilter
      • Cylinder dry-ice-cleaned
      • Cylinder head glass bead blasted
      • New custom made piston
      • Repaired crankcase
      • New cylinder base gasket
      • New bolts & nuts
      • New shaft for the Kickstand
      • Rechromed kickstand
      • Replaced most seals
      • Polished chaincover
      • Polished clutch cover
      • New engine oil
      • New spark plug and cable
      • Carb ultrasonic cleaned
      • Replaced all inner parts of the Carb (needle, jets, gas filter…)
      • New drive chain
      • New front sprocket
      • New oil lines
    • Exhaust
      • Sandplasted
      • Welded
      • repainted
      • Exhaust grill rechromed
      • New exhaust grill emblem

Turn signals

| Leave a comment

GT350-turnsignals GT350-turnsignals-2 GT350-turnsignals-3 GT350-turnsignals-4

Required by law for this production year in Germany already. As in Italy turn signals were not required and the bike delivered without them I had to find a solution that does not insult the eyes and so I did use period correct italian CEV turn signals

AERMACCHI-WORLD ©2024. All Rights Reserved.
Powered by WordPress. Theme by Phoenix Web Solutions