Mar 232024
 

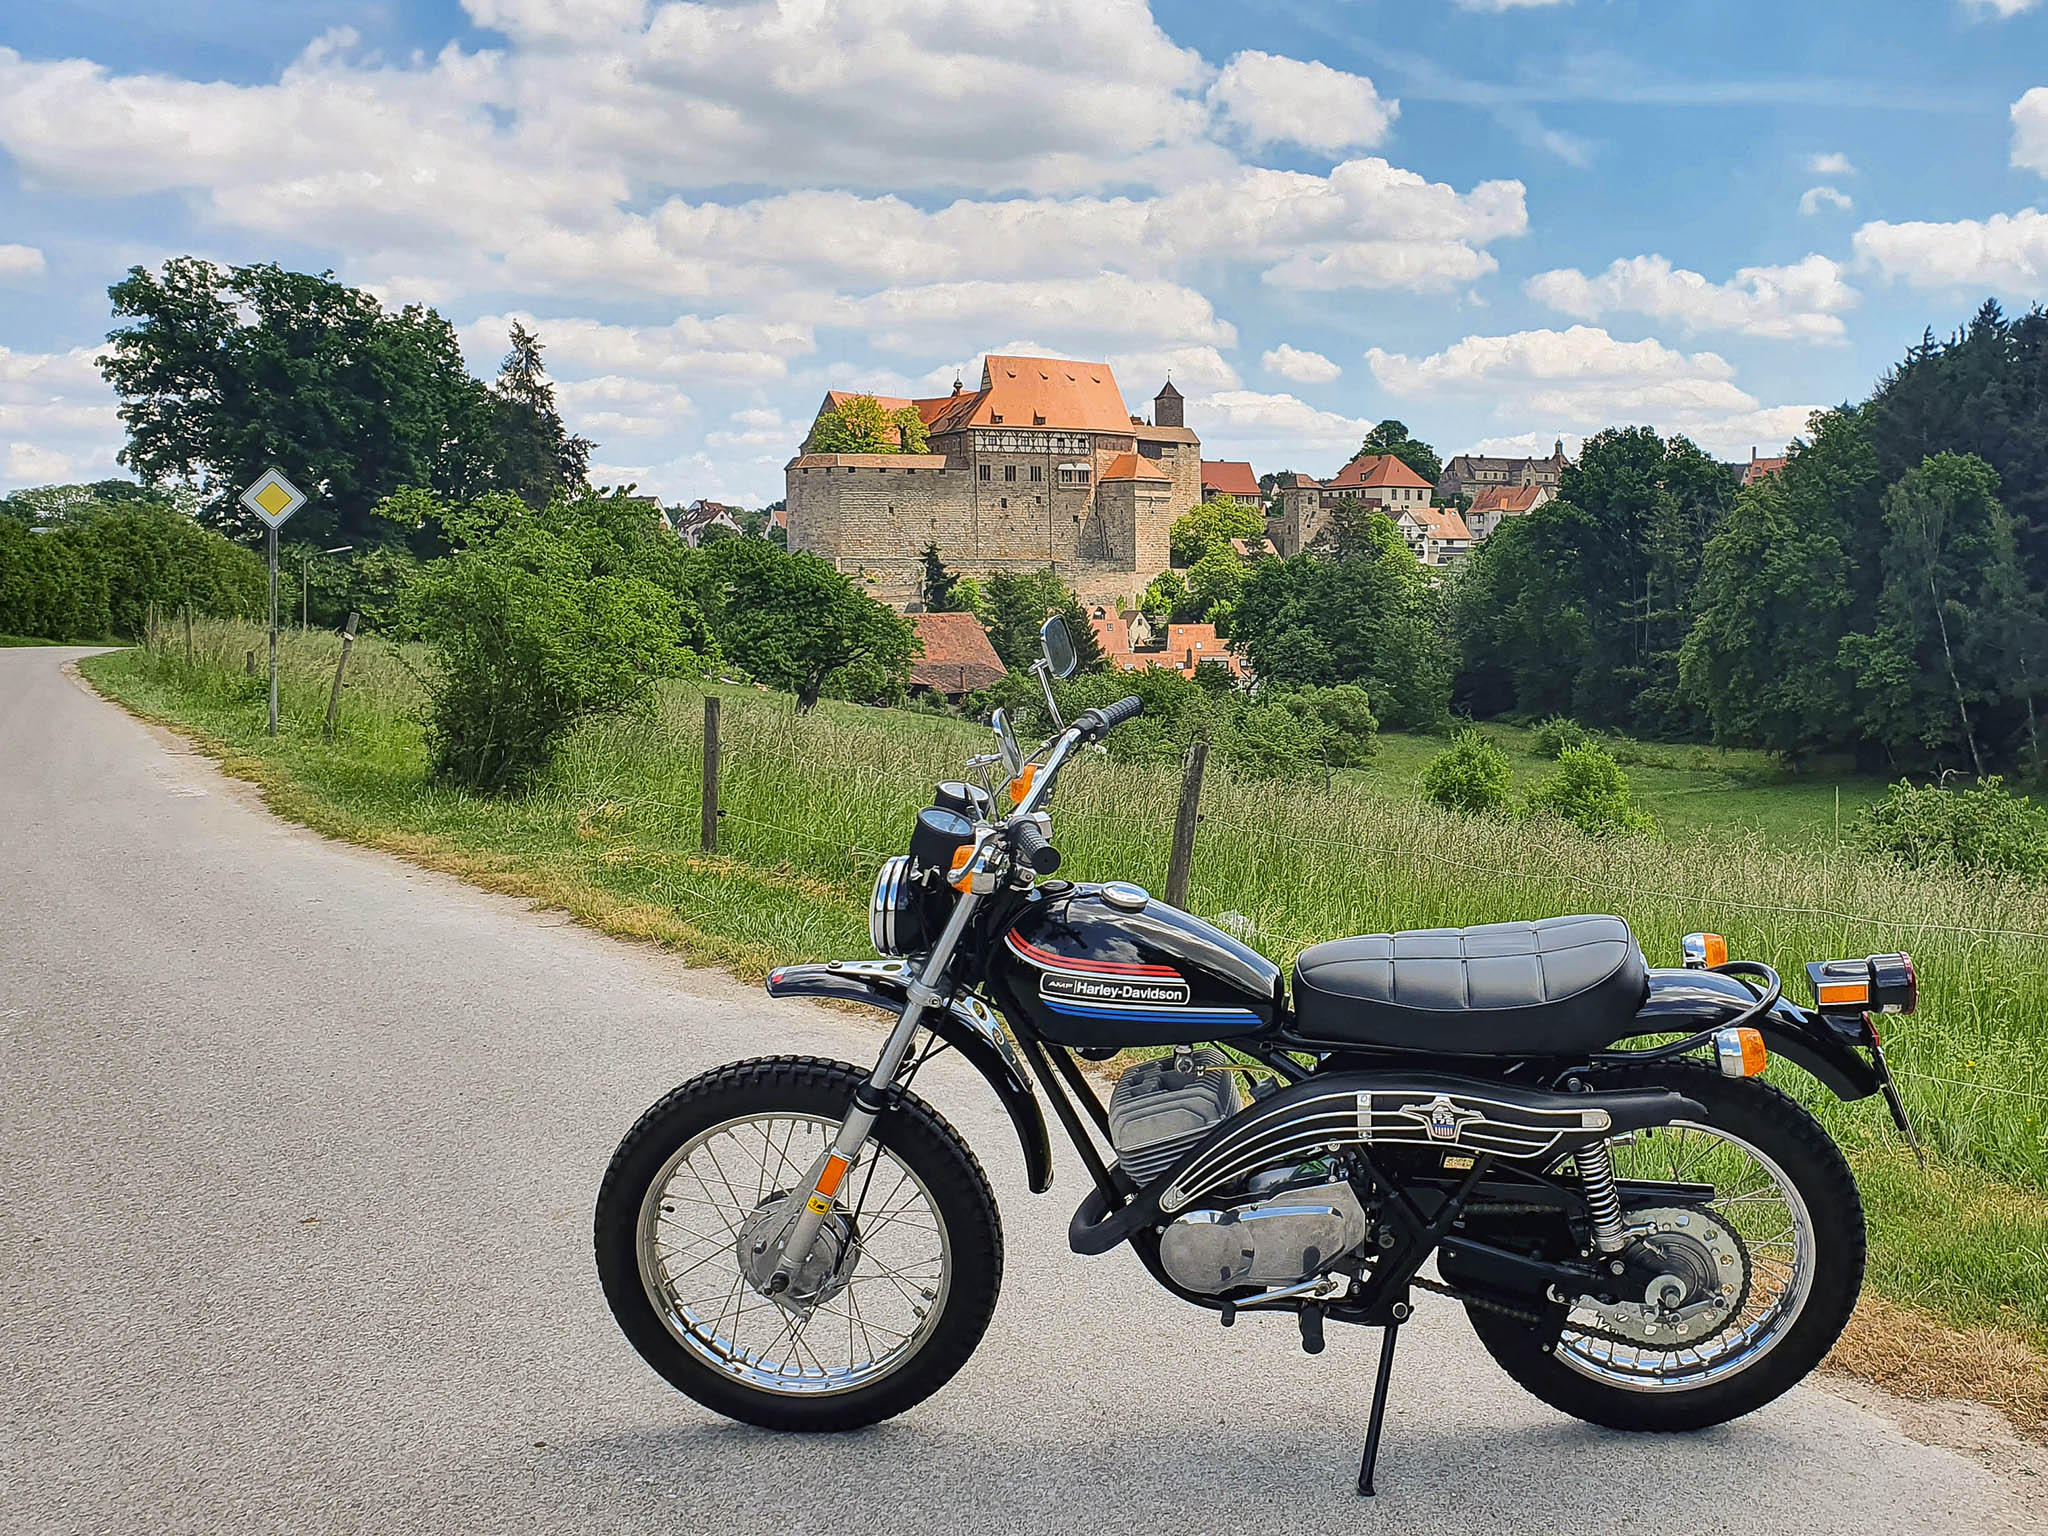
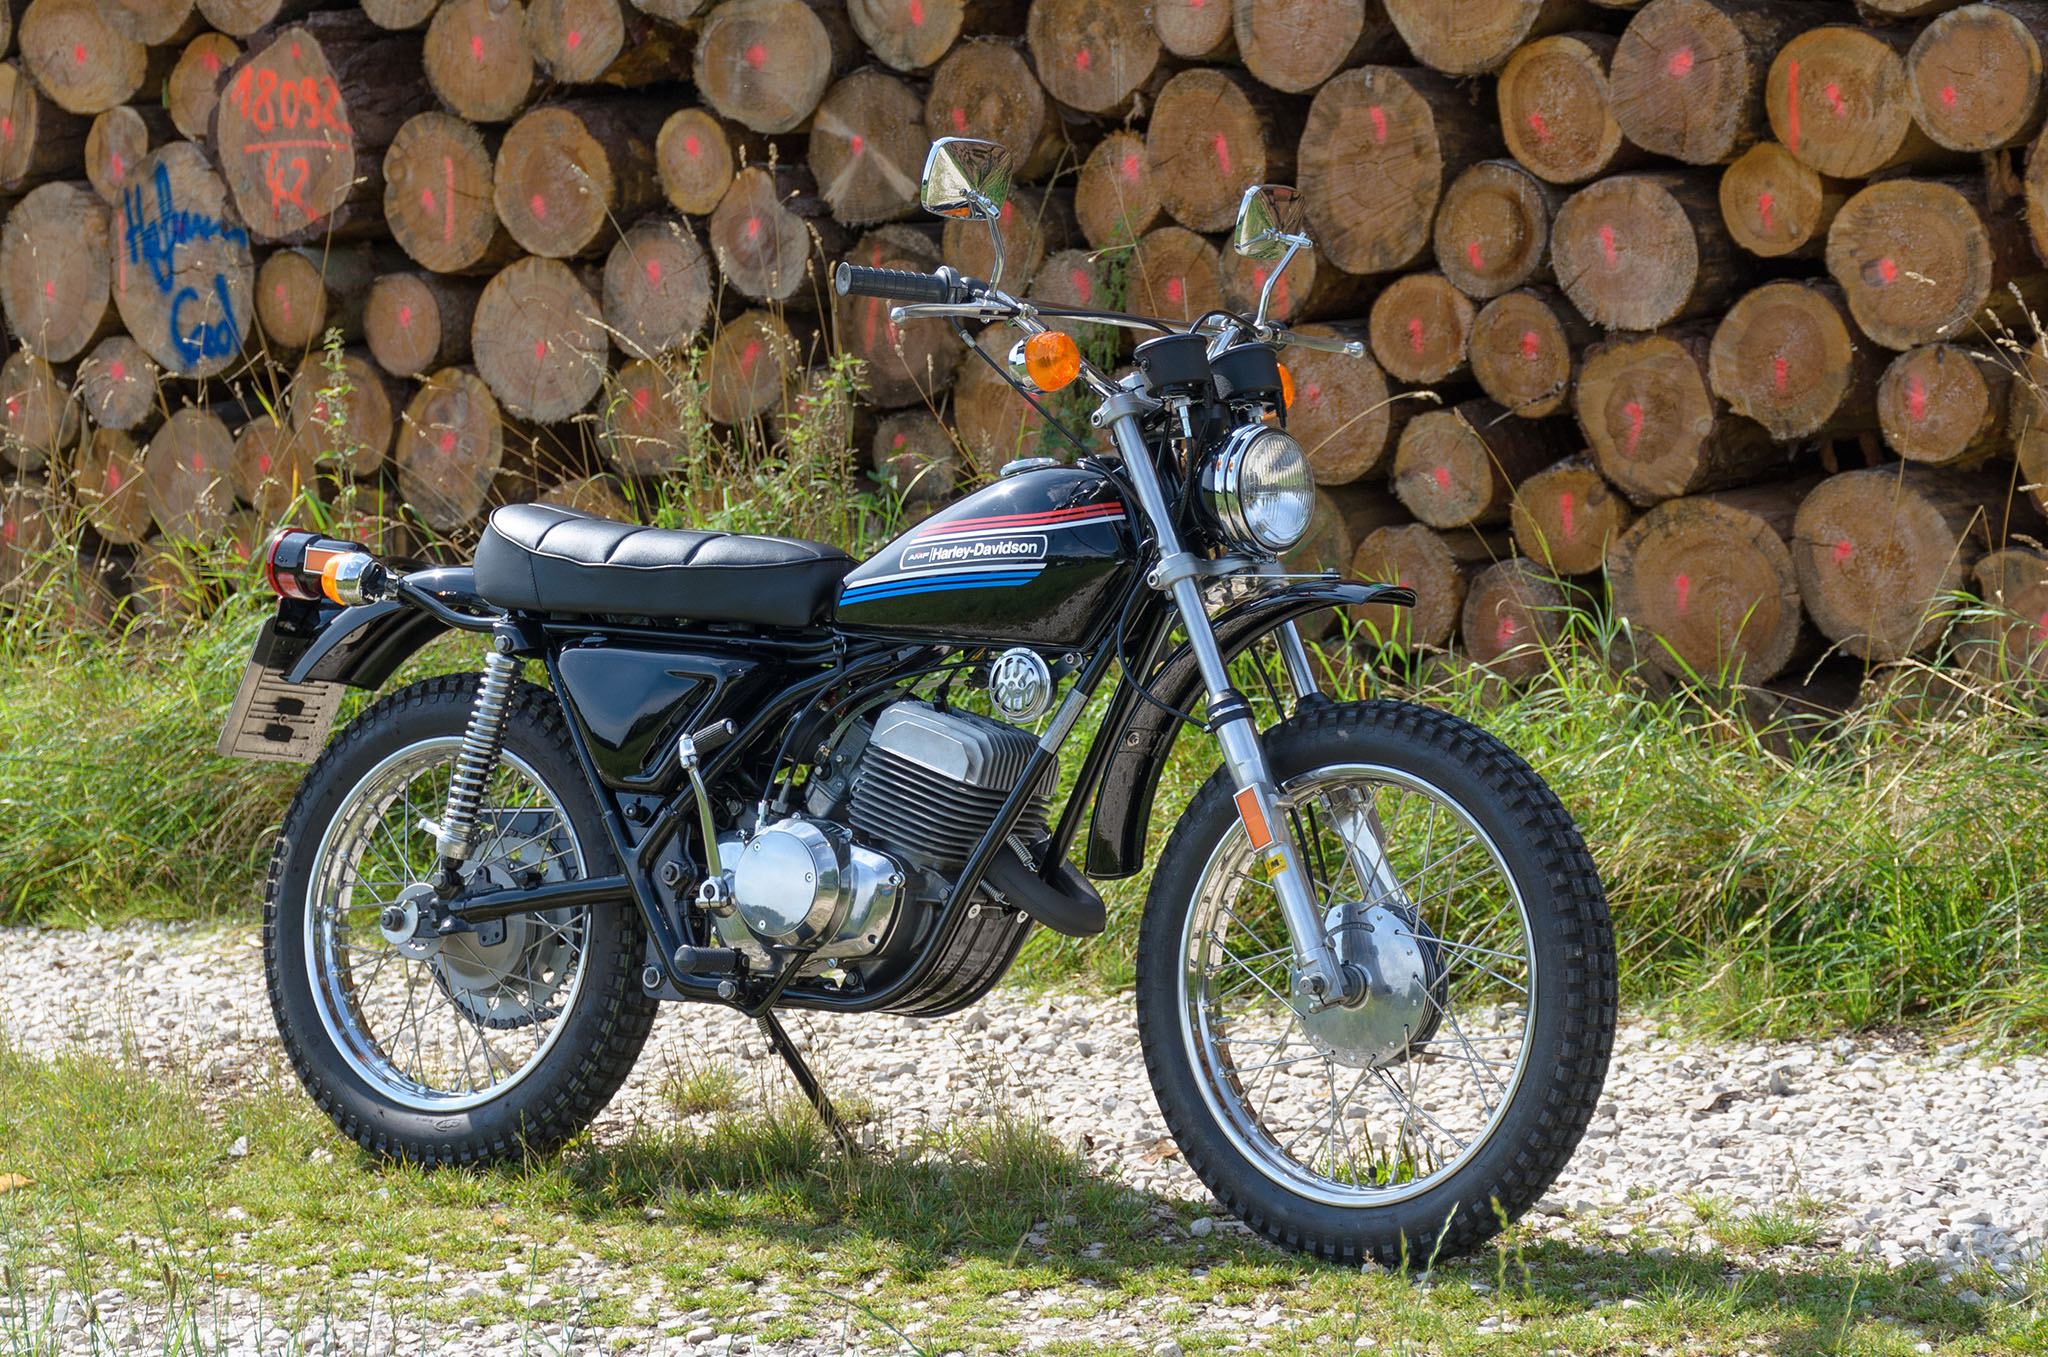
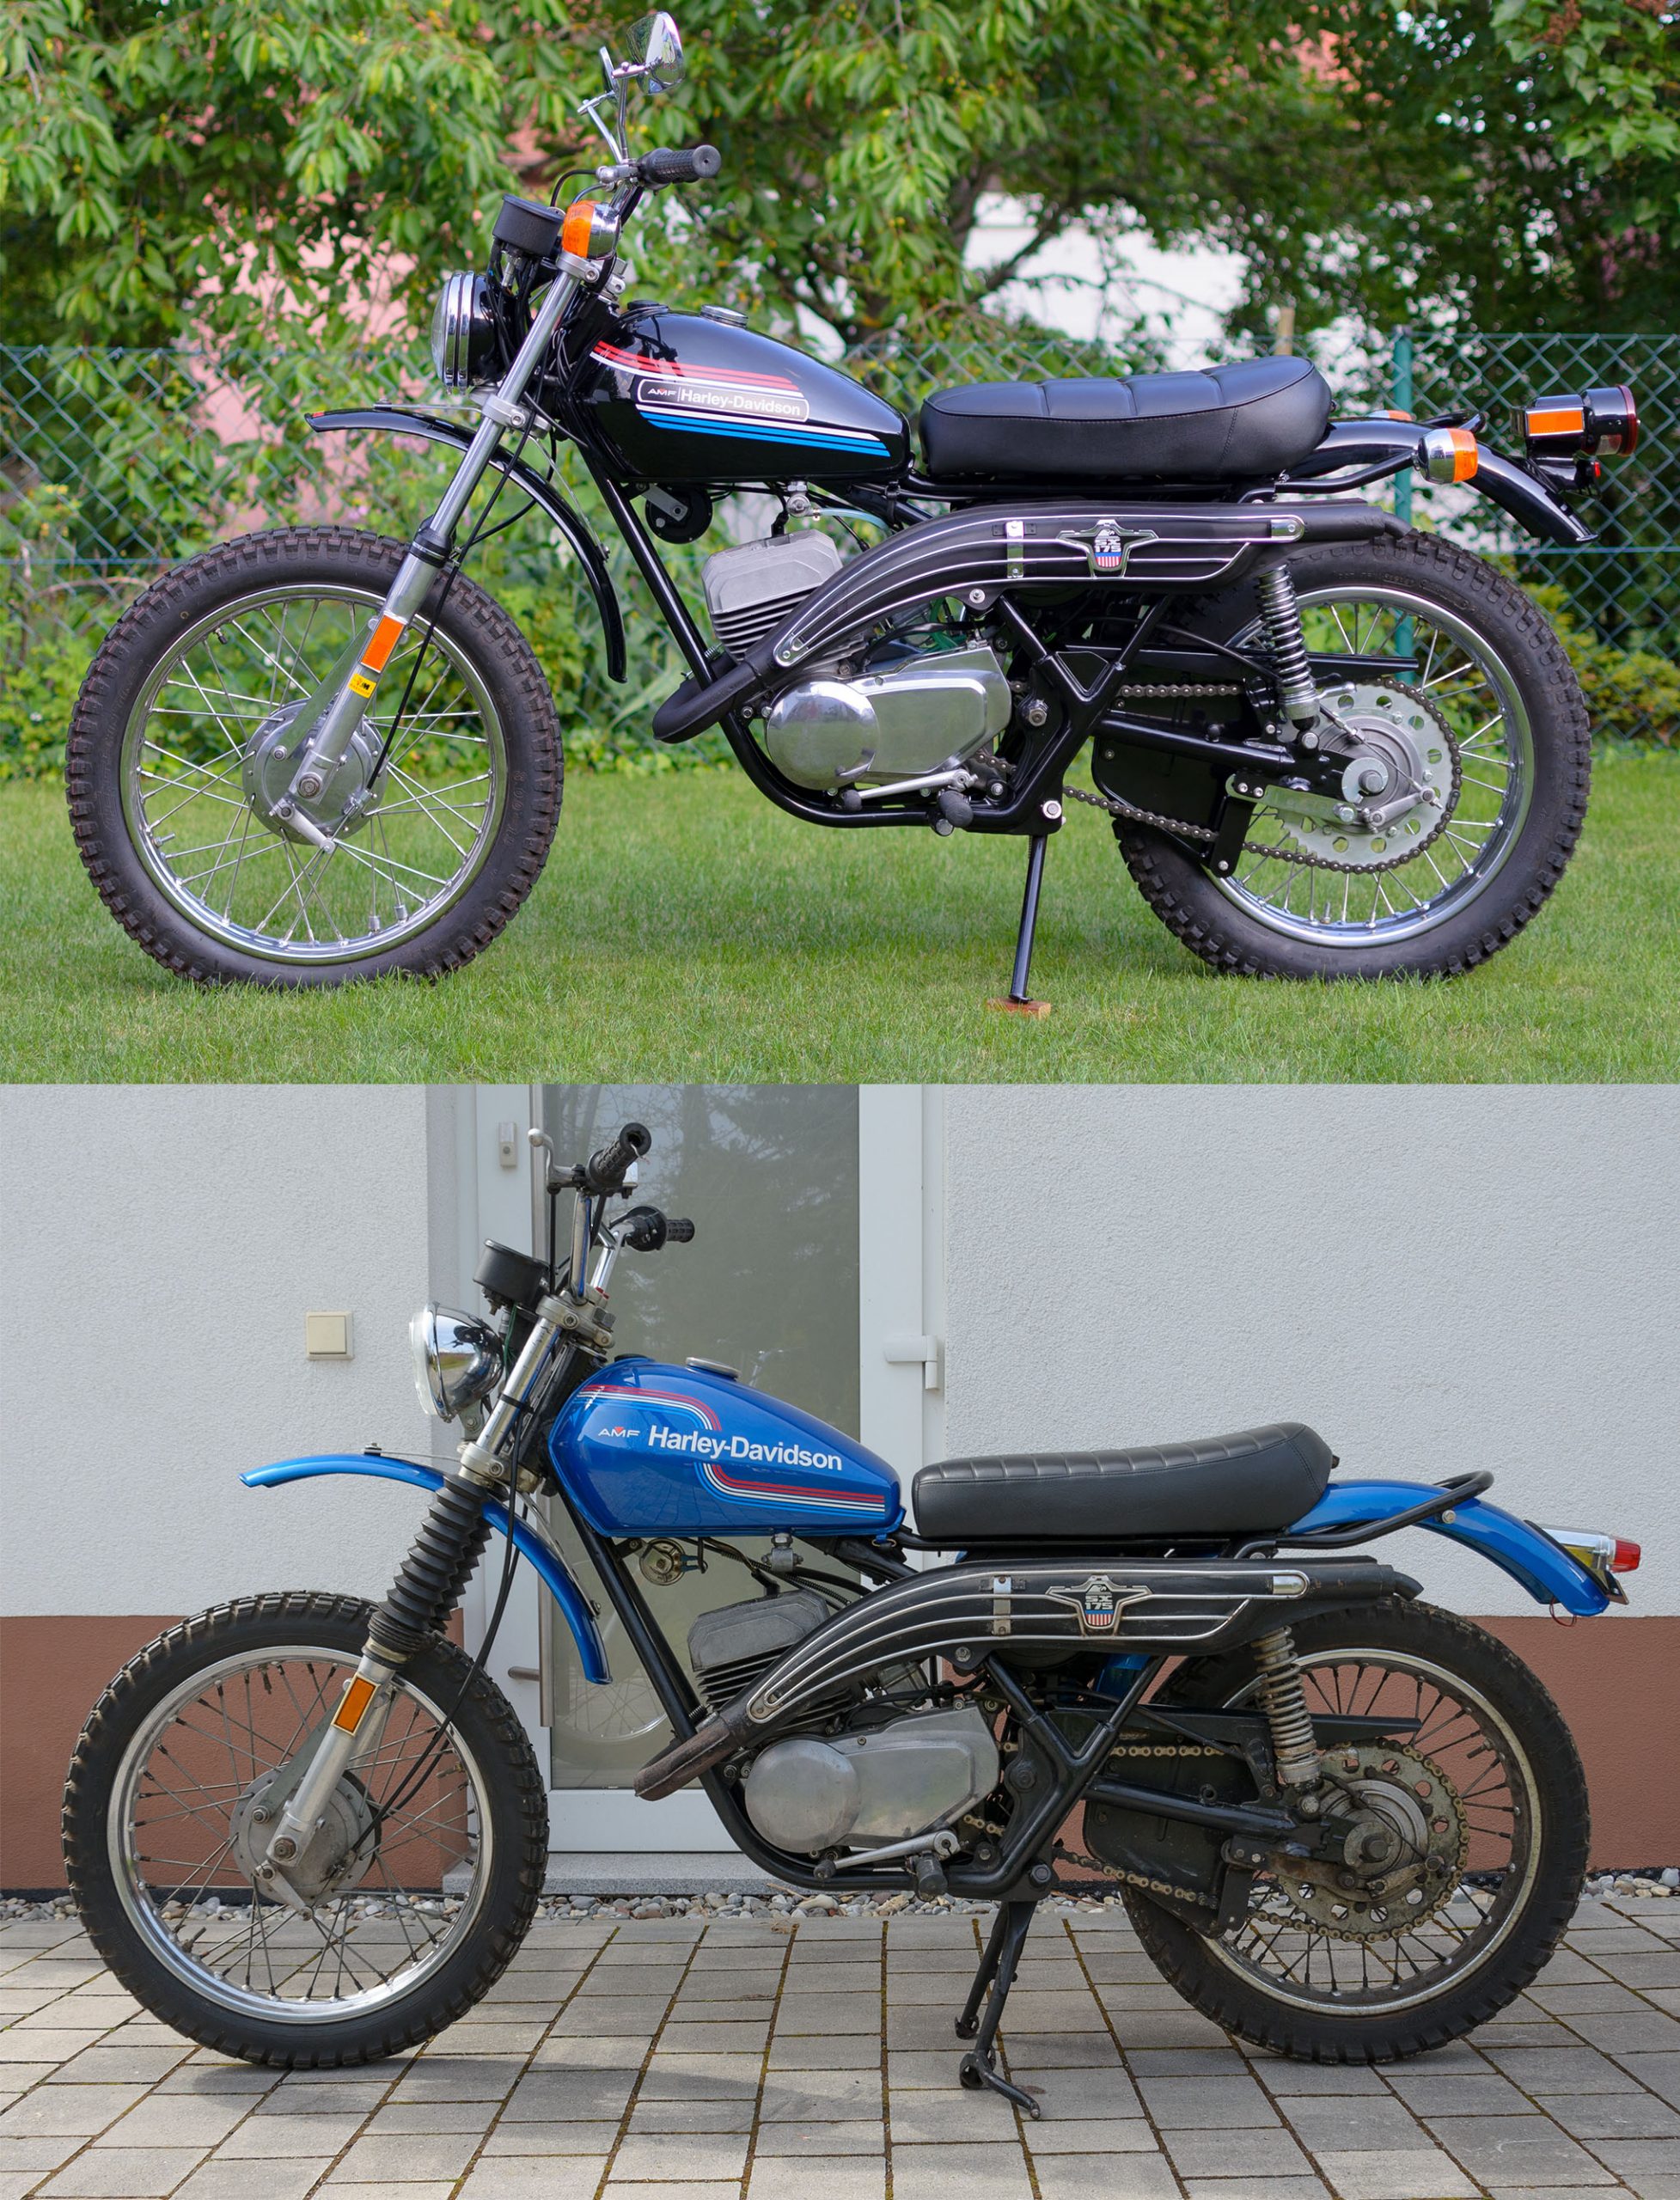
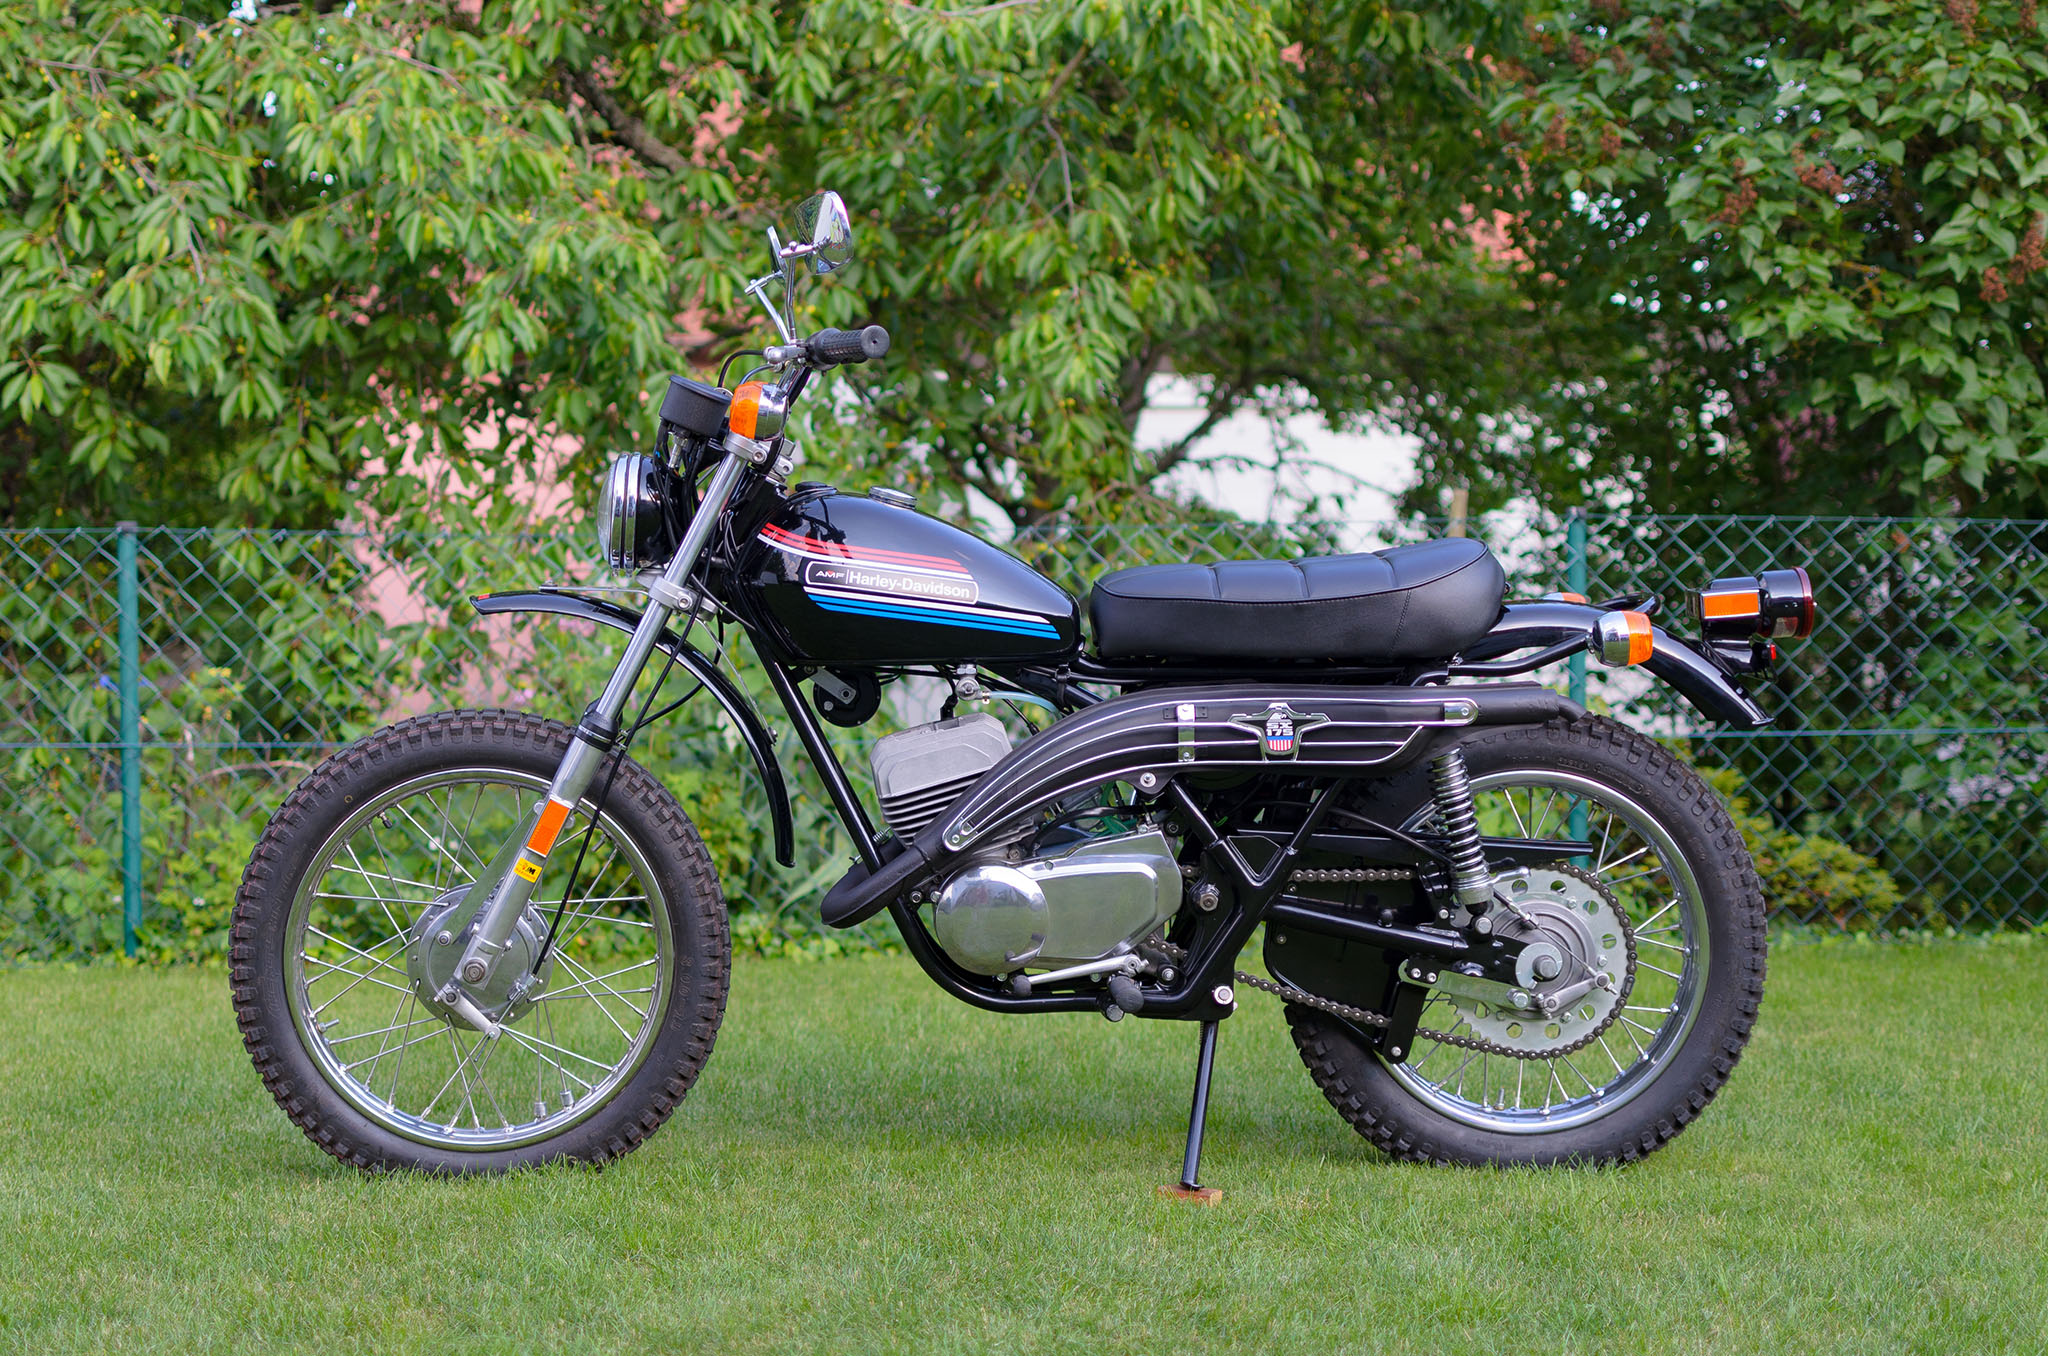
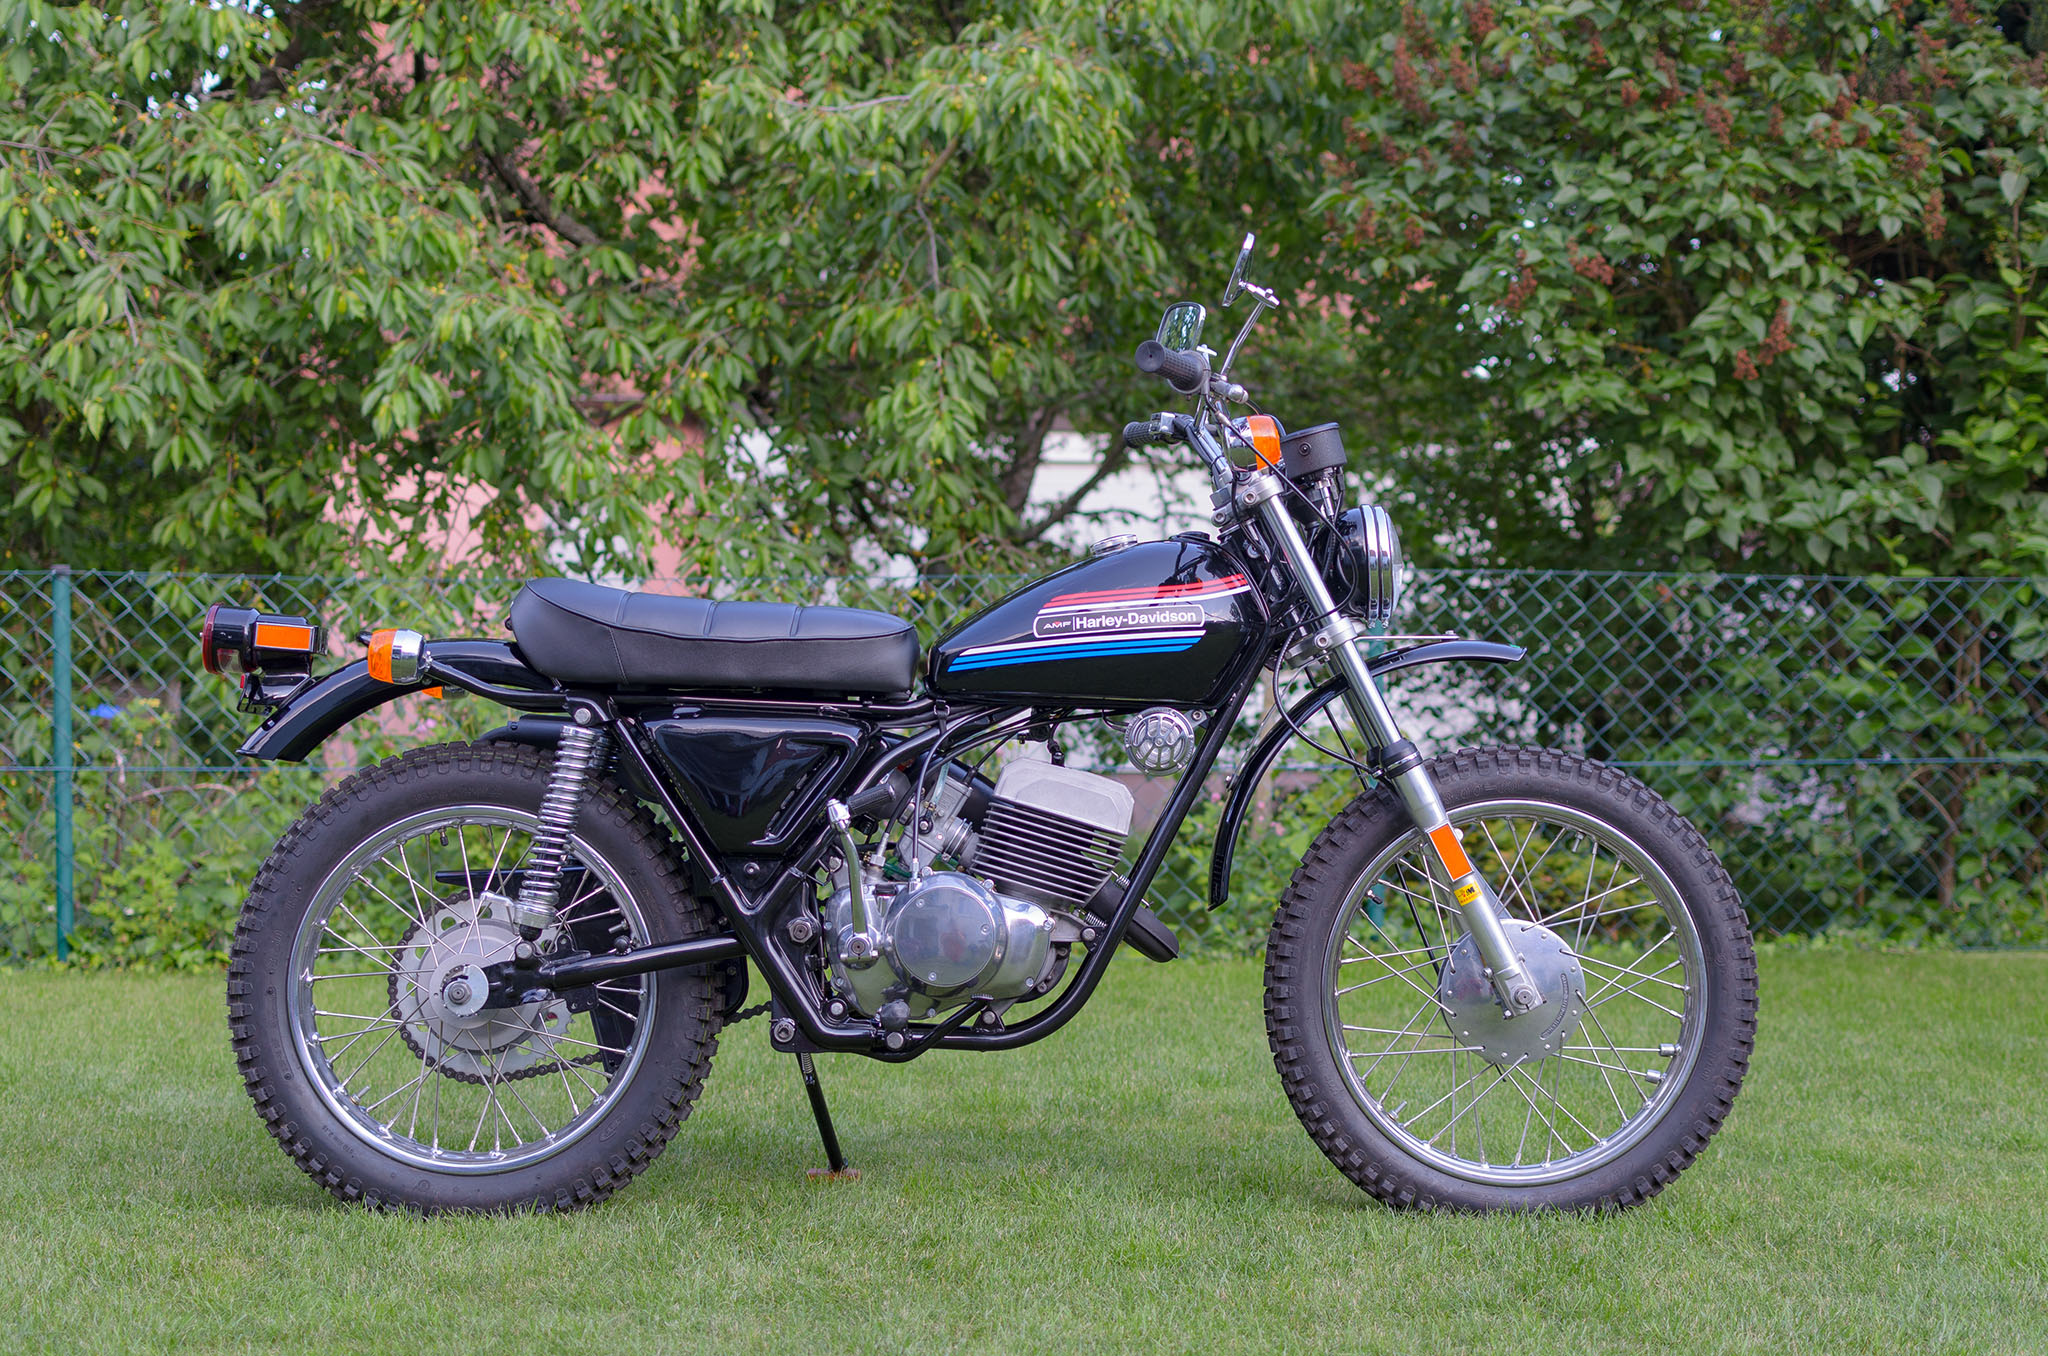
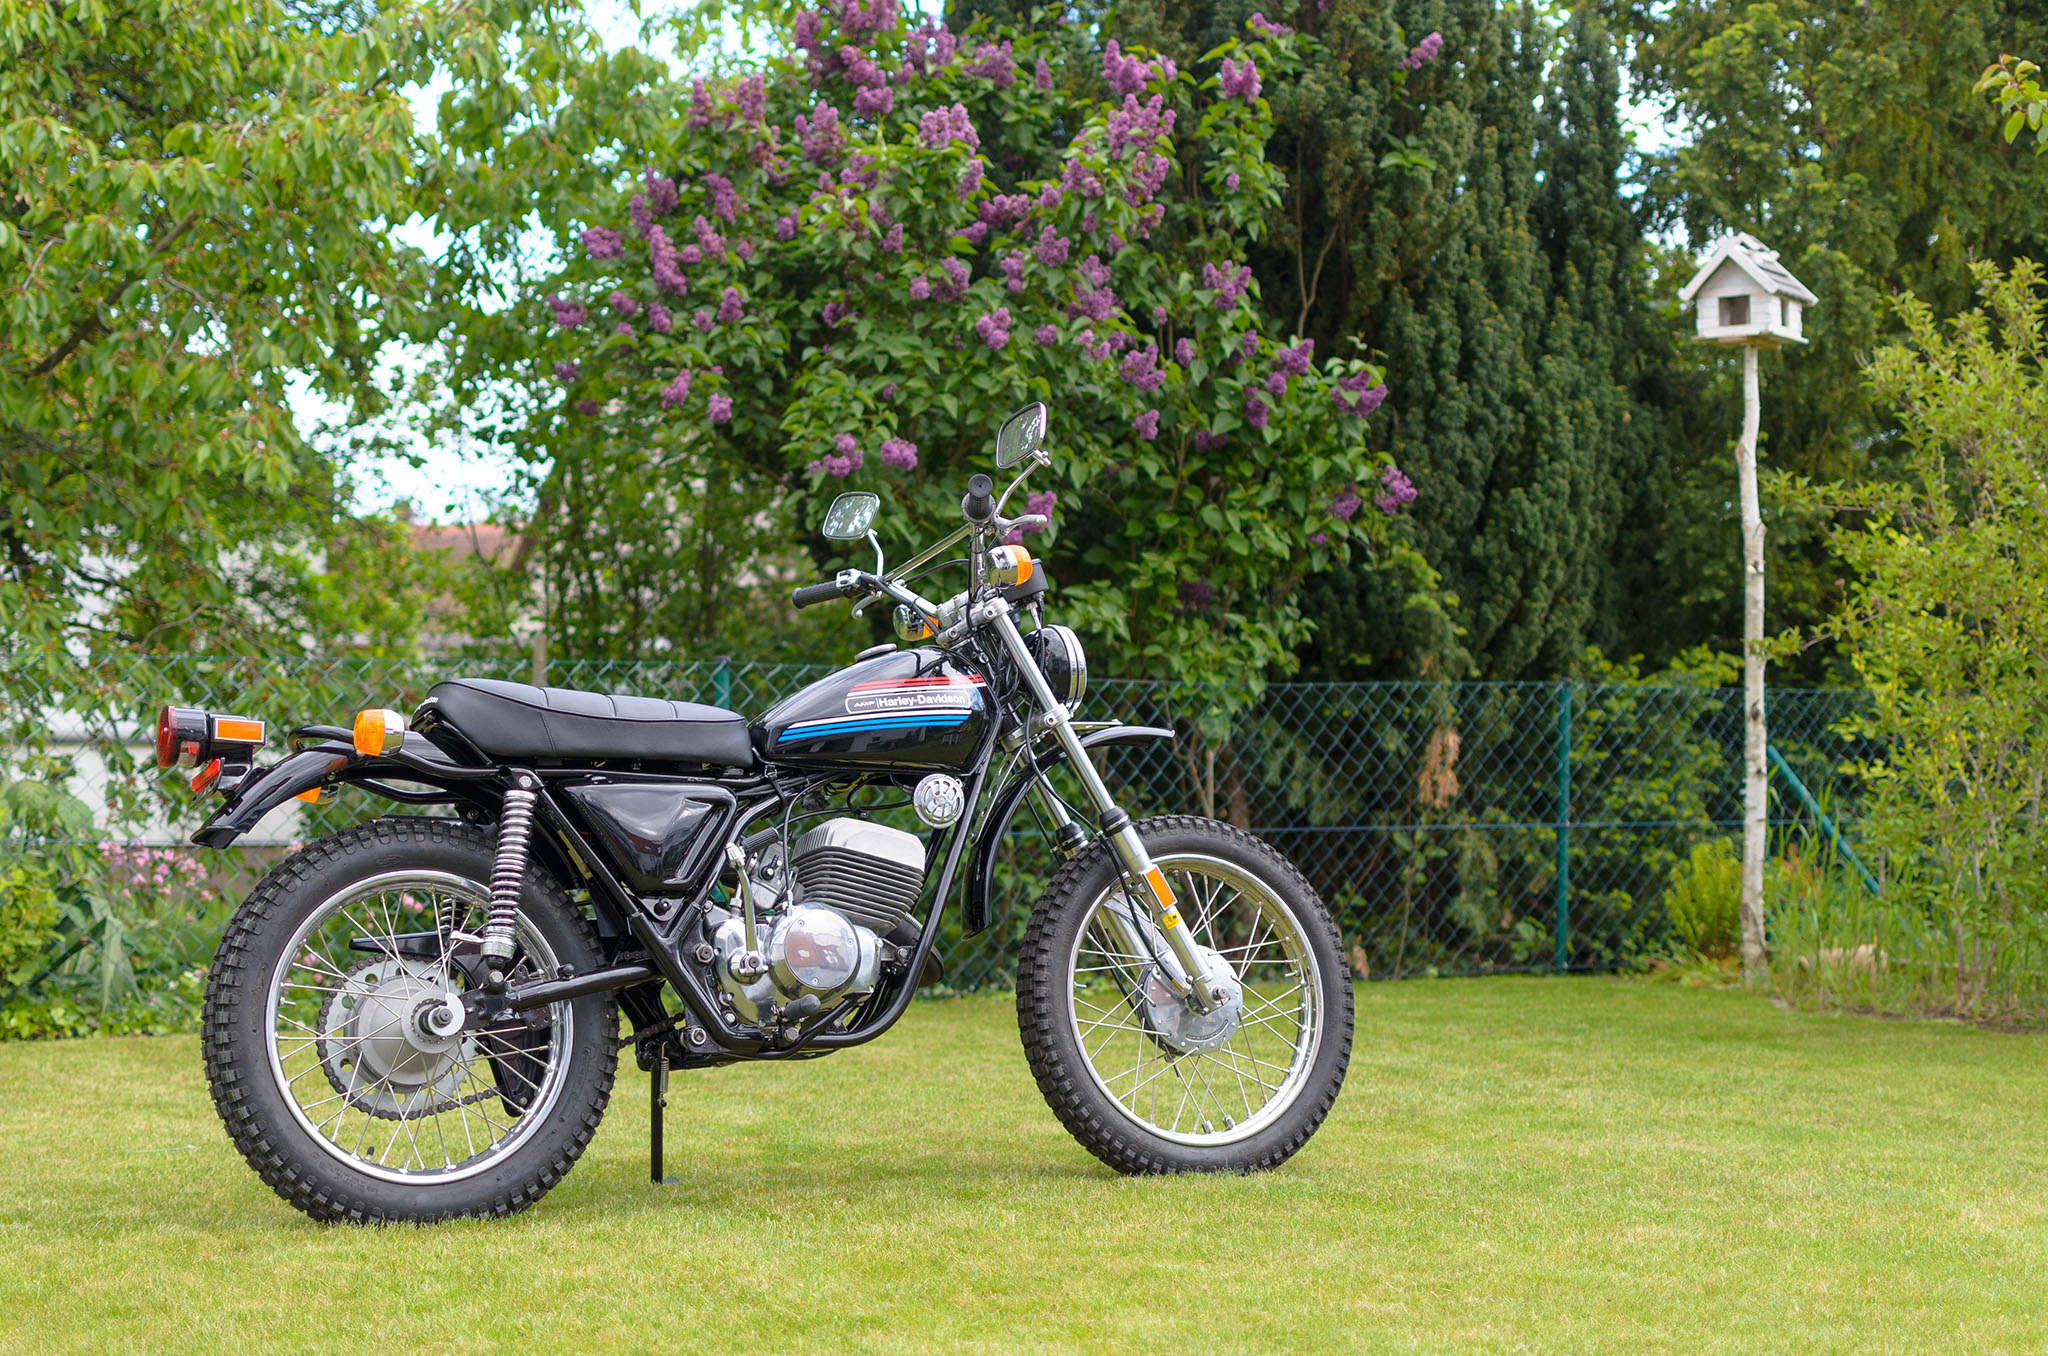
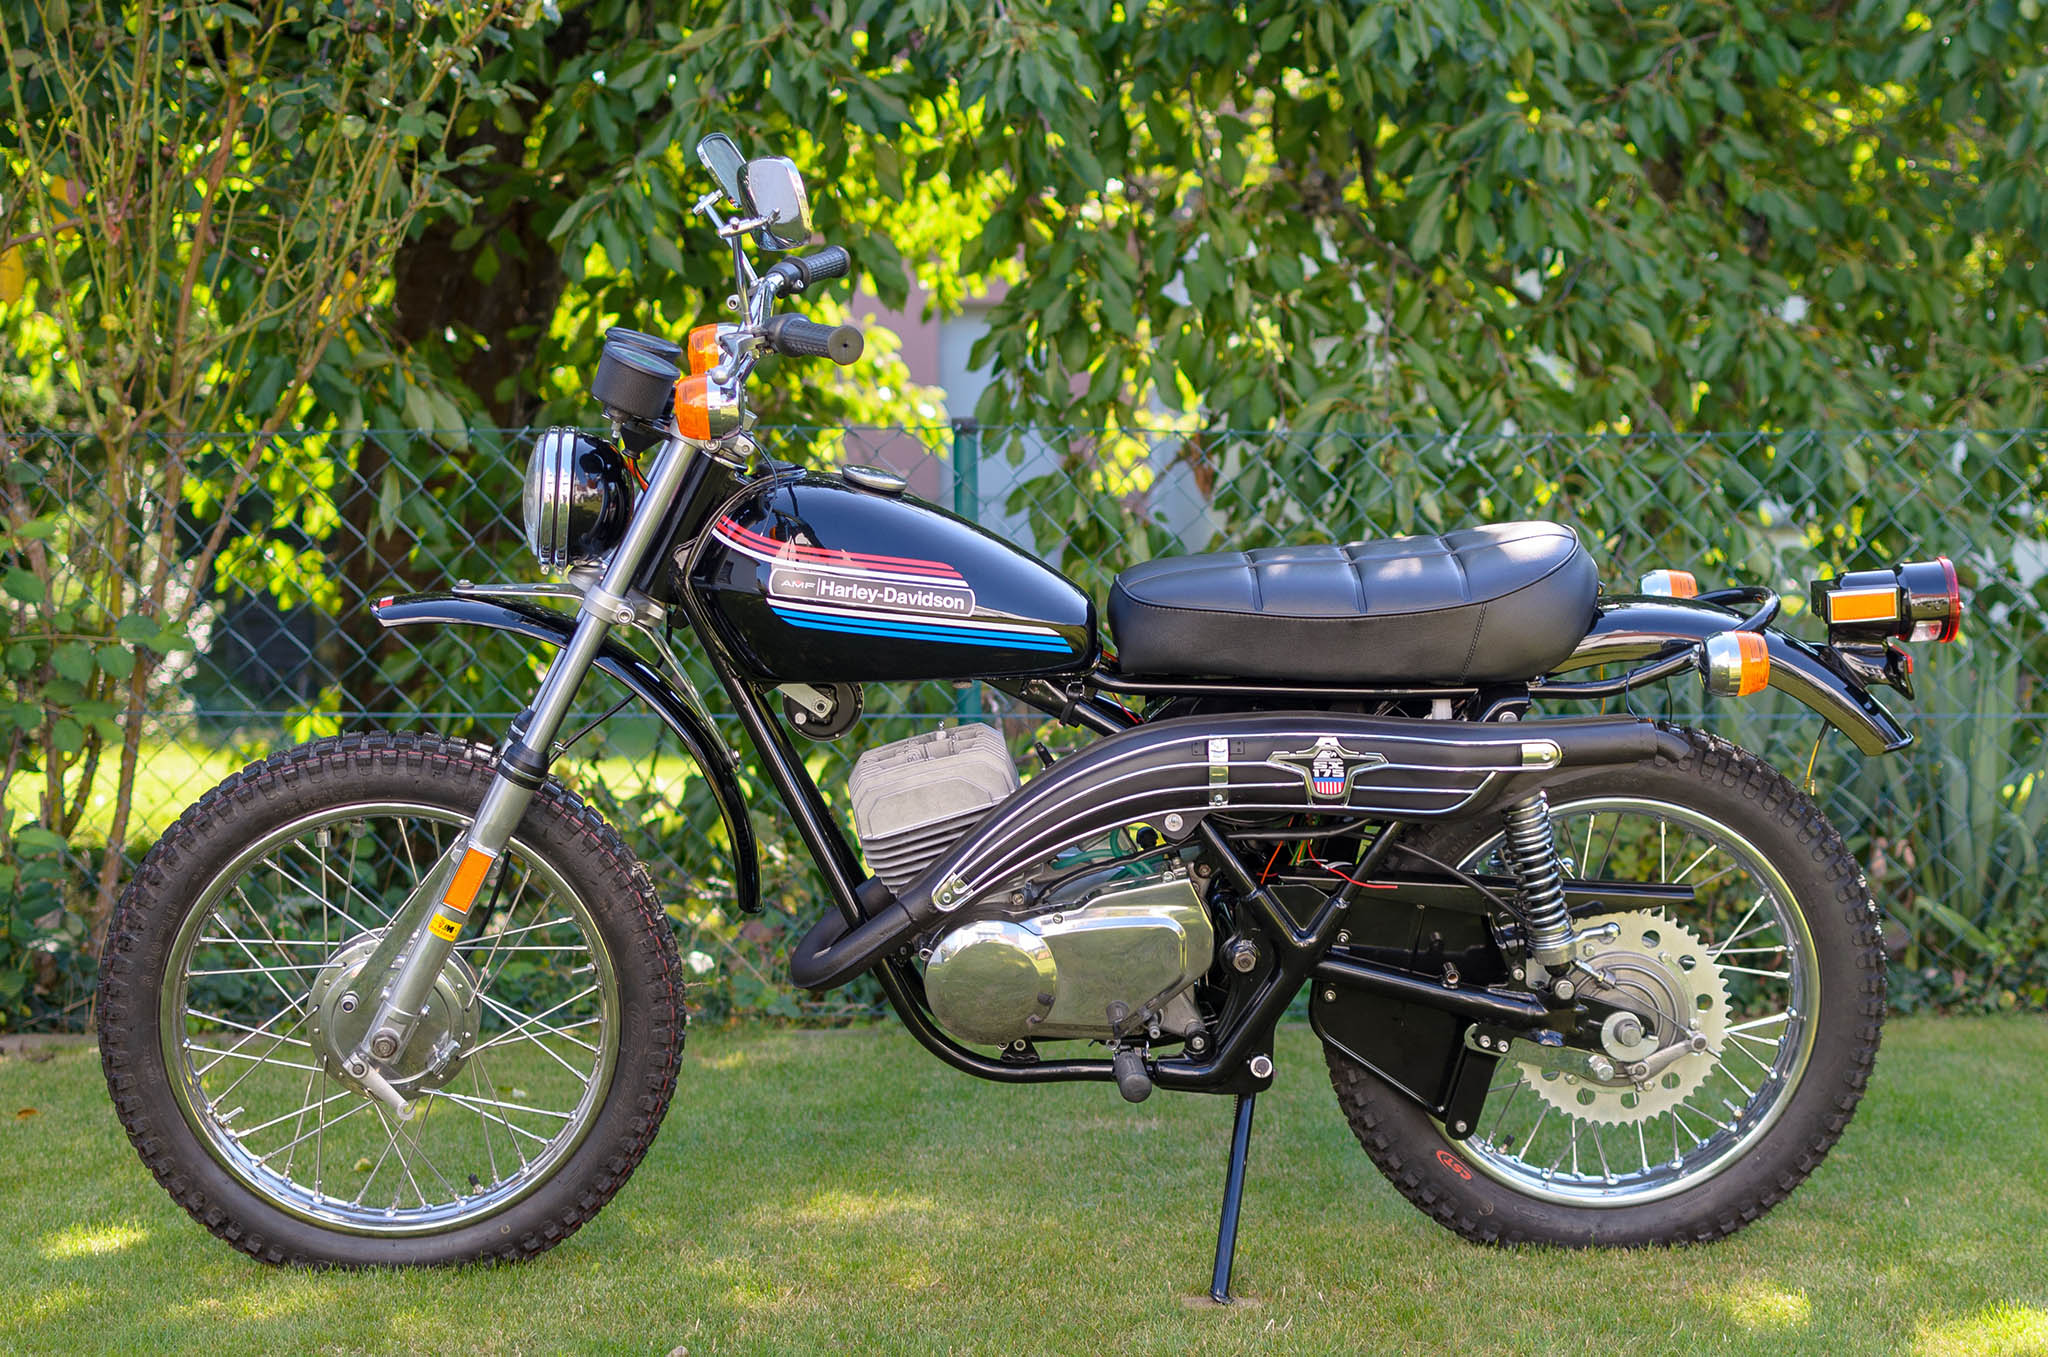
With the help of an old Aermacchi friend I found the reason why the bike spit oil out of the exhaust. The fitting (oil inlet) on the cylinder was defective and over time 2- Stroke oil flooded the crankcase simply by beeing parked in the garage. The fitting has an integrated back pressure valve. I replaced the oil-line fitting and removed the excessive oil from the crankcase and from the exhaust and since then the bike runs good again after spreading the remaining oil everywhere in my driveway out of the exhaust.

 Posted by at 20:16
May 222022
 

Bike runs good but still smokes too much from the exhaust when the engine is cold. Also some oil / gasoline mix comes out of the exhaust.
I checked the carb and wrote down the jet settings in case I have the experiment a bit there:

Starting jet: 70
Main jet: 100
Low speed jet: 55

 Posted by at 21:07
May 162021
 

  • After rewiring the whole motorcycle I had a strange problem and only had a spark with the ignition switch beeing in the “off” position. As soon as I turned the ignition switch to “ignition” or “ignition & light” I had no spark anymore. After some try & error and asking Michael from the UK for help I learend there is a different between switches for 1974 models and switches for 1975 and later models. To be more specific, I was always aware there is two different versions of the switch: One version with the pattern: “park – off – ignition – ignition/light” and  one version with the pattern “off – ignition – ignition/light – park”. What I didn’t know: One version connects the pins 6-7 when “off”, while the other version disconnects the pins “6-7” when beeing in the off position. All other functions are the exact same between the switches. Thankfully Bram & Jenny from Luxembourg helped me out with the correct ignition switch! Thank you!
  • On the first picture you can see a 1973/74 version and a 1975 & later version of the ignition switches
  • On the second picture you can see my brand new wiring harness connected to the ignition switch.
 Posted by at 20:48
Aug 072020
 

This time I didn’t split the crankcase as I tested the engine and it was running fine and strong. The previous owner also had a new piston and rings made for the bike.

 Posted by at 23:03
Jun 242020


As you can see in the first few pictures there had been a few dents and even holes in the exhaust manifold, also some smaller dents in the muffler. As the 1974 model has a different exhaust as the later models I wanted to keep this exhaust for my restoration. In the first step the exhaust was sandblasted and cleaned. After that the dent in the manifold was cut out and the exhaust was welded by a professional welder. I then grinded everything back to it’s original shape. As the welded spot had a very smooth surface compared to the rest of the abrasive or rough material I had to adjust this part to blend in again. In the end I sprayed it to it’s original black color again. The exhaust grill was already rechromed and ready to mount as well as my SX-175 emblem which was laser cut and custom built by myself.

 Posted by at 23:10
Jun 192020
 

The wiring harness was incomplete and in bad shape. It was also altered by the previous owner. I decided to make a complete new wiring harness from scratch.
As first step I colorized the original wiring diagram which helped me a lot for building a complete new wiring harness. This also meant buying a lot of cables in different colors.

 Posted by at 09:47
May 272019


This is my freshly dry ice cleaned cylinder together with the glass bead blasted cylinder head. Before and after pictures for comparison.
I heared a lot of people saying that dry-ice-cleaning ist by far the best method.I personally don’t see big differences to glass-bead-cleaning and it is also more expensive.

 Posted by at 14:53
Nov 082018
 

There were some pieces broken off the crankcase. One large piece was missing below the flywheel. I have no idea how this happend. Maybe a previous owner hit a stone while beeing off road with the bike? Another large piece seemed to be knocked out by loose chain. I bought a used left crankcase-half and cut out pieces to fit in as “spare parts”. I didn’t intend to replace the whole crankcase as I wanted to keep my matching frame & engine Vehicle Identifican Number (VIN). So, I went to a welder and asked him to weld my cut-out-pieces in my old crankcase. I asked them for laser-welding, but as you can see my request was totally ignored. This meant a lot of work for me as now there was a whole lot of material that needed to be grinded of. This took me a lot of time and two more rounds of adding material to get the surfaces smooth to blend in with te rest of the crankcase nicely.

 Posted by at 15:02
Aug 122018
 

Overhauling the 27mm VHB Dell’Orto carb was a routine work as I have done many times on my other Aermacchi bikes. Spare parts are still available and so I replaced most inner parts with new stuff. Those parts I reused as well as the housing were cleaned in an ultrasonic bath.

 Posted by at 21:05
Apr 222018
 

Okay, at this point we had a good rolling chassis. All the parts are there and some are already restored like the frame, wheels and front fork.
>>Brake check?<<
>>Nope, doesn’t work!<<

 Posted by at 11:35
Jan 152018
 

Overhaul of the front wheel hub is complete. Everything cleaned and both bearings replaced with new ones (Size 6202). I also replaced the brake shoes with a brand new set as well as the springs.

 Posted by at 23:46
Sep 182017


Here you can see the completly redone rear wheel. EVERYTHING was replaced with new or NOS parts: Hub, bearings, seals, chain adjusters, sproket, spokes, rim, tube, brakes, springs, tube holders and the tire itself. The last pictures shows my current progress and my design for reproduction gas tank decals for a 1974 model. Original decals are not available and the reproductions sold are not good enough in my opinion for a perfect restoration. You can also see that I was able to get a vented right side cover which was only mounted to the first models sold and then replaced by a different style.

 Posted by at 19:22
Mar 292017
 

I bought some NOS parts from my favorite parts supplier “Carl” who also found me a pair of perfect Sebac five-way-adjustable rear shocks. Those are really hard to find thes days. He also had a NOS rear fender for me.

 Posted by at 19:00
Jan 152017
 

A new air filter and seal as replacement for the old used ones. I also bought a new headlamp housing and I will replace the headlamp with a modern H4 to get some light out of it. I will also replace the ignition key and rubber boot as well as Speedometer and tachometer with NOS ones.

 Posted by at 00:16
Nov 252016
 

dsc_2100-2-aw dsc_2104-2-aw dsc_2113-3-aw
Parts back are back from powder coating and the meanwhile overhauled front forks are freshly polished and fitted with new seals (32-42-7), reflectors, sliders and new rubber dust covers.

 Posted by at 10:49
Apr 092016
 

SX175-Seitendeckel SX175-Lochoeltank SX175-Gabel SX175-Auspuff SX175-Ausbruch2 SX175-Ausbruch1

  • Fork tubes rusty -> Needs replacement (Marzocchi type)
    • Replaced with NOS parts
  • Reflectors on front fork needs replacement (easy to get)
    • Replaced with NOS
  • No mirrors
    • Replaced with correct early style HD
  • A hole in the oil tank? Why?
    • Repaired -> welded
  • Studs for mounting the rear turn signals missing
    • Built new ones and welded them to the frame
  • Paint of the frame is not nice anymore
    • Completely powder coated
  • Pipe bend and two holes with screws in it! Why?
  • Two broken out parts on the left side of the crankcase.
  • Side cover is a hand made metal part. Not too bad done, but why? I have a NOS one in stock -> Going to replace
    • Replaced with a rare early 1974 side cover (vented version)
  • Paint job is not done bad, but it’s a 74 model and someone used 75 decals. Also there is a wrong hole in the rear fender for an aftermarket taillight.
  • Wrong ignition switch ( Three connectors)
    • Replaced with OEM 10 connectors switch
  • Wiring harness in bad condition
  • Wrong horn
    • Replaced with NOS horn
  • No spark
  • Seat was redone okay. Top is still original, sides are replaced by someone
    • Seat pan powder coated, New original seat cover professionaly done;
  • Missing turnsignals
    • Set of NOS CEV turnsignals
  • Wrong handlebar
    • Replaced with OEM & rechromed
  • Aftermarket headlamp
    • Replaced with NOS headlamp shell
    • New reflector & glass
    • OEM headlamp rings rechromed
  • Tires are junk
    • Rear tire replaced with a new Cheng Shin C-186
  • Rims need rechroming or replacing
    • New rear wheel rim
    • NOS rear wheel hub
    • New rear spokes (stainless)
    • New rear tire holders
    • new rear tube
  • Side stand missing; Someone fitted a center stand to the bike. It’s done…okay, but not great
    • replaced with NOS parts
  • Rear shocks (SEBAC) needs replacing or rechroming
    • Replaced with NOS!
  • Instruments are usable but not nice
    • Replaced speedometer with NOS parts
    • Replaced rubber mounts with NOS parts
  • kick start is from a 75 model – that’s okay to me
    • NOS 1974 kick start
 Posted by at 19:32
Apr 032016


  • New project
    • It’s an early 1974 SX-175 (someone repainted it in 75 design)
  • Work done
    • Frame
      • Sandplasted & powder coated
      • Mainstand removed and replaced with original sidestand (NOS)
      • New fork lock (was missing completely)
      • Welded a hole in the oil tank
      • Rebuilt turn signal struts for the rear and welded back to frame
      • Skid plate sandplasted and powder coated
    • Wheels
      • New rims, new stainless steel spokes
      • New tubes, new tires
      • New seals
      • New real wheel hub
      • New brake shoes, linings and springs for the front & rear
      • New rear sprocket
      • New tube holders
    • Electric
      • New (used) ignition switch (was missing)
      • NOS original turn signal for the bike (were missing)
      • Rebuilt the whole wiring from scratch
      • Replaced headlamp with original CEV type but with modern H4 lamp
      • NOS tachometer
      • NOS speedometer
      • New front brake switch
      • NOS rear brake cable
      • Replaced licensce plate holder & taillight with NOS CEV parts
      • New NOS horn
      • New CEV169 switch
    • Fornt & rear end
      • Front
        • New head-bearings for the front fork
        • NOS front fork tubes (Marzocchi)
        • New fork oil
        • Front fork kegs polished
        • All seals replaced
        • New reflectors
        • Handlebar replaced (wasn’t original)
        • NOS handlebar grips
        • NOS brake & clutch levers
        • New speedometer cable
        • All cables replaced (carb, clutch, brake)
        • New rubber mounts for the instruments
        • New early HD-style chrome mirrors
      • Rear
        • NOS original rear shocks
        • Rear fork sandplasted & powder coated
        • Sand plasted and powder coated triple tree
    • Body works
      • Right side cover replaced with an original part
      • Airfilter housing sandplasted & powder coated
      • Battery cage, brake pedal, chain-guard sandplasted & powder coated
      • All screws replaced or overhauled
      • Seat pan sand plasted & powder coated
      • New seat cover
      • Repainted gas tank
      • Crafted new original gas tank decals
      • Front mudguard holder polished
      • Front mudguard repainted and new bushings
      • NOS rear fender also repainted
      • Side cover replaced with early original and repainted
      • New rubbers for the footpegs
      • New rubbers and rubberband for the gas tank
    • Engine
      • New airfilter
      • Cylinder dry-ice-cleaned
      • Cylinder head glass bead blasted
      • New custom made piston
      • Repaired crankcase
      • New cylinder base gasket
      • New bolts & nuts
      • New shaft for the Kickstand
      • Rechromed kickstand
      • Replaced most seals
      • Polished chaincover
      • Polished clutch cover
      • New engine oil
      • New spark plug and cable
      • Carb ultrasonic cleaned
      • Replaced all inner parts of the Carb (needle, jets, gas filter…)
      • New drive chain
      • New front sprocket
      • New oil lines
    • Exhaust
      • Sandplasted
      • Welded
      • repainted
      • Exhaust grill rechromed
      • New exhaust grill emblem
 Posted by at 21:26