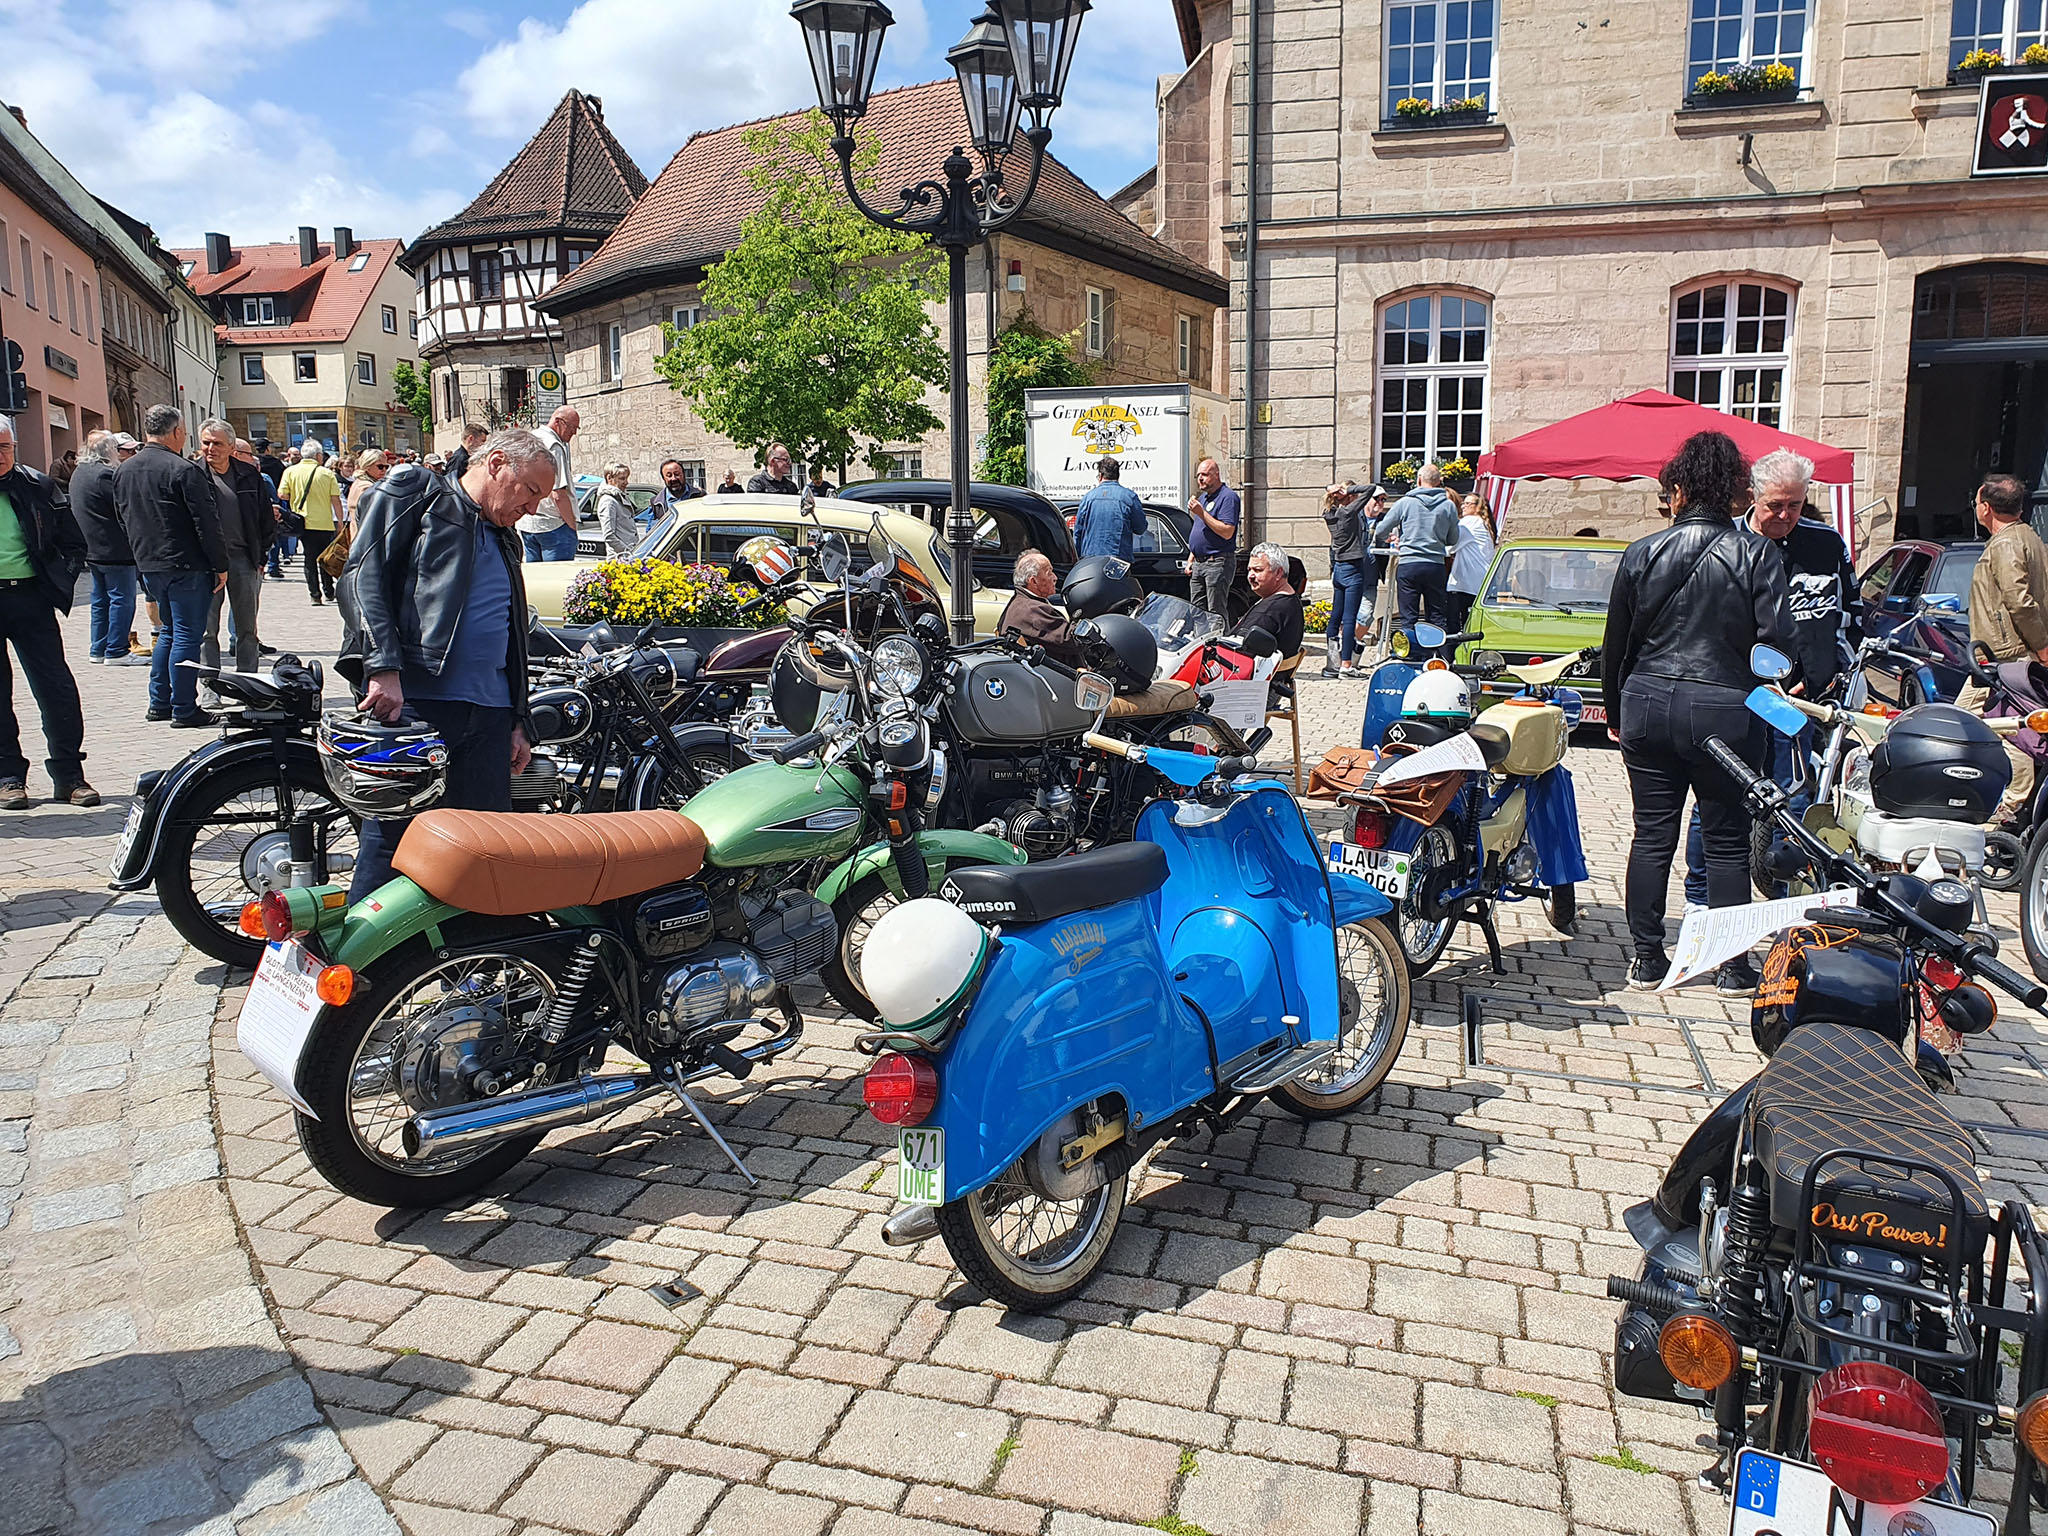
Together with a friend I attended the Oldtimer gathering 2022 in Langenzenn. It was suspended for the last two years because of Corona.
Together with a friend I attended the Oldtimer gathering 2022 in Langenzenn. It was suspended for the last two years because of Corona.
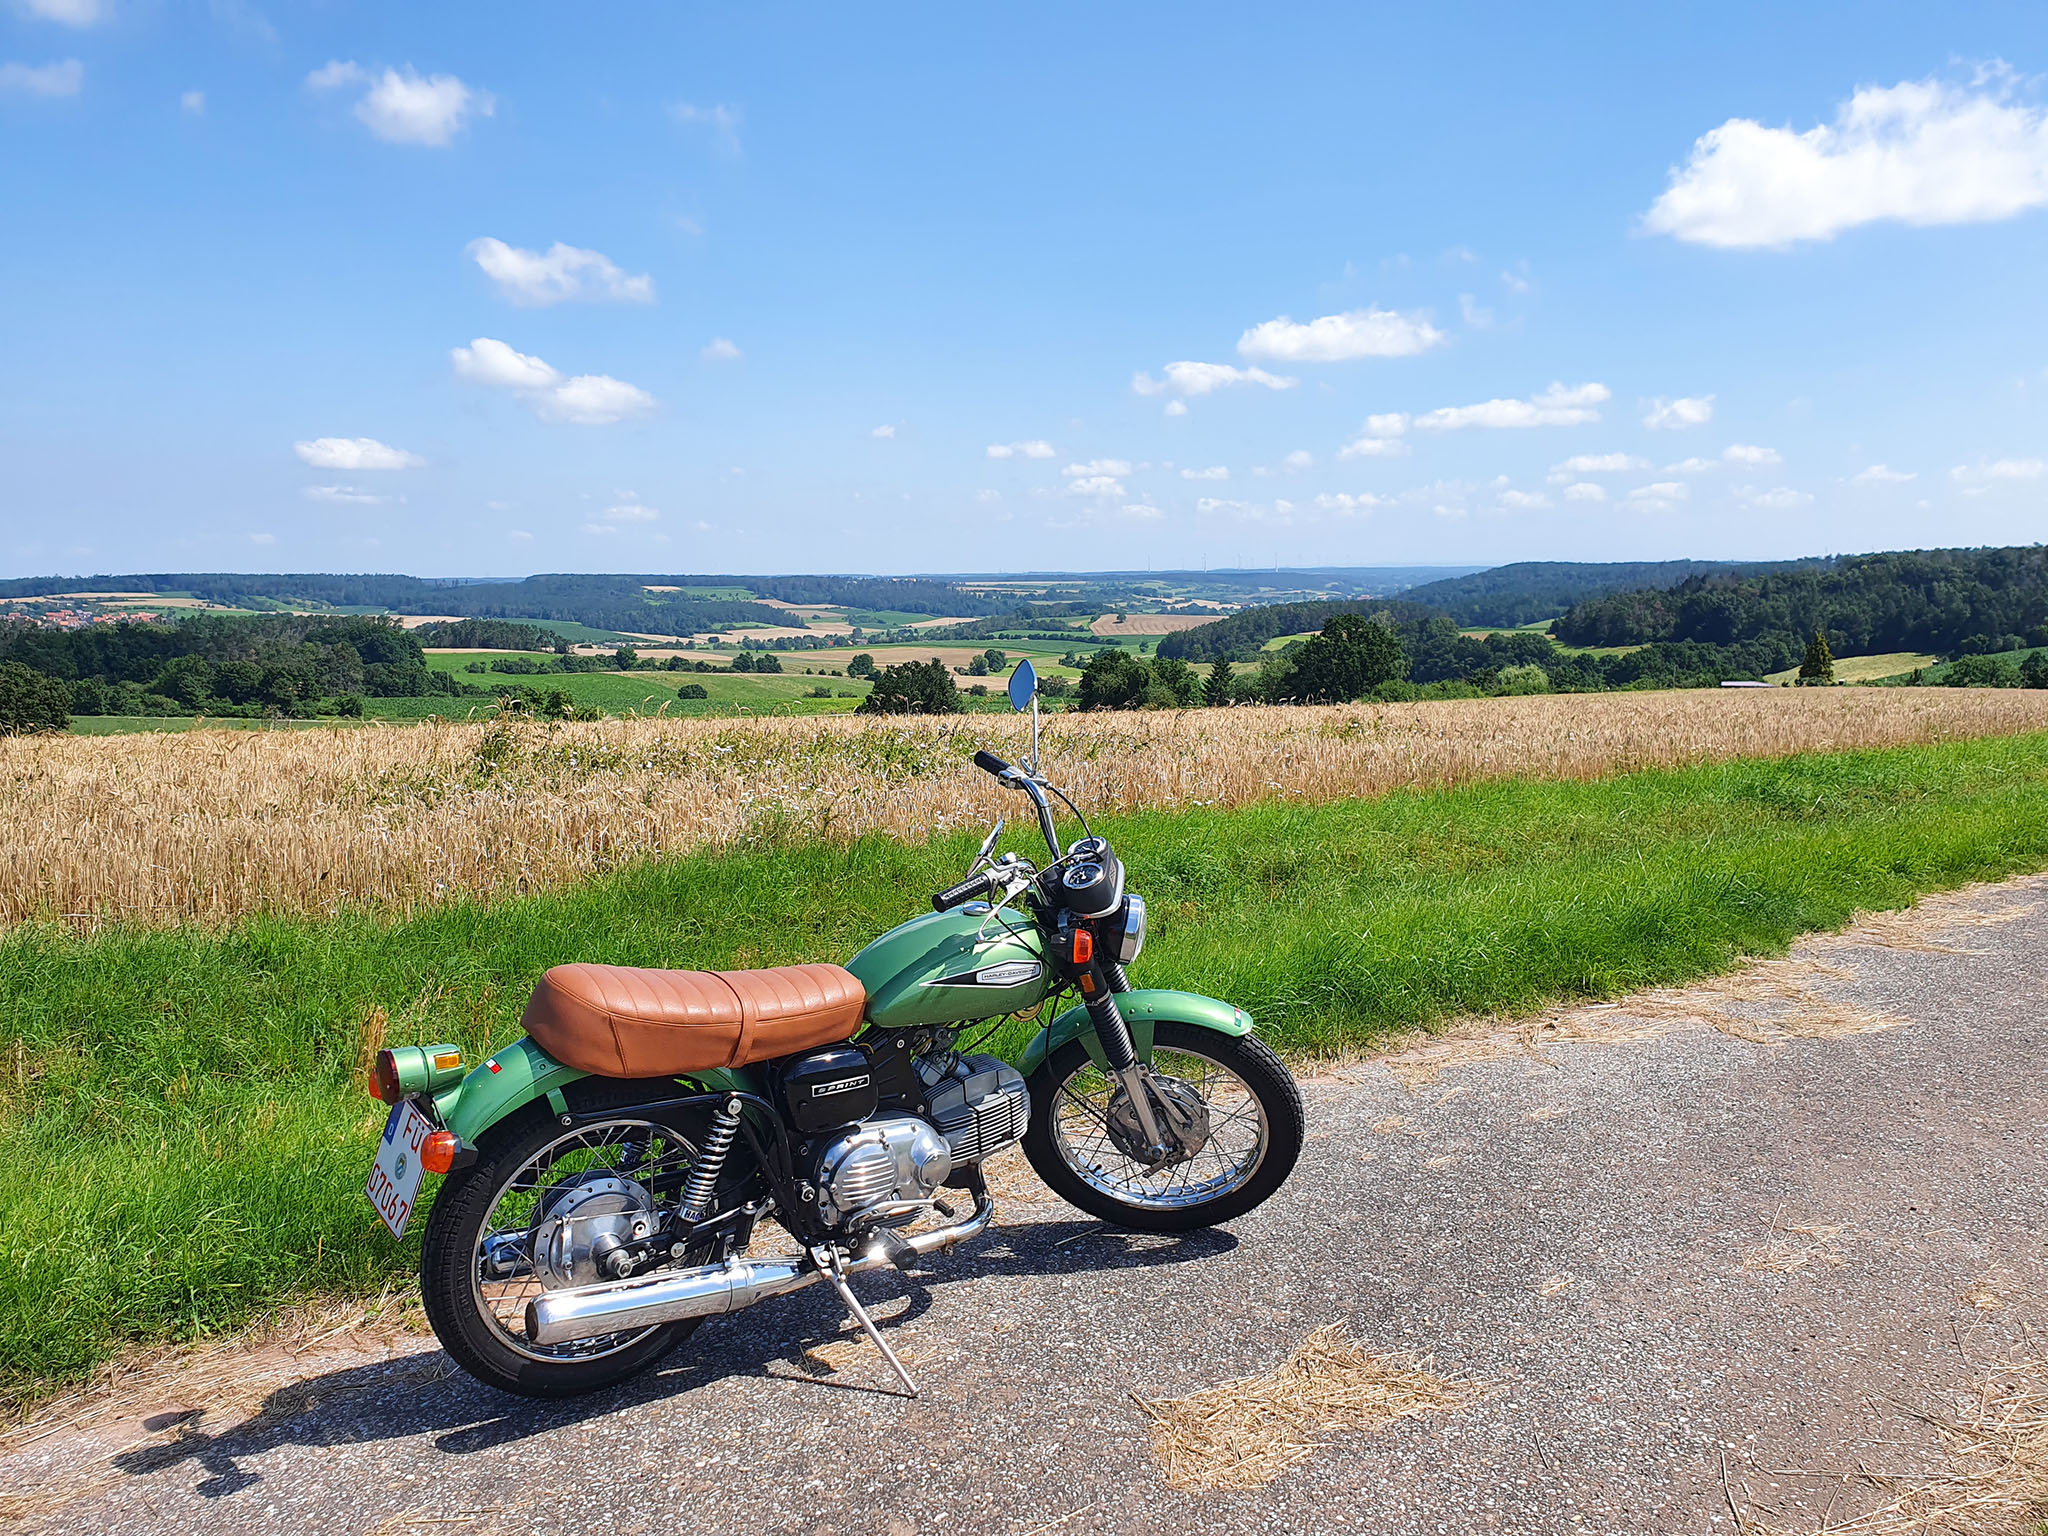

I had a very nice sunday ride on my GT-350. The bike was starting and running very nicely.

Just a short round with my GT-350.
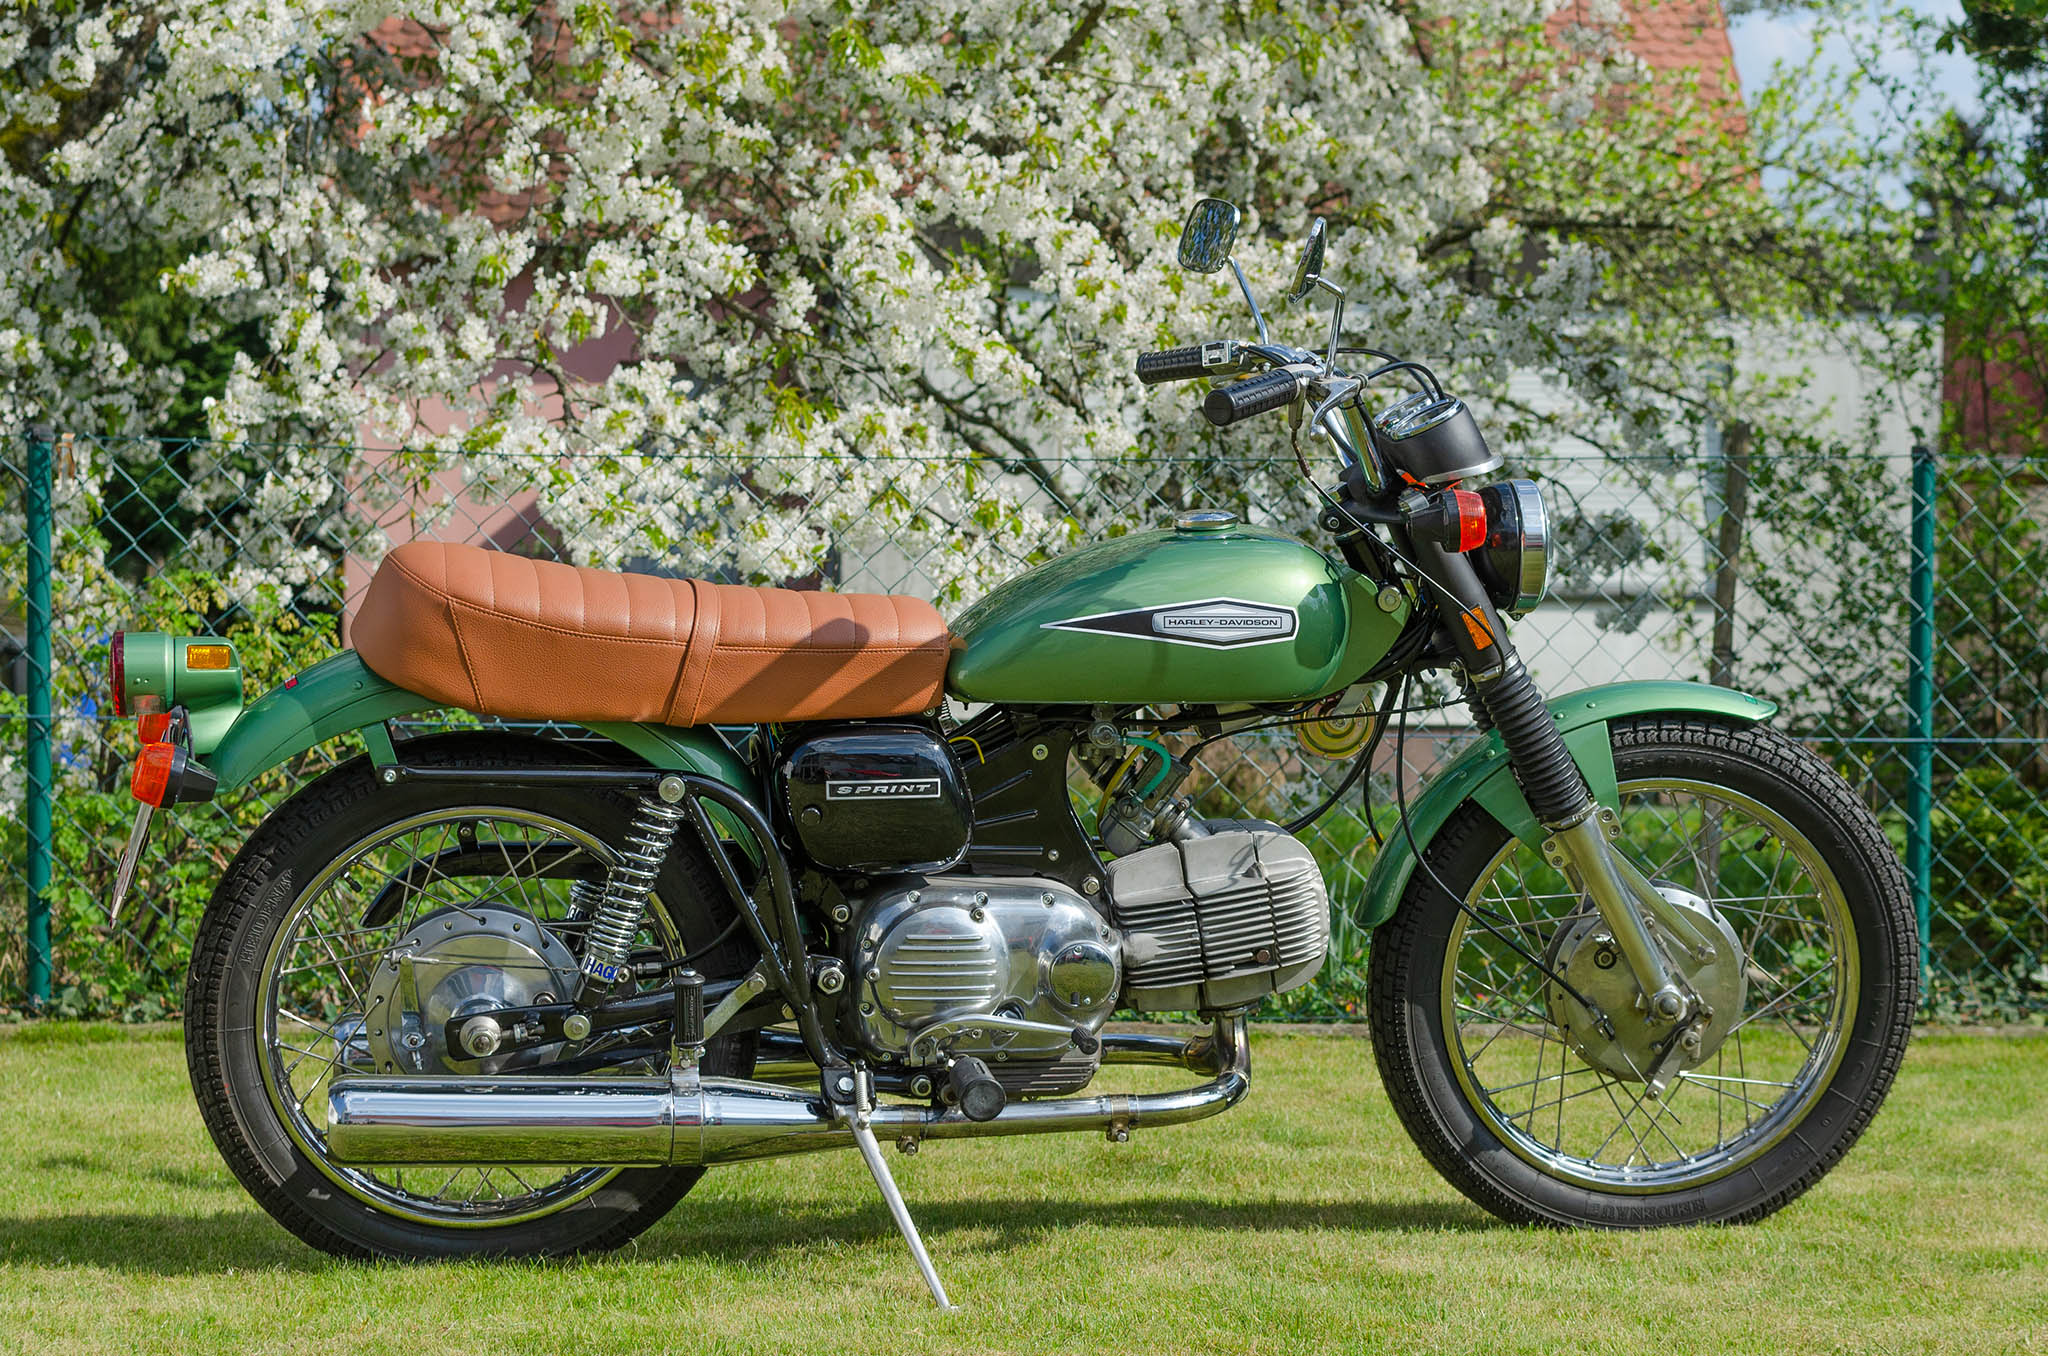
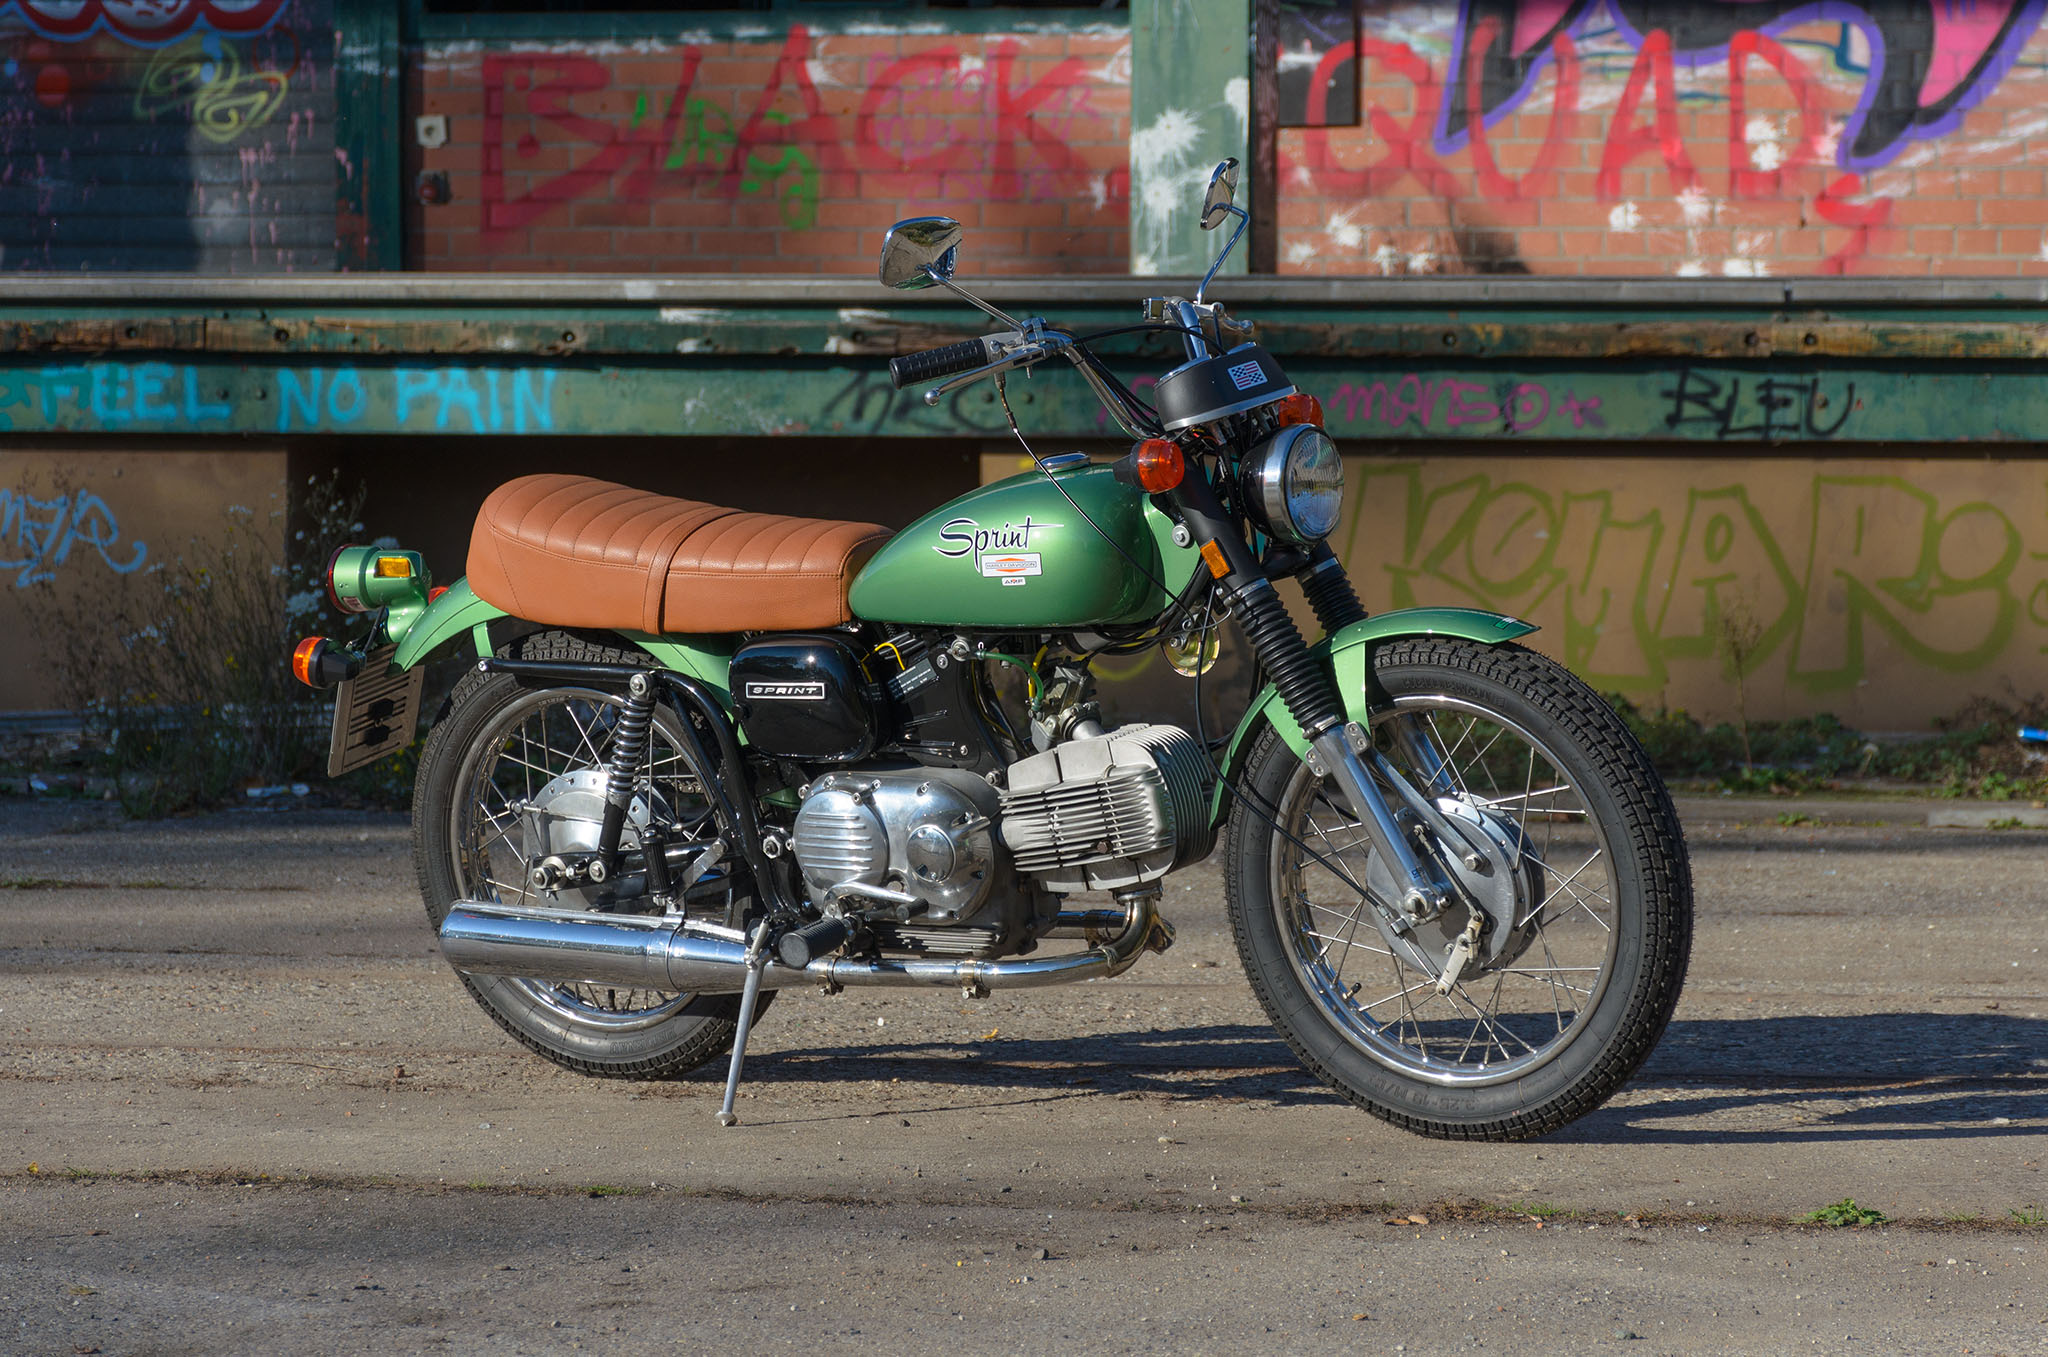
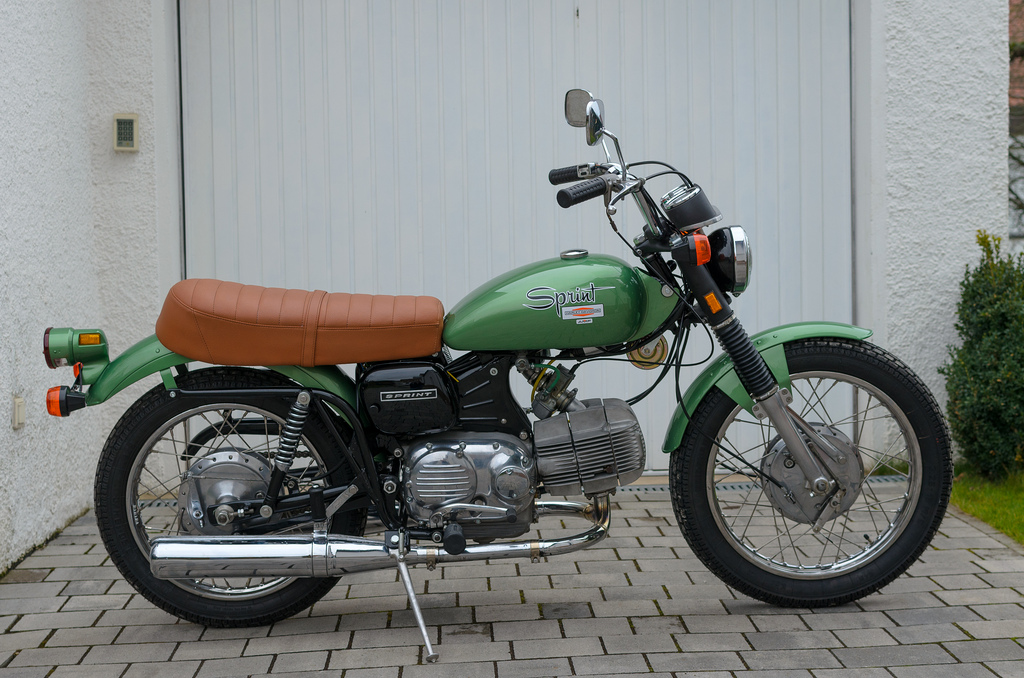
The gas tank had to be repainted as gasoline went underneath the paint around the gas cap. As the decals got to be pulled of for this I decided to go with the 1970 this time instead of the 1971. I also replaced the rear shocks with higher quality Hagon shocks.
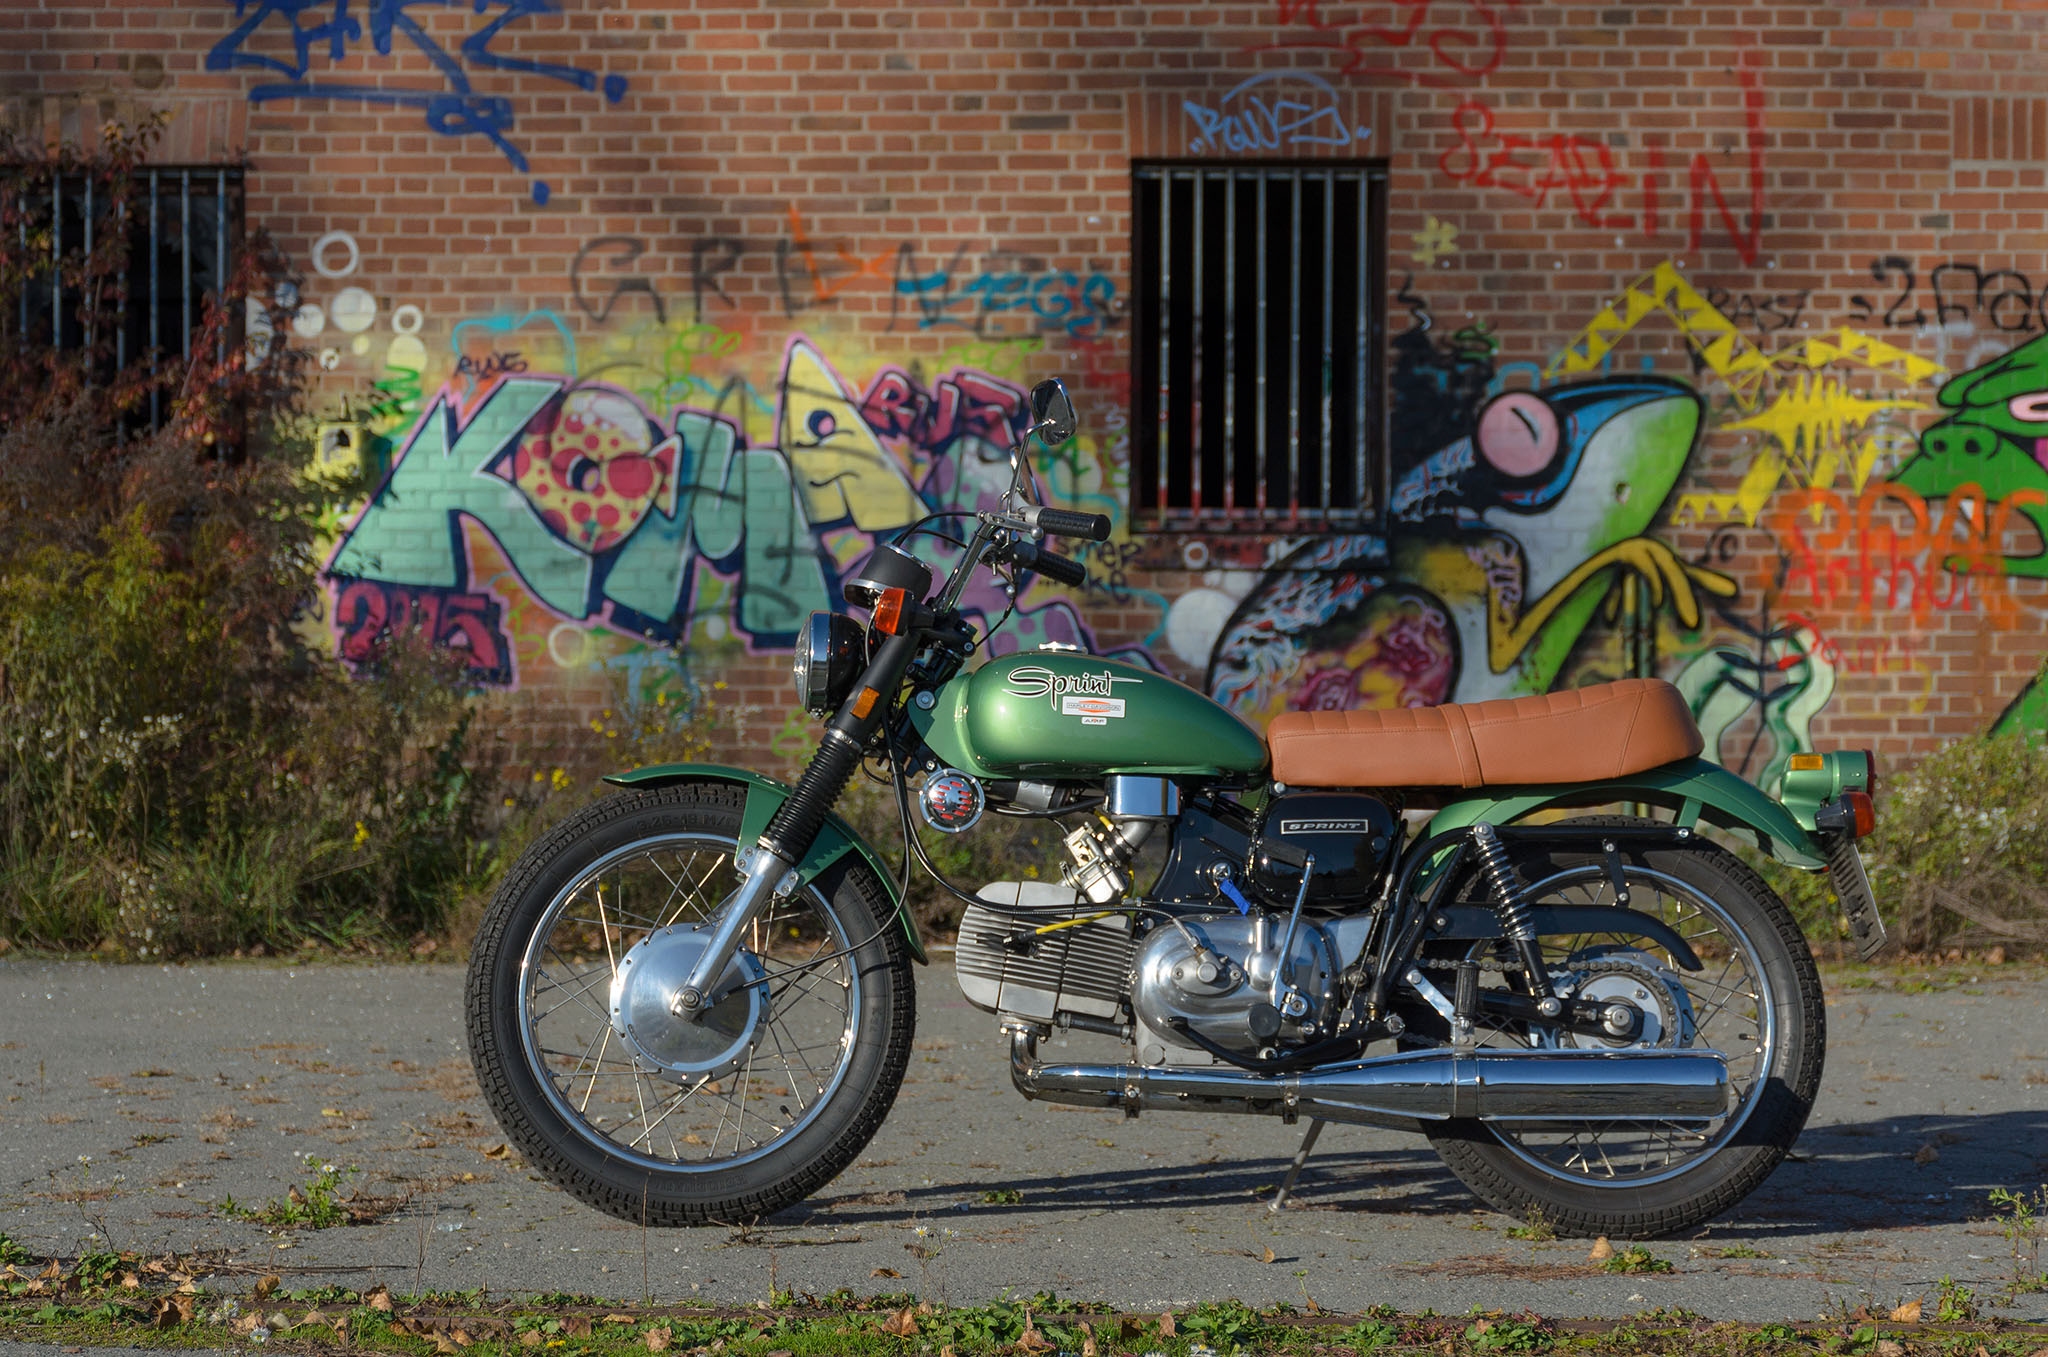

Just a little autumn ride out. Sadly a short circuit blewed out a fuse and the bike had to be transported back home on a motorcyce trailer.
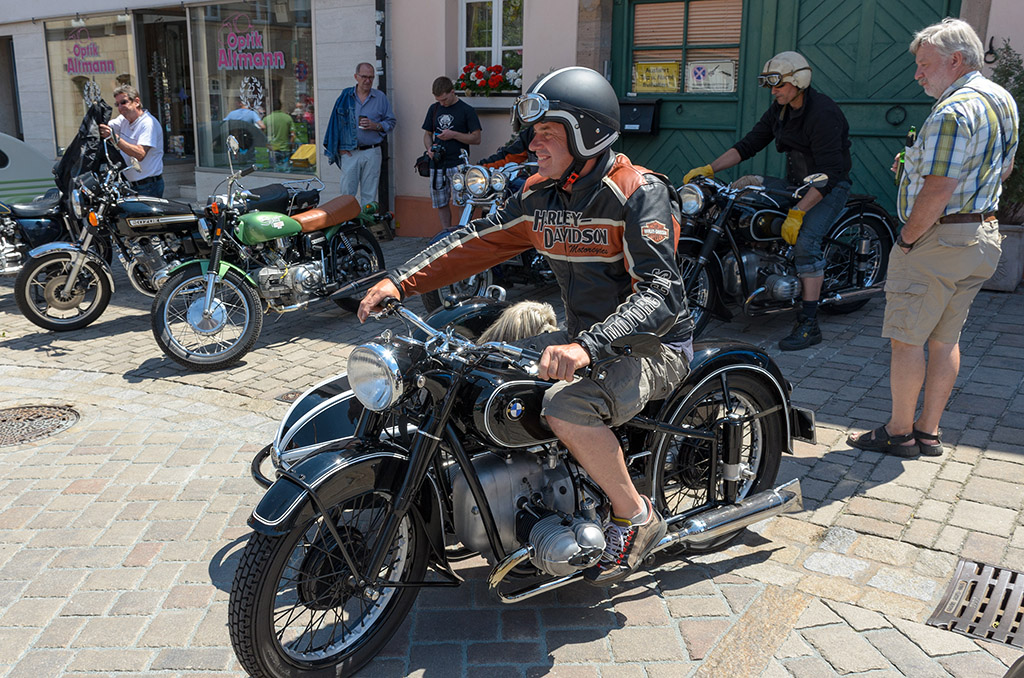

I took my GT-350 to a small Oldtimer festival in Langenzenn, Germany. It was a nicy & sunny day. Perfect ride.

First test ride with the GT-350 on public roads since it’s restoration. In the background you can see the castle “Cadolzburg”.


I really have to take care of getting the bike street legal now. I rode 4 kilometers and there is still some trouble, but I will get it managed…
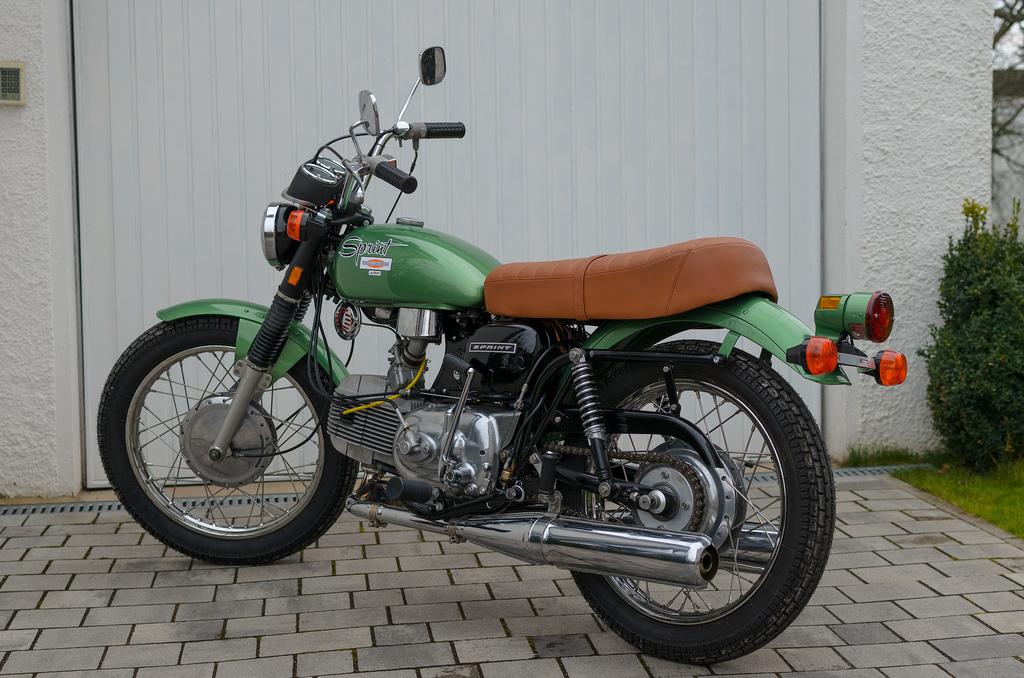

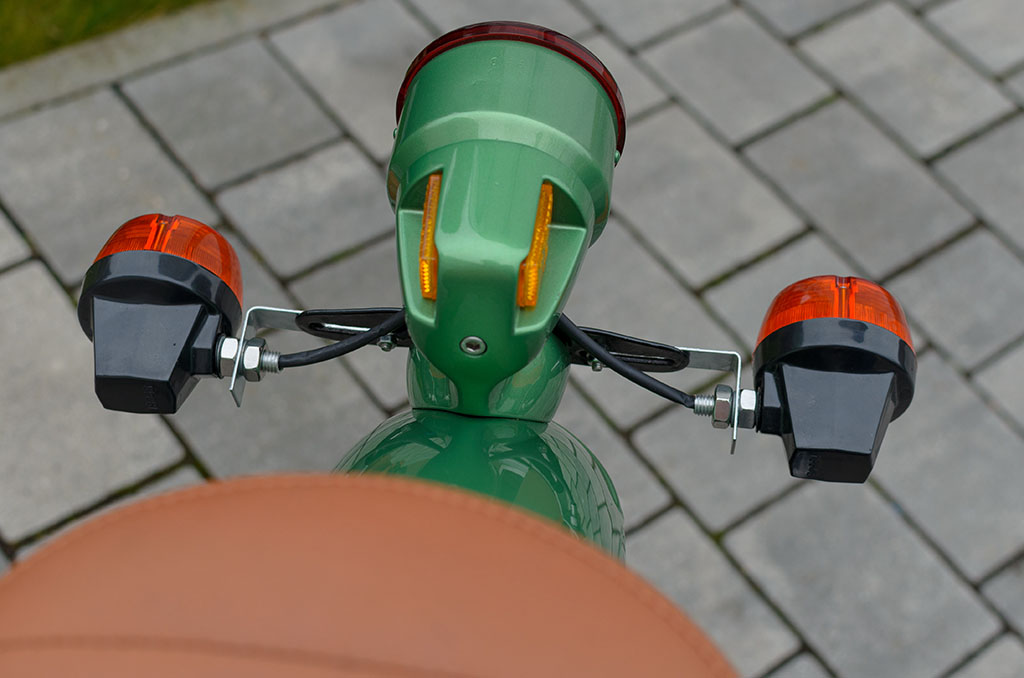
Required by law for this production year in Germany already. As in Italy turn signals were not required and the bike delivered without them I had to find a solution that does not insult the eyes and so I did use period correct italian CEV turn signals