

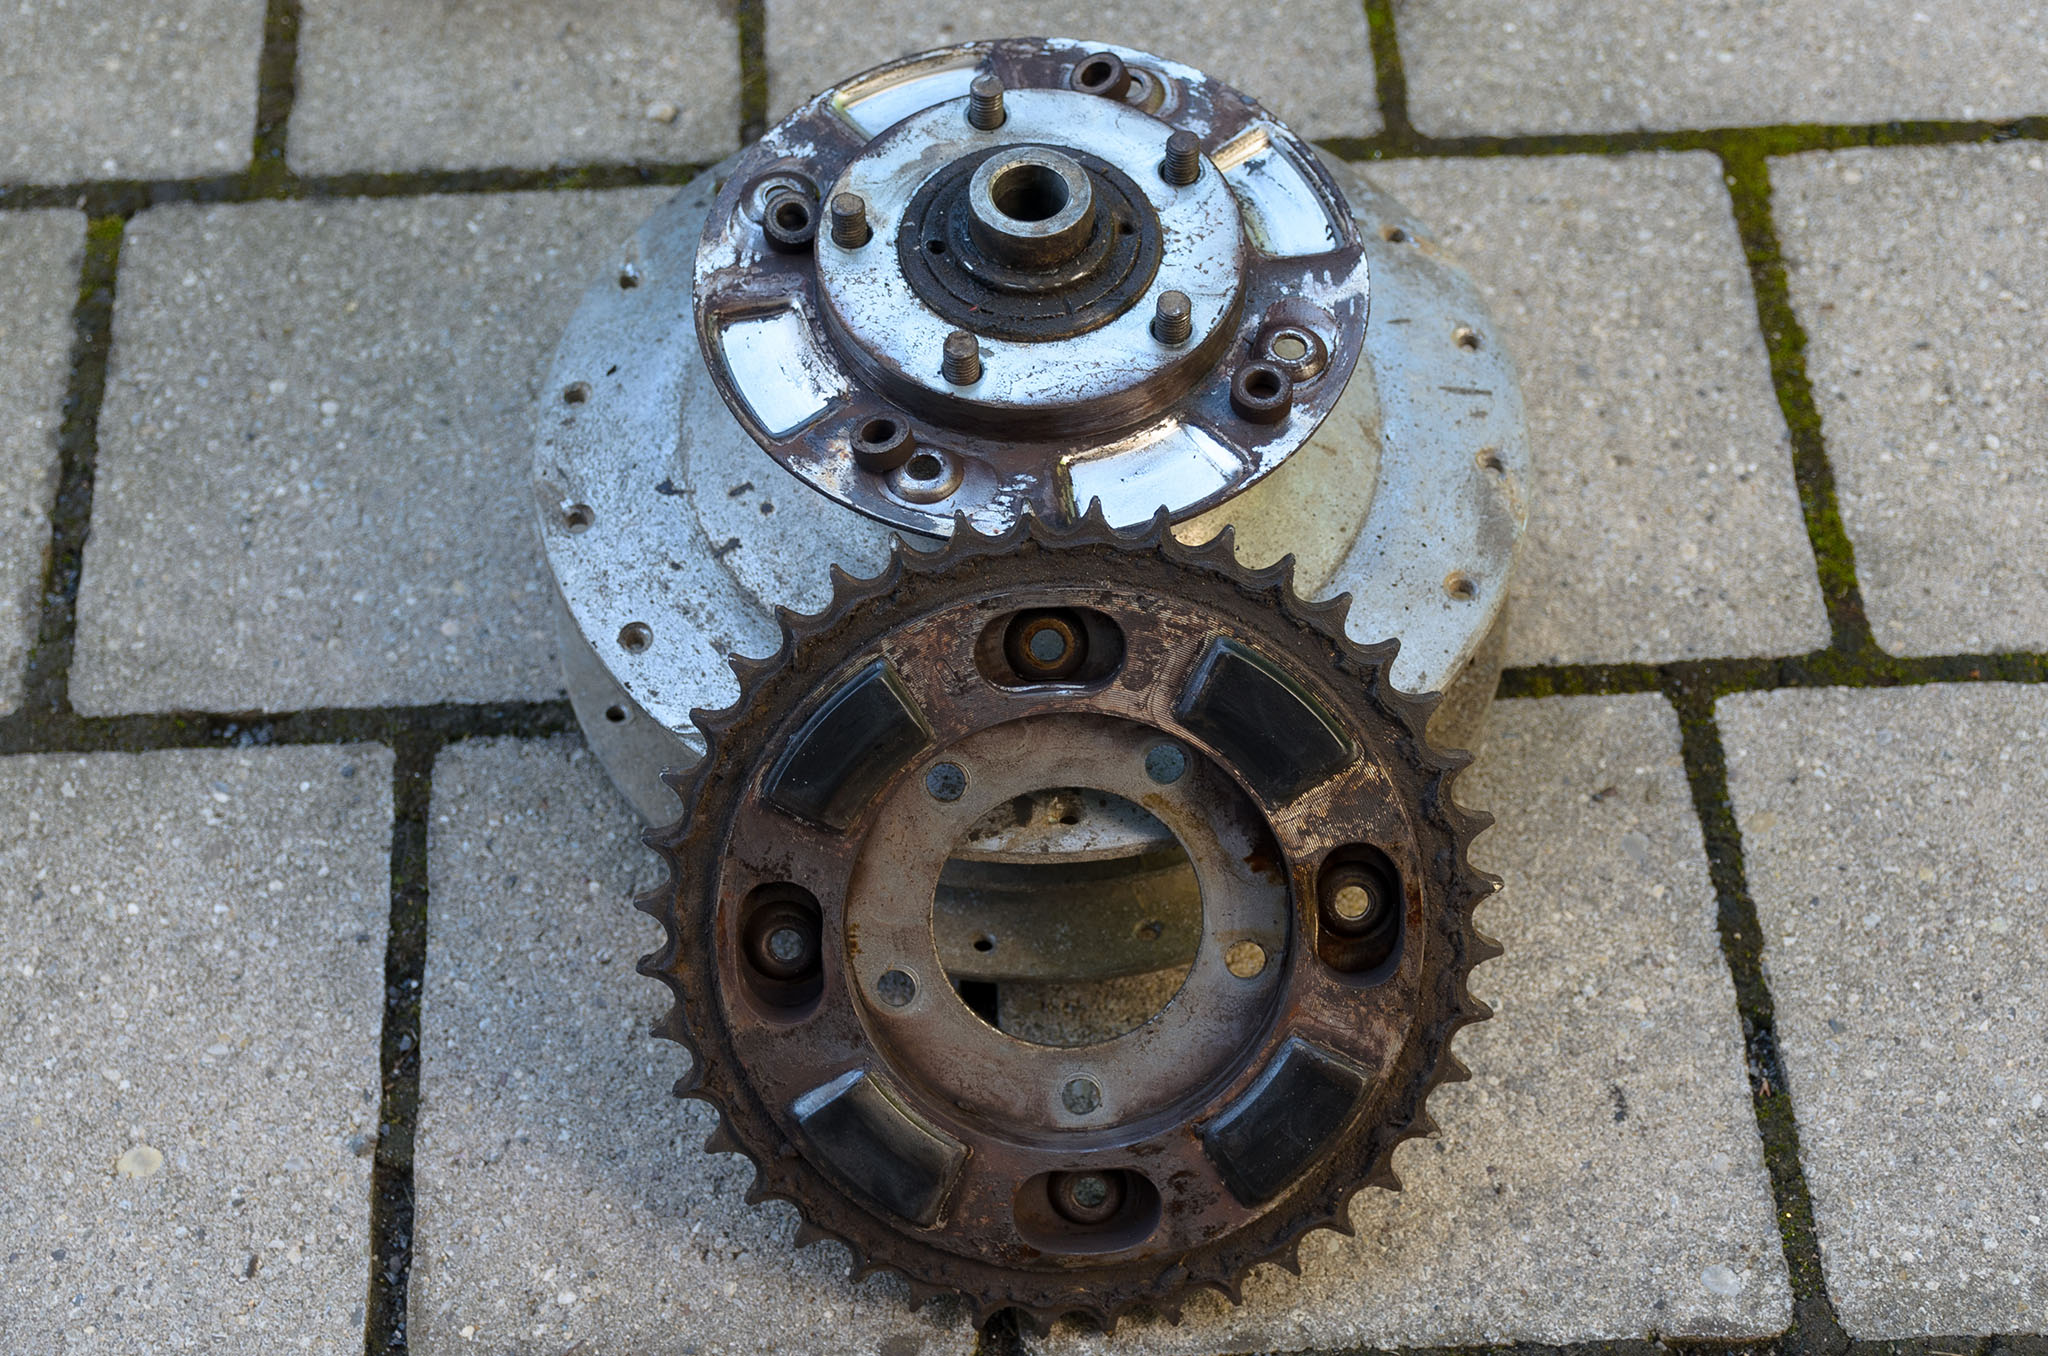

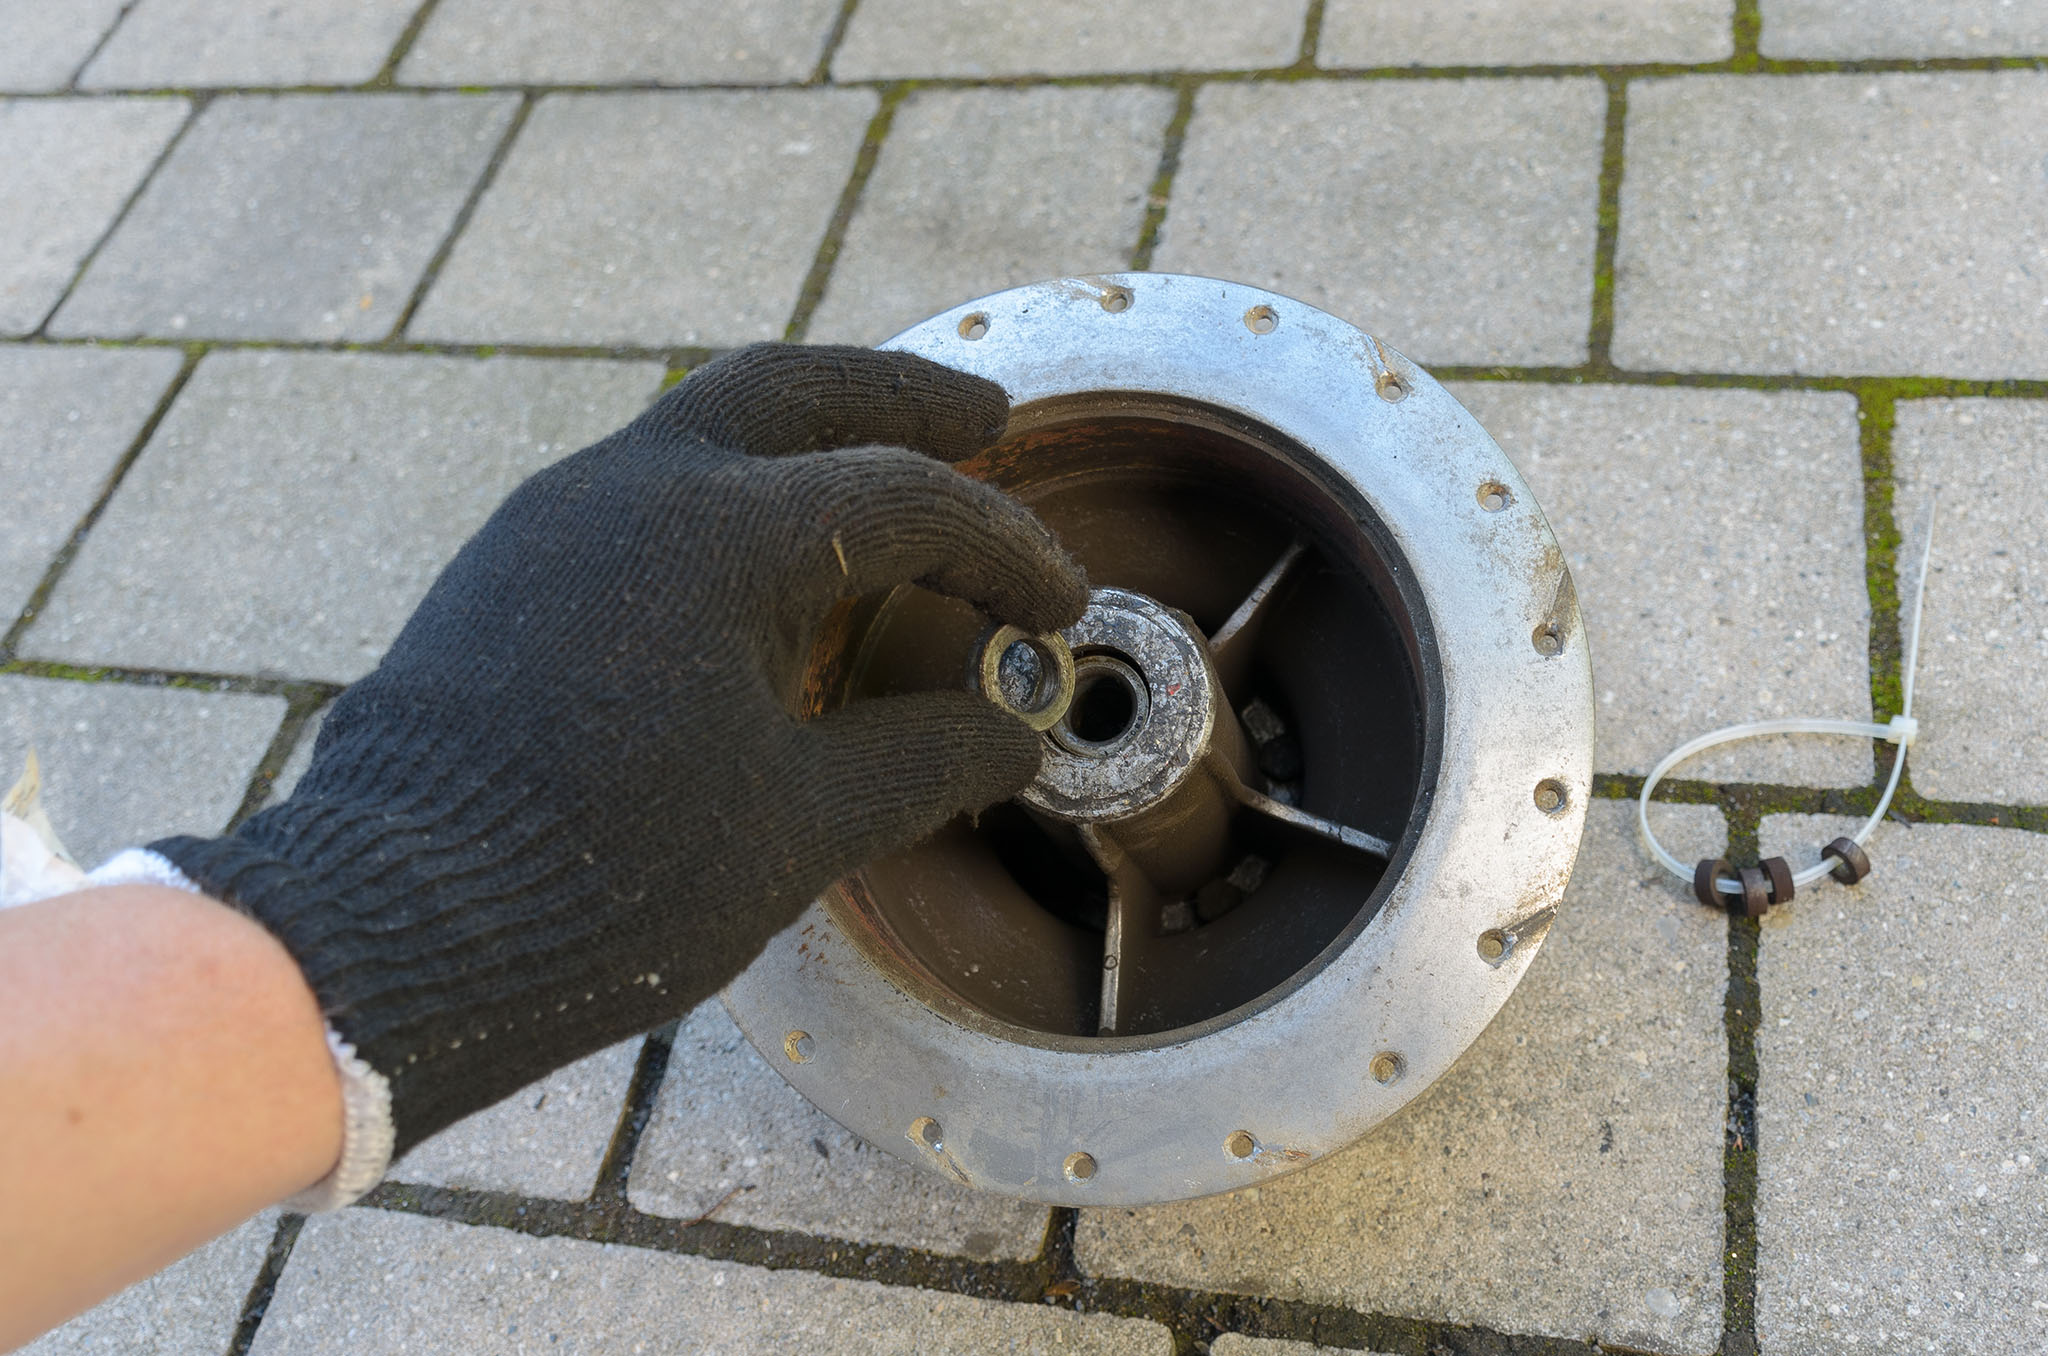

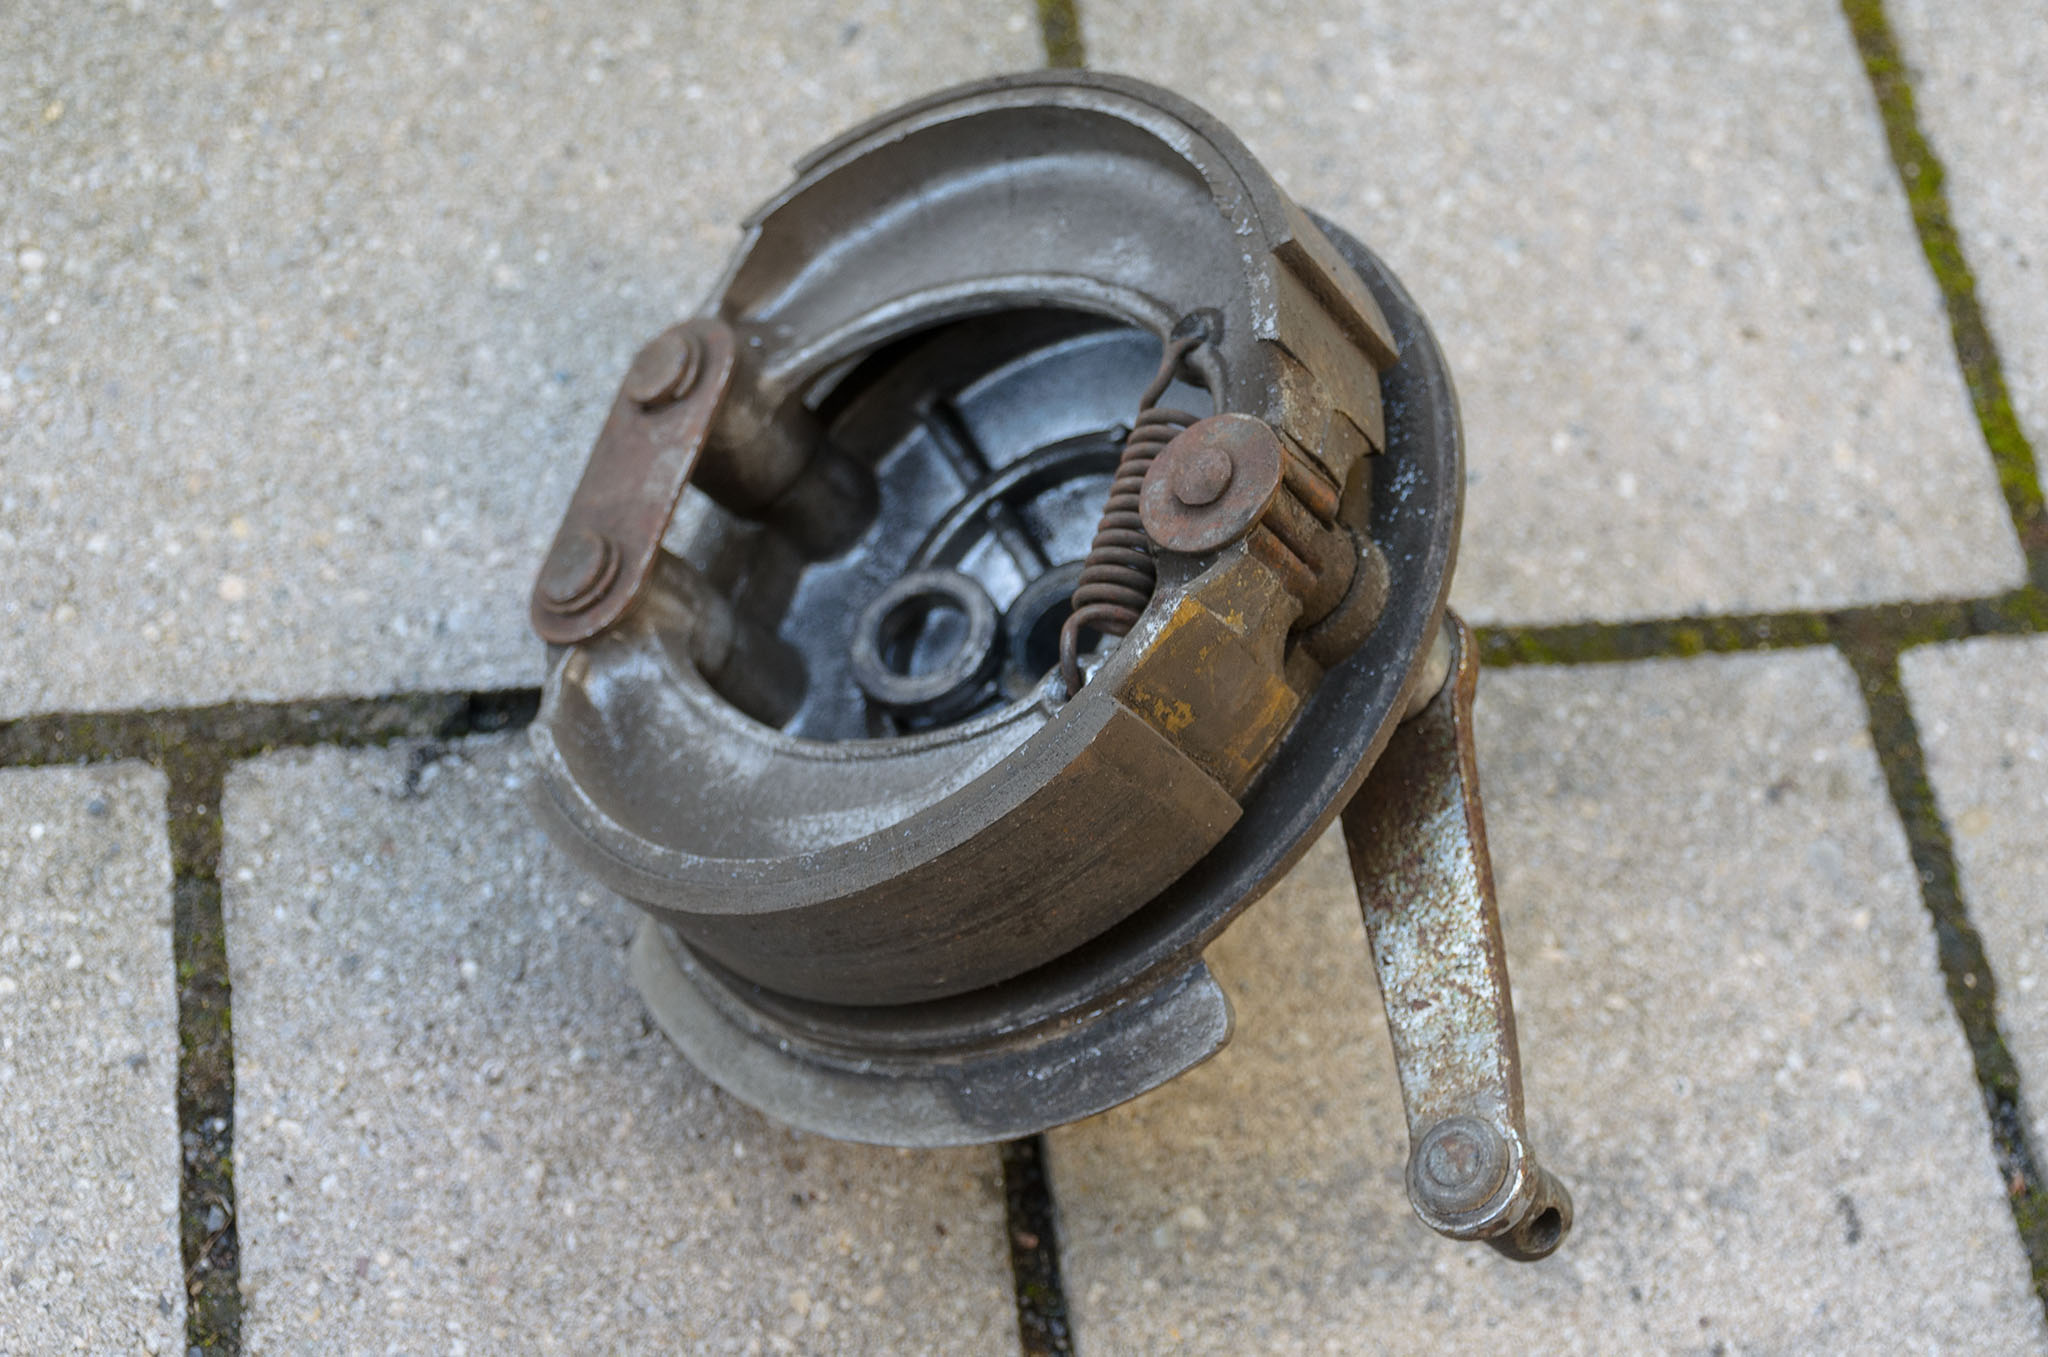
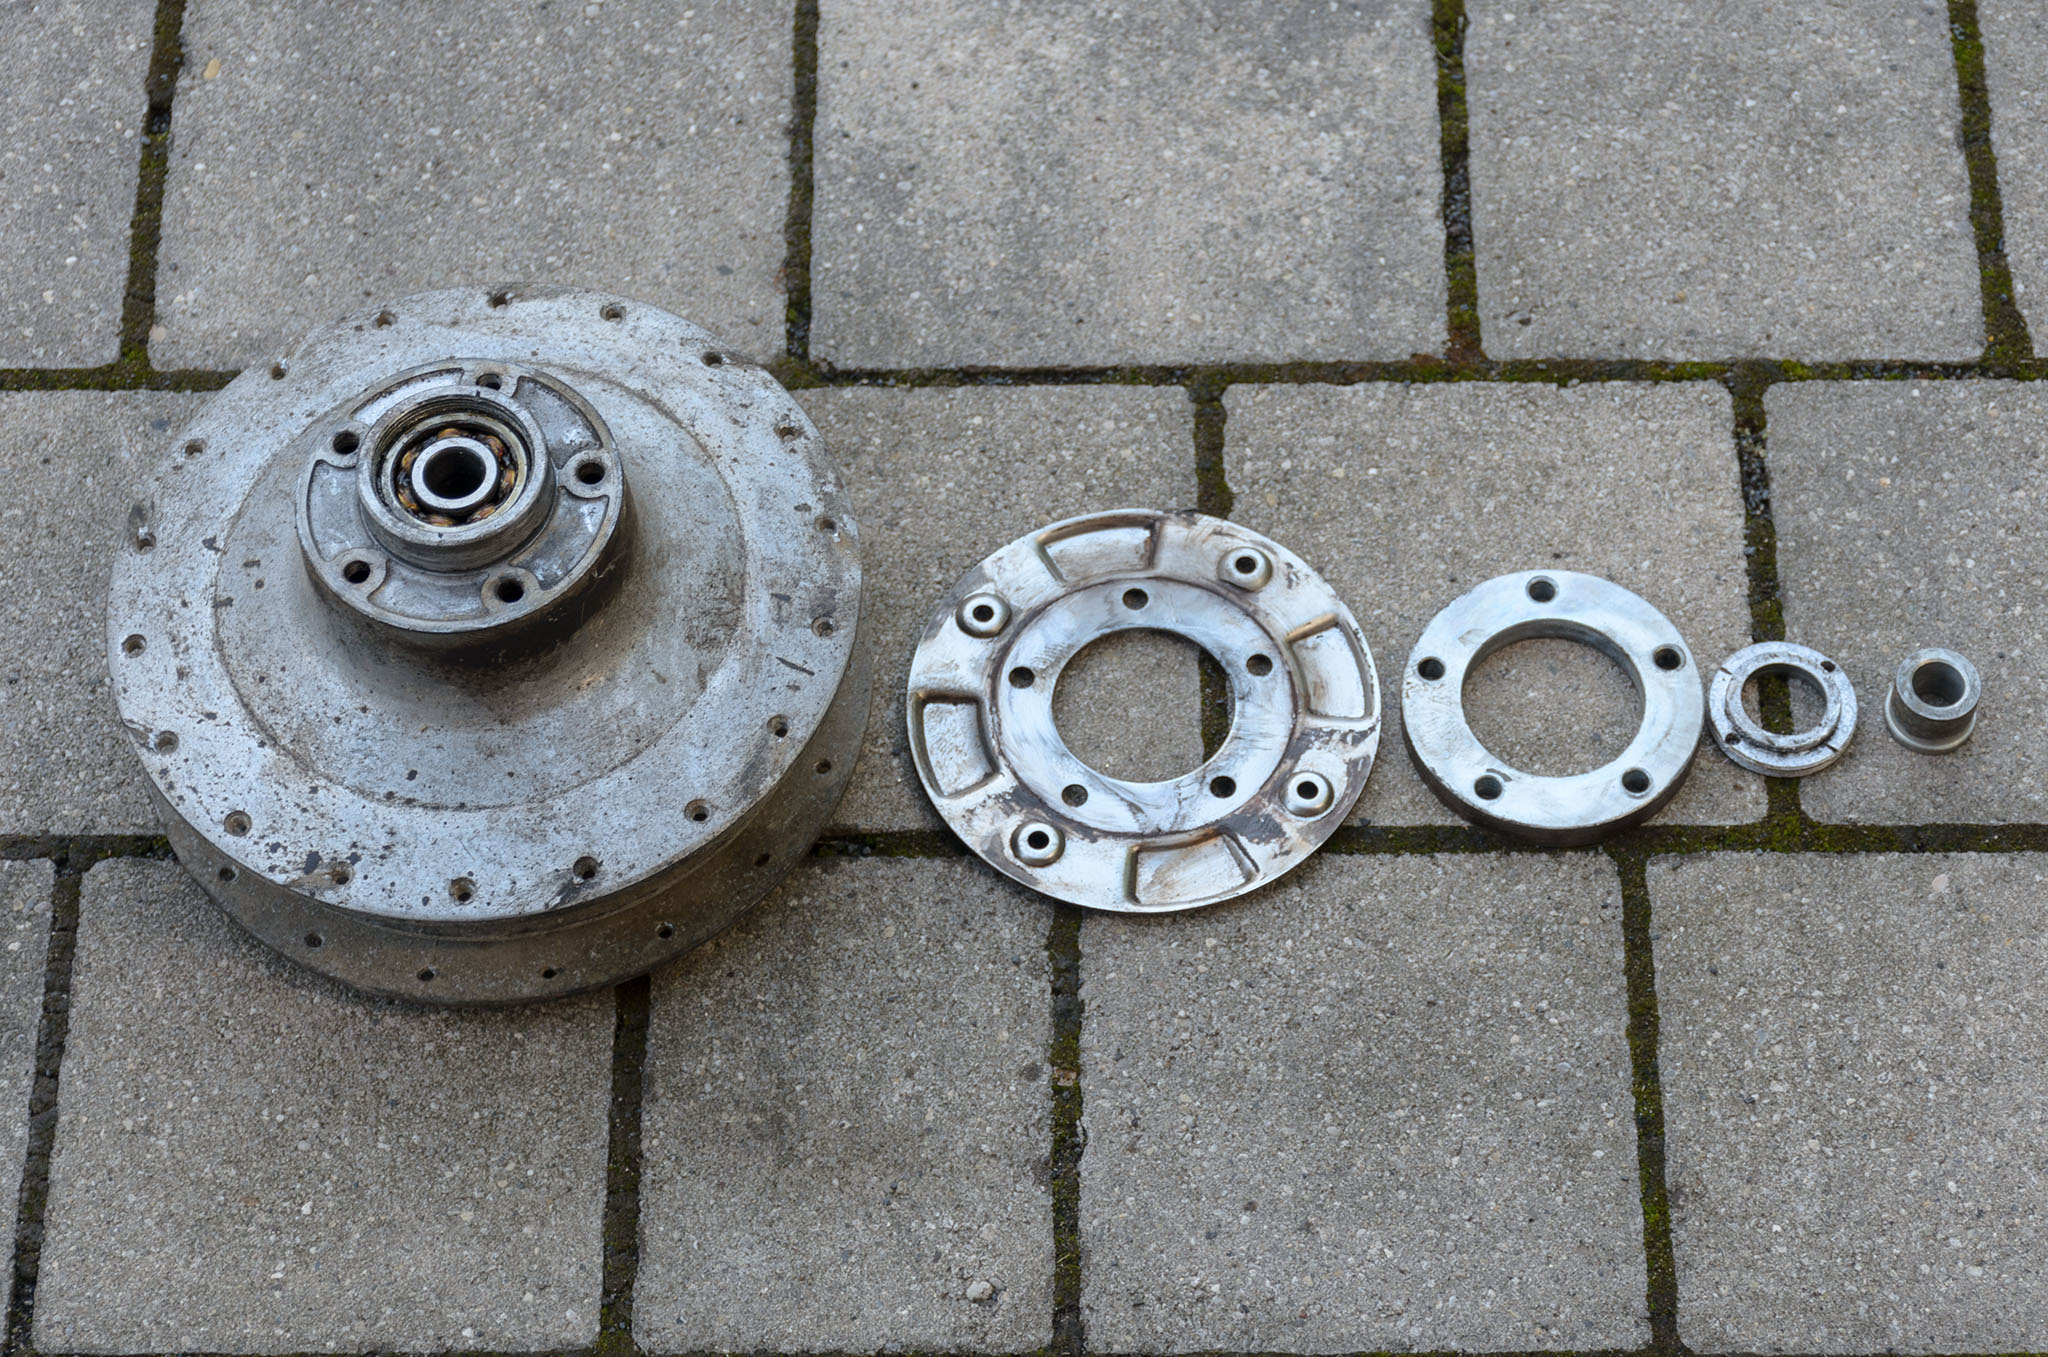
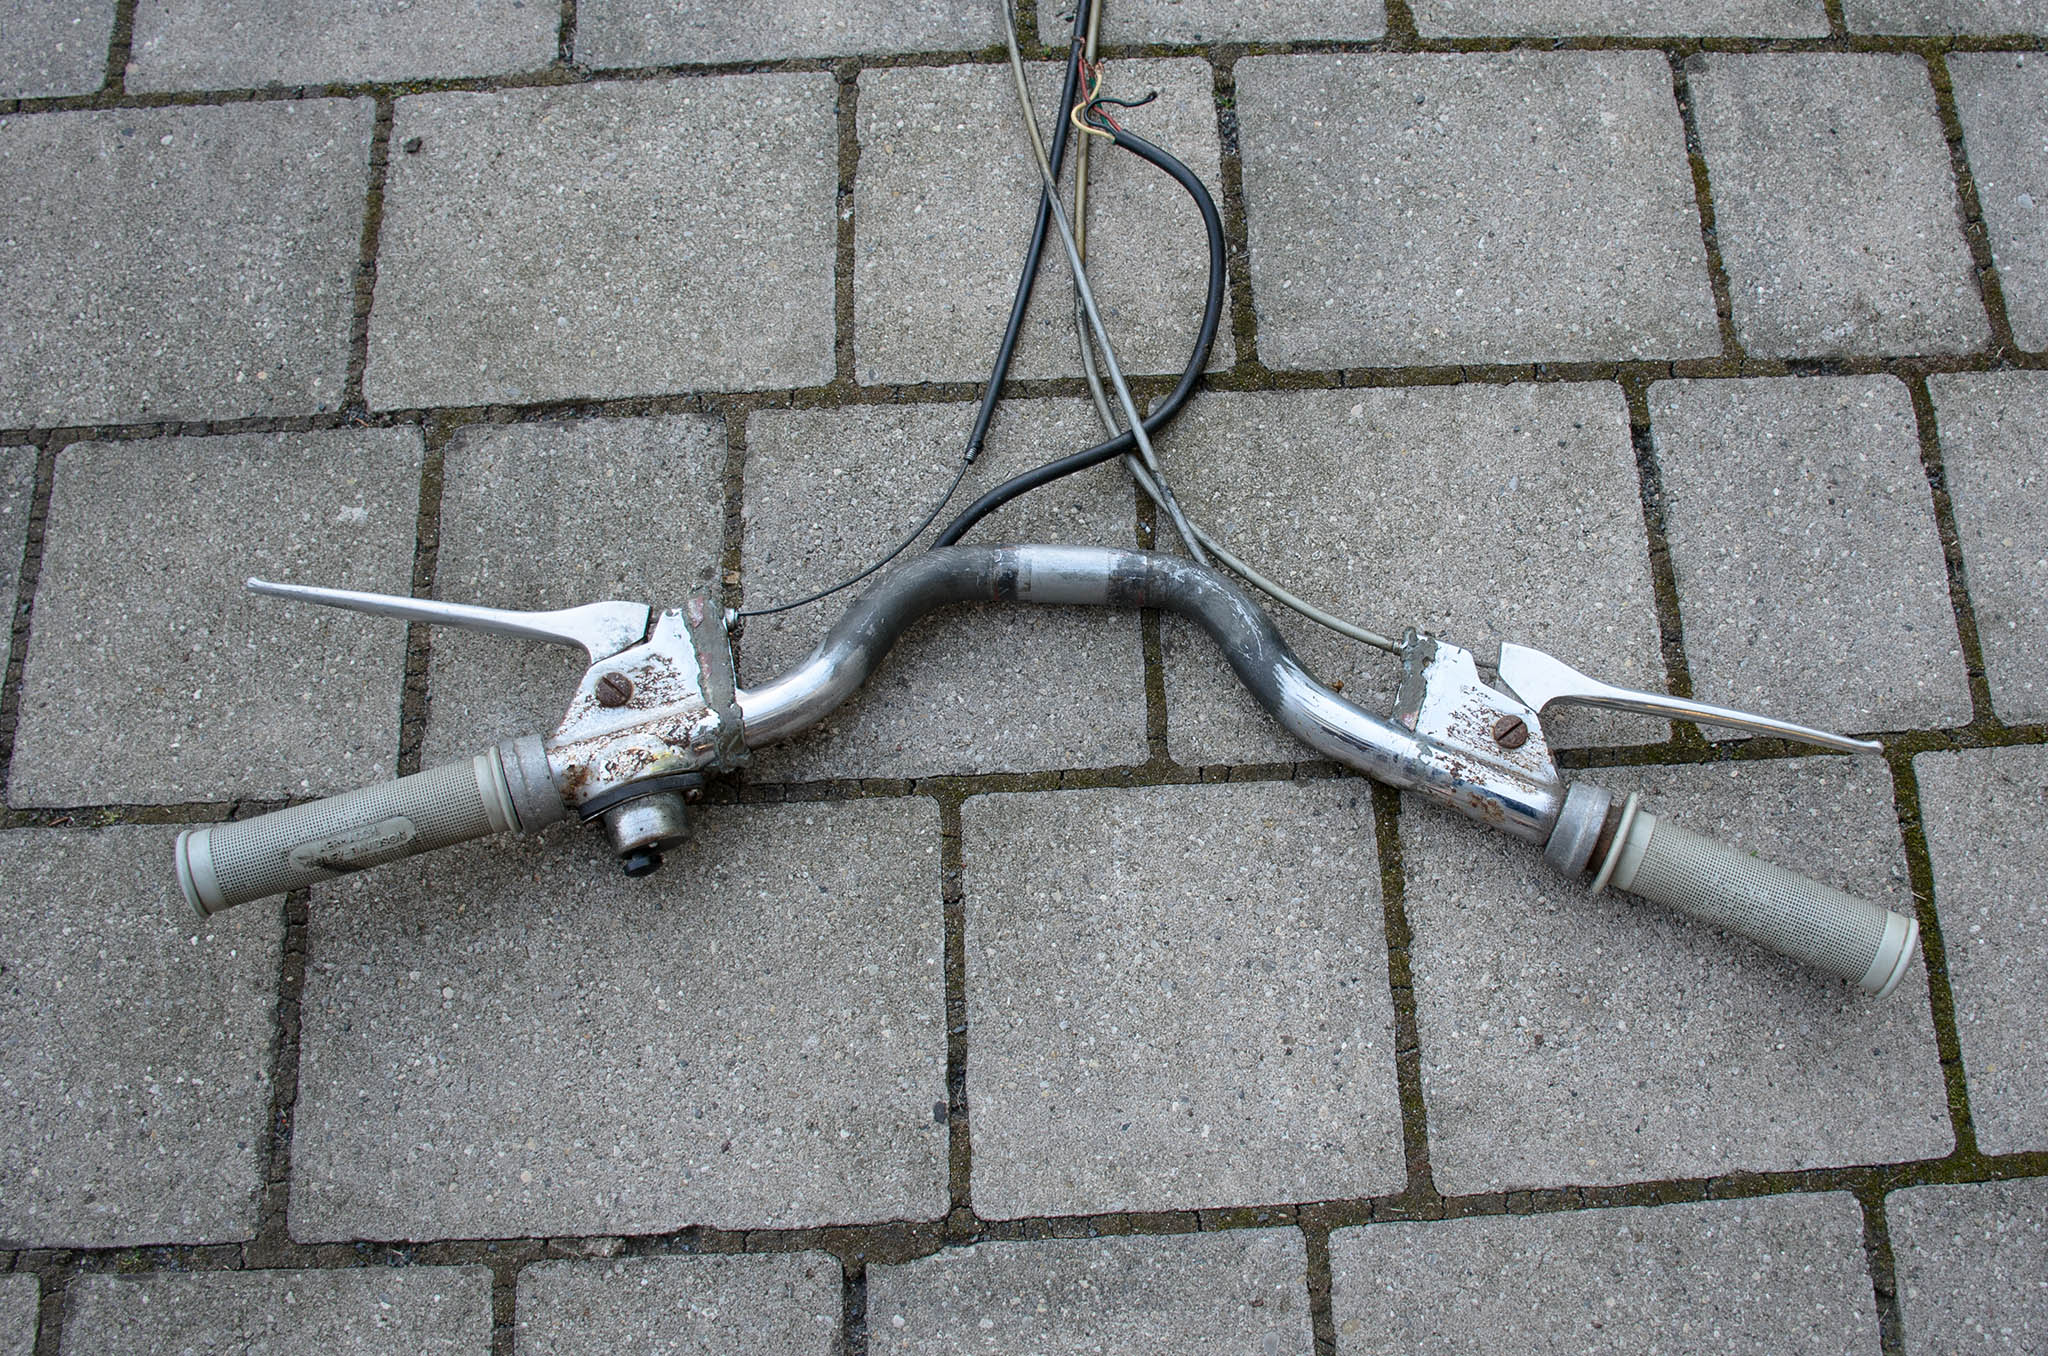
More disassembling


text
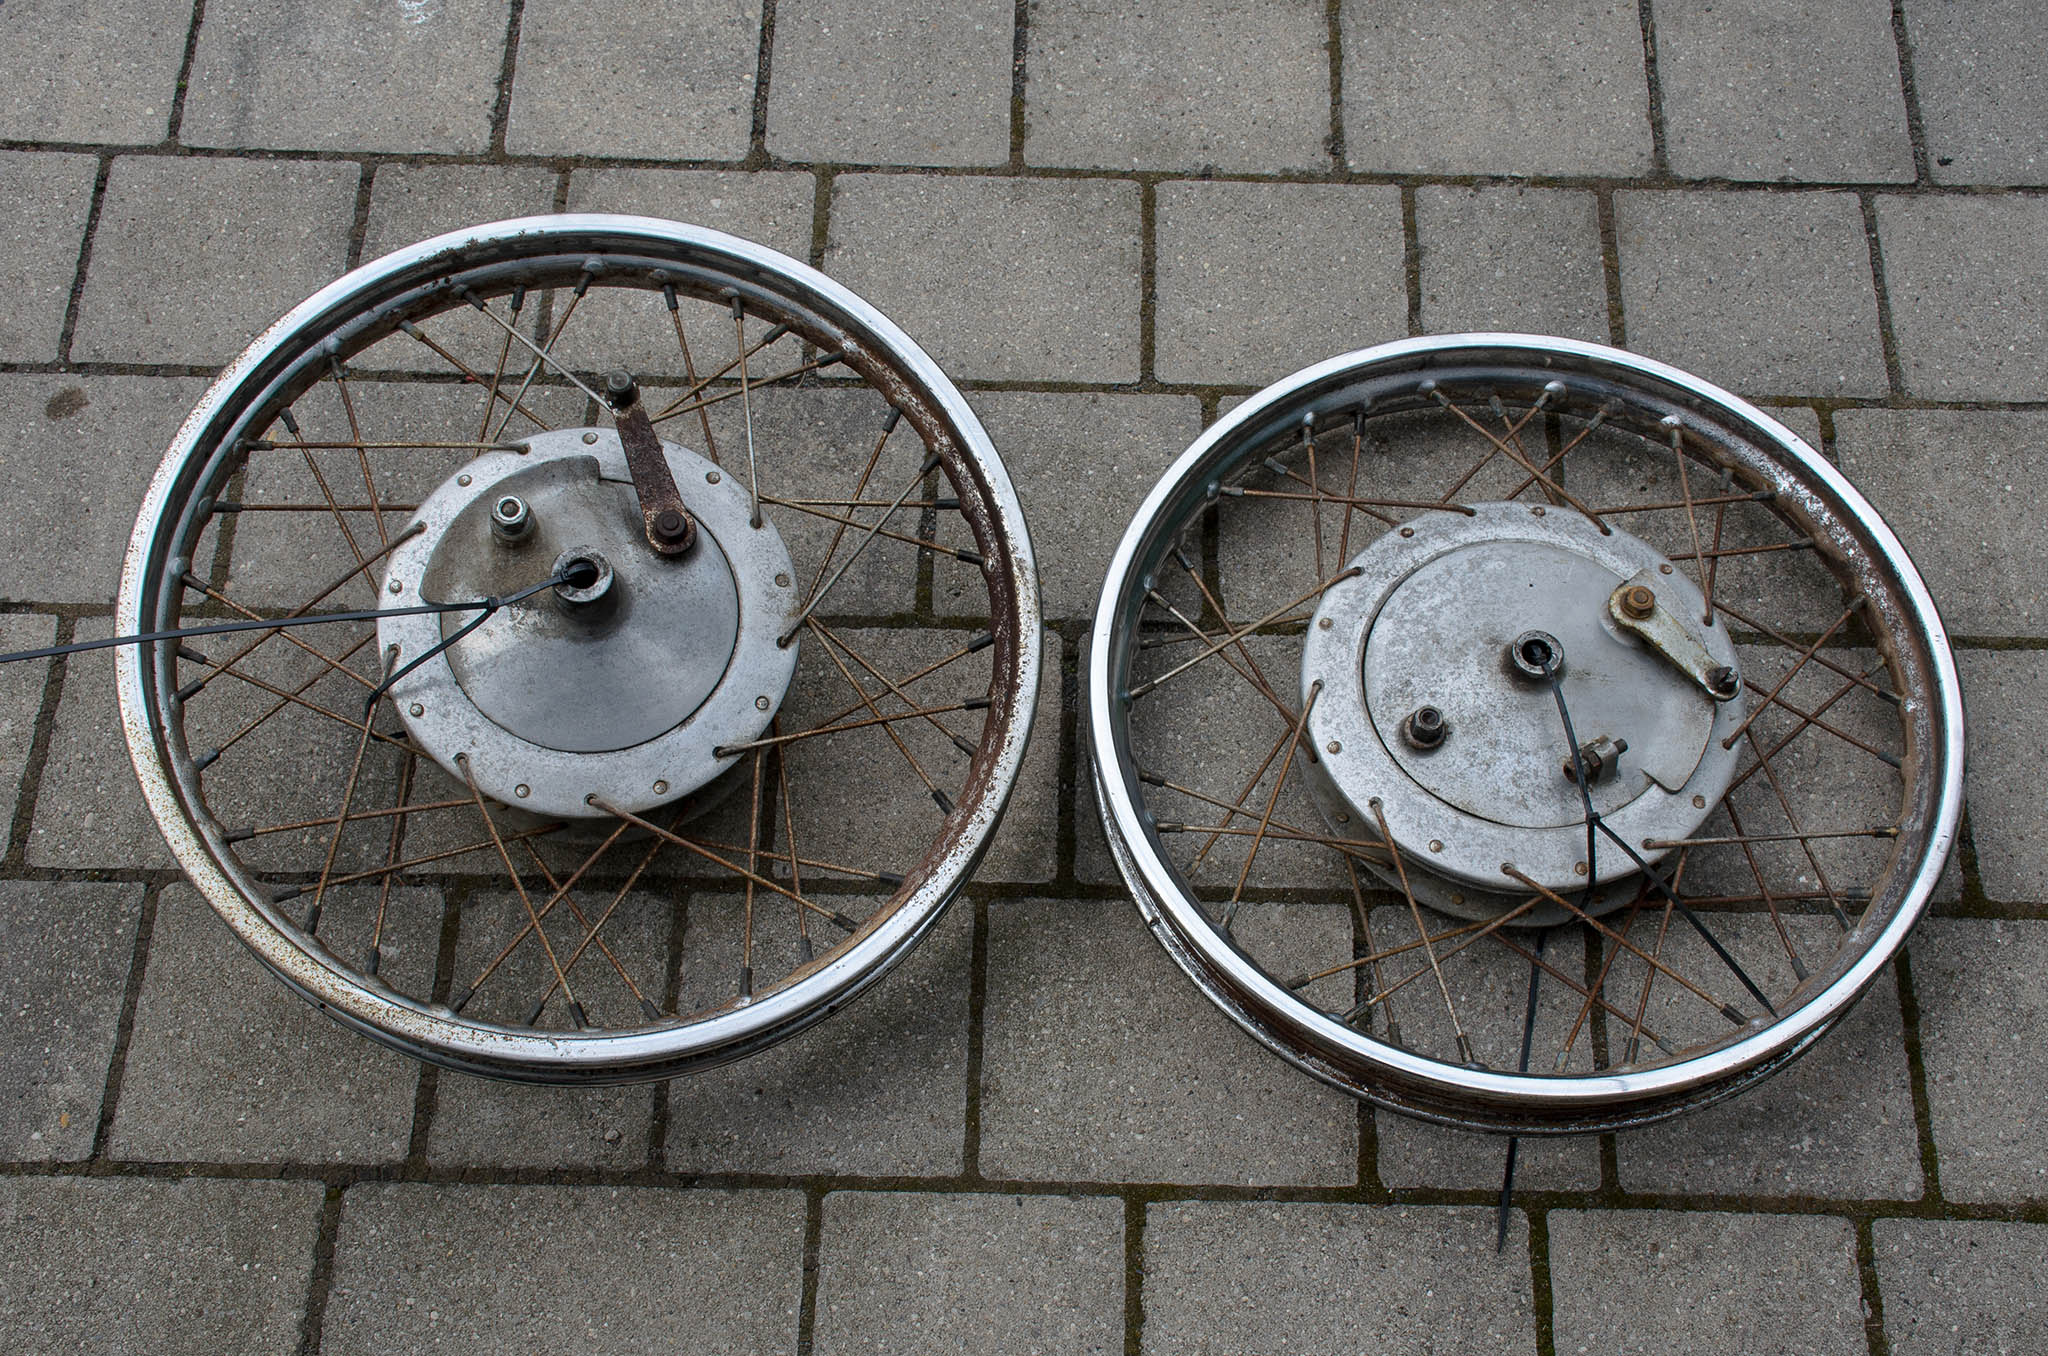
Tires gone
text
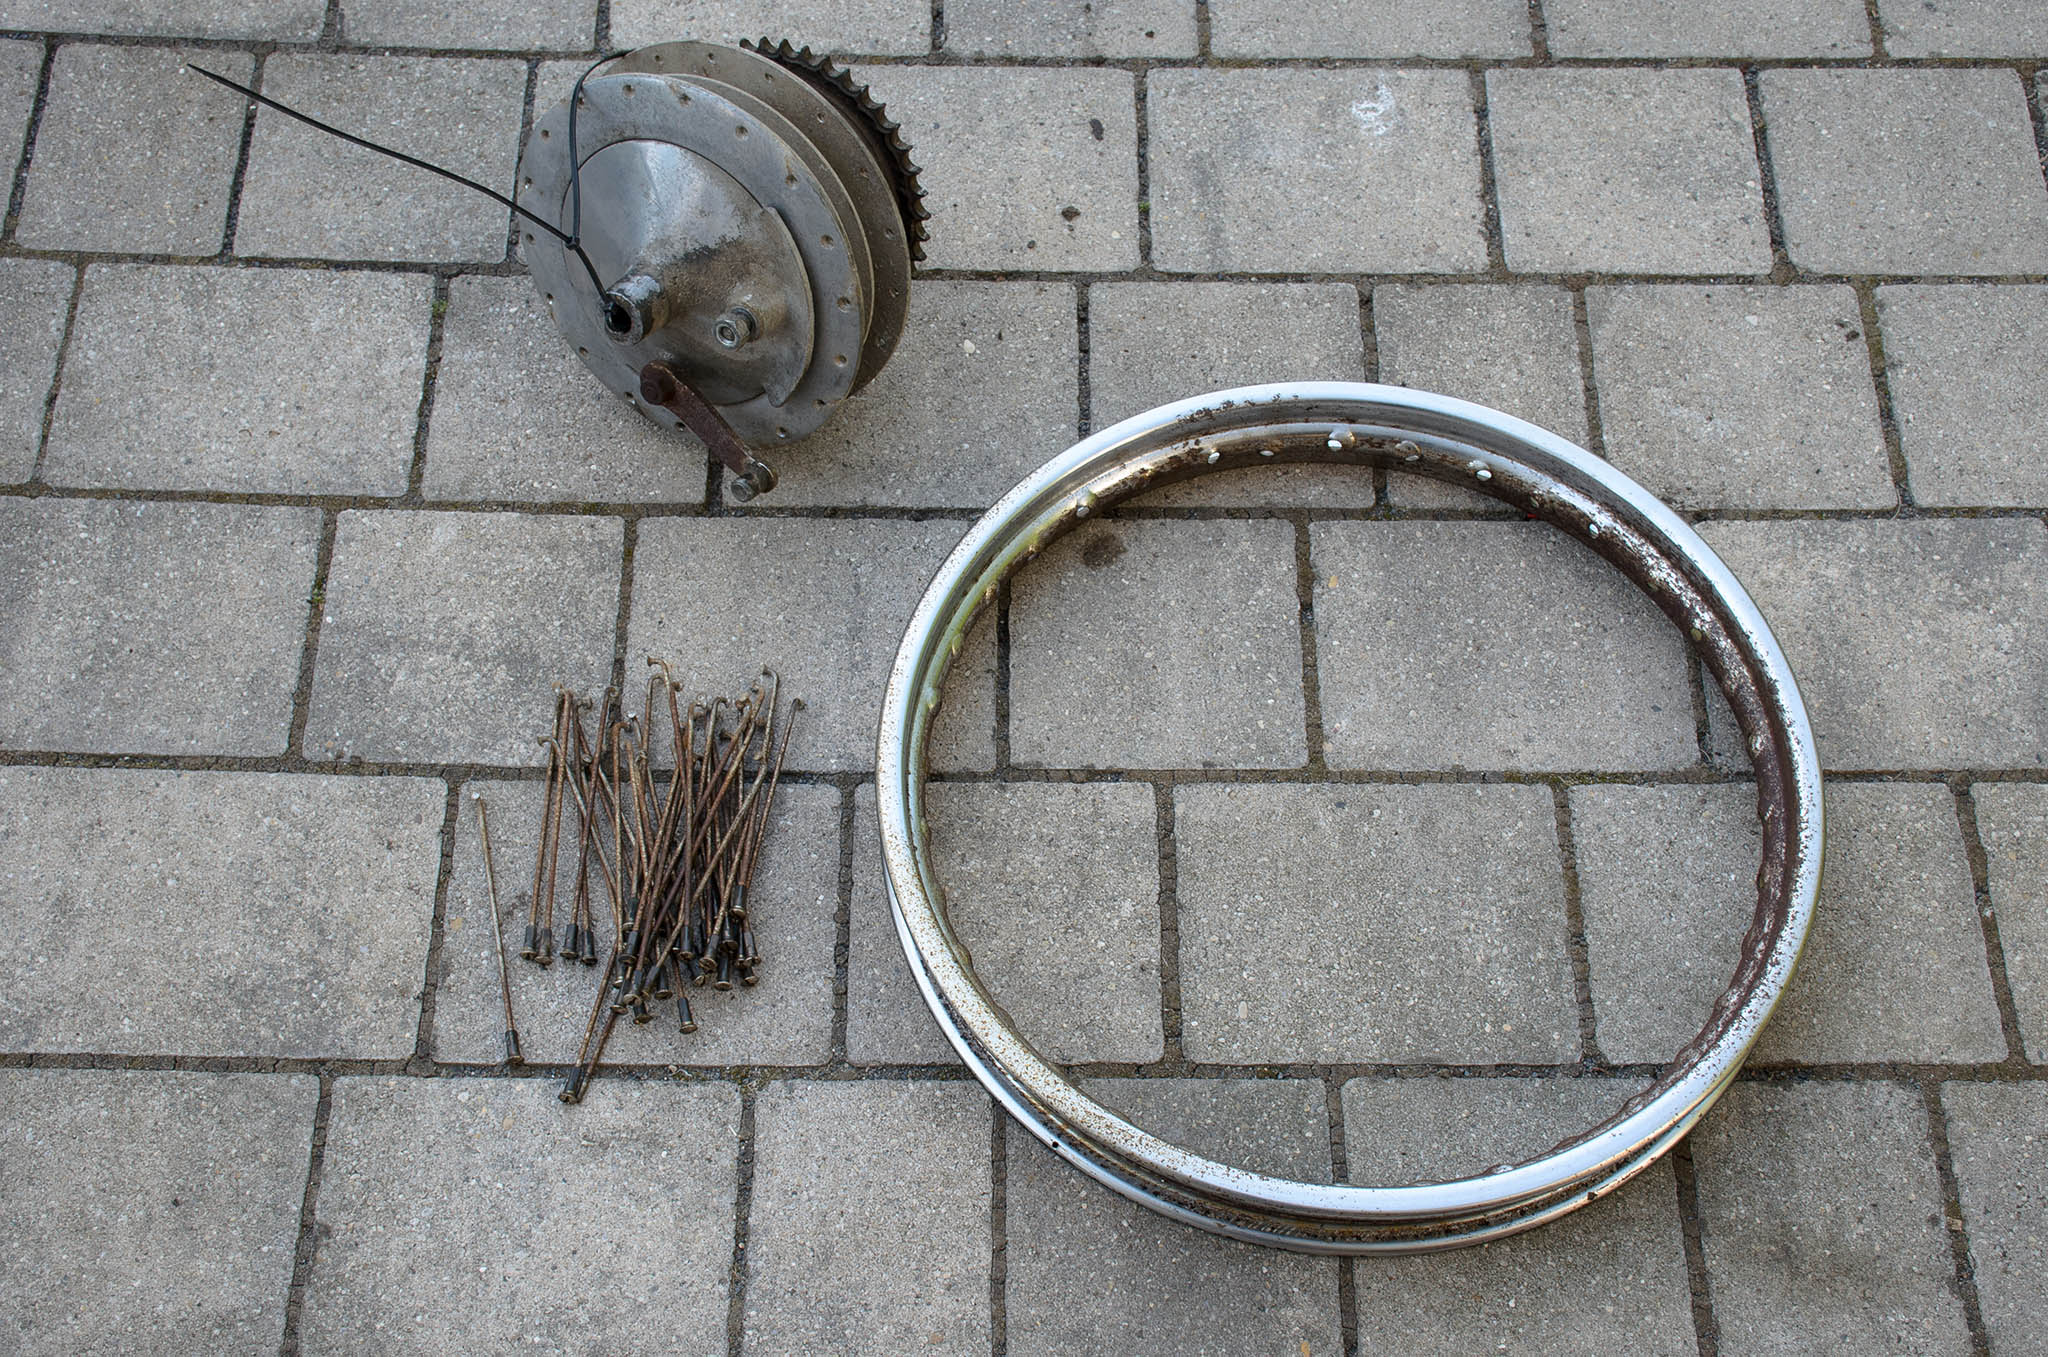
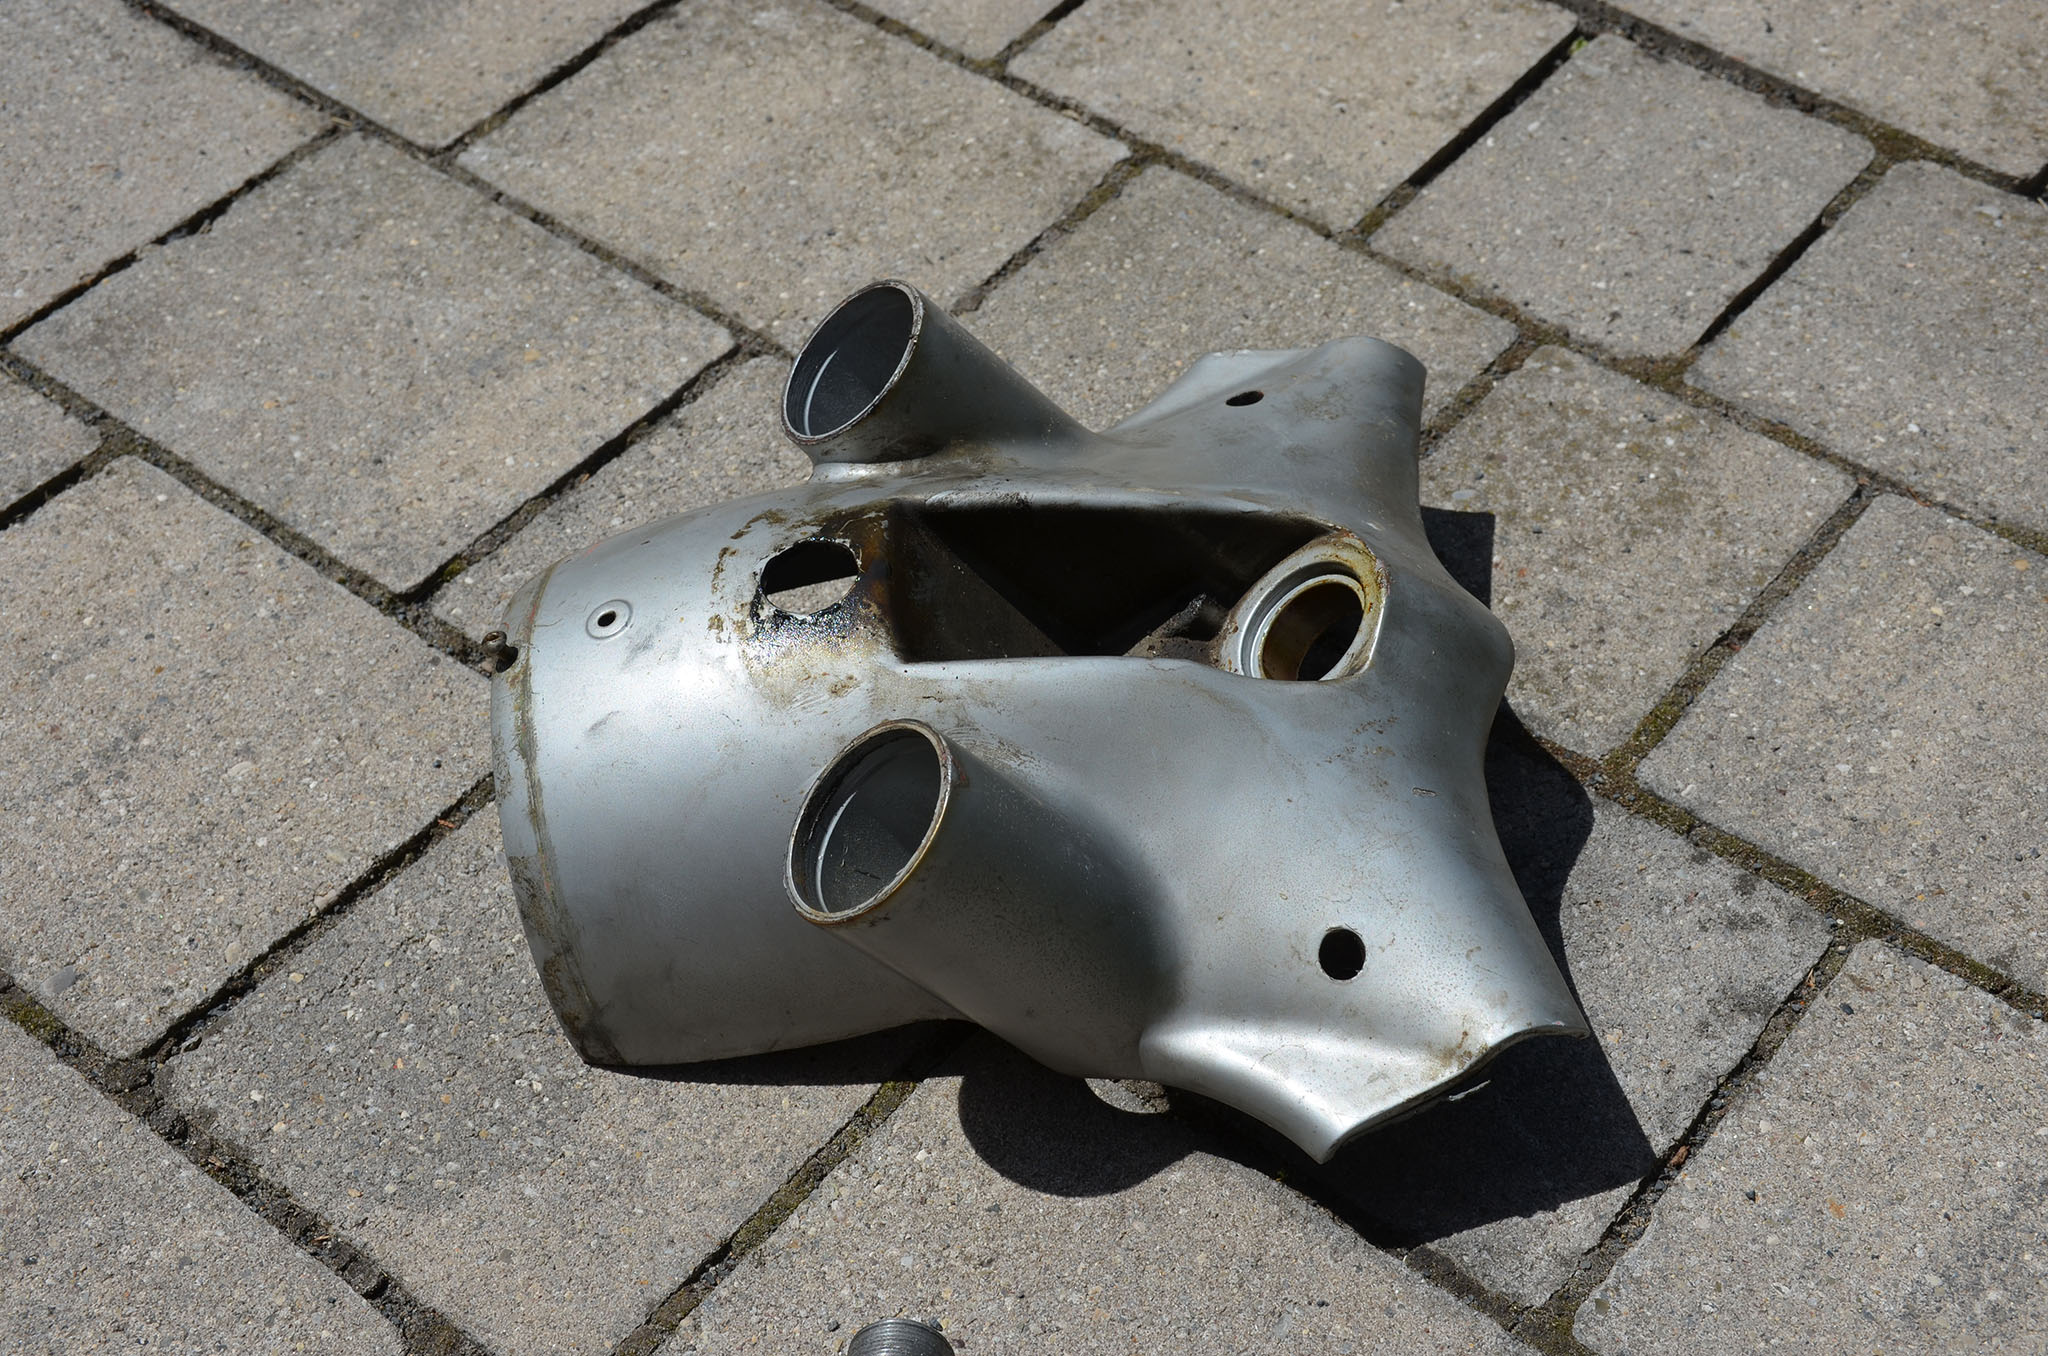
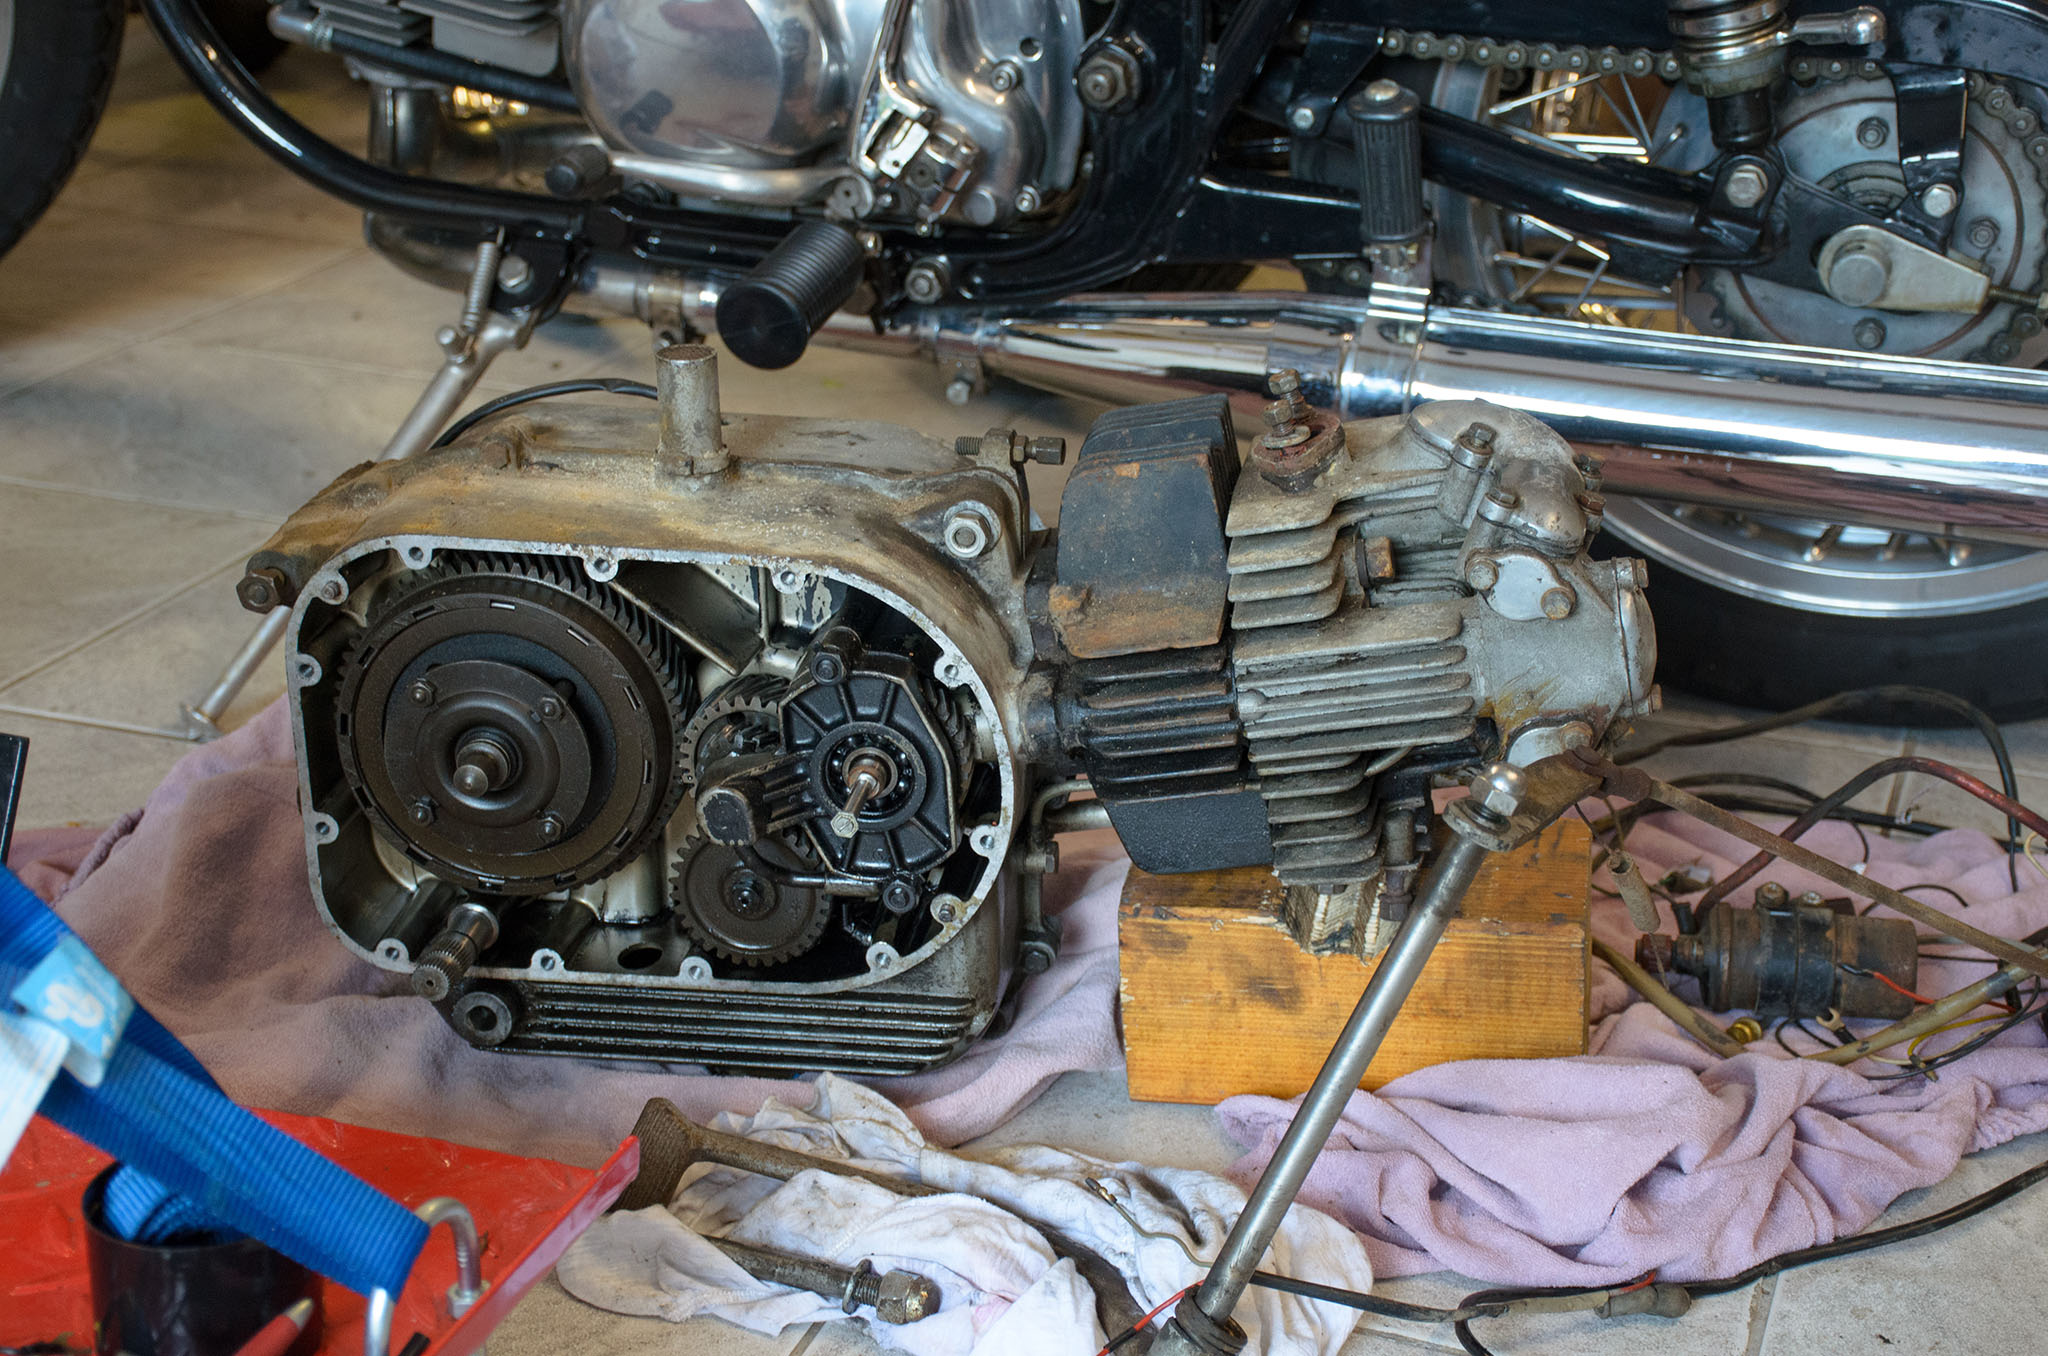
Chimera disassembled


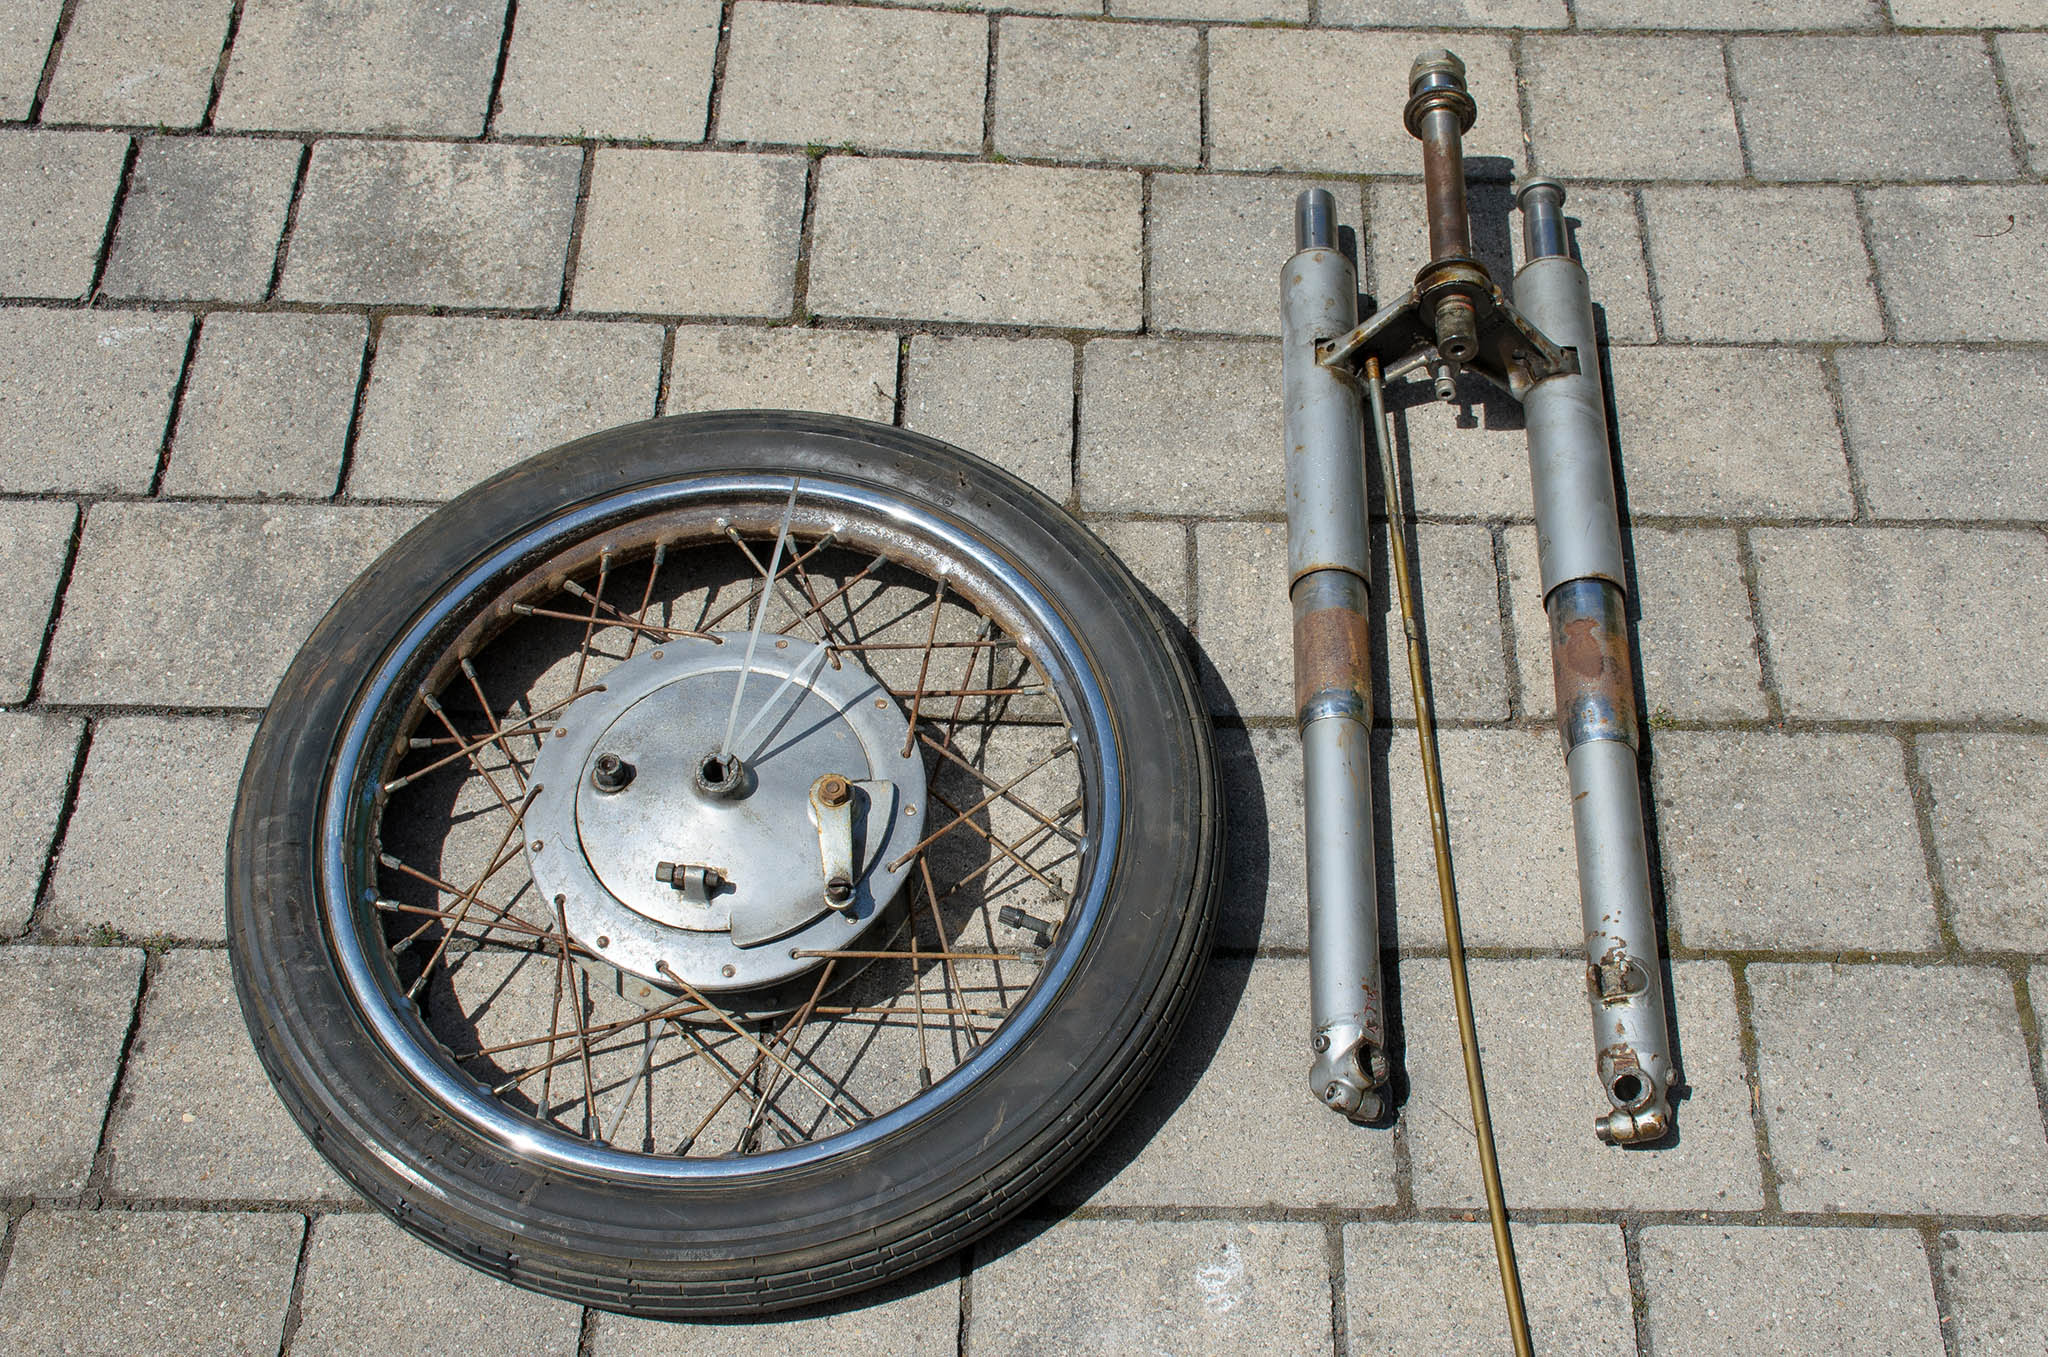
Front tire: Pirelli 2.75 -17
Rear tire: Pirelli MT53 3.00-17
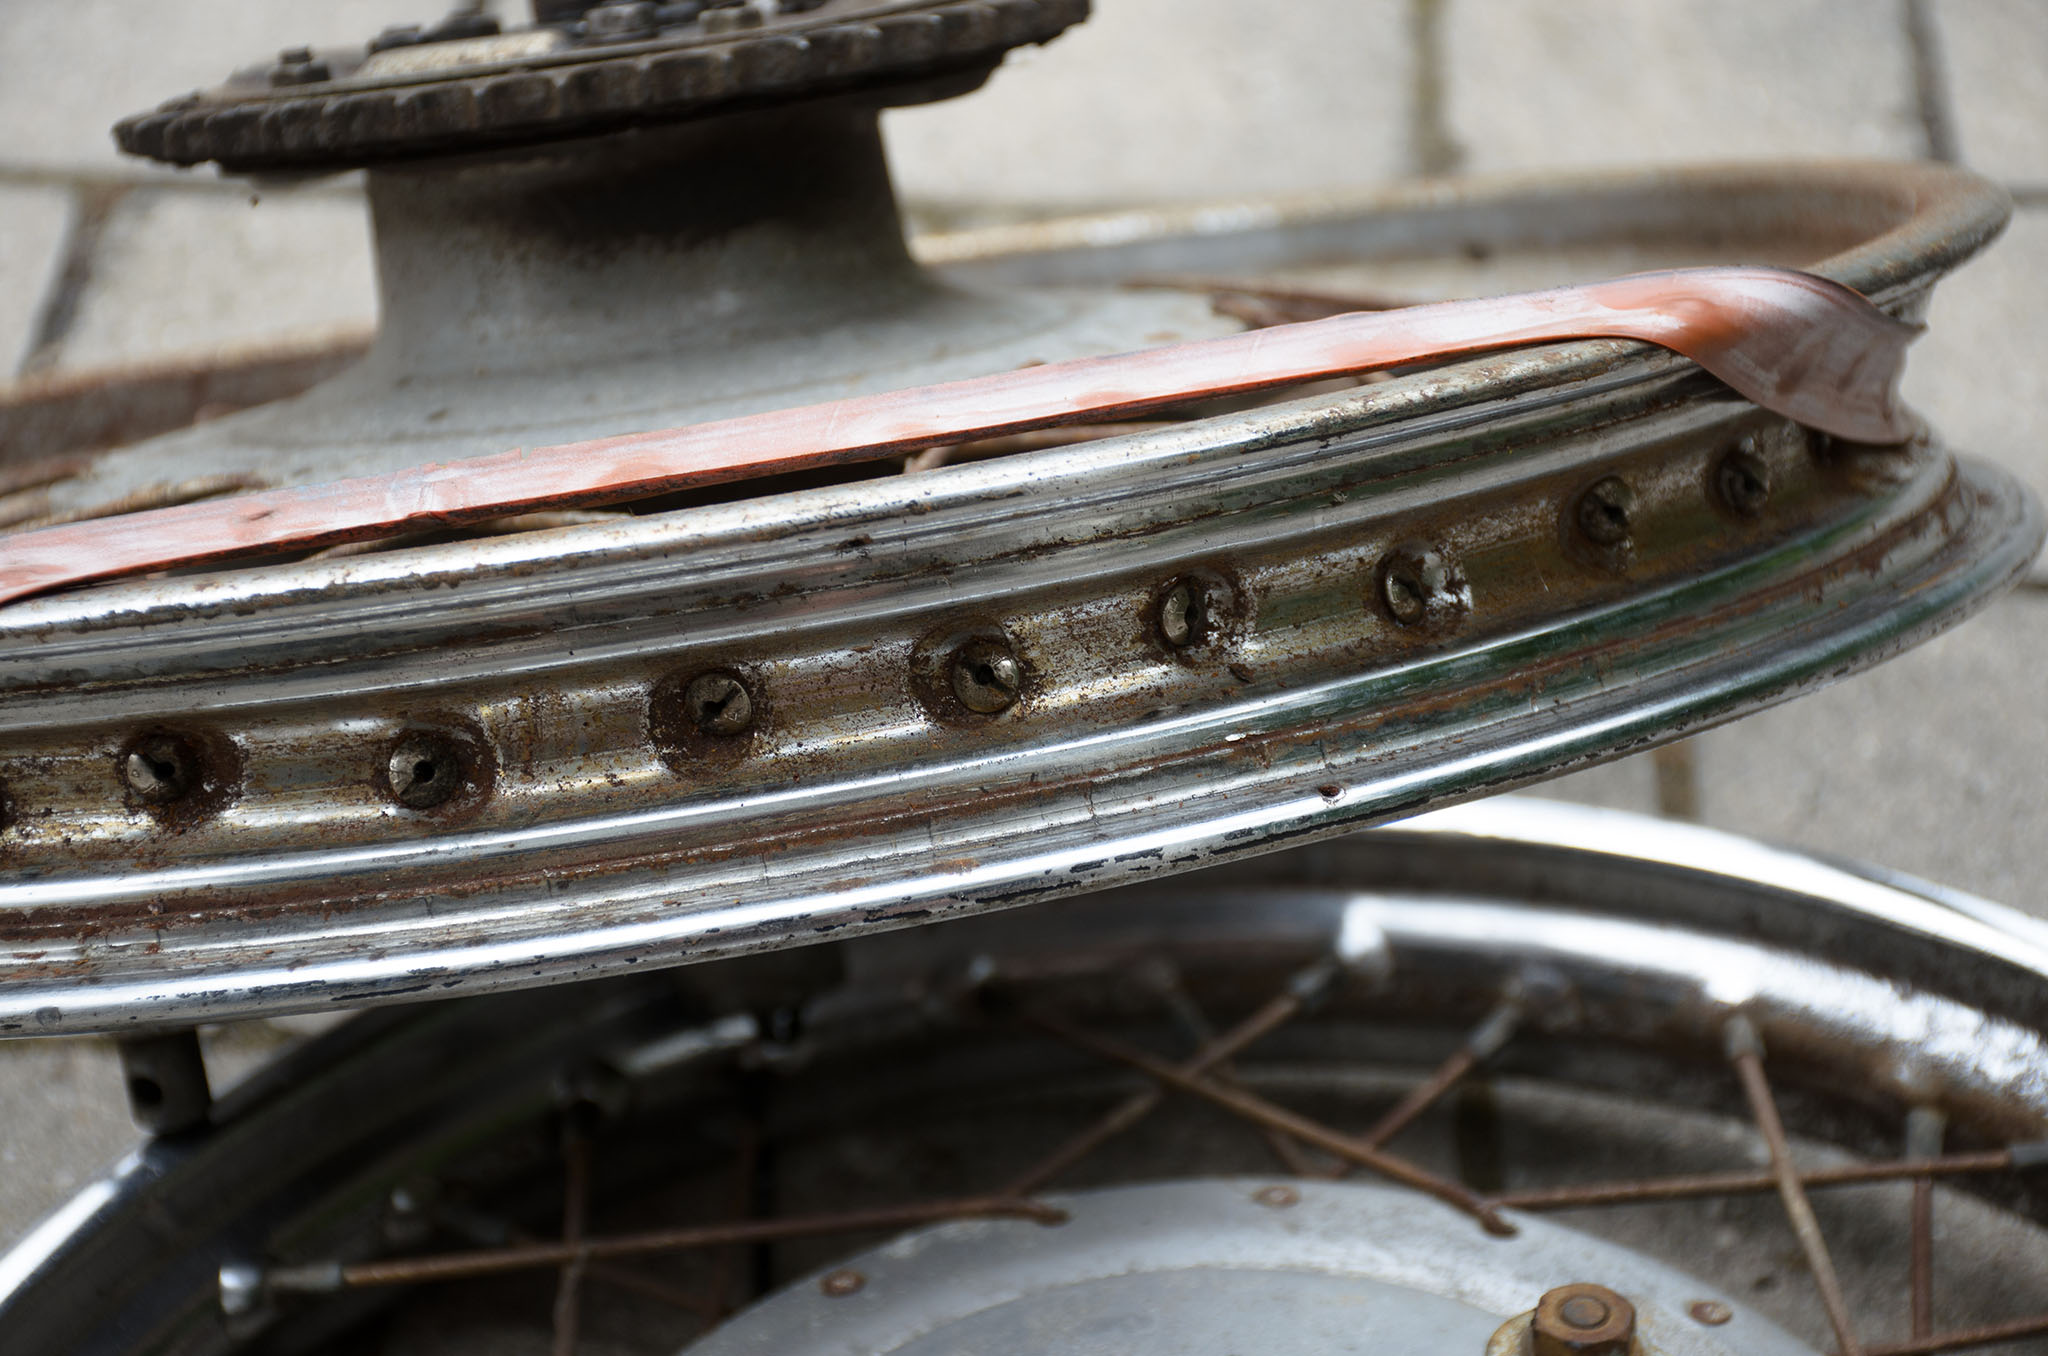
Rims are marked: M. Baruzzo – Torino
Beside “M. Baruzzo – Torino” there is no other markings on the rim, but both rims are 2 1/4 x 17″ for 36 spokes. 2 1/4 translates to modern size WM1 = 1.60
Front spokes: Length: 138,5 mm, diameter 3/3,35-40 threadt/1″ plus 36 nipples
Rear spokes: 142 mm, diameter 3/3,35-40 threadt/1″ plus 36 nipples
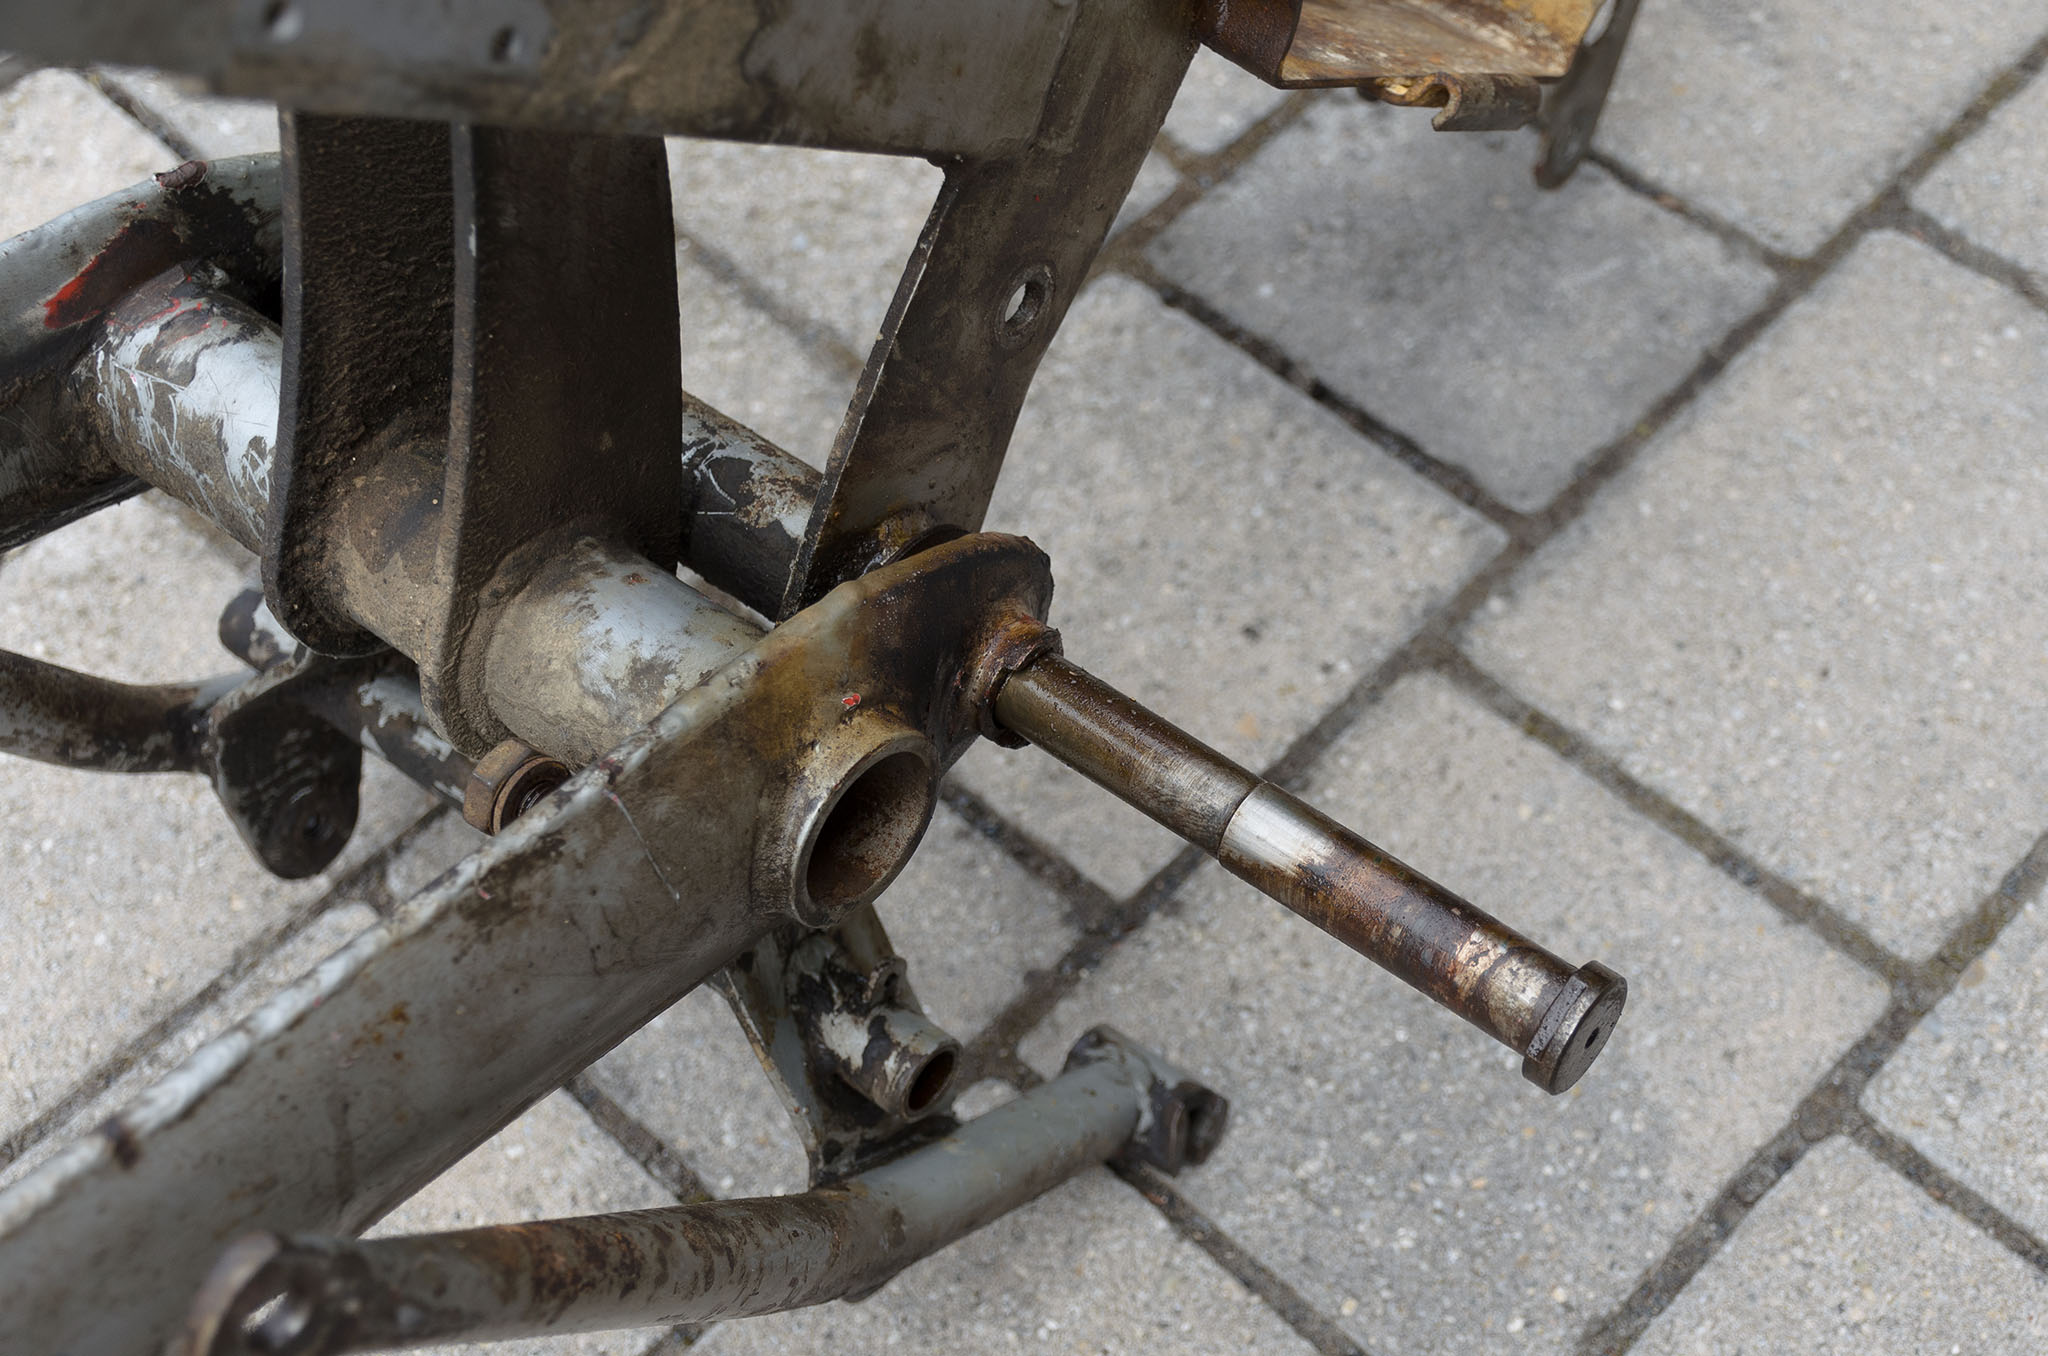
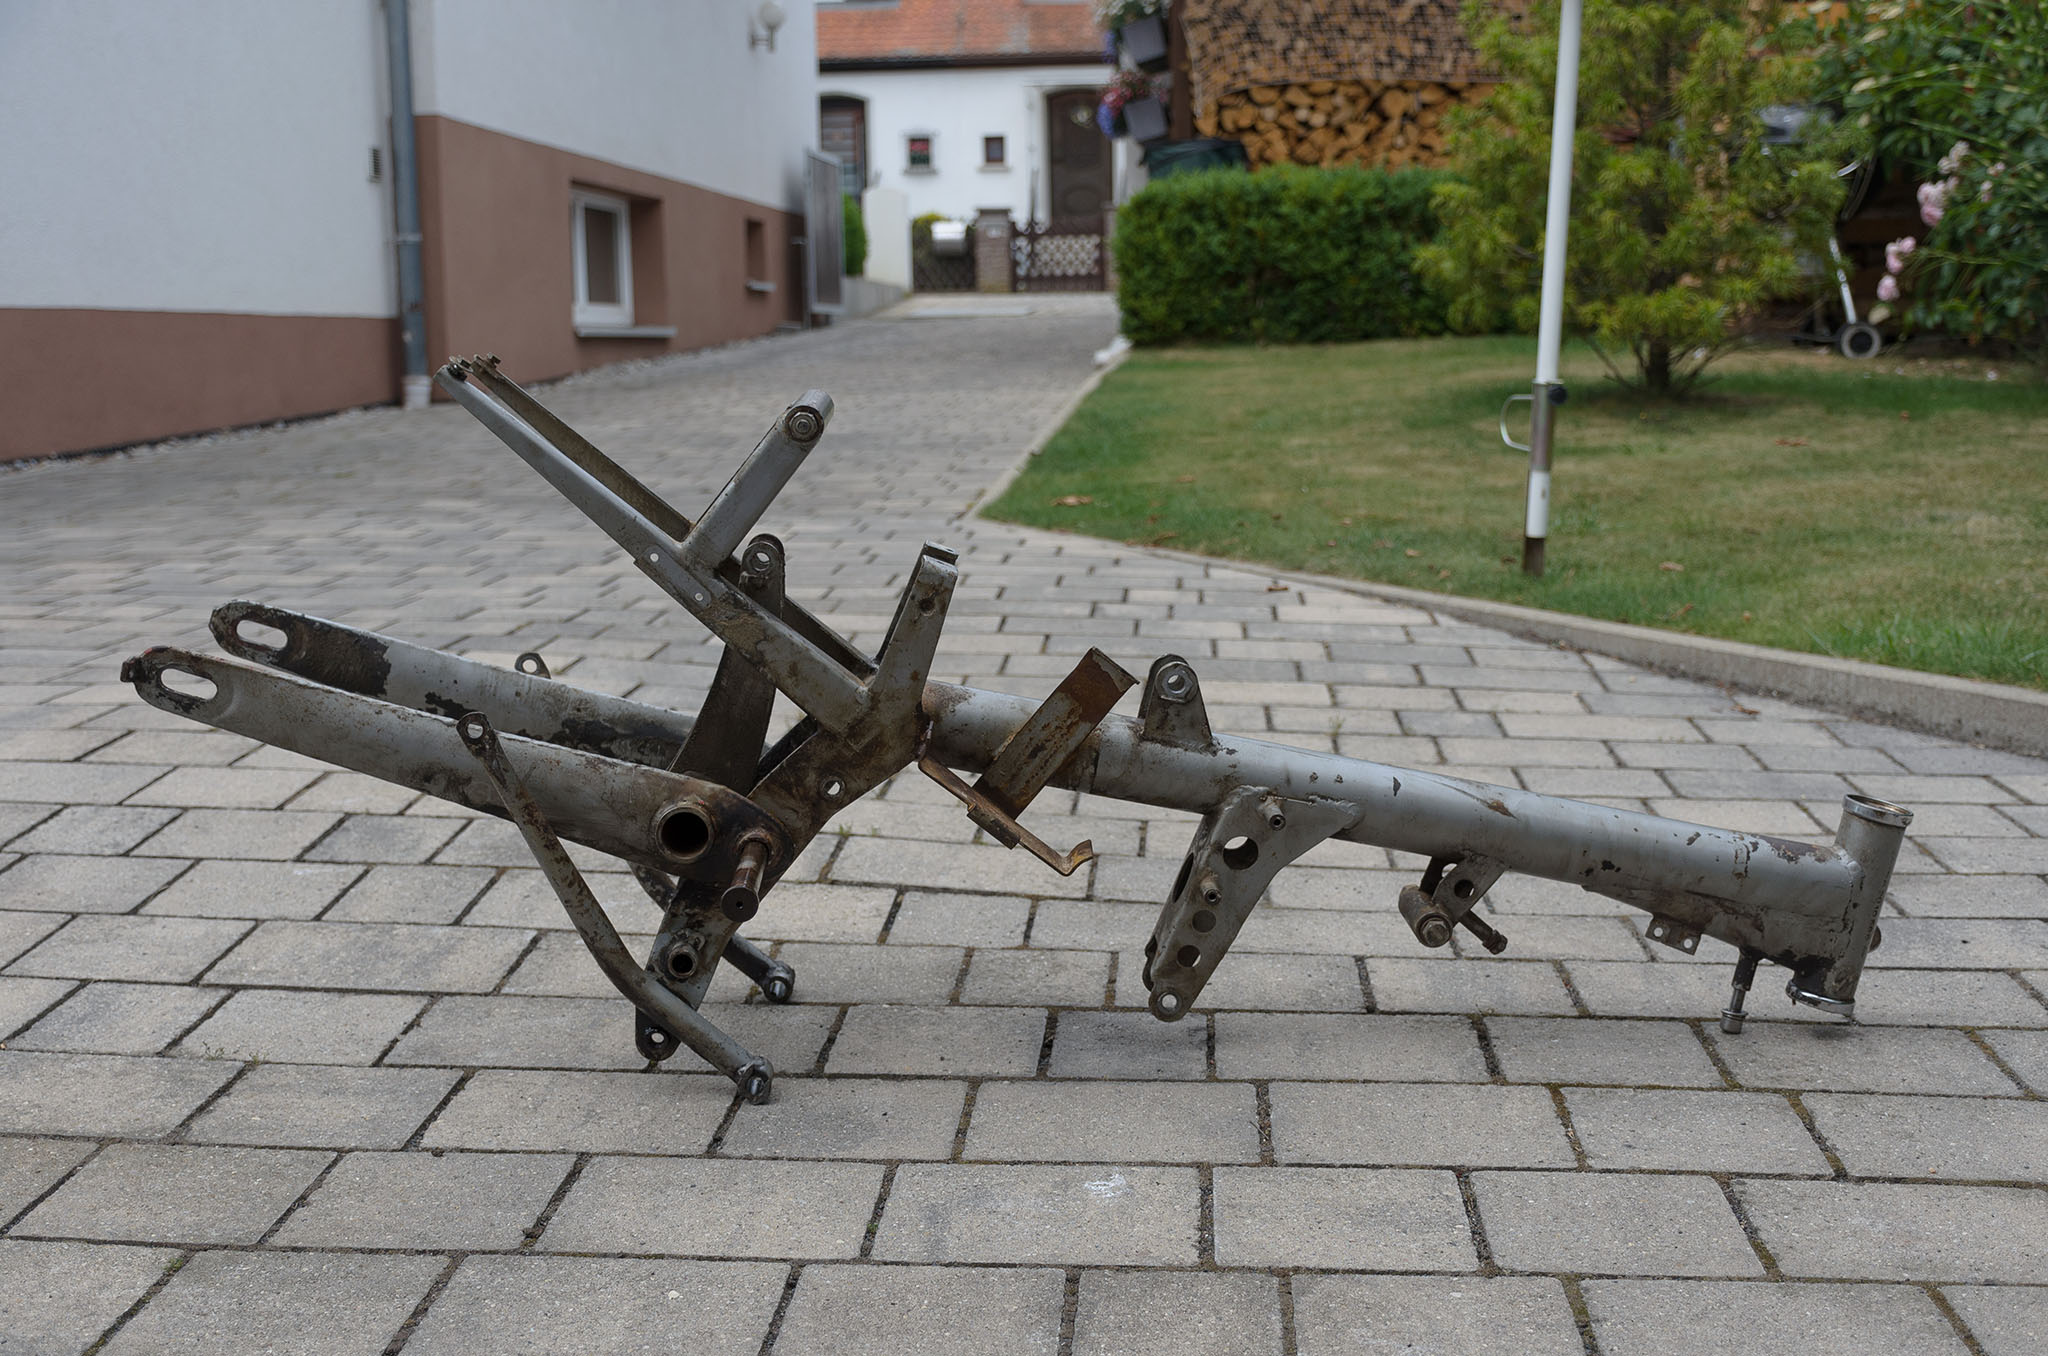
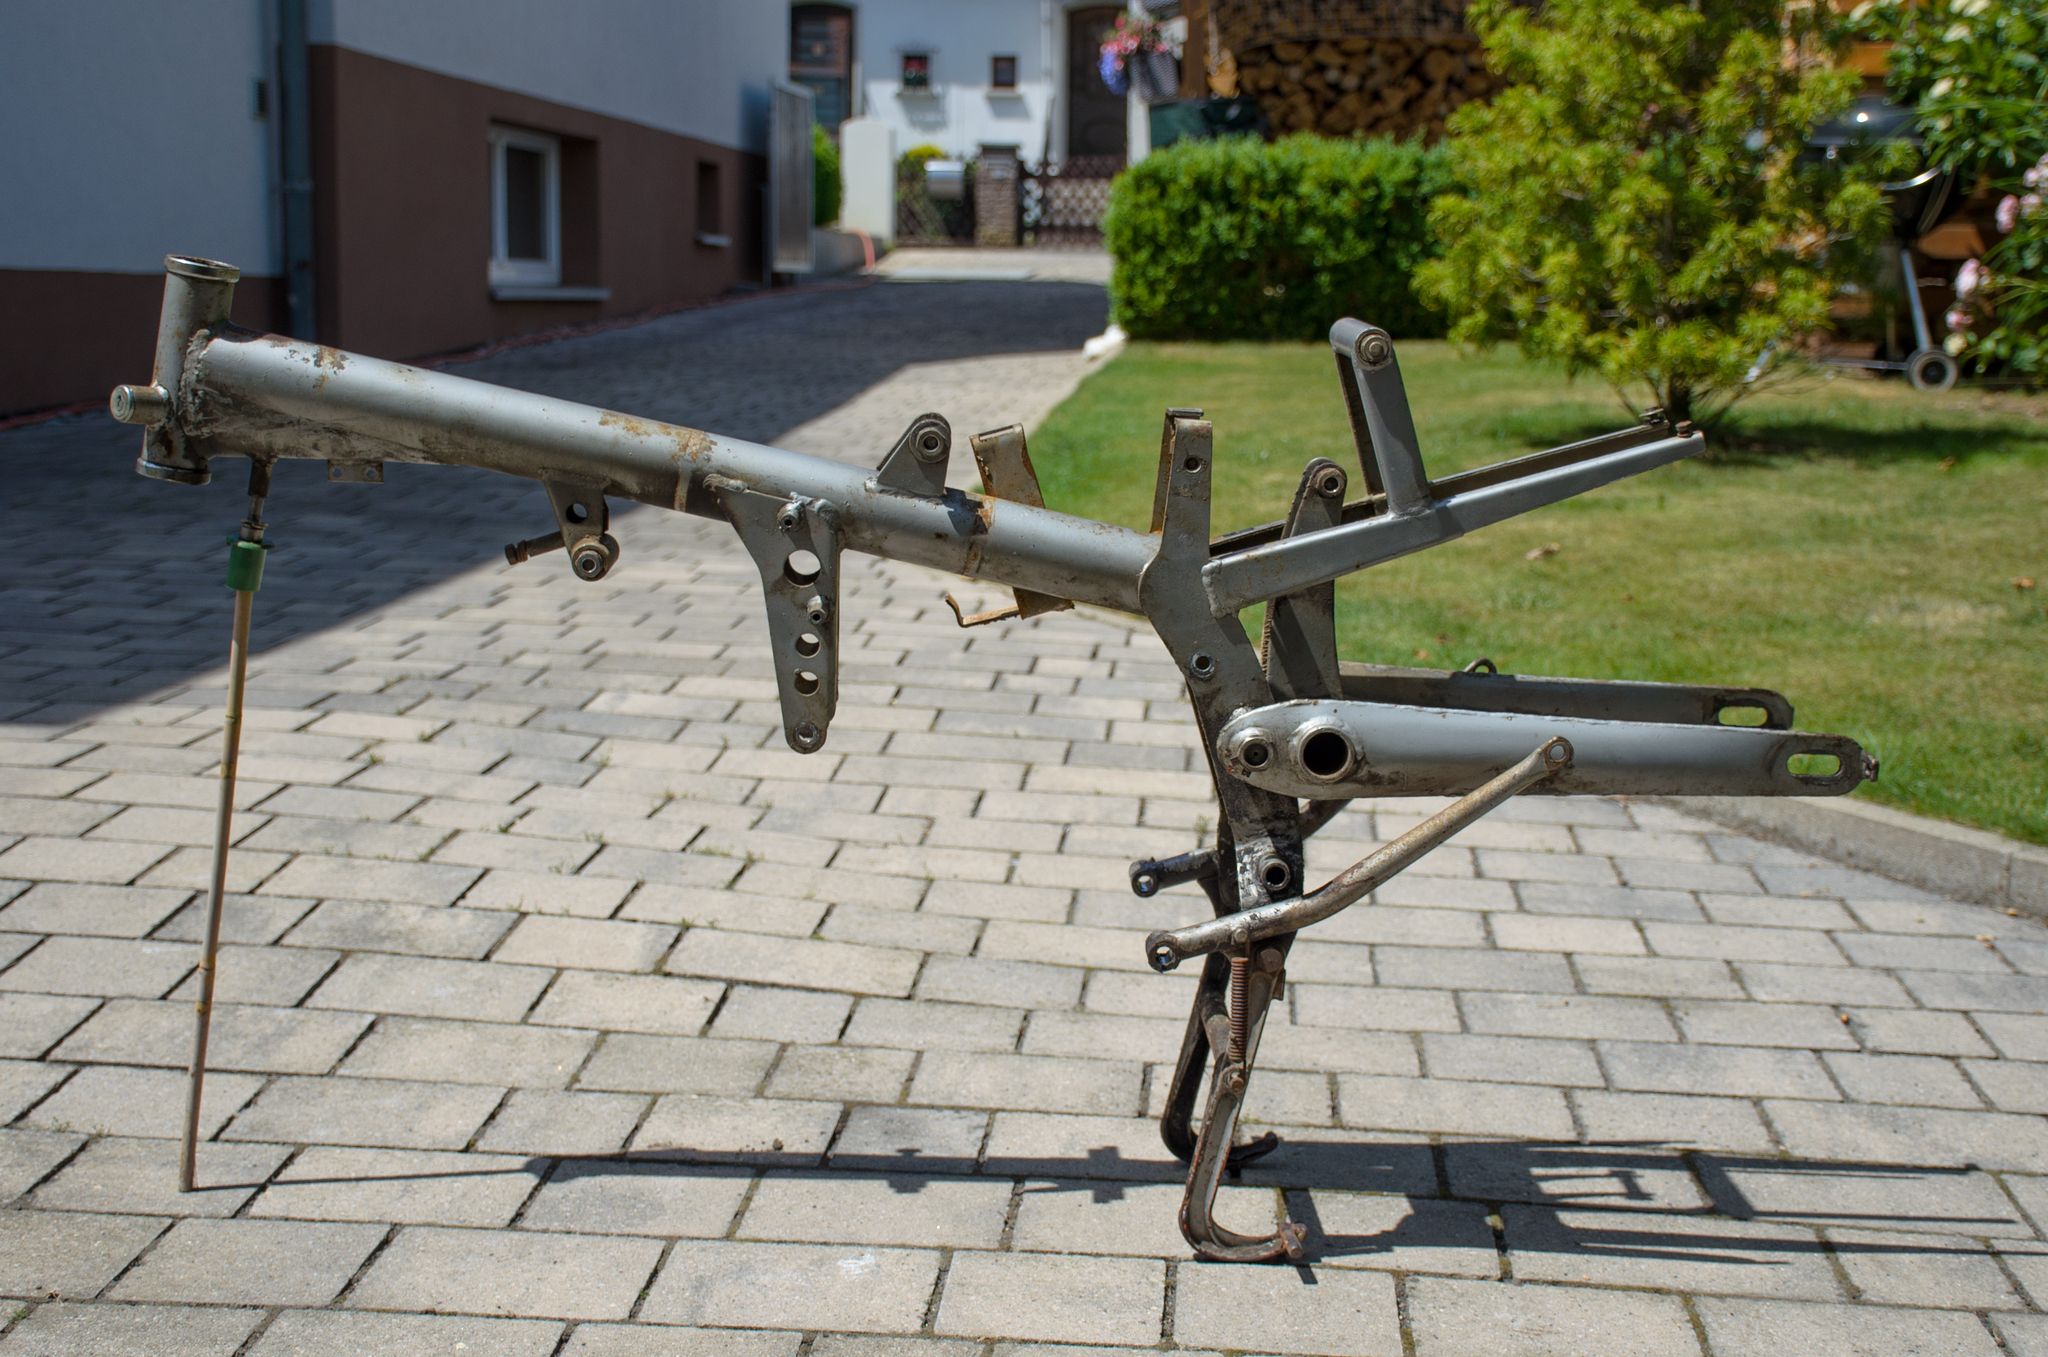
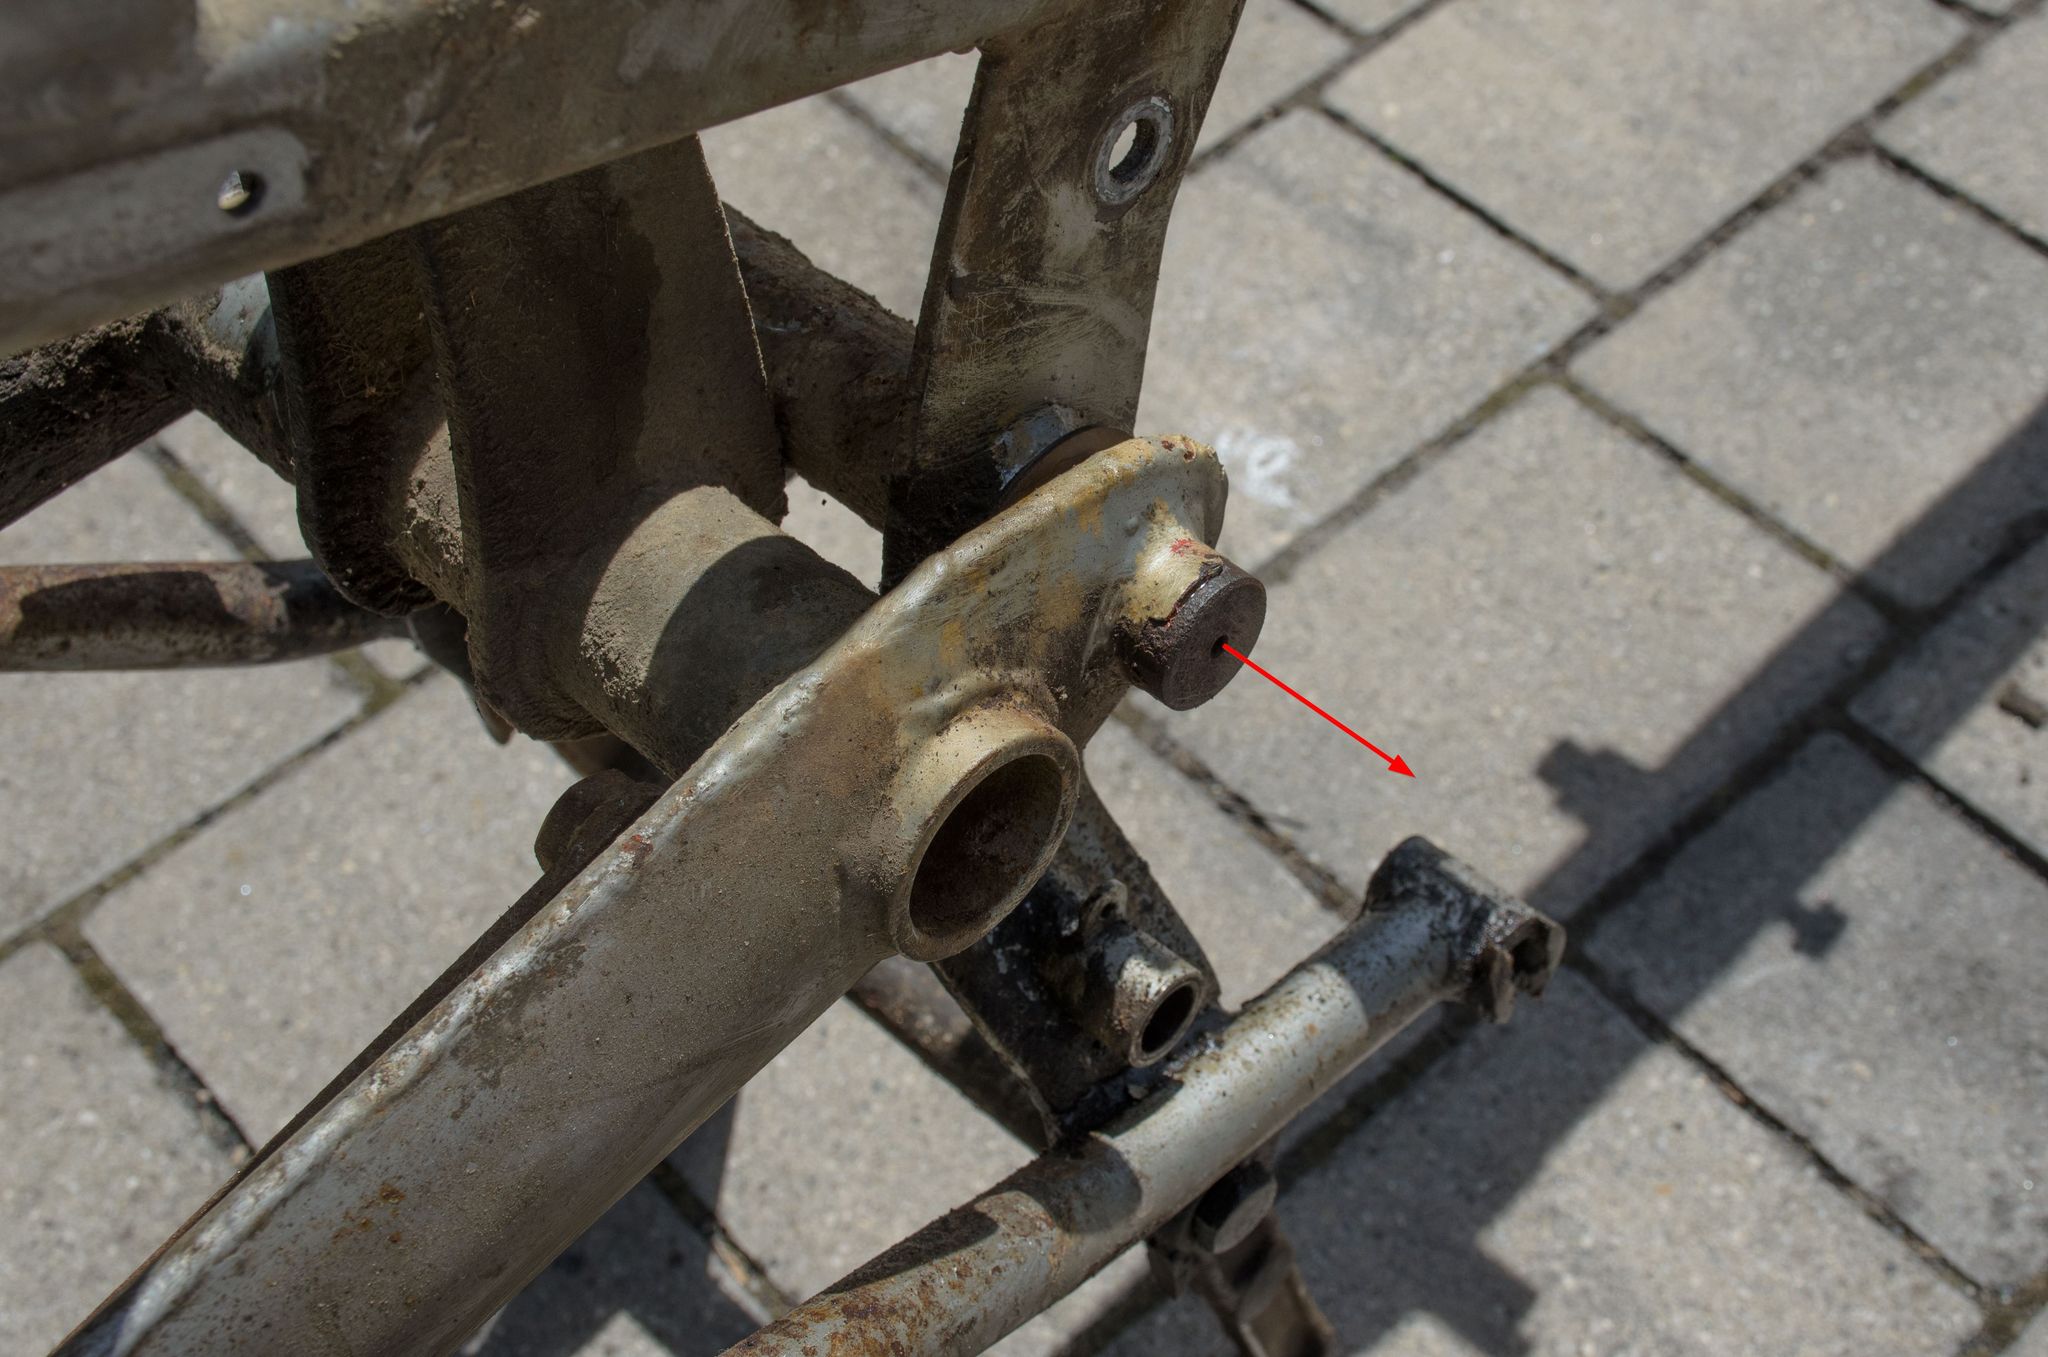
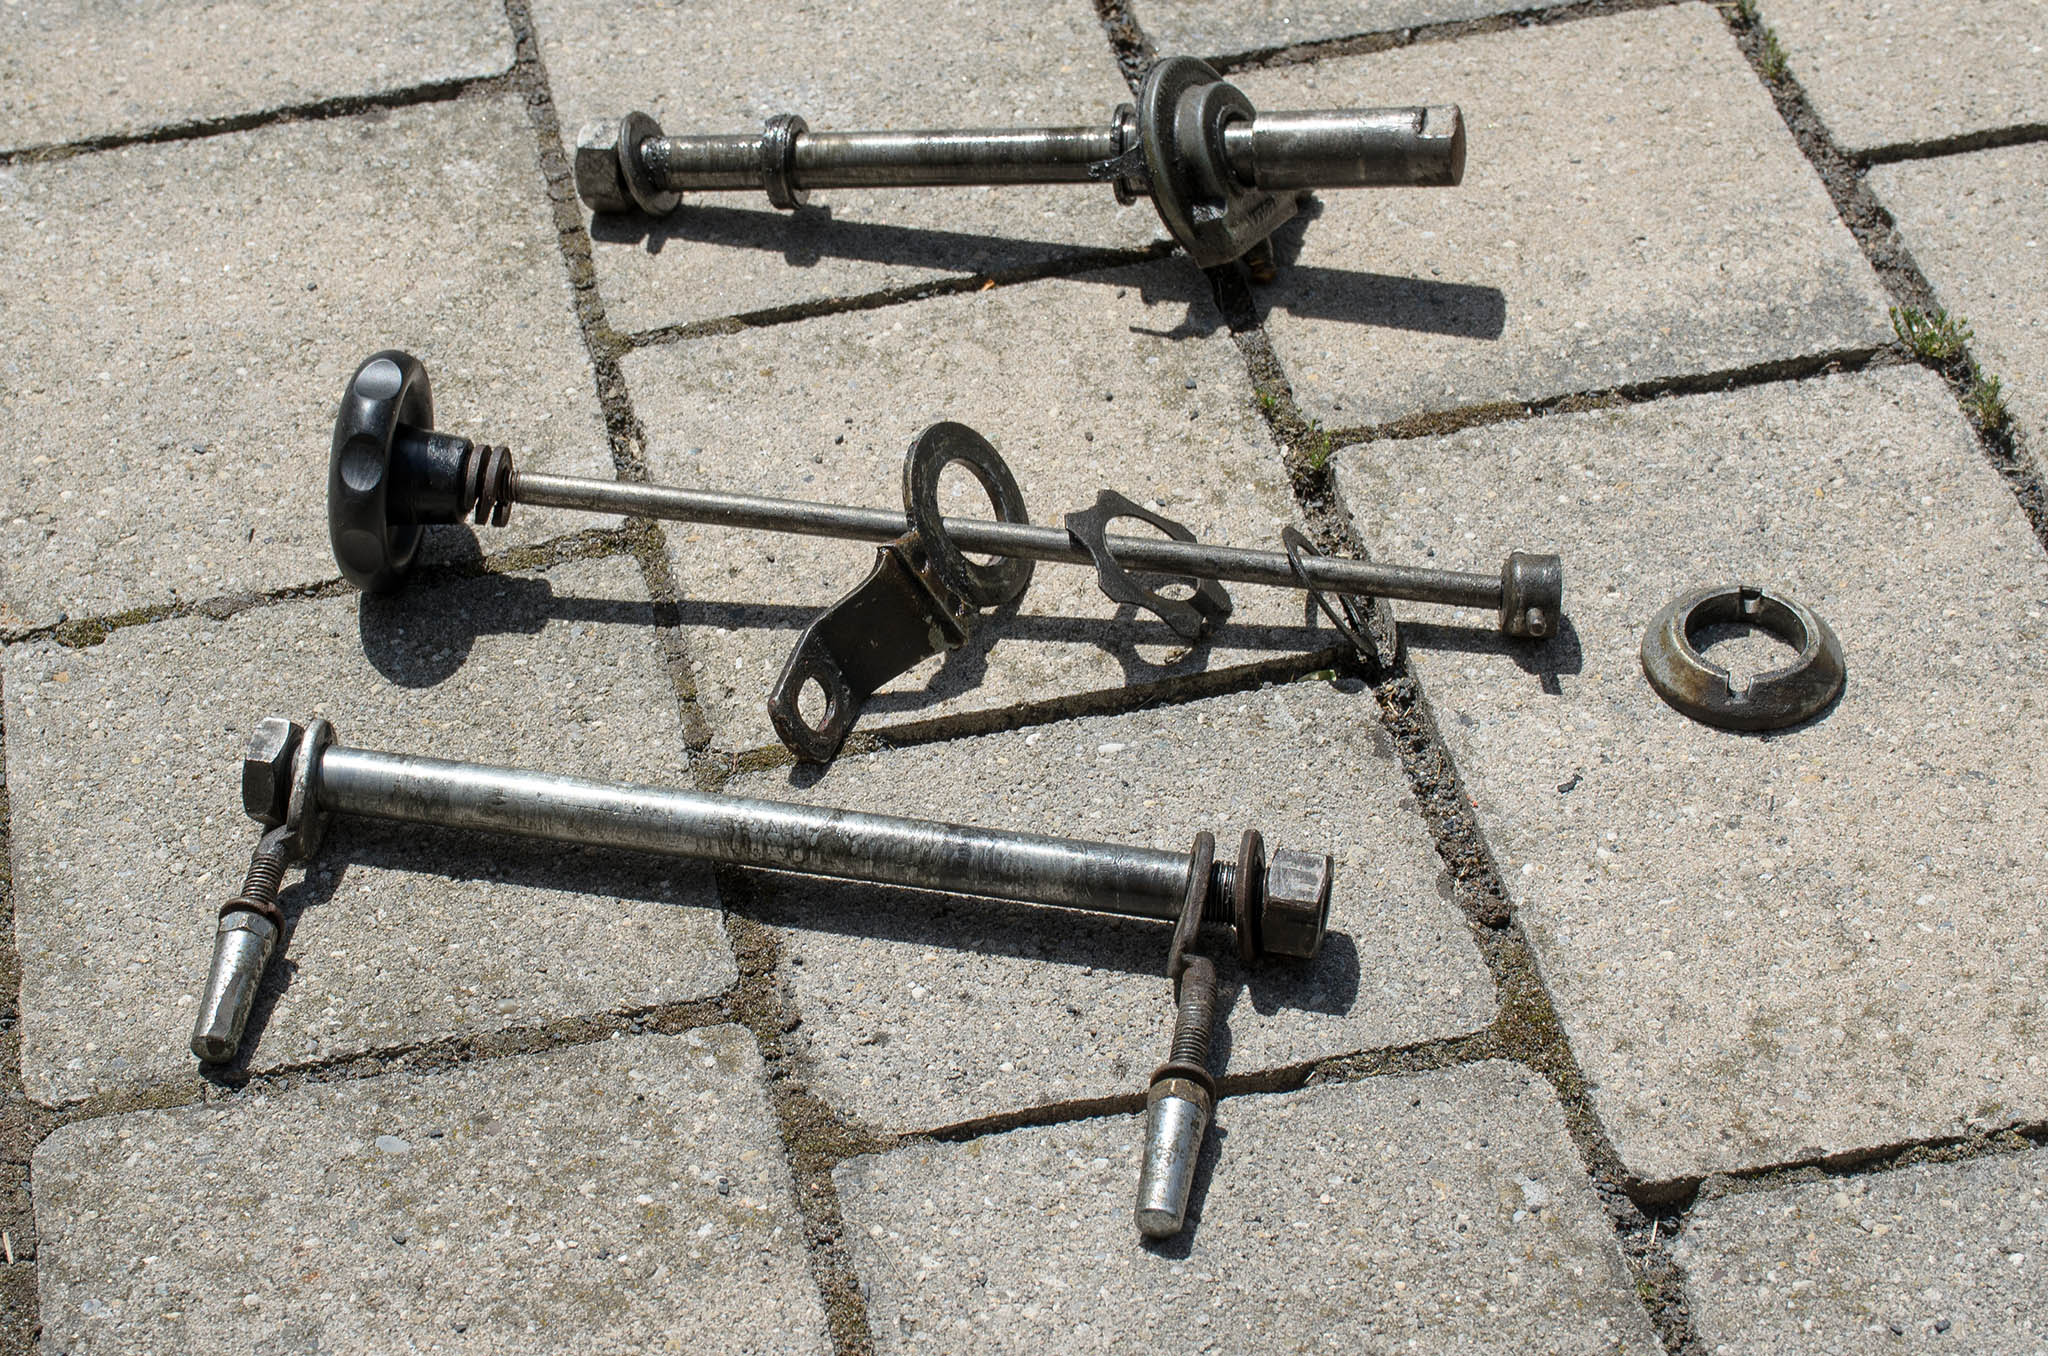
Chimera stripped down

text
Oldtimer gathering Langenzenn 2022
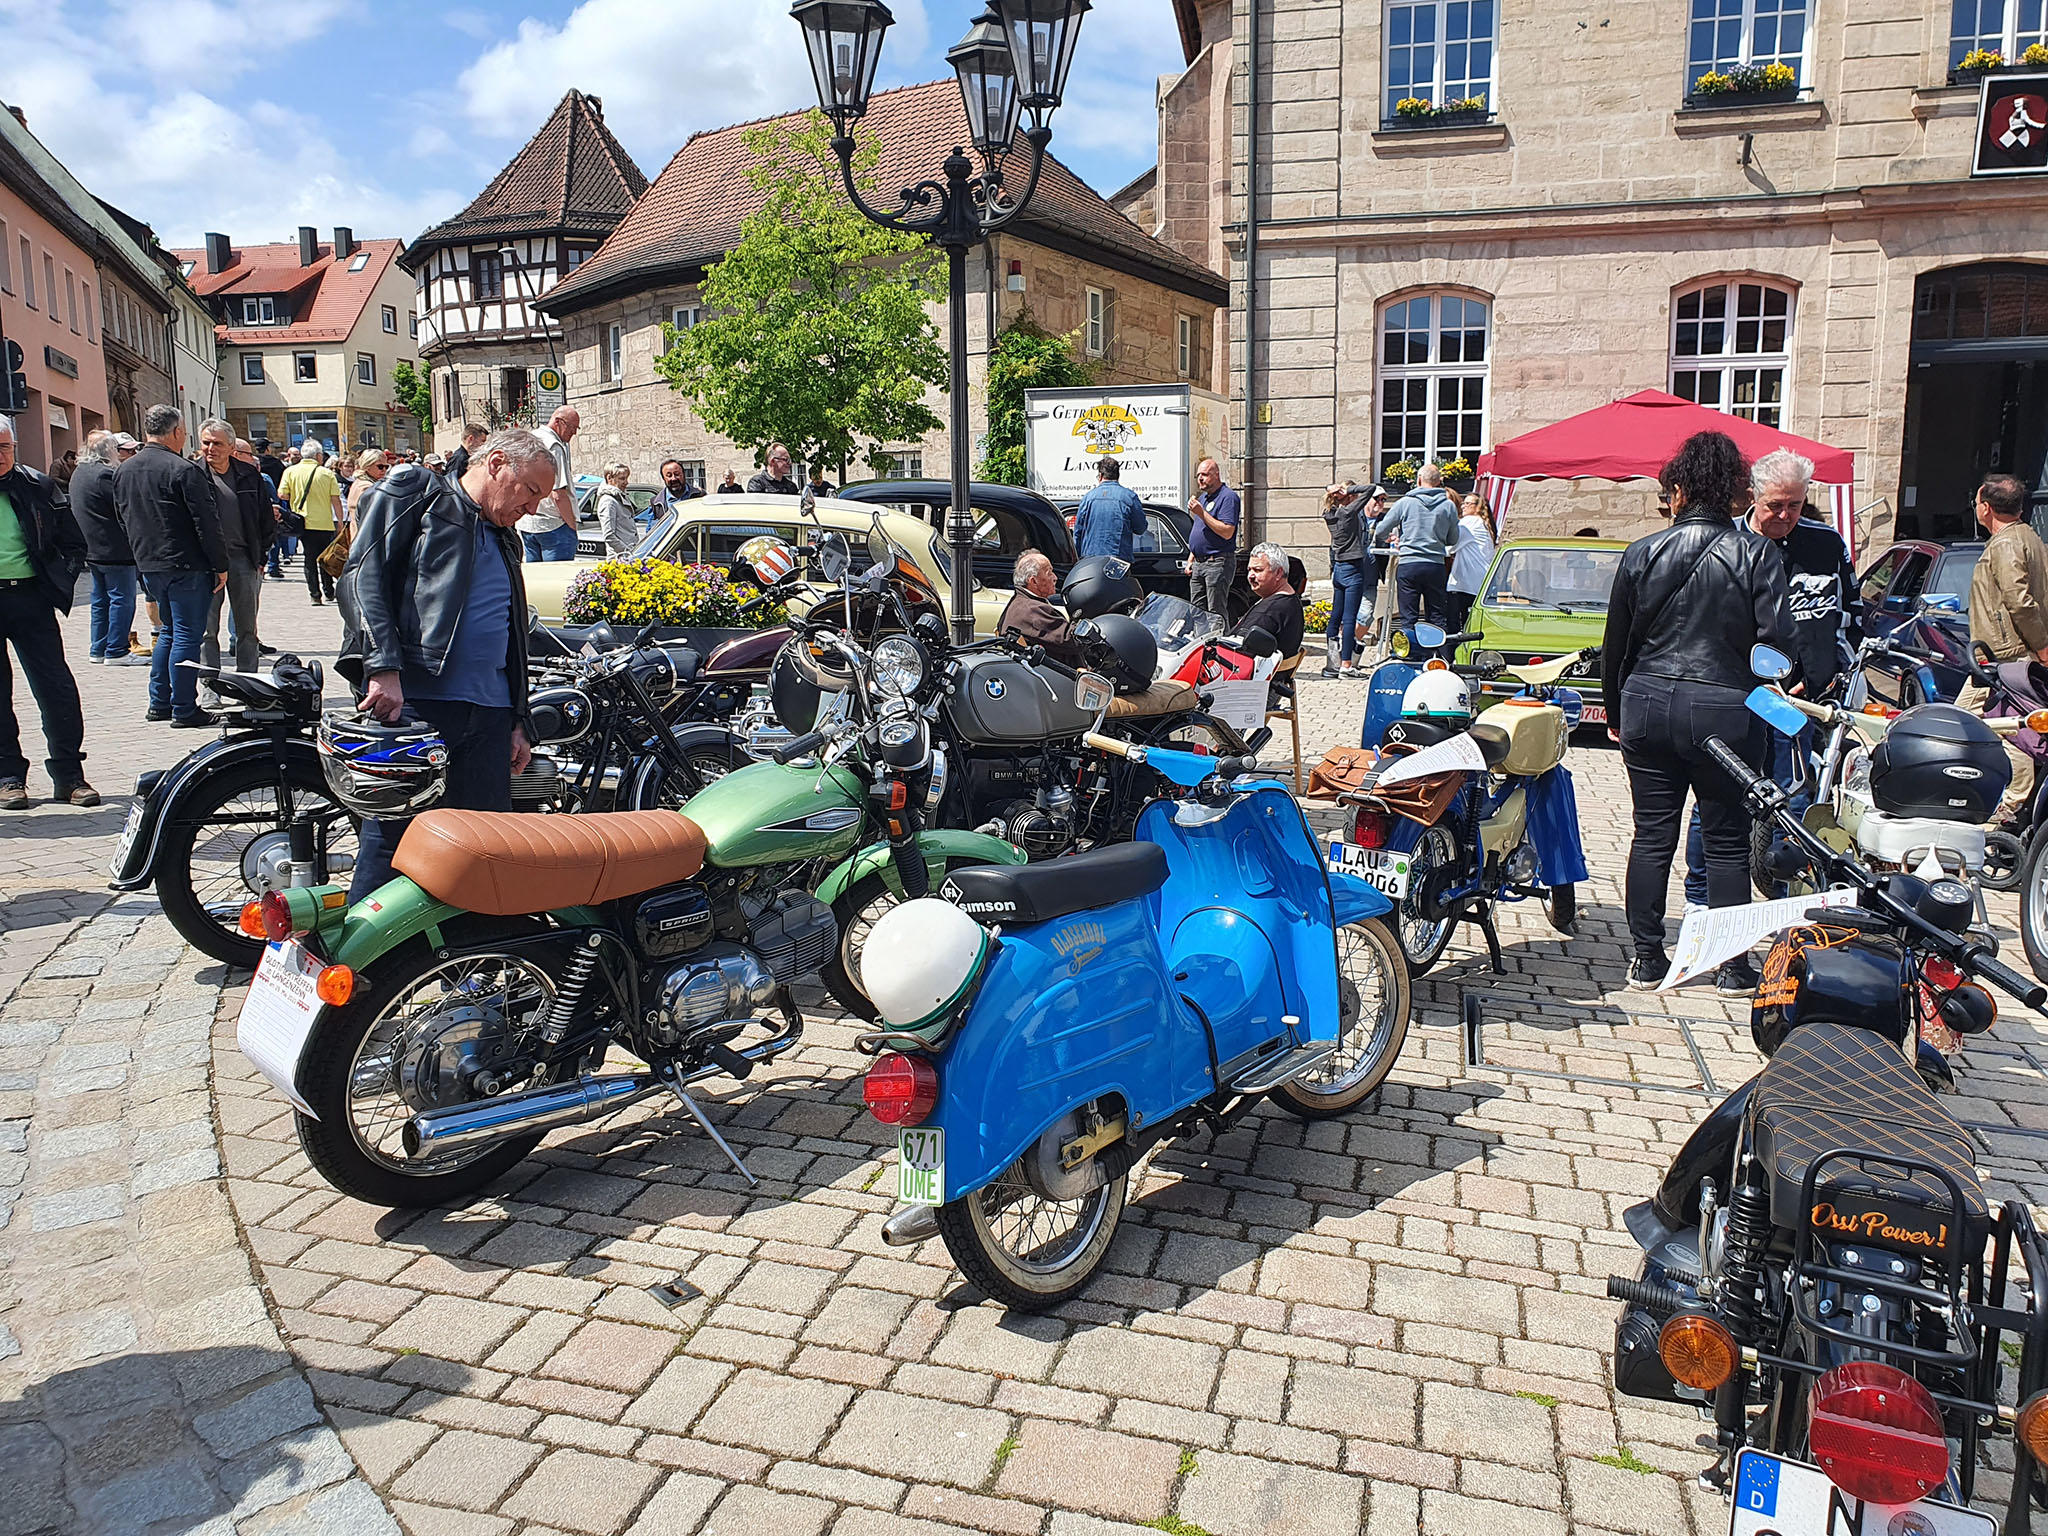
Together with a friend I attended the Oldtimer gathering 2022 in Langenzenn. It was suspended for the last two years because of Corona.
My standard test ride route to Cadolzburg
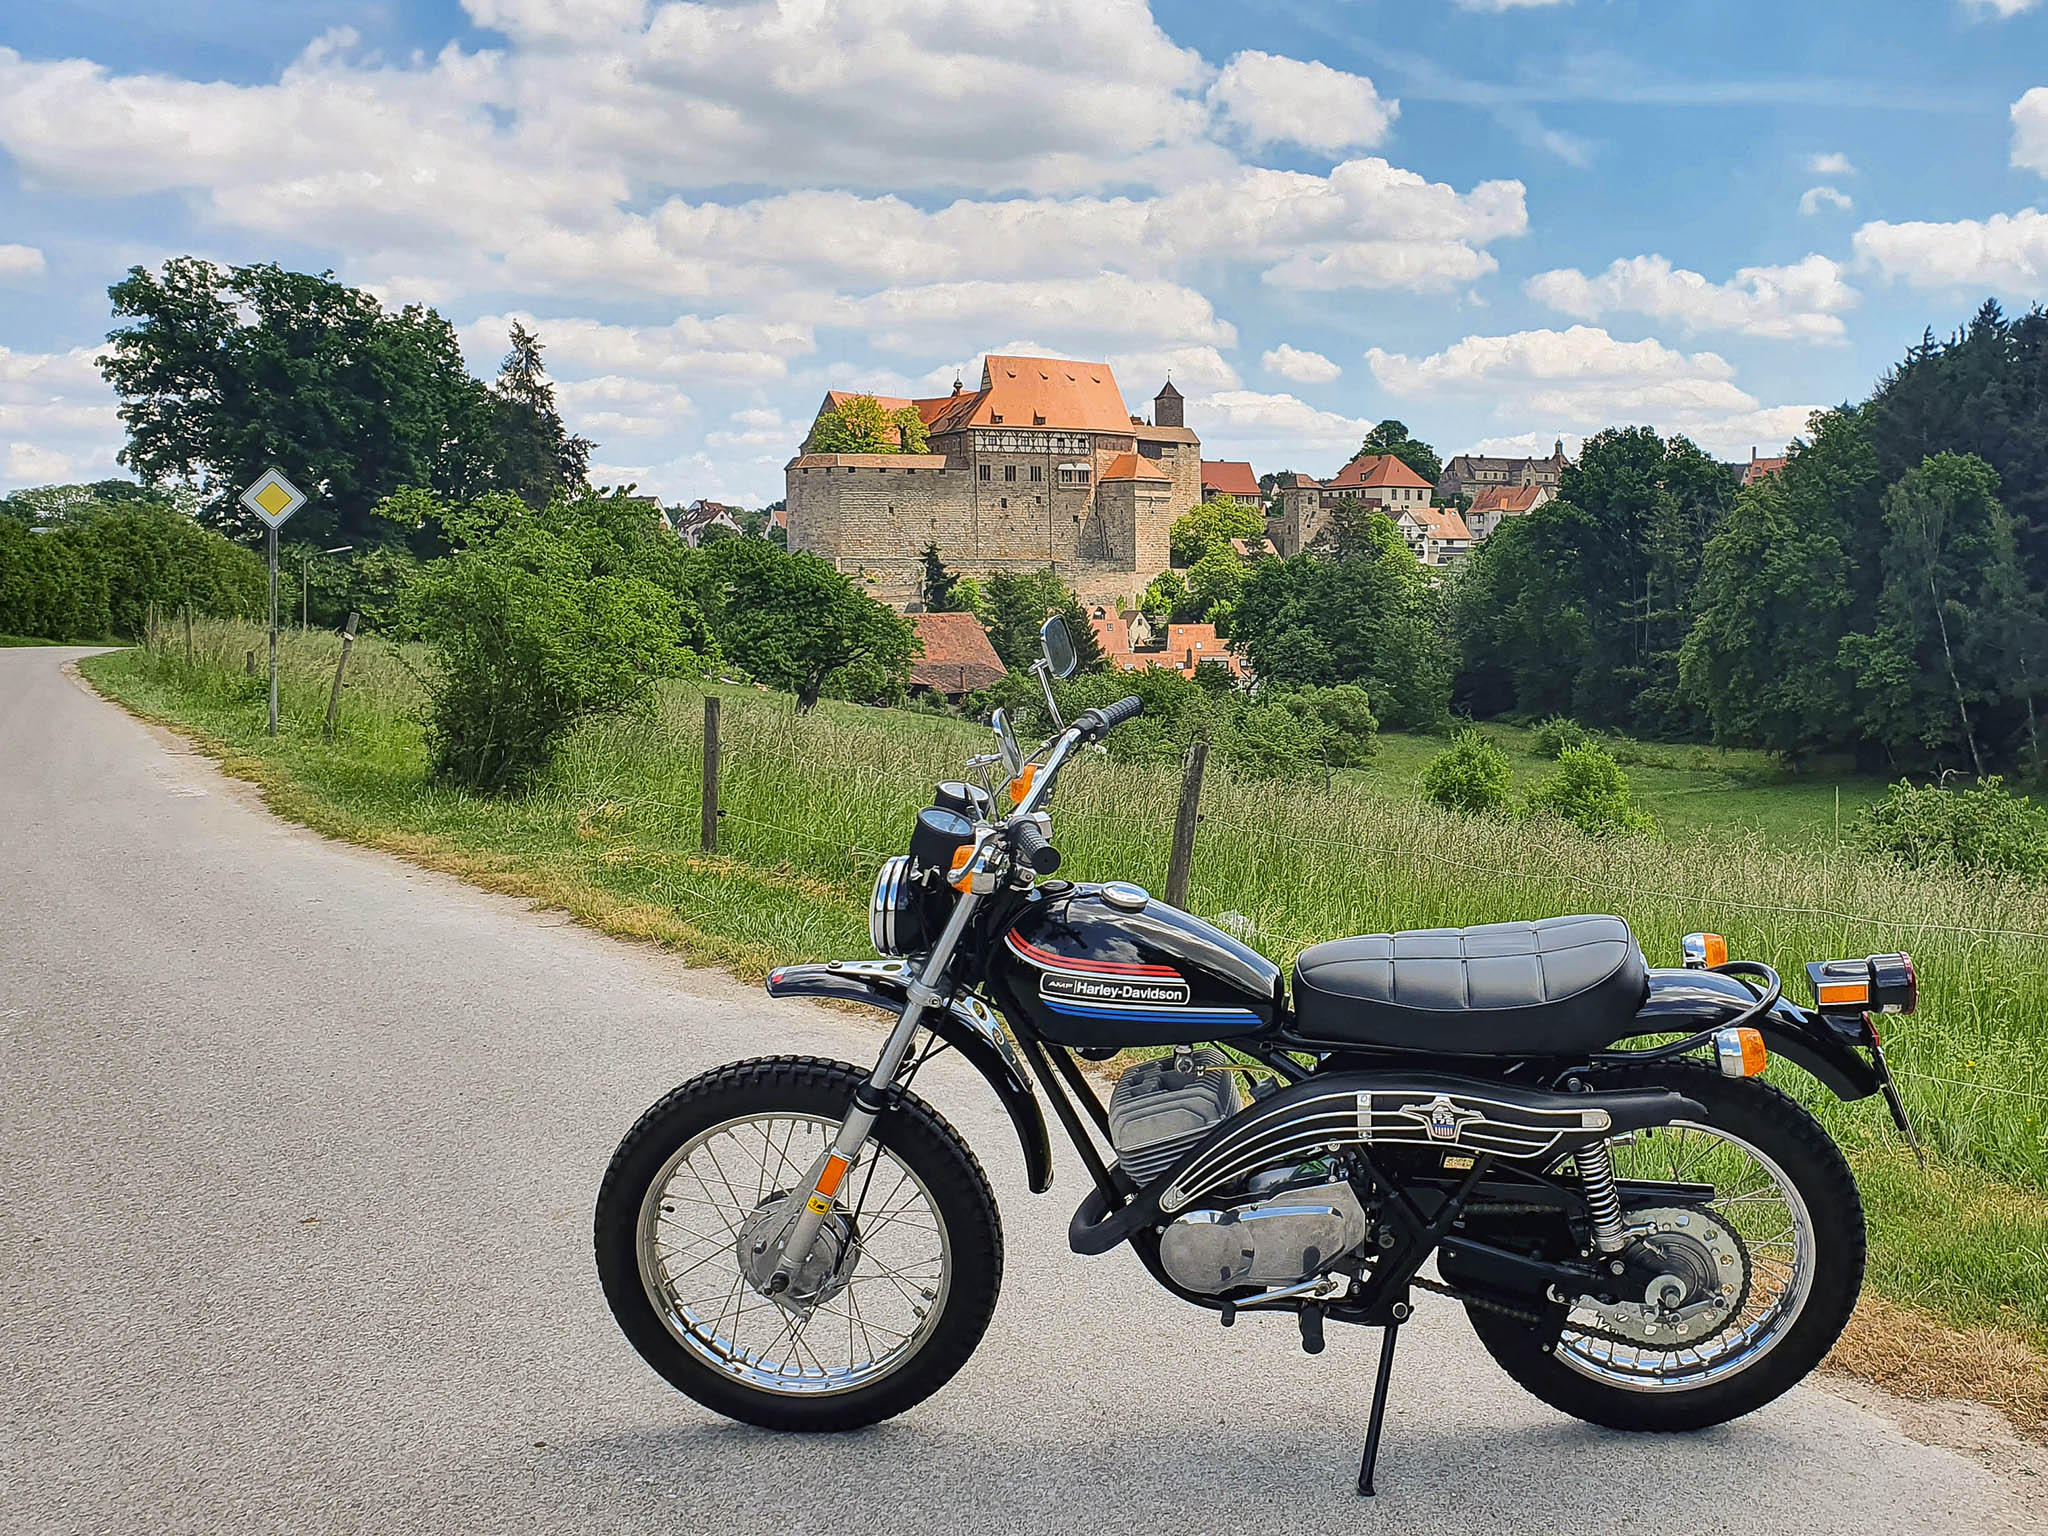
Bike runs good but still smokes too much from the exhaust when the engine is cold. Also some oil / gasoline mix comes out of the exhaust.
I checked the carb and wrote down the jet settings in case I have the experiment a bit there:
Starting jet: 70
Main jet: 100
Low speed jet: 55
Chimera Exhaust And Muffler


The muffler is beyond a reasonable repair. The exhaust could be repaird, but replacing it as well seams to be the better choice at this point.
Dealer Sticker
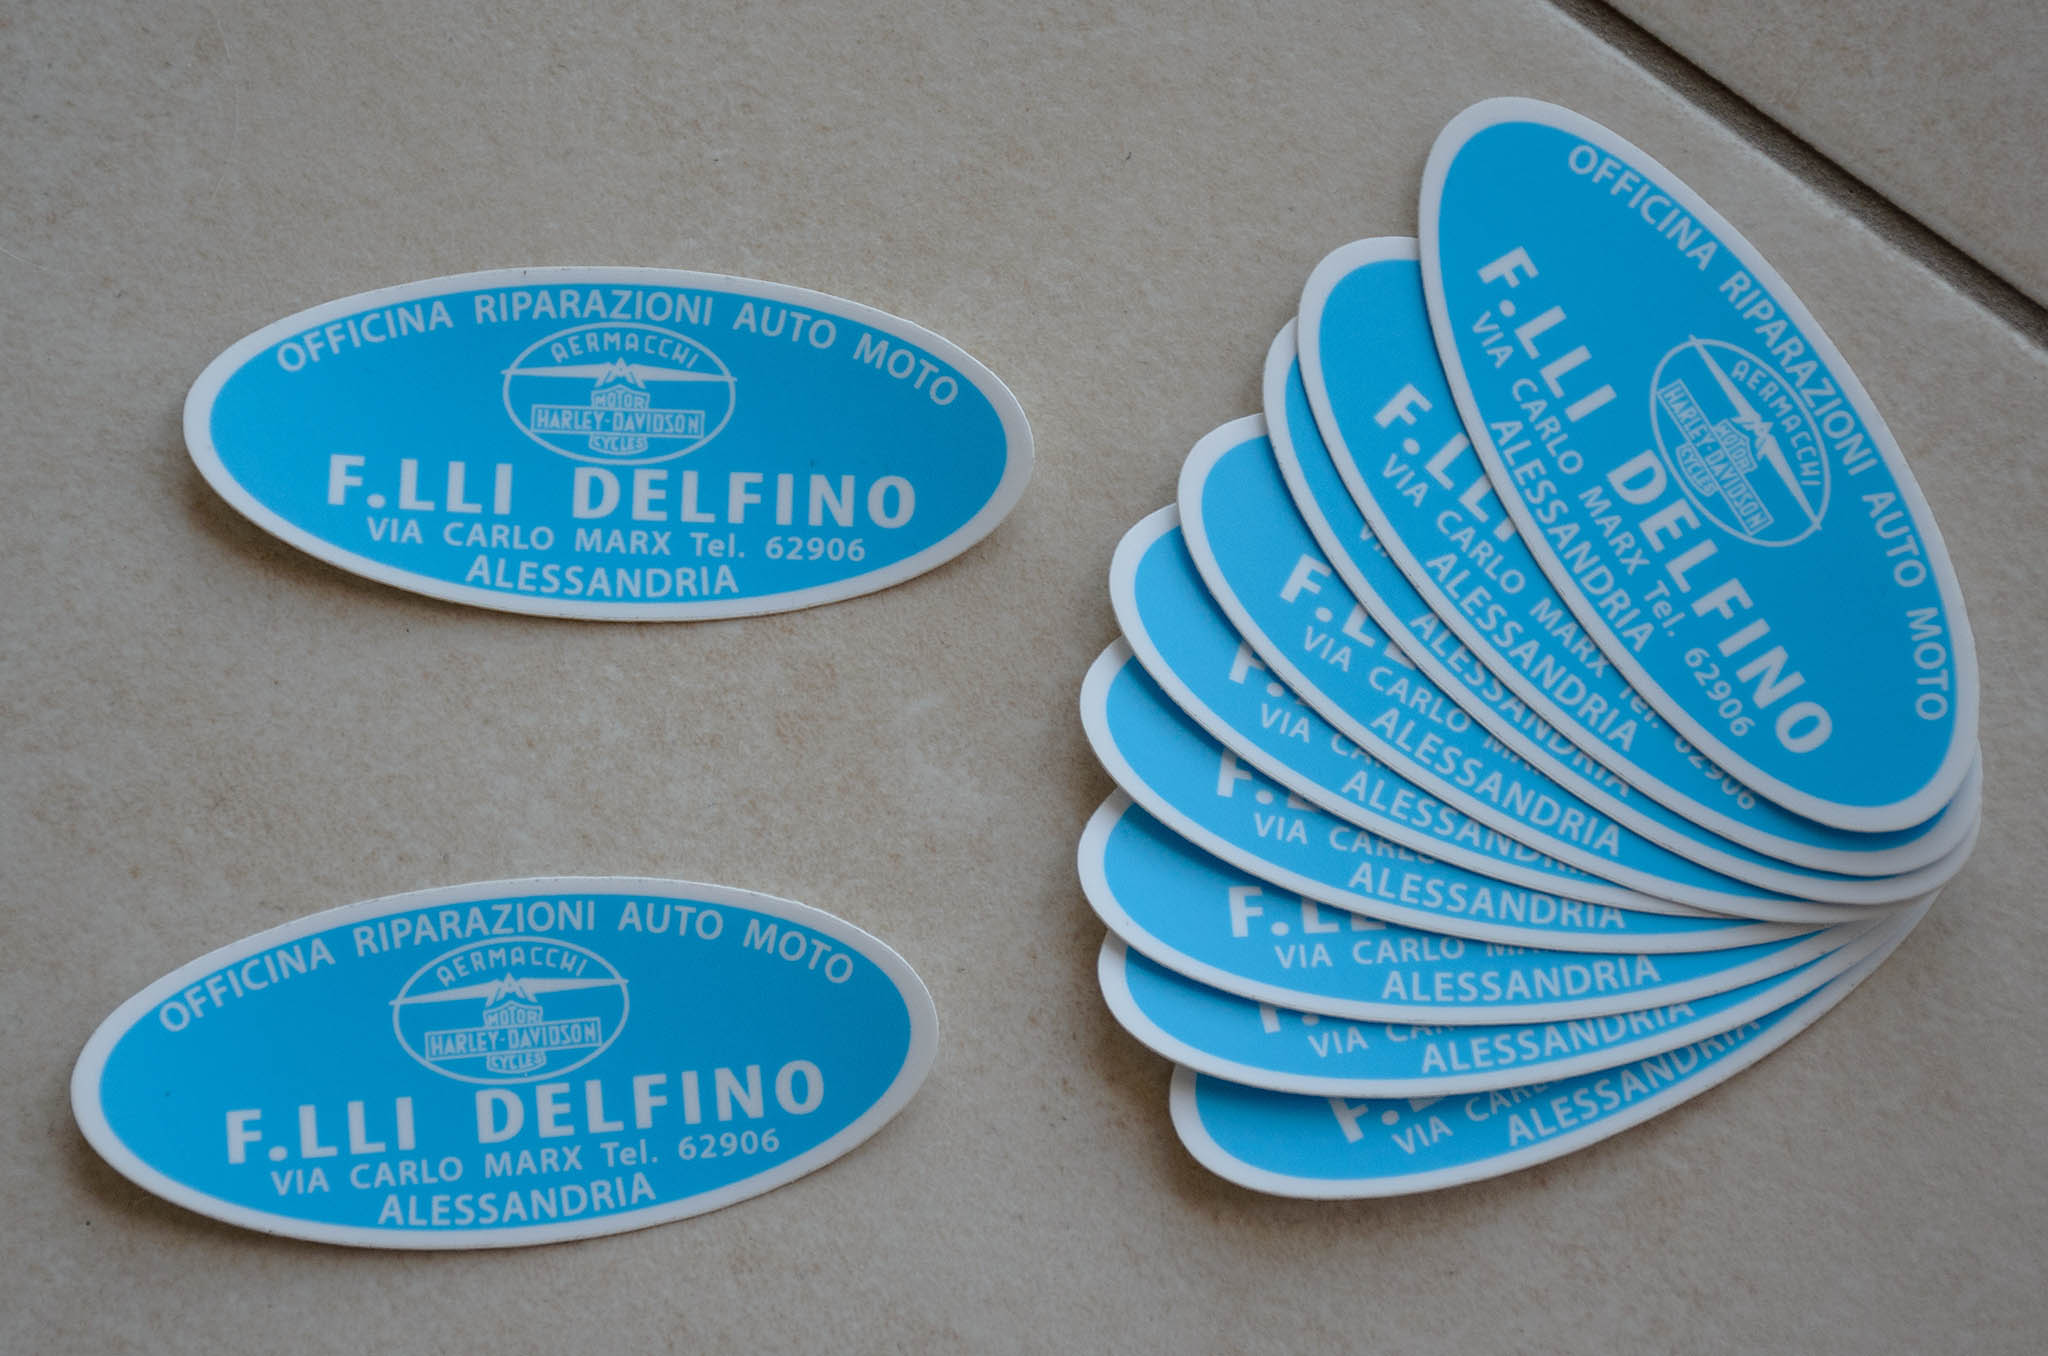
My first set of reproduction dealer stickers for the fenders. They turned out great, but are not metal effect as the original ones.