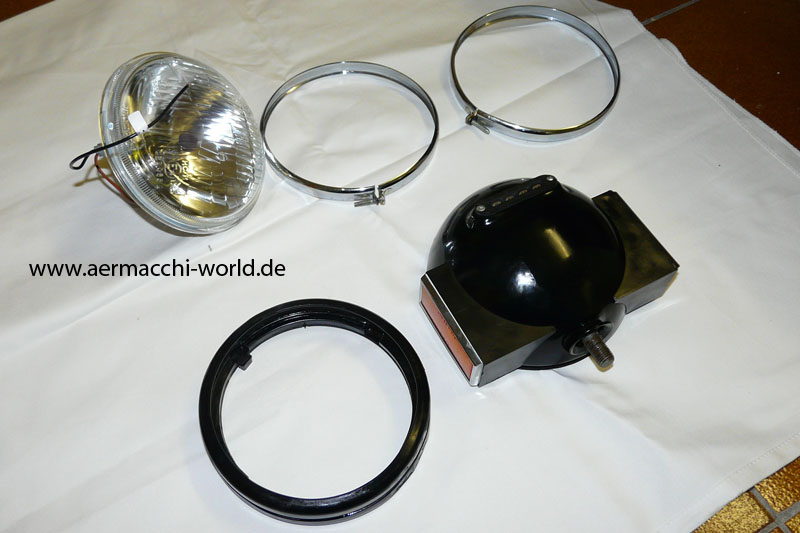
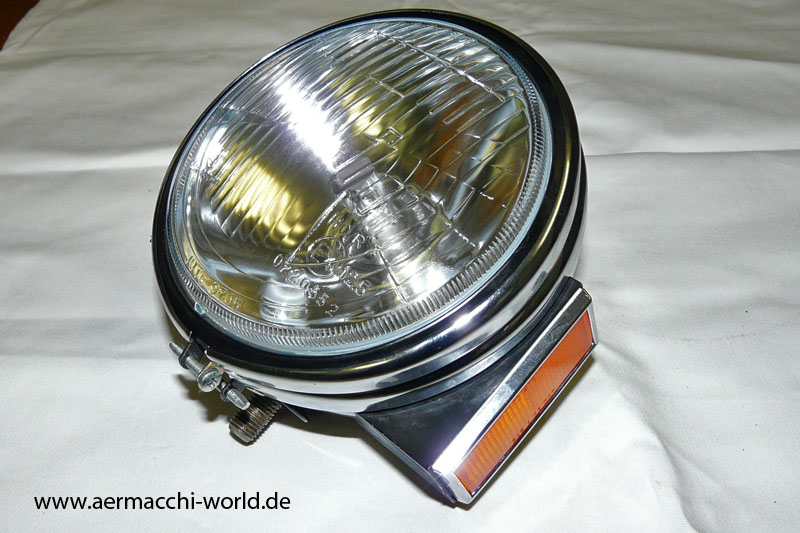
Headlamp
I had the lamp housing powdercoated a while a go. The reflector brackets and reflectors are nos. Today I bought a standard aftermarket H4 lamp insert that fits quiet good. The difference is that there is an extra parking light so I have to rember this, when the bike will be rewired.
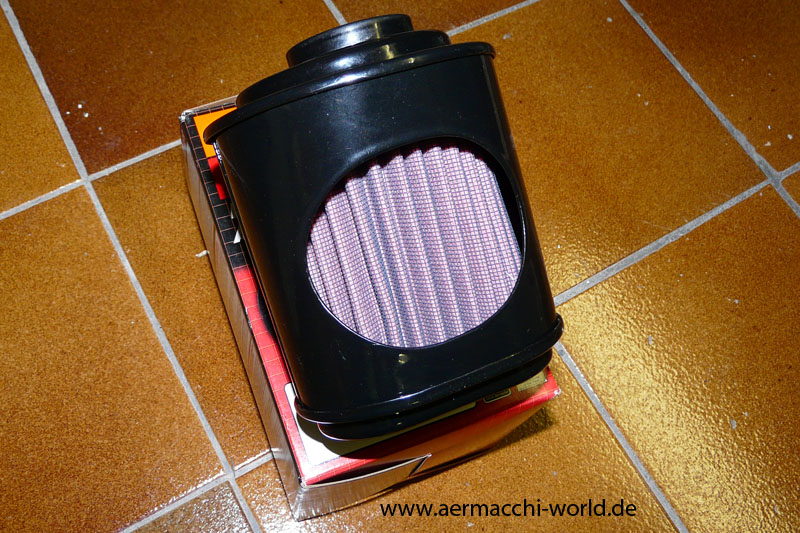
K&N Airfilter
Received my K&N airfilter as replacement for the OEM airfilter.

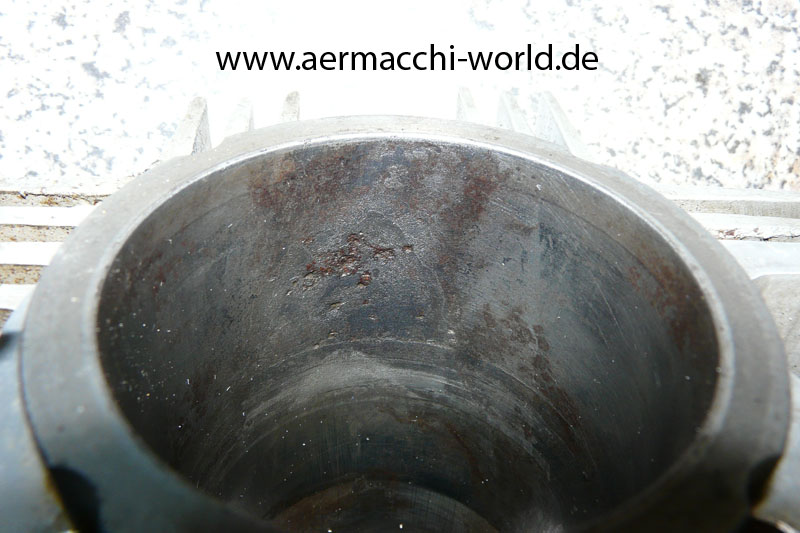
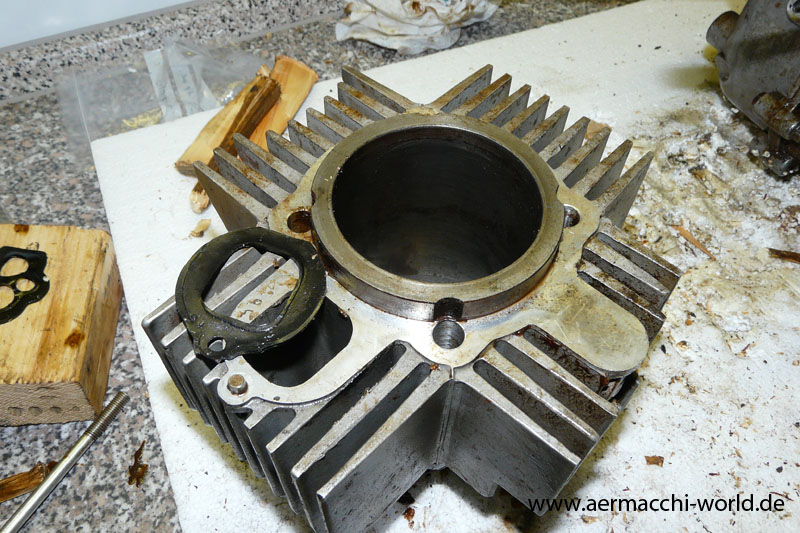
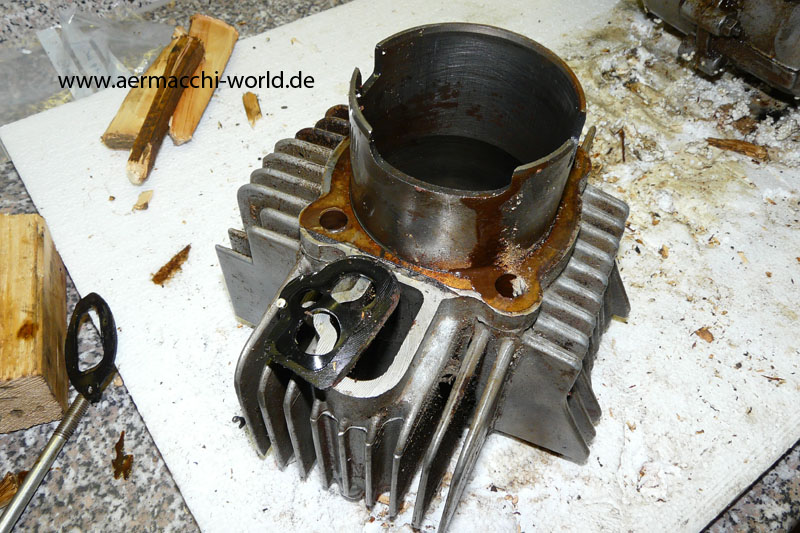
Bad surprise – cylinder
After some basic cleaning on the cylinder I noticed some bad scuffs in the bore which almost look like they are the result of rust. I somehow have the feeling that even a rebore and oversize piston wouldn’t compensate – maybe a 0.8mm – but looking for a better cylinder and oversize piston seems to be the right thing to do right now.

Stuck on the engine
I am currently stuck on the engine, because I need to buy a 36mm wrench for the sprocket gear, borrow a clutch holding tool, and ordering a puller with longer arms to get the starter sprag off the shaft.
Today I packed the left side engine covers and the handlebar so I can send them out for polishing / rechroming tomorrow. I also have two ugly seat pans which I will bring out for sand blasting and powder coating the upcoming week. I will use the pan that comes out better.

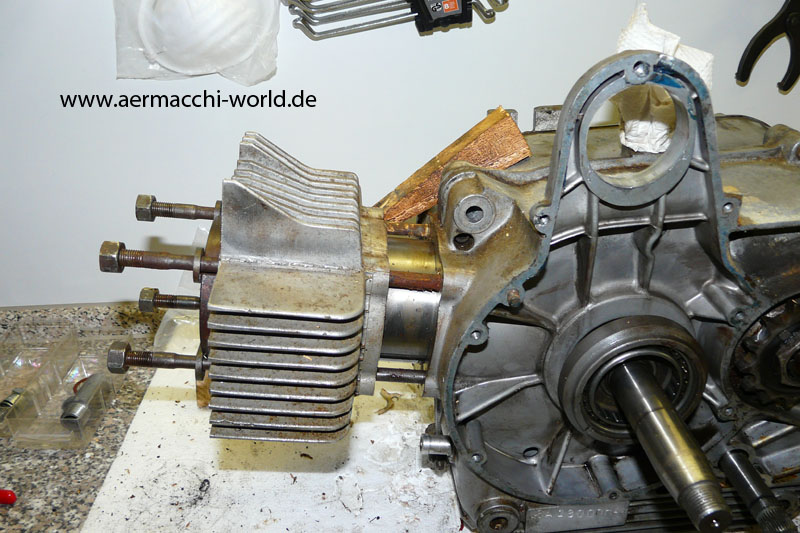
Removing Piston
The piston was removed quickly.
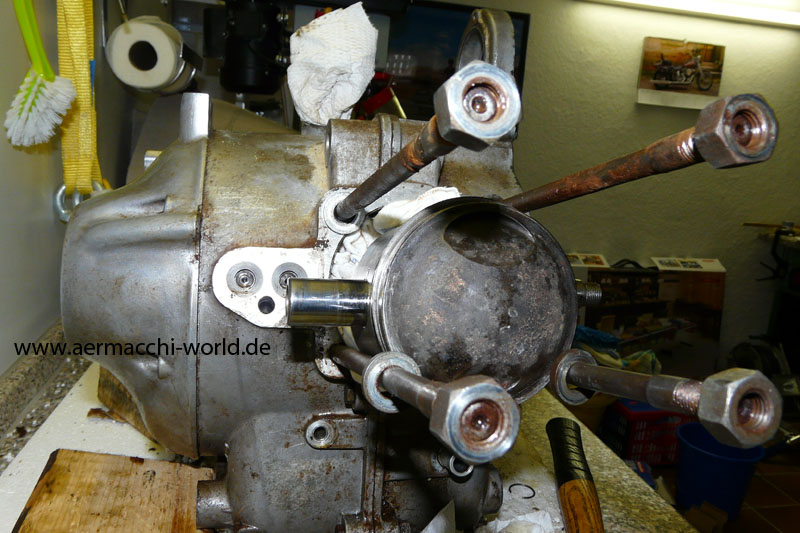

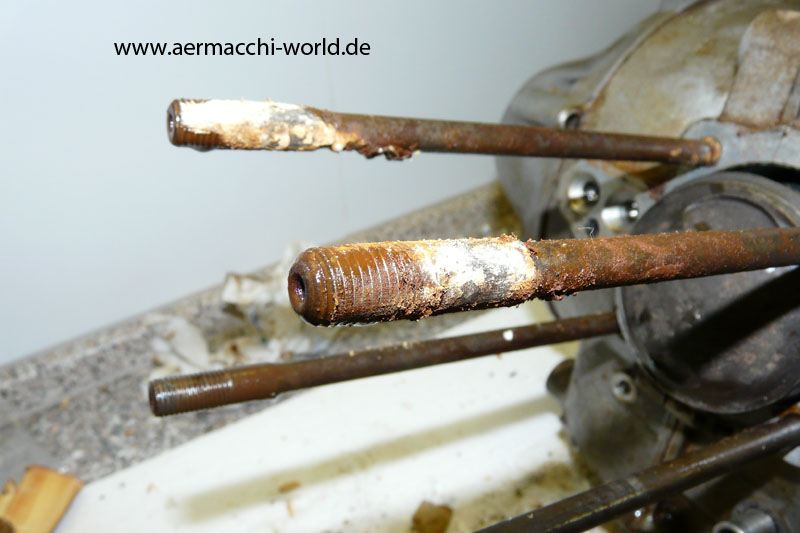
Removing cylinder
It took me over an hour to get the cylinder of the studs as they were rusted like hell.


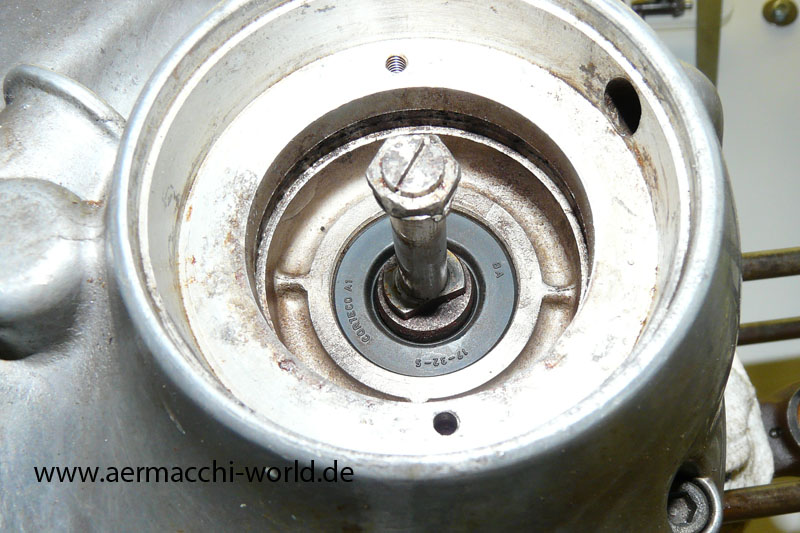
Starter sprag clutch

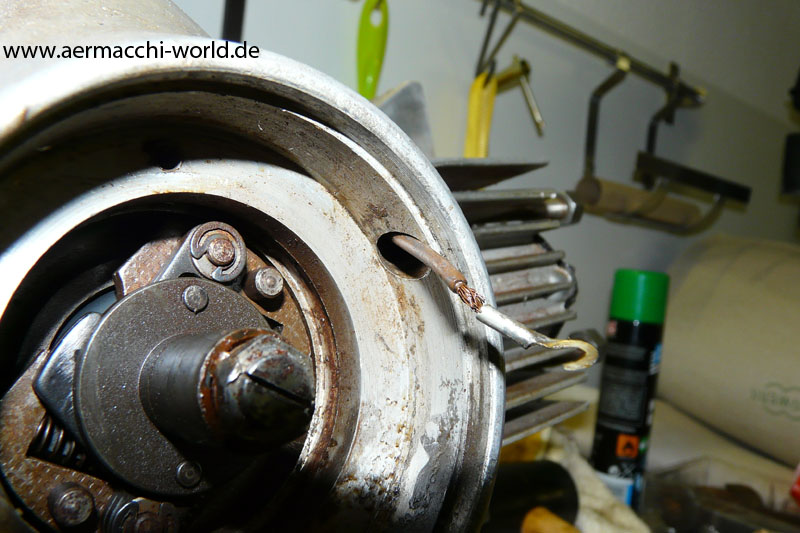
Circuit Breaker