
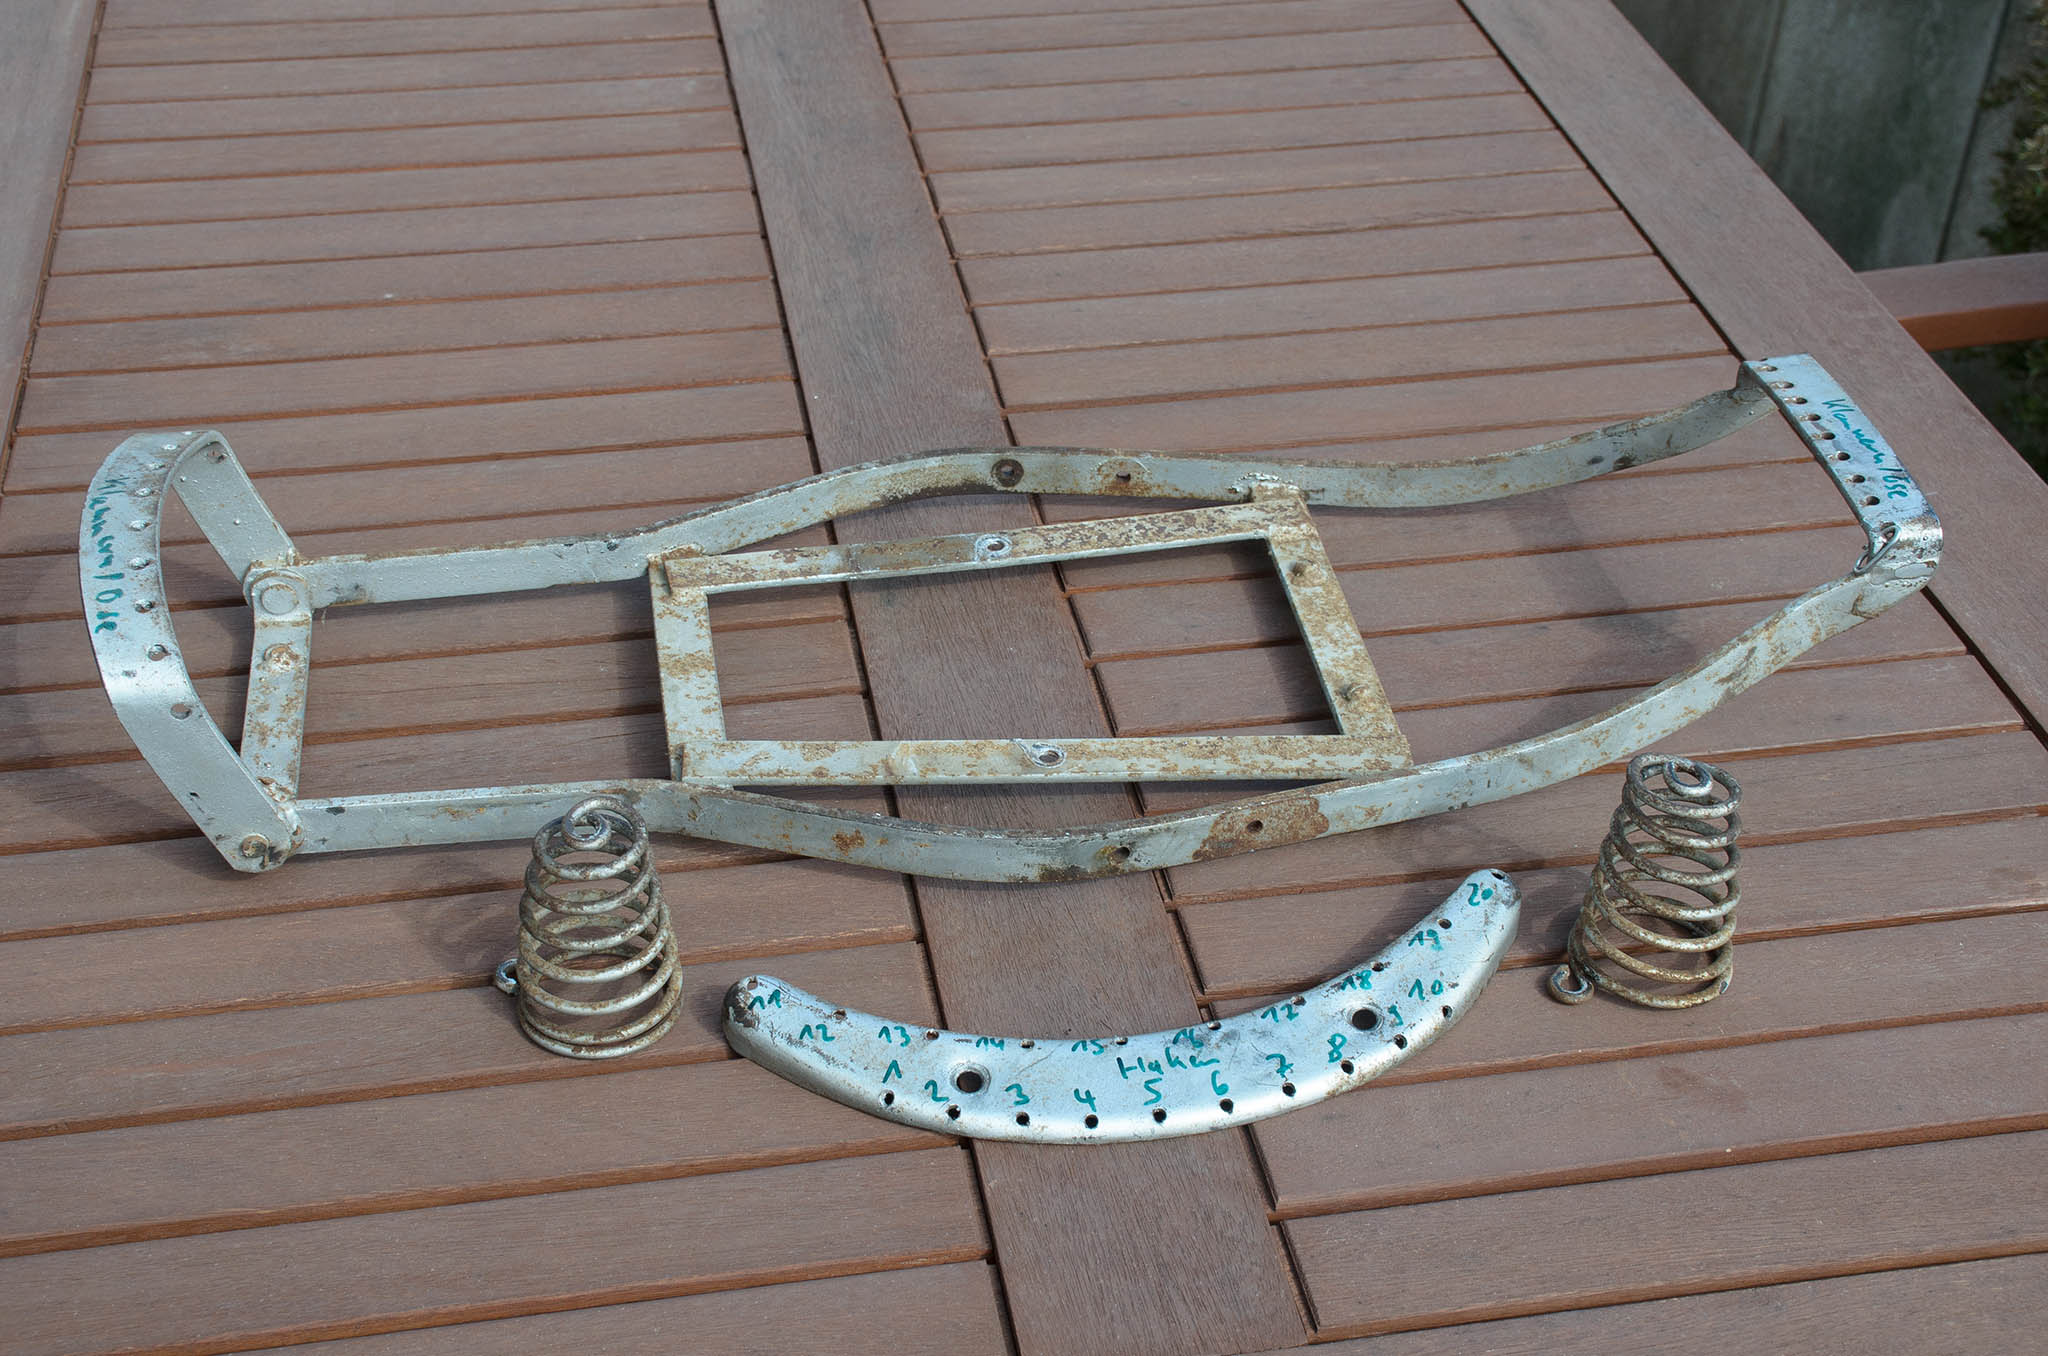

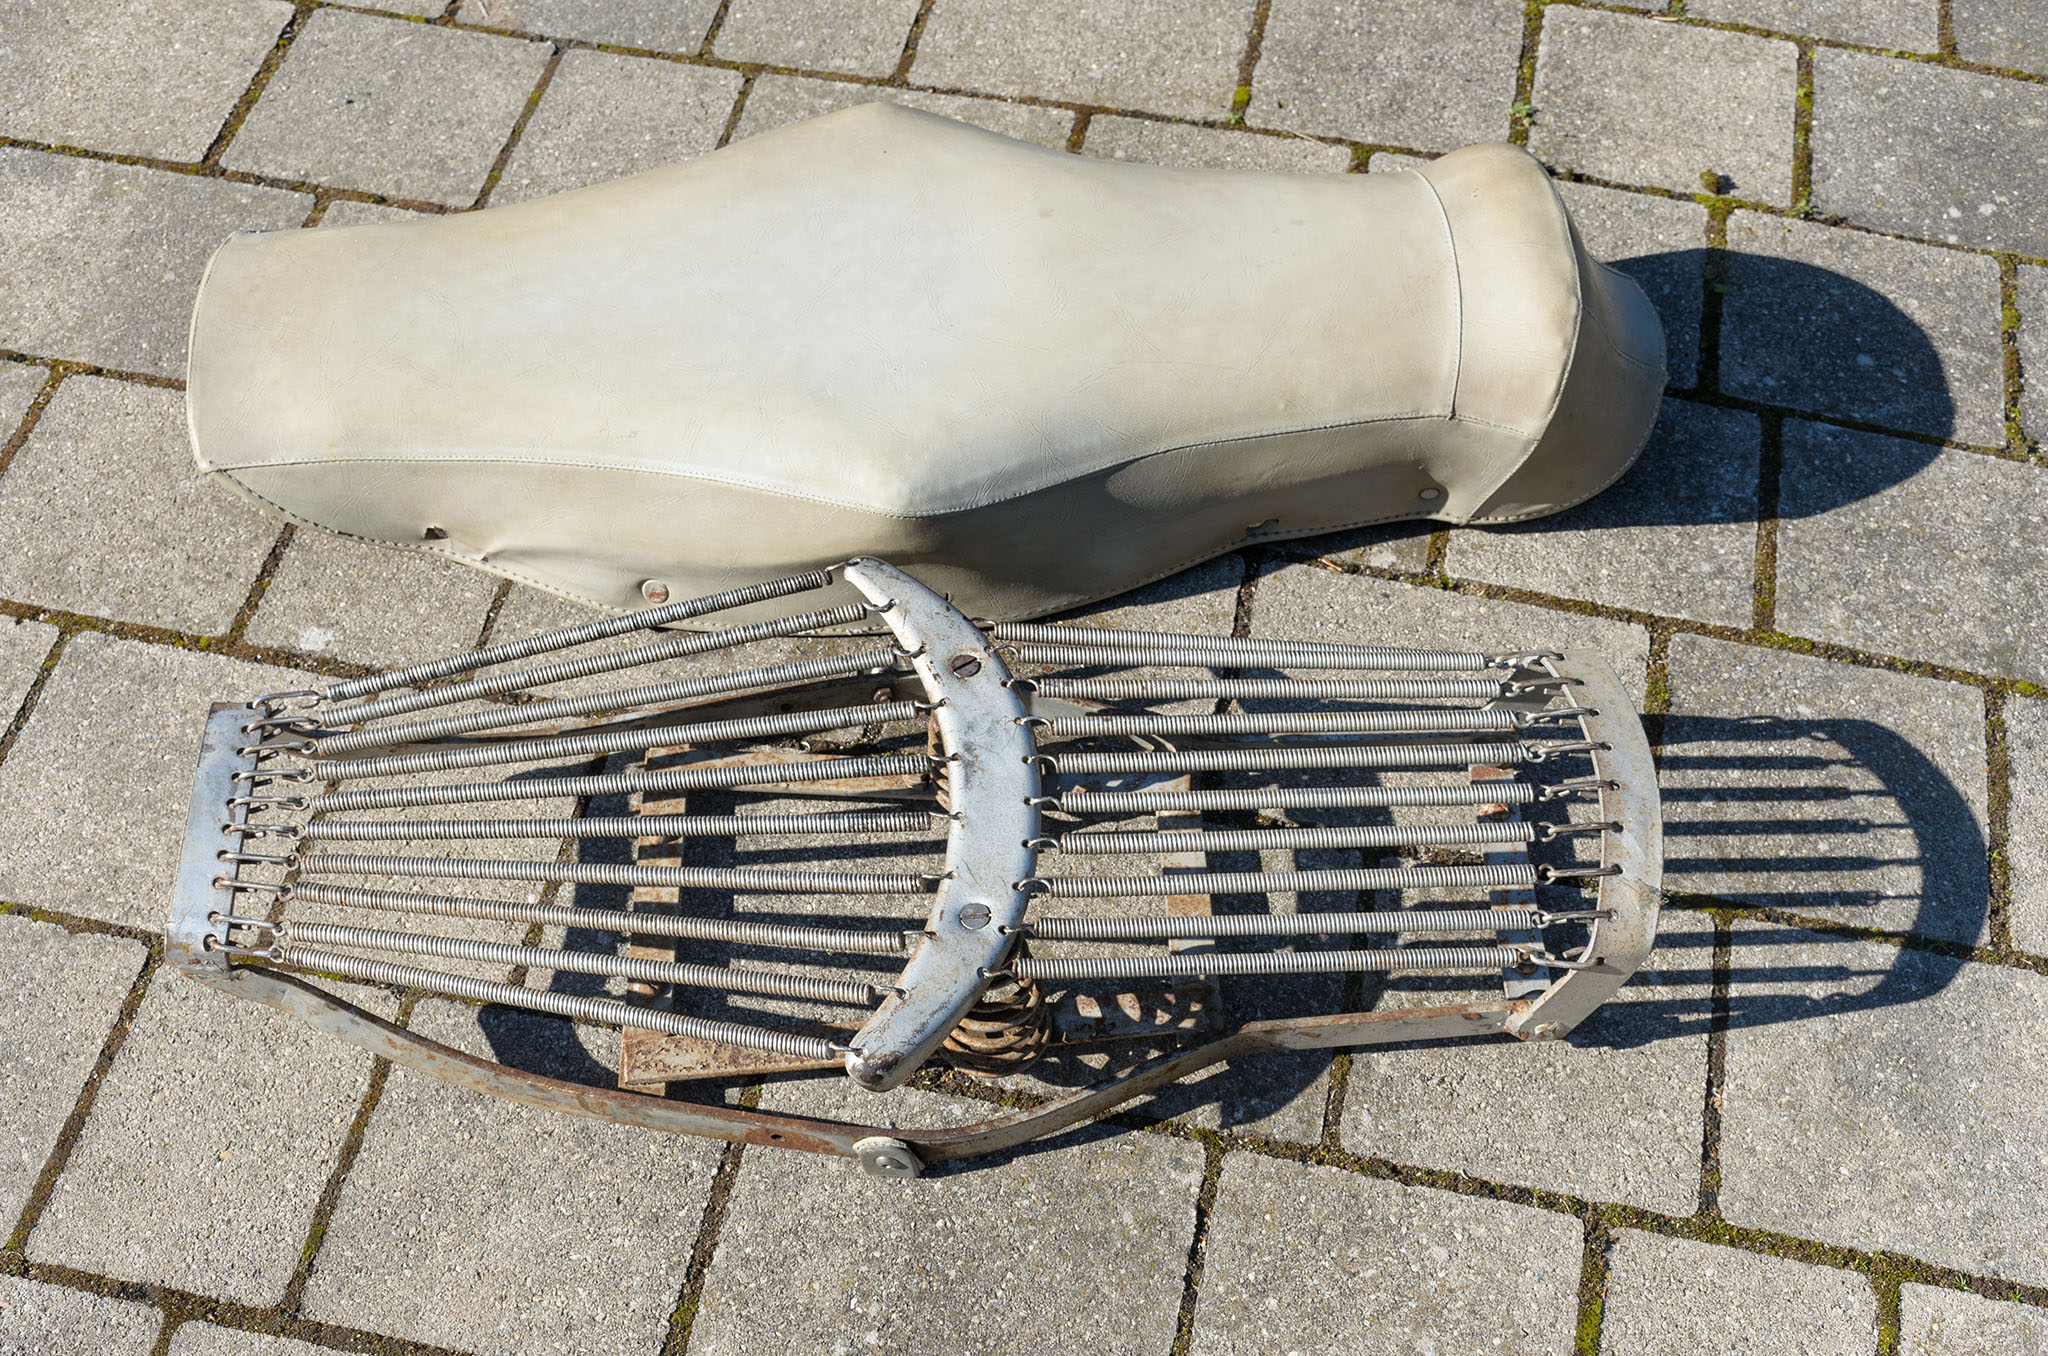
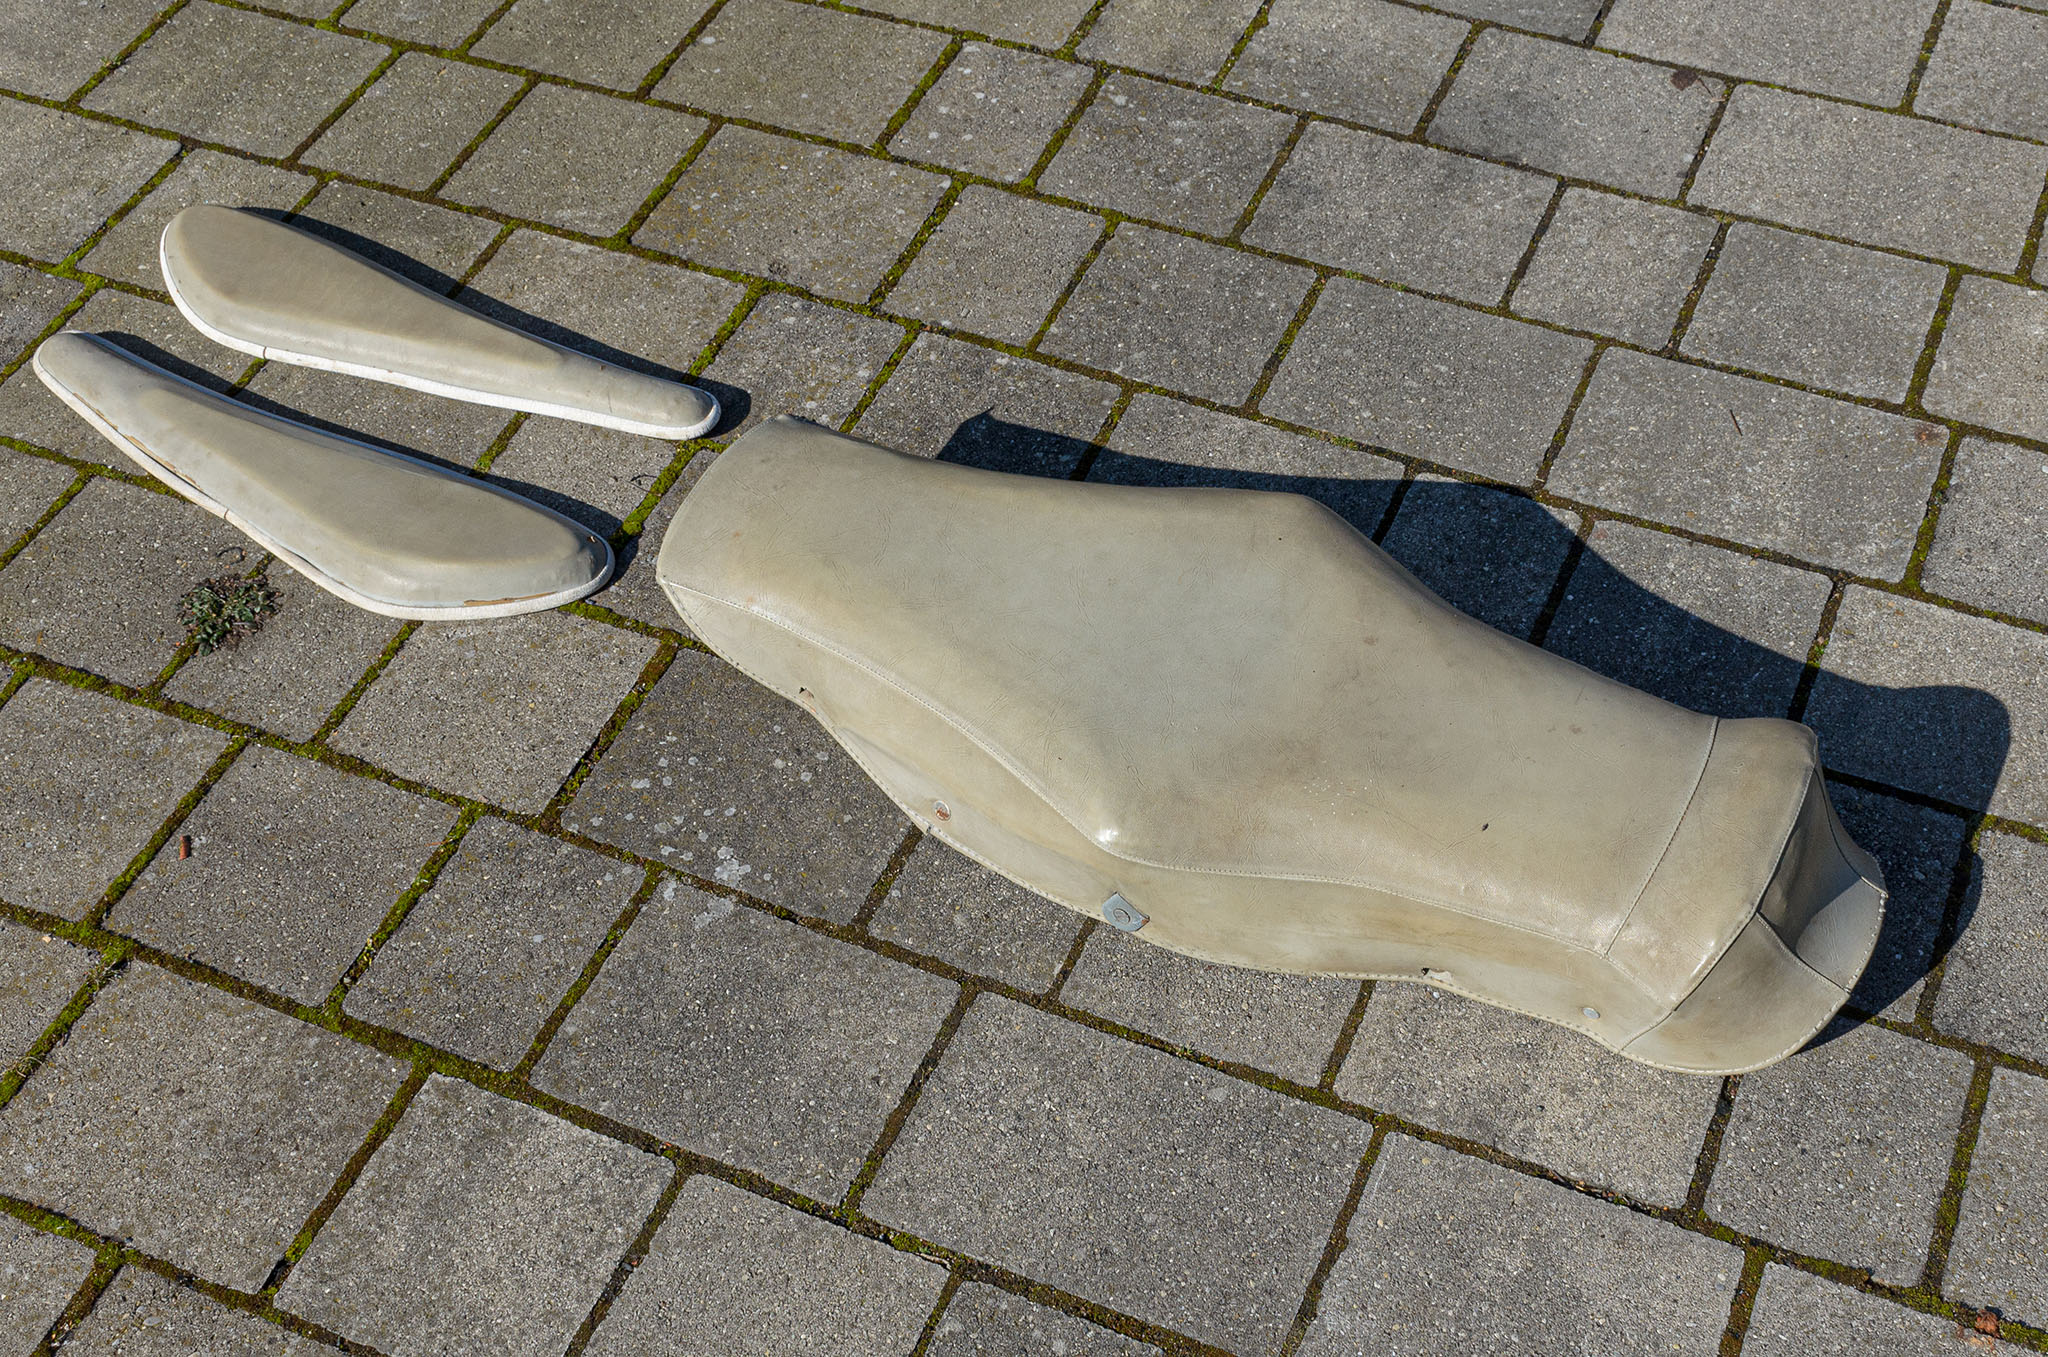
I have disassembled the seat which will get new paint and new springs. I am already experimenting with available new springs as a replacement.
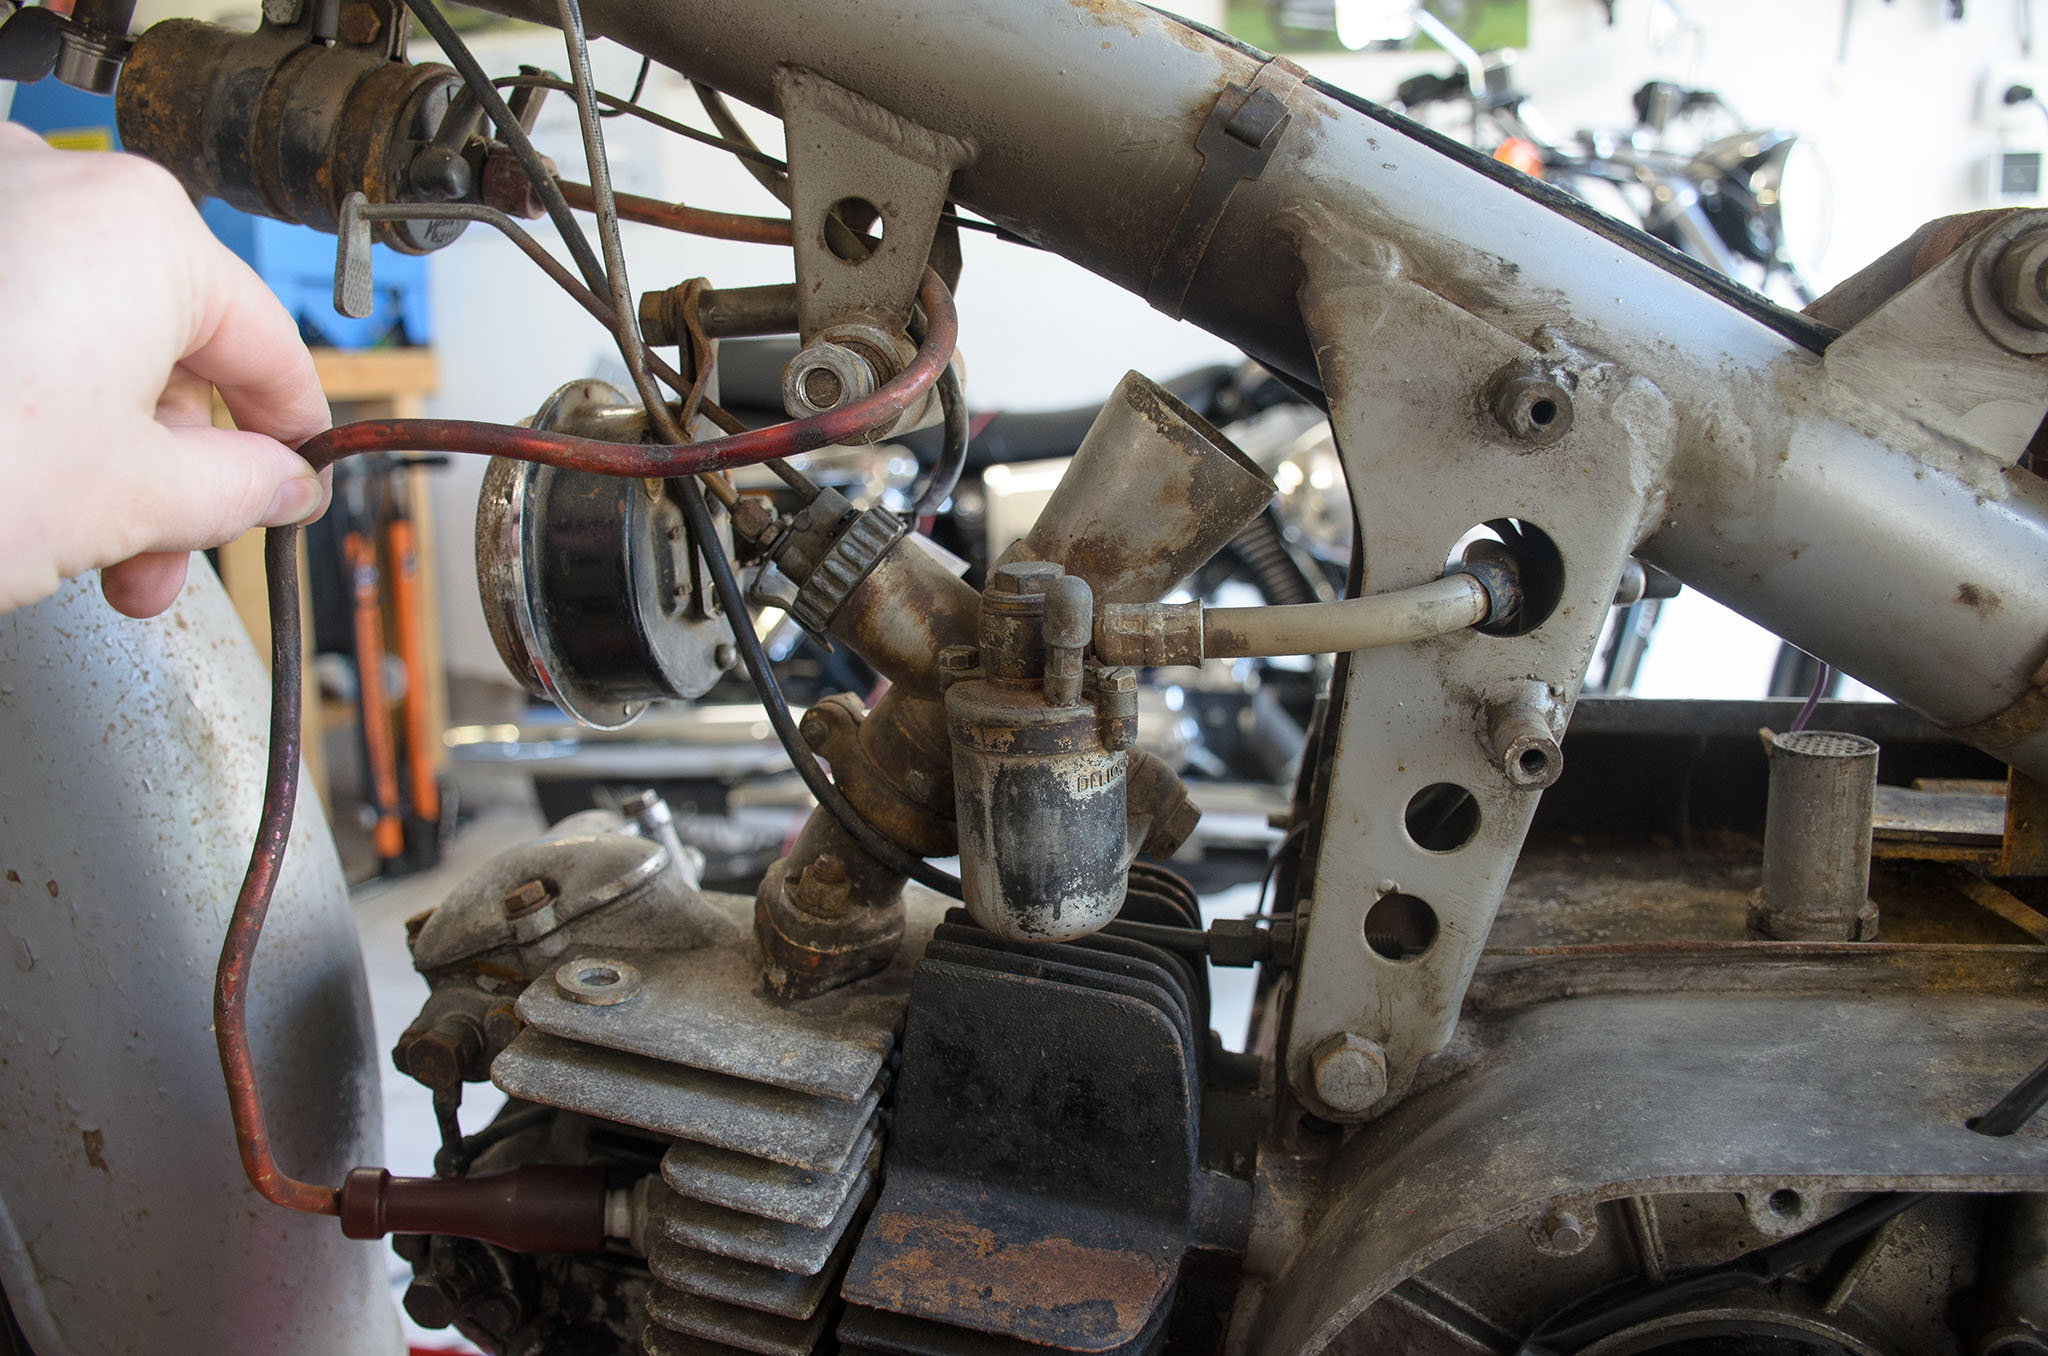
The carburator is a Dell’Orto UB 22 BS2 and it seems like it was painted black back in it’s days.
I have disassembled the seat which will get new paint and new springs. I am already experimenting with available new springs as a replacement.
The carburator is a Dell’Orto UB 22 BS2 and it seems like it was painted black back in it’s days.

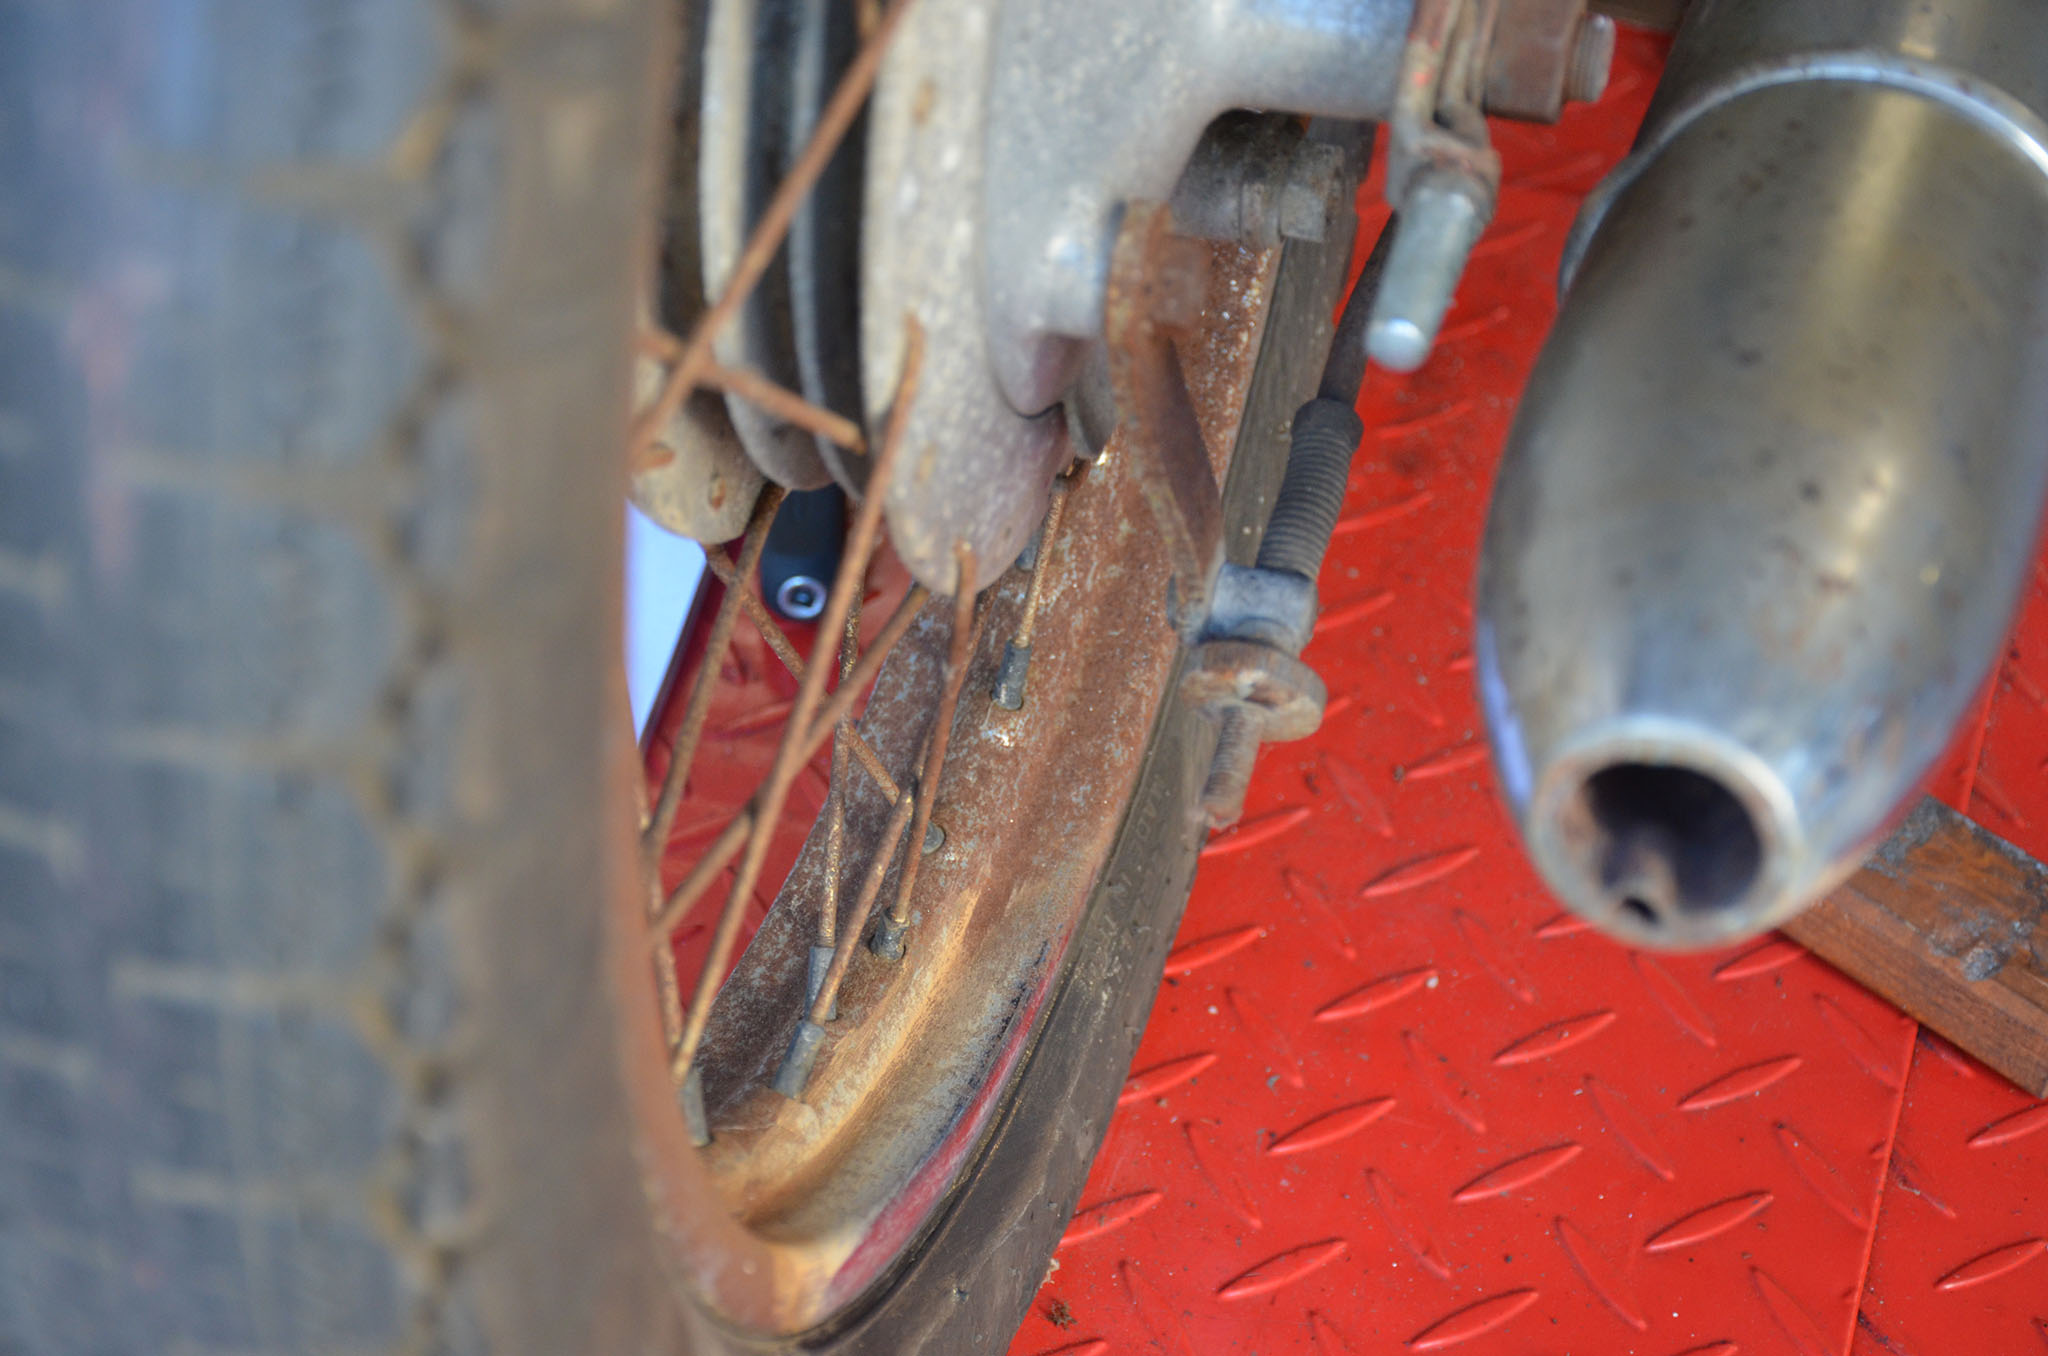

Most of the winter time I was hibernating, but it’s time to progress with the bike. I dismounted the cushions from the gas tank and the seat as well. The other pictures are showing excessive rust on the wheels and the rear brake switch. I also made up my mind update the grey color used on my Chimera and decided that it’s not my most favorite one for this particular bike. I will probably restore it to the original coral red (rosso corallo AER A12, Lechler) and sand color (avorio antico AER A11, Lechler) combination of earlier production years.
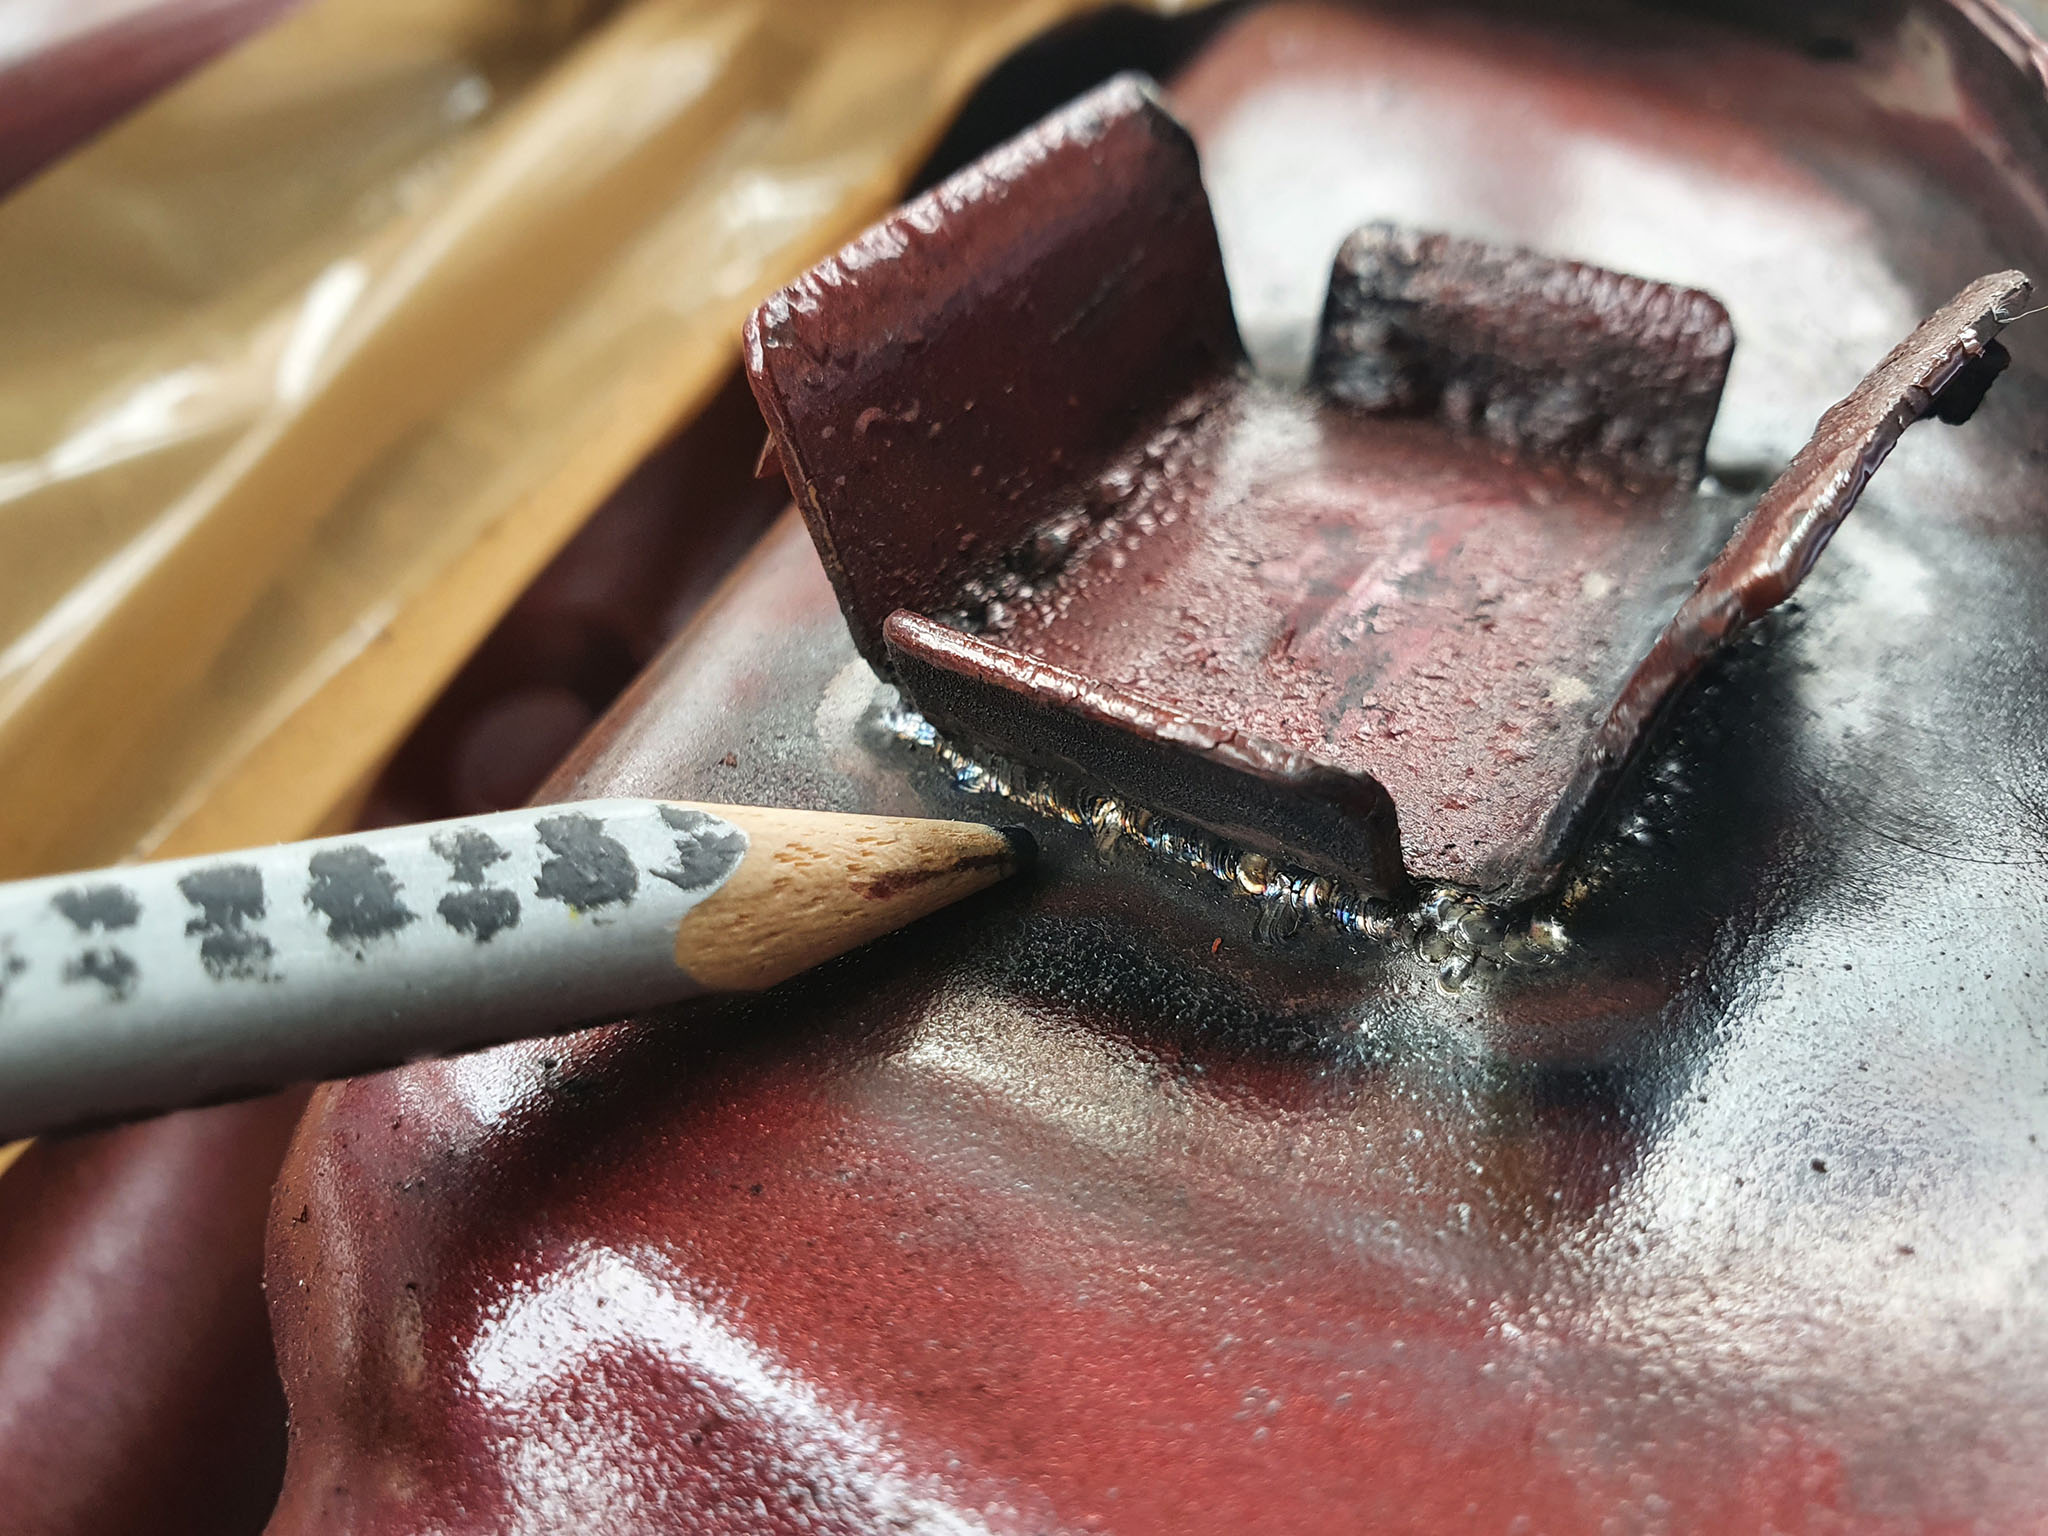
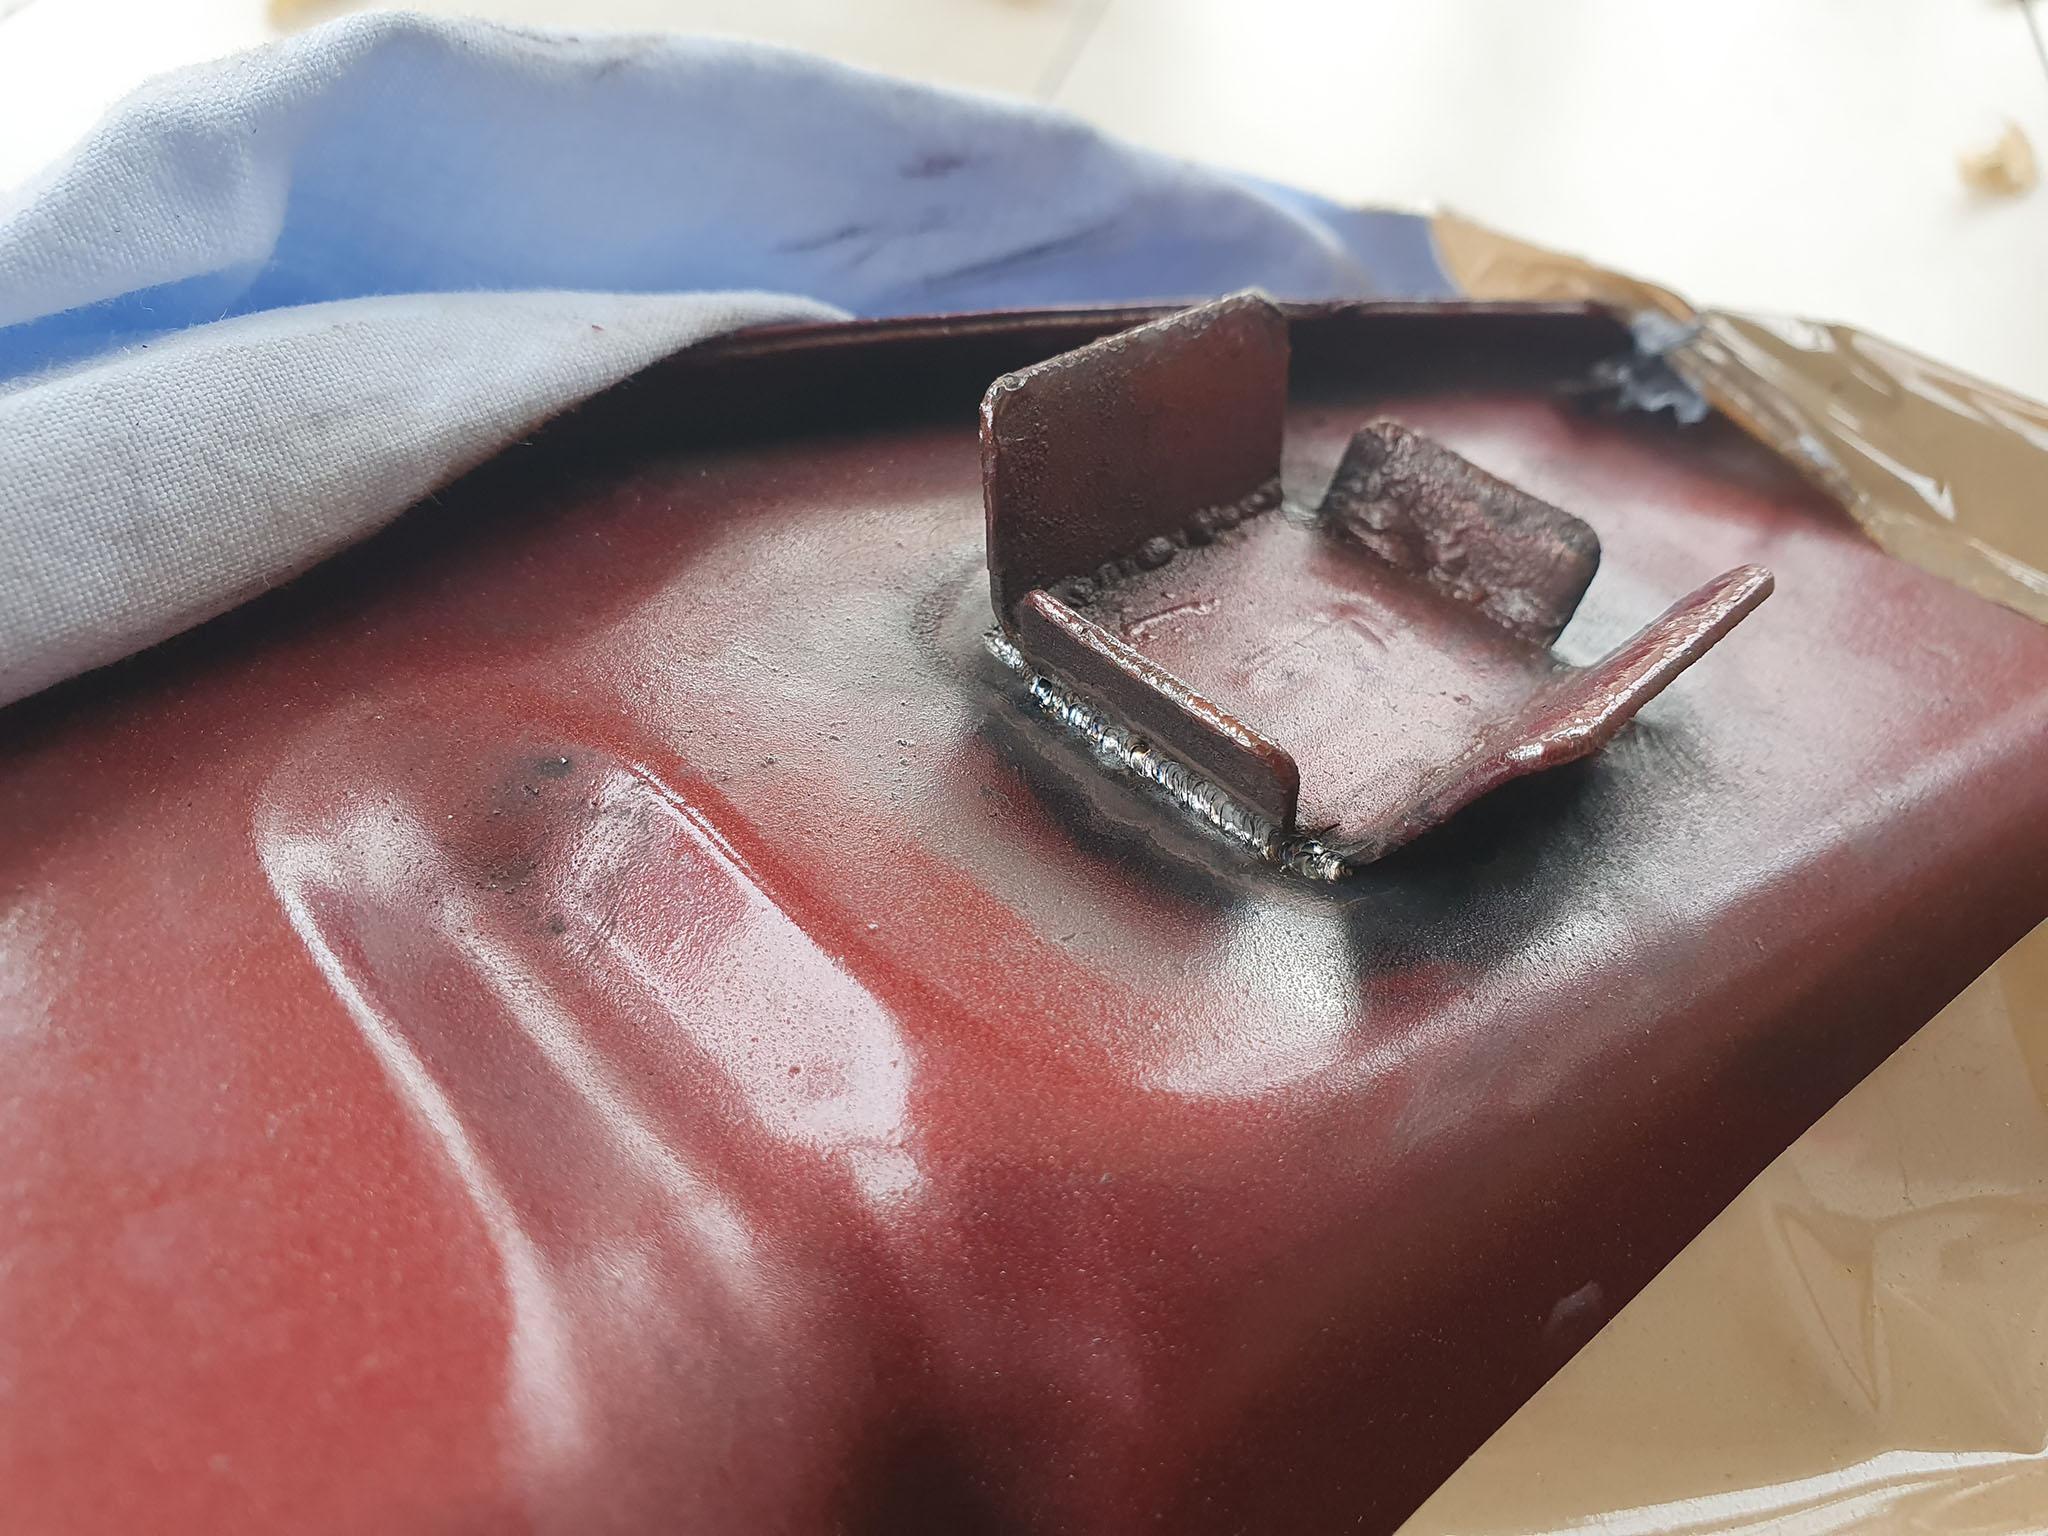
The gas tank was leaking tiny bits of gasoline. I didn’t notice for a very long time as it was sucked up by a rubber block. At some point I noticed that the rubber block was twice as big as it is suppost to be and over some time very small amounts of gasoline dripped to the ground. The source for the leak was on the bottom of the gas tank, where the brackets for the antivibration rubber blokcks are welded to the gas tank. Obviously the metal of the gas tank was weakend by the welding process so it leaked after about 50 years later.
So I went to the a welder company and they laser welded around both brackets without even damaging the paint. It’s now sealed again and probably good for many more years.

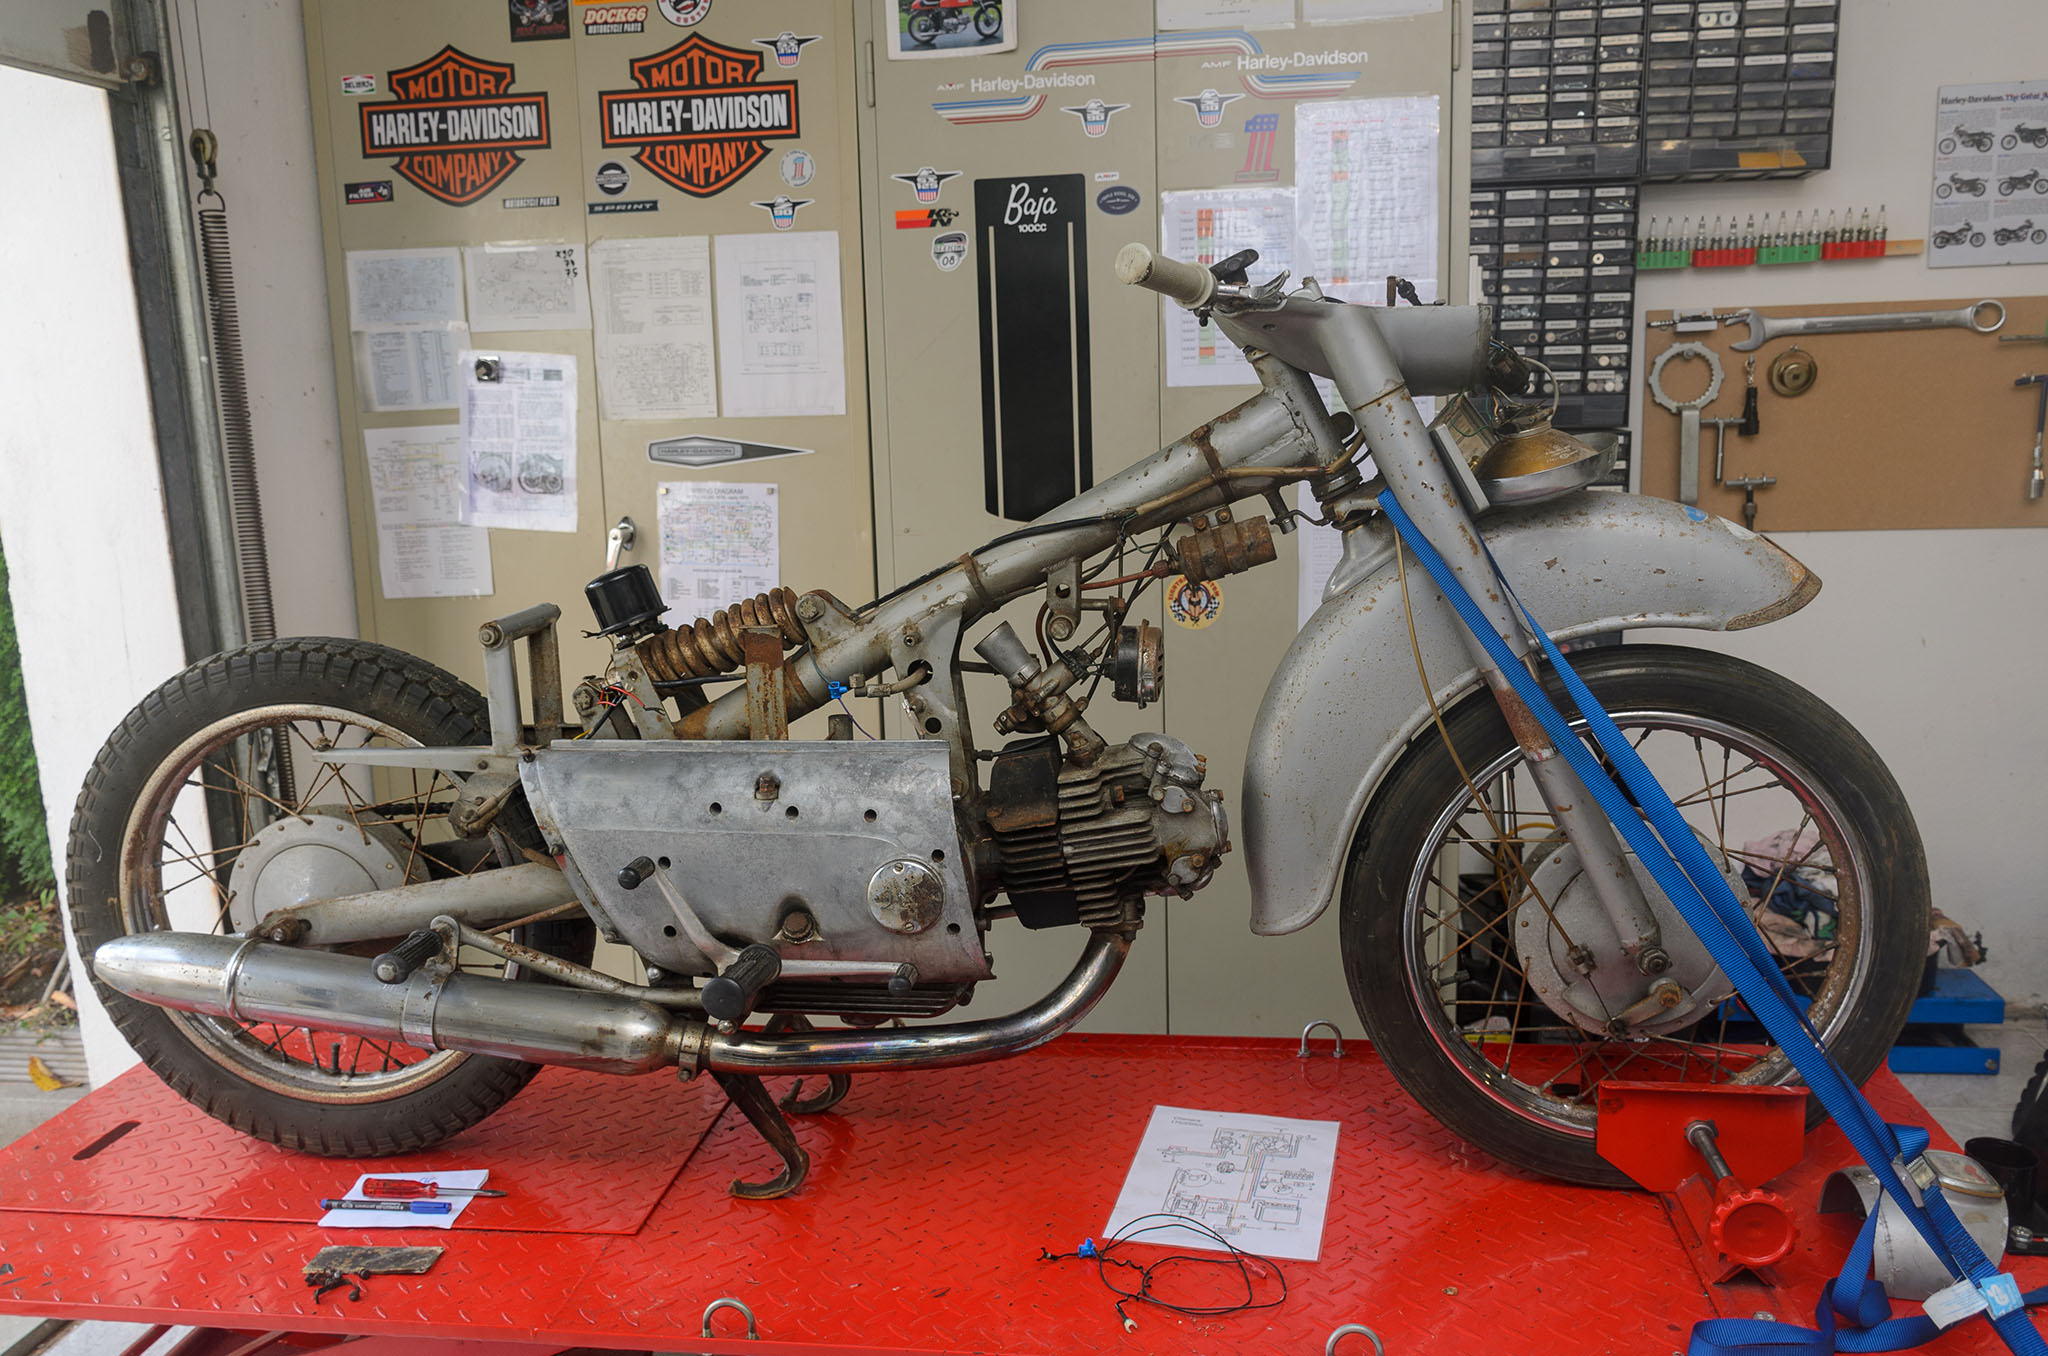
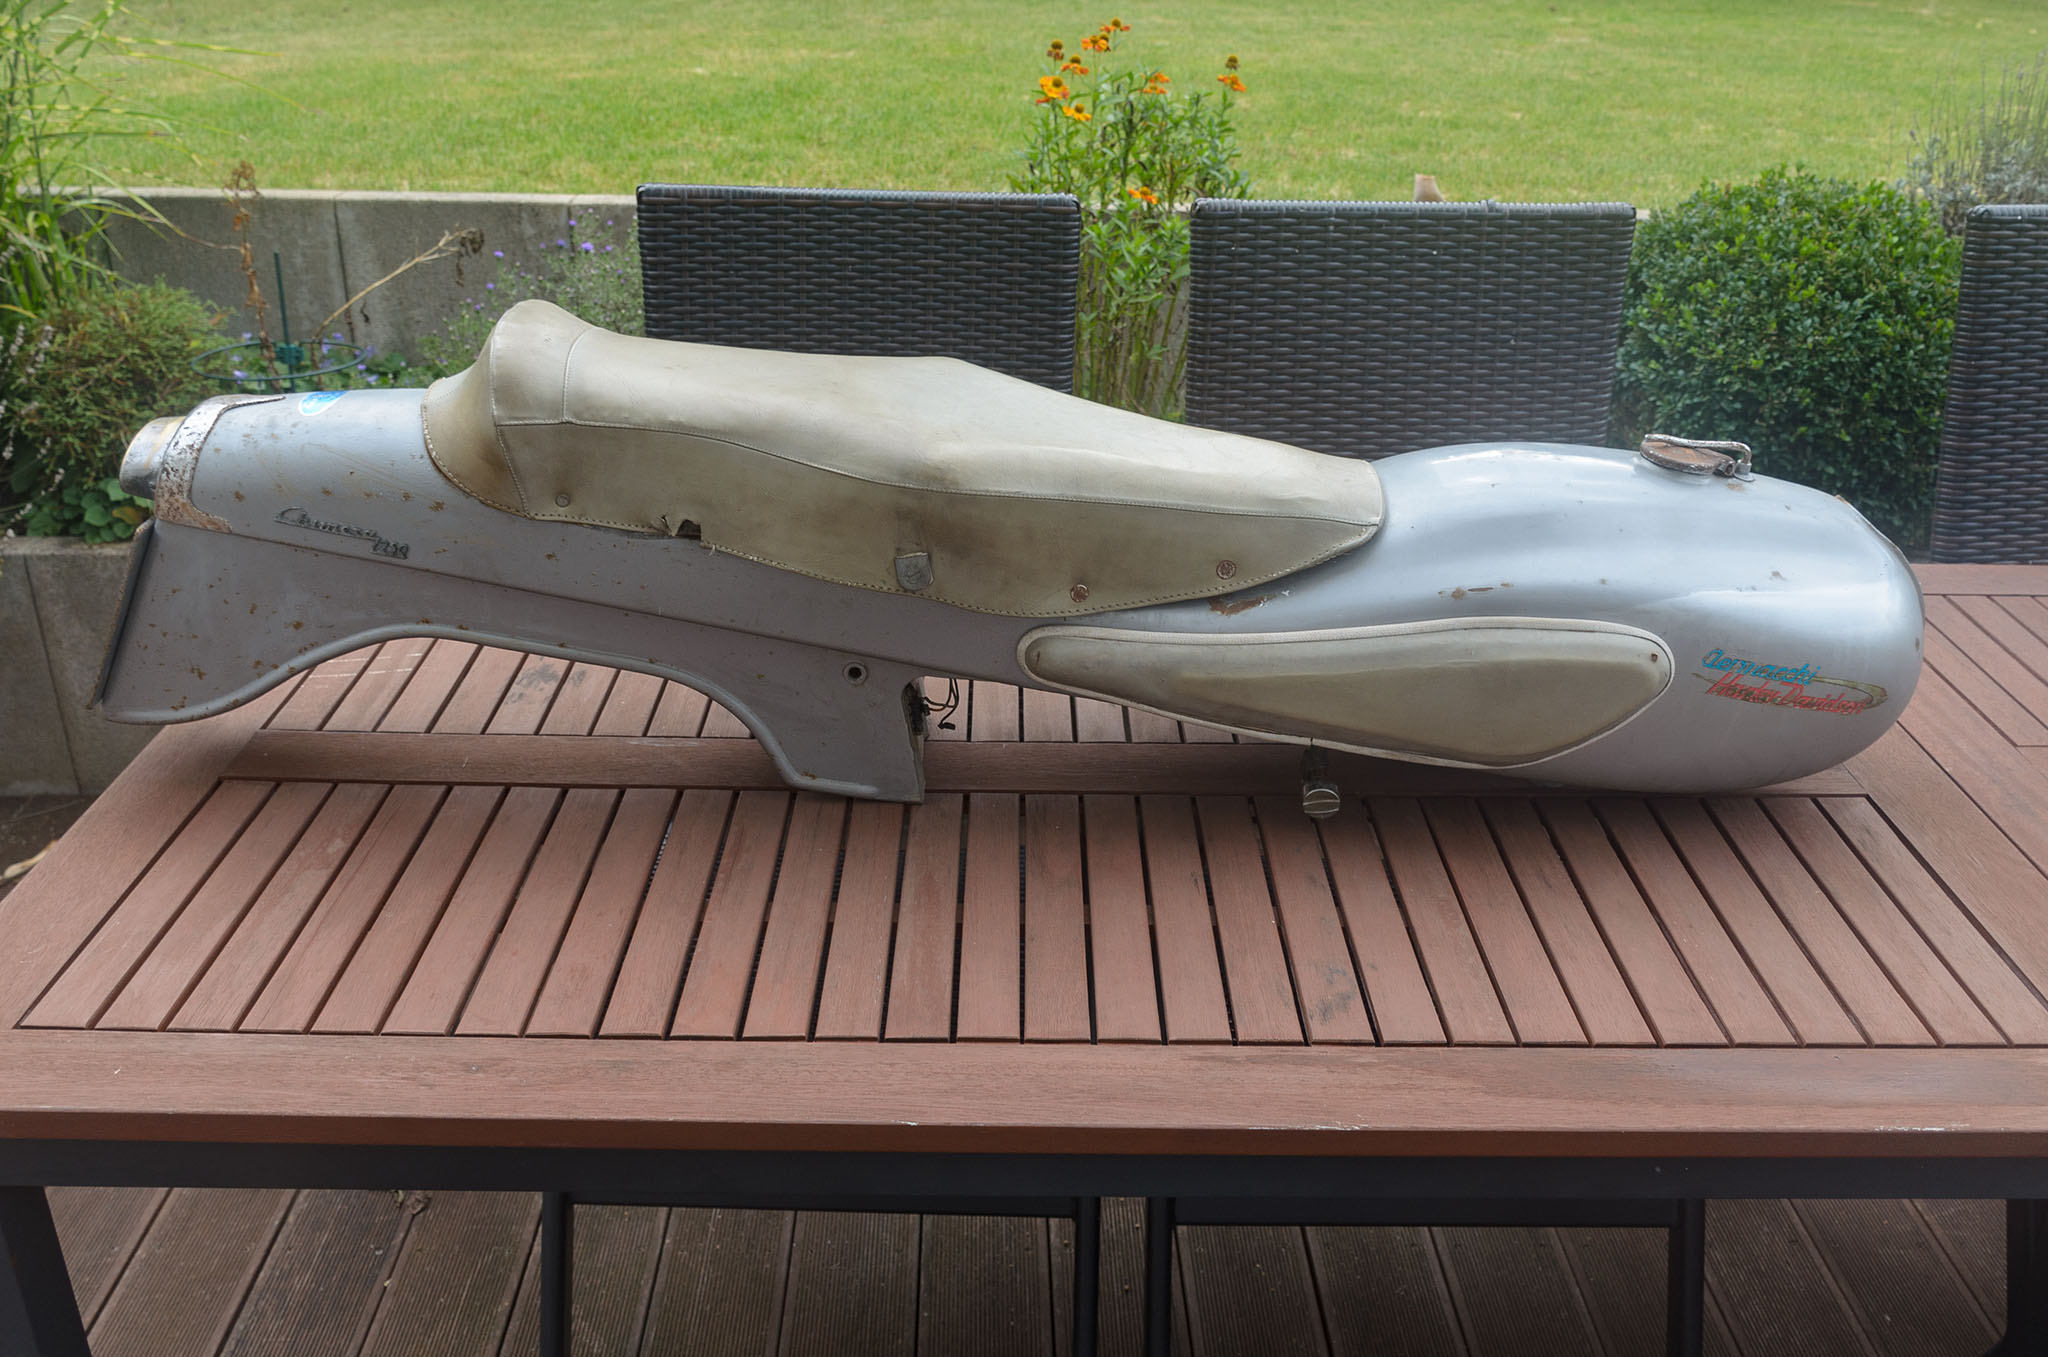

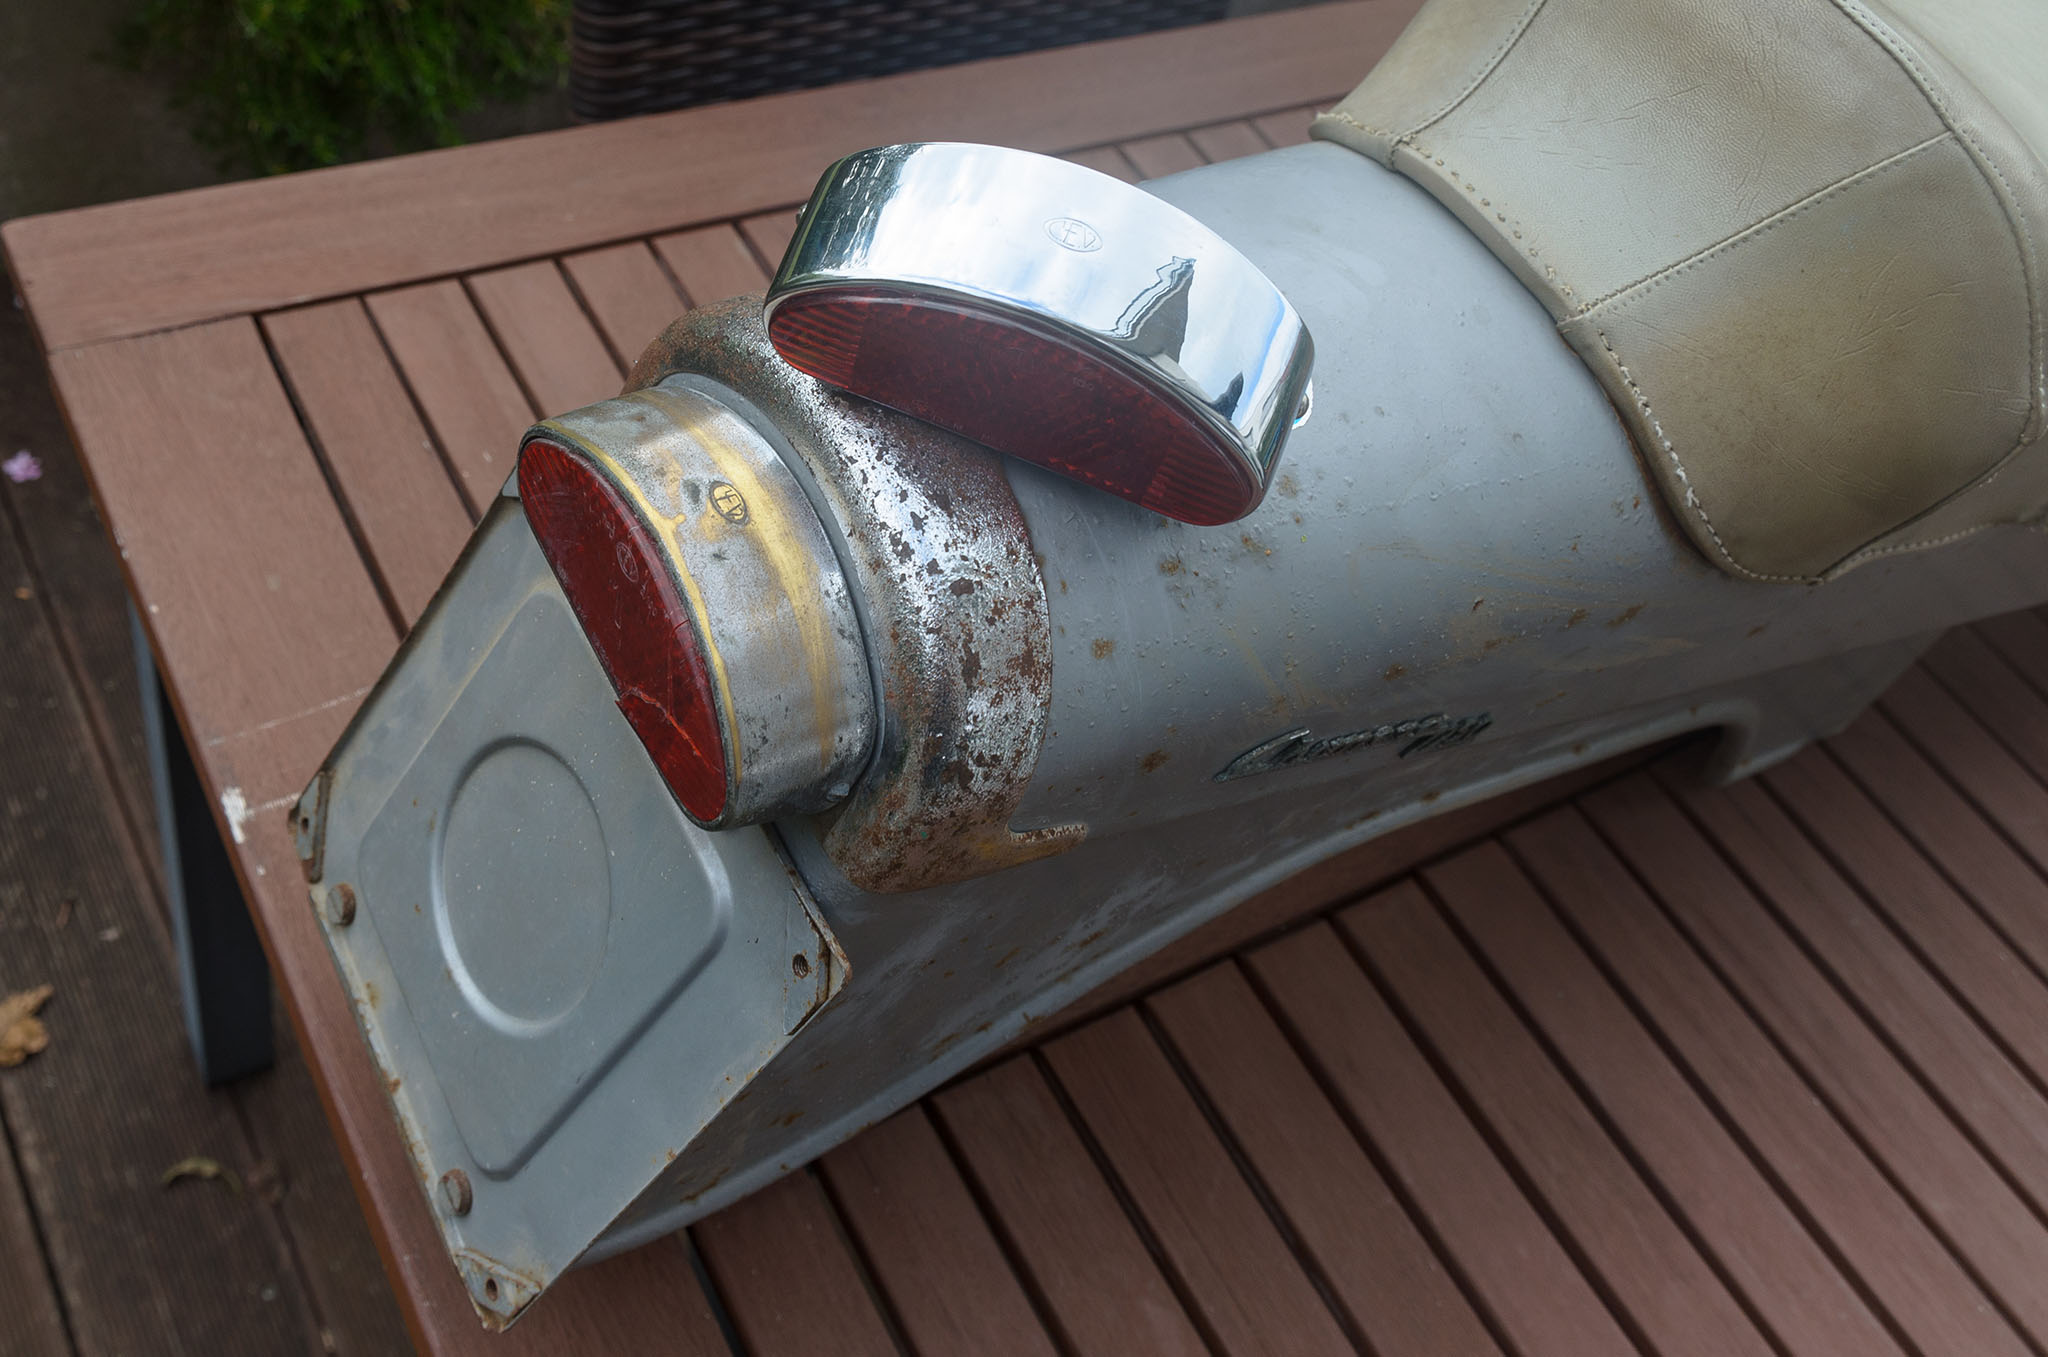
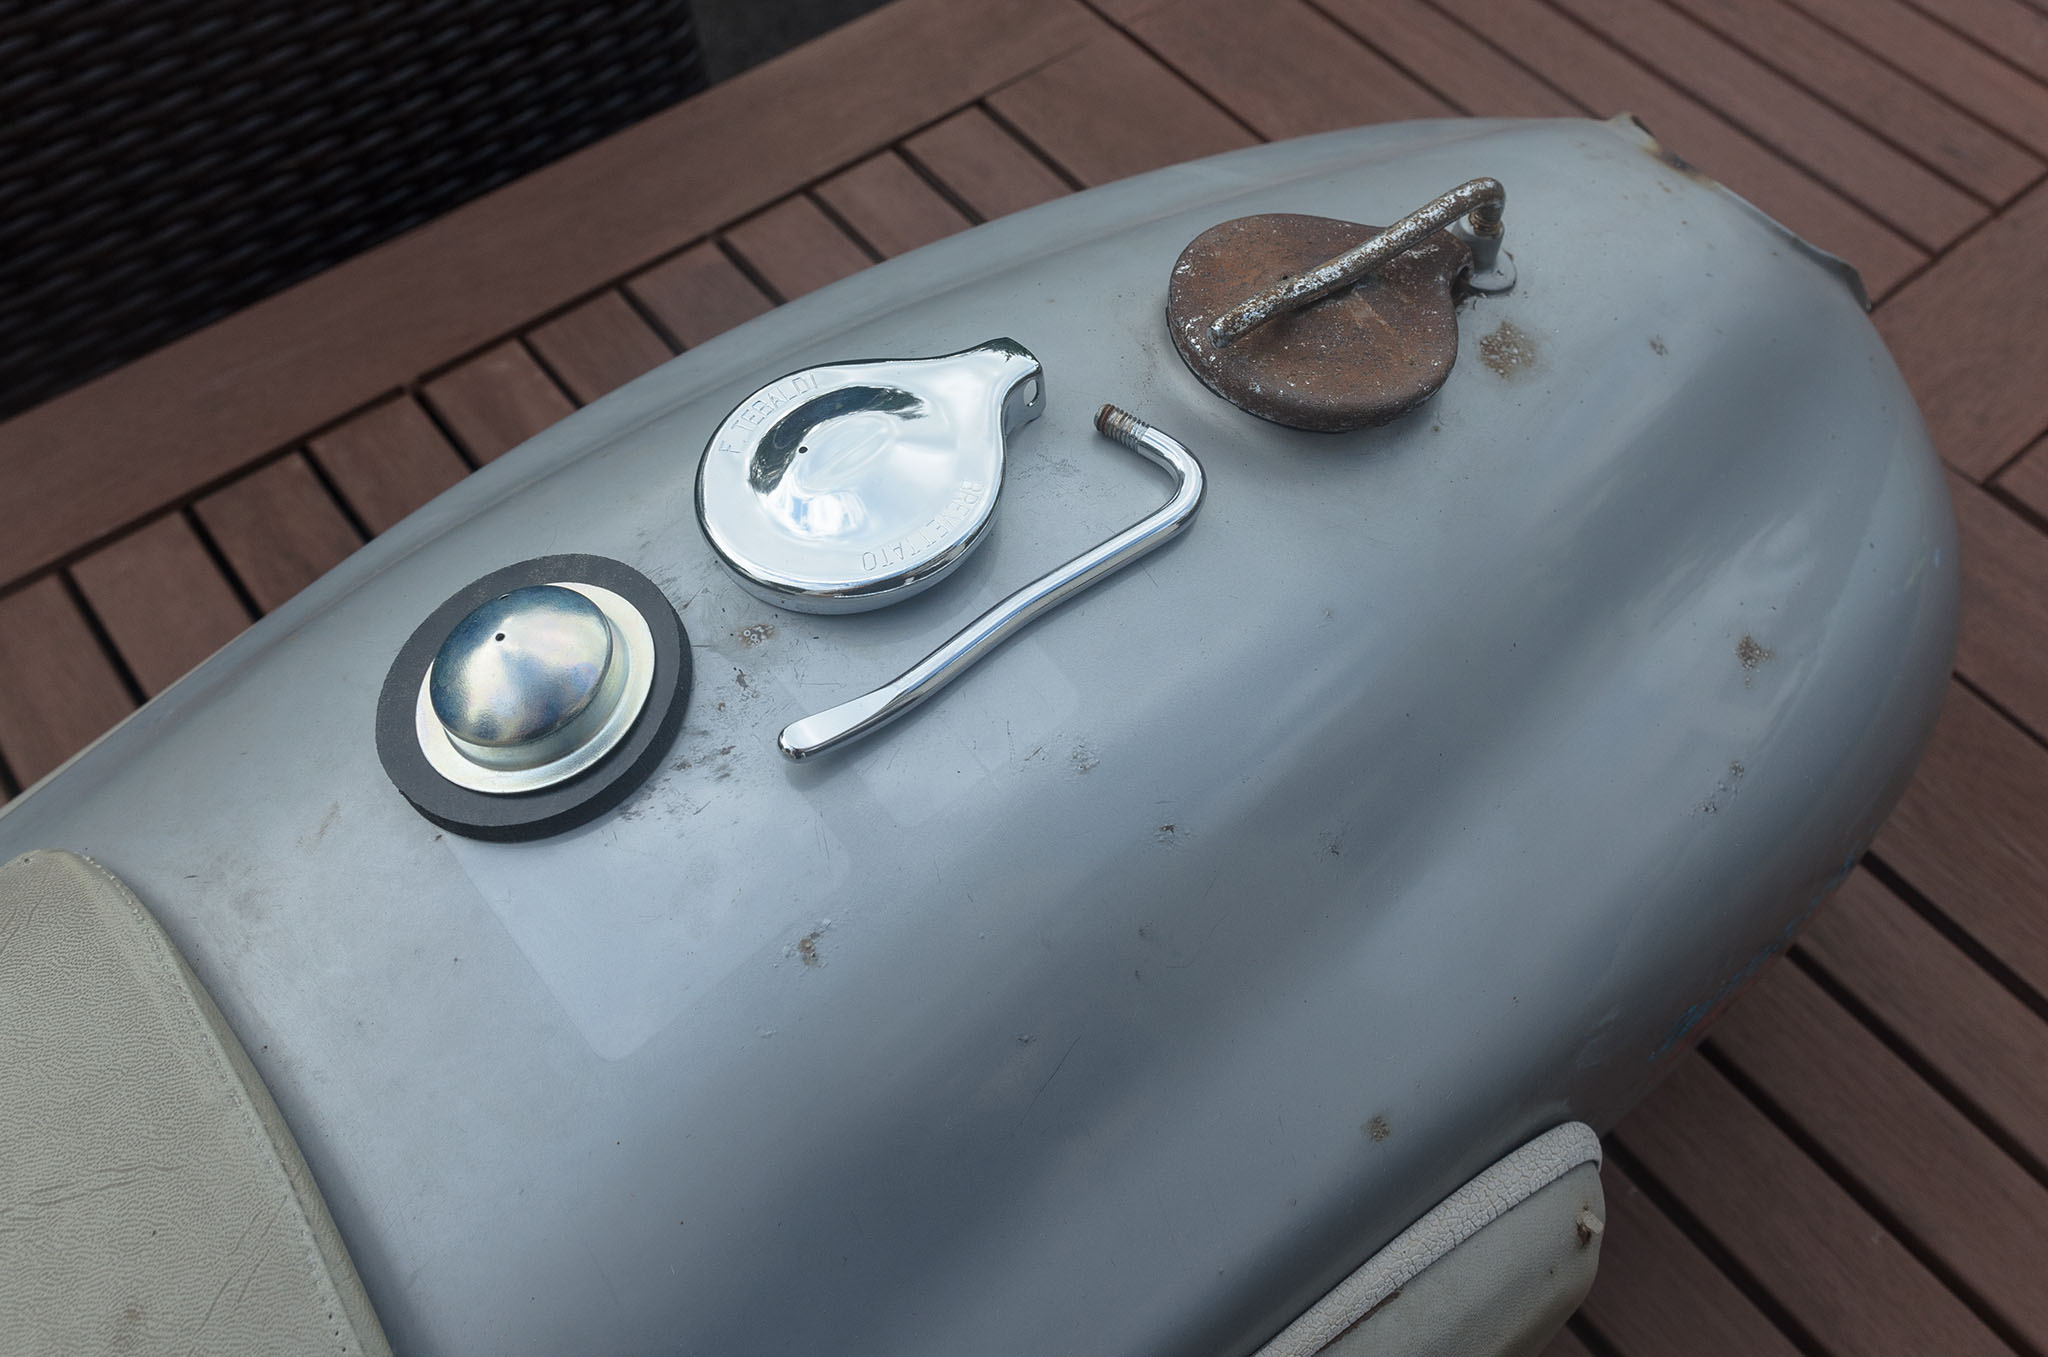
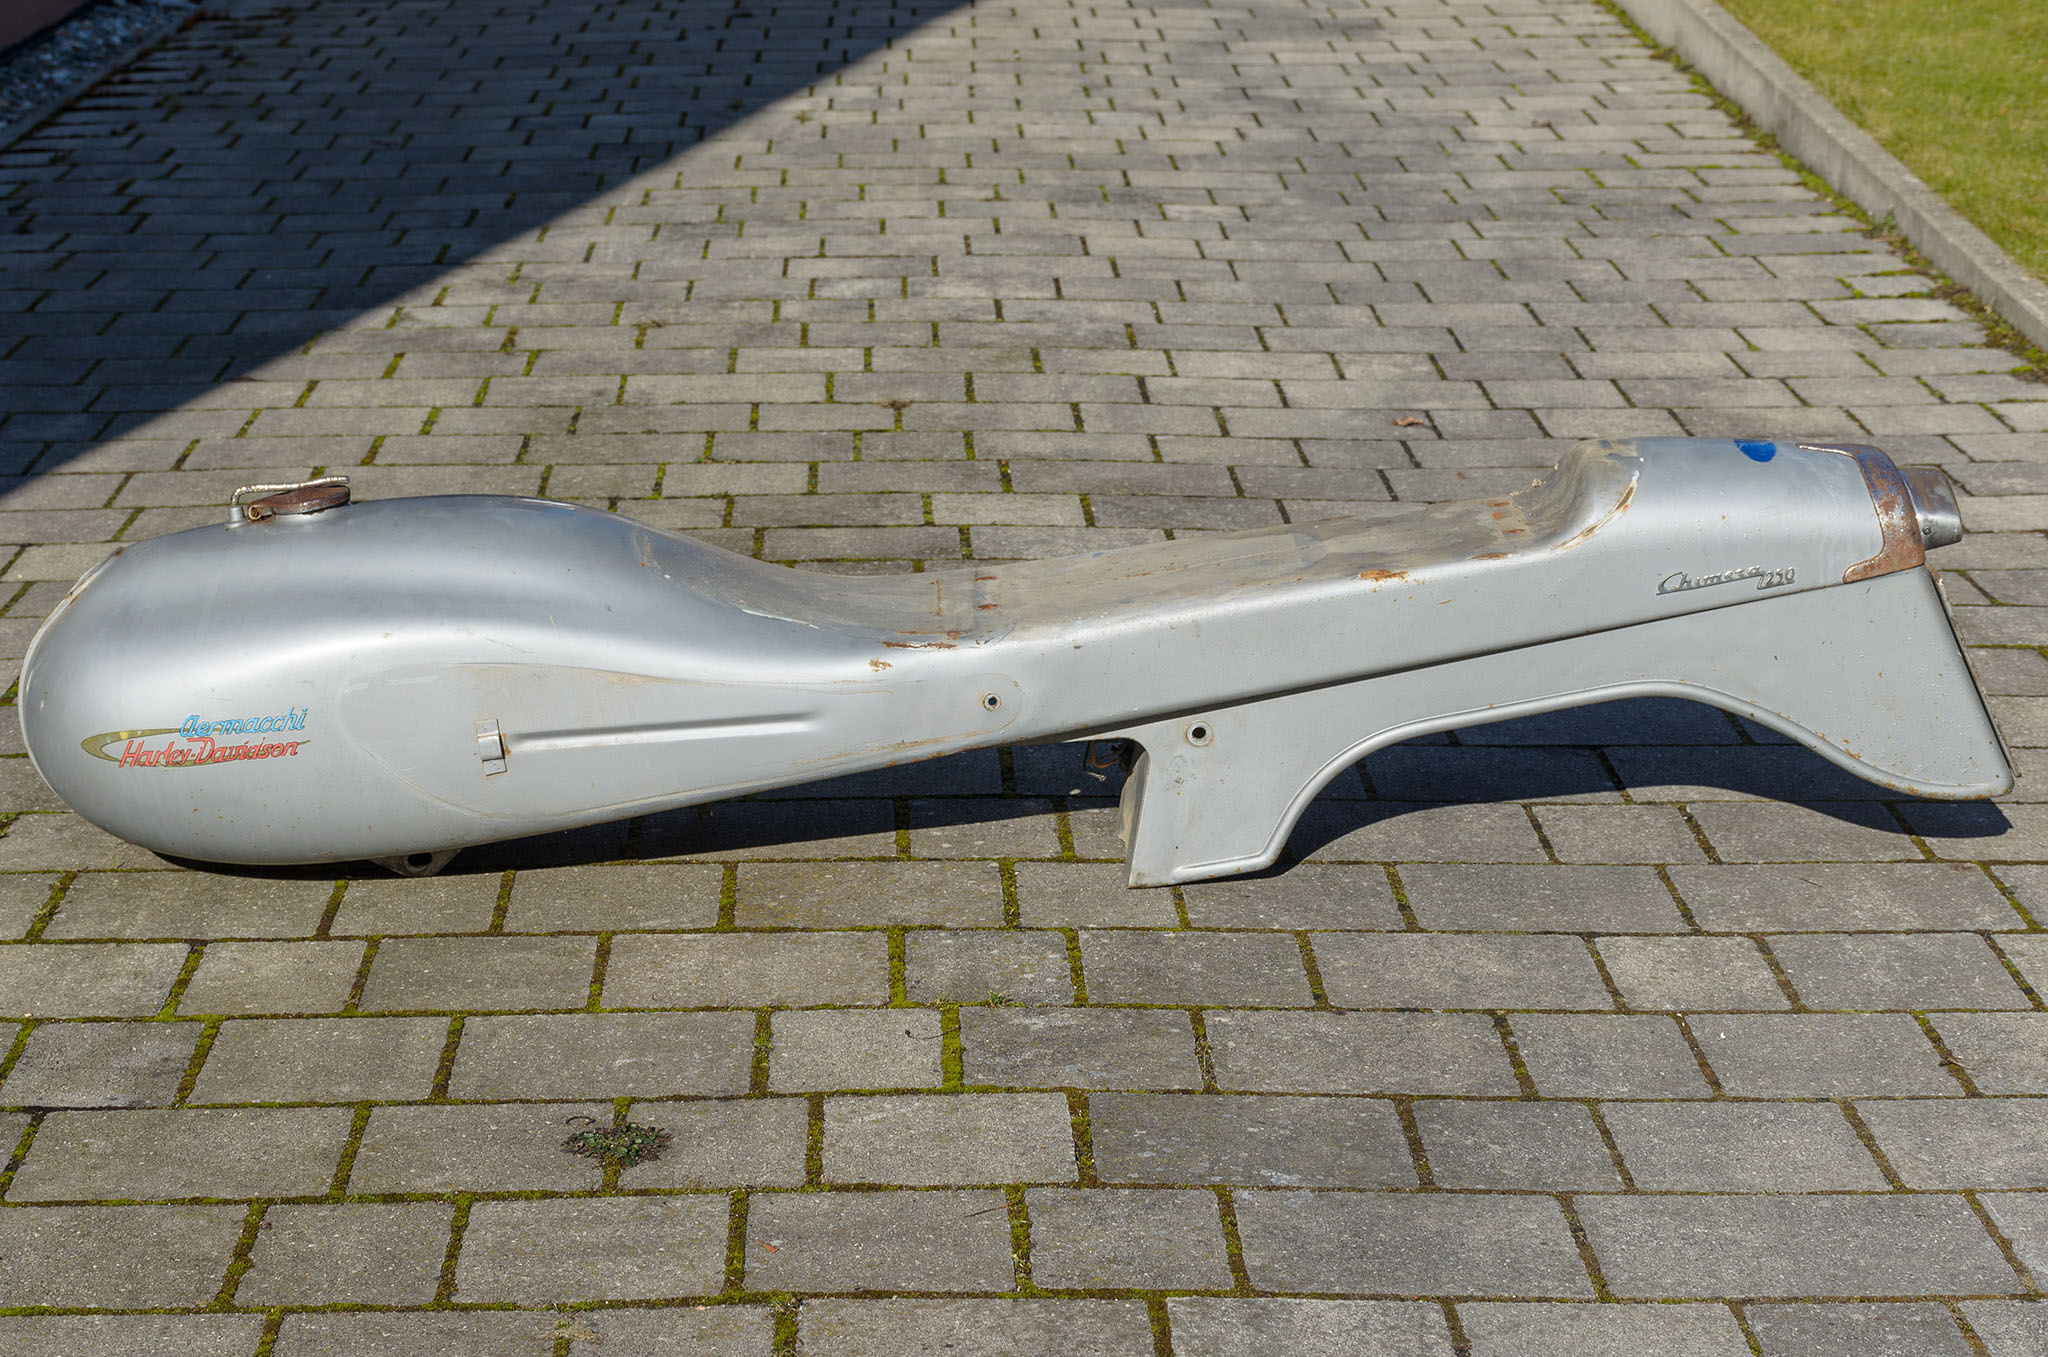
I took off the enormous gas tank which is only one large part together with the rear fender. I also dismounted most of the panels and also the streamlined fairing parts hiding almost everything of the engine. Interstingly it wasn’t a big problem to get a new gas cap as it was used on other italian bikes as well. Luckily, I found also a very rare NOS CEV rear light already.
I started working on a template of the dealer sticker which can be found on the rear fender and on the front fender.
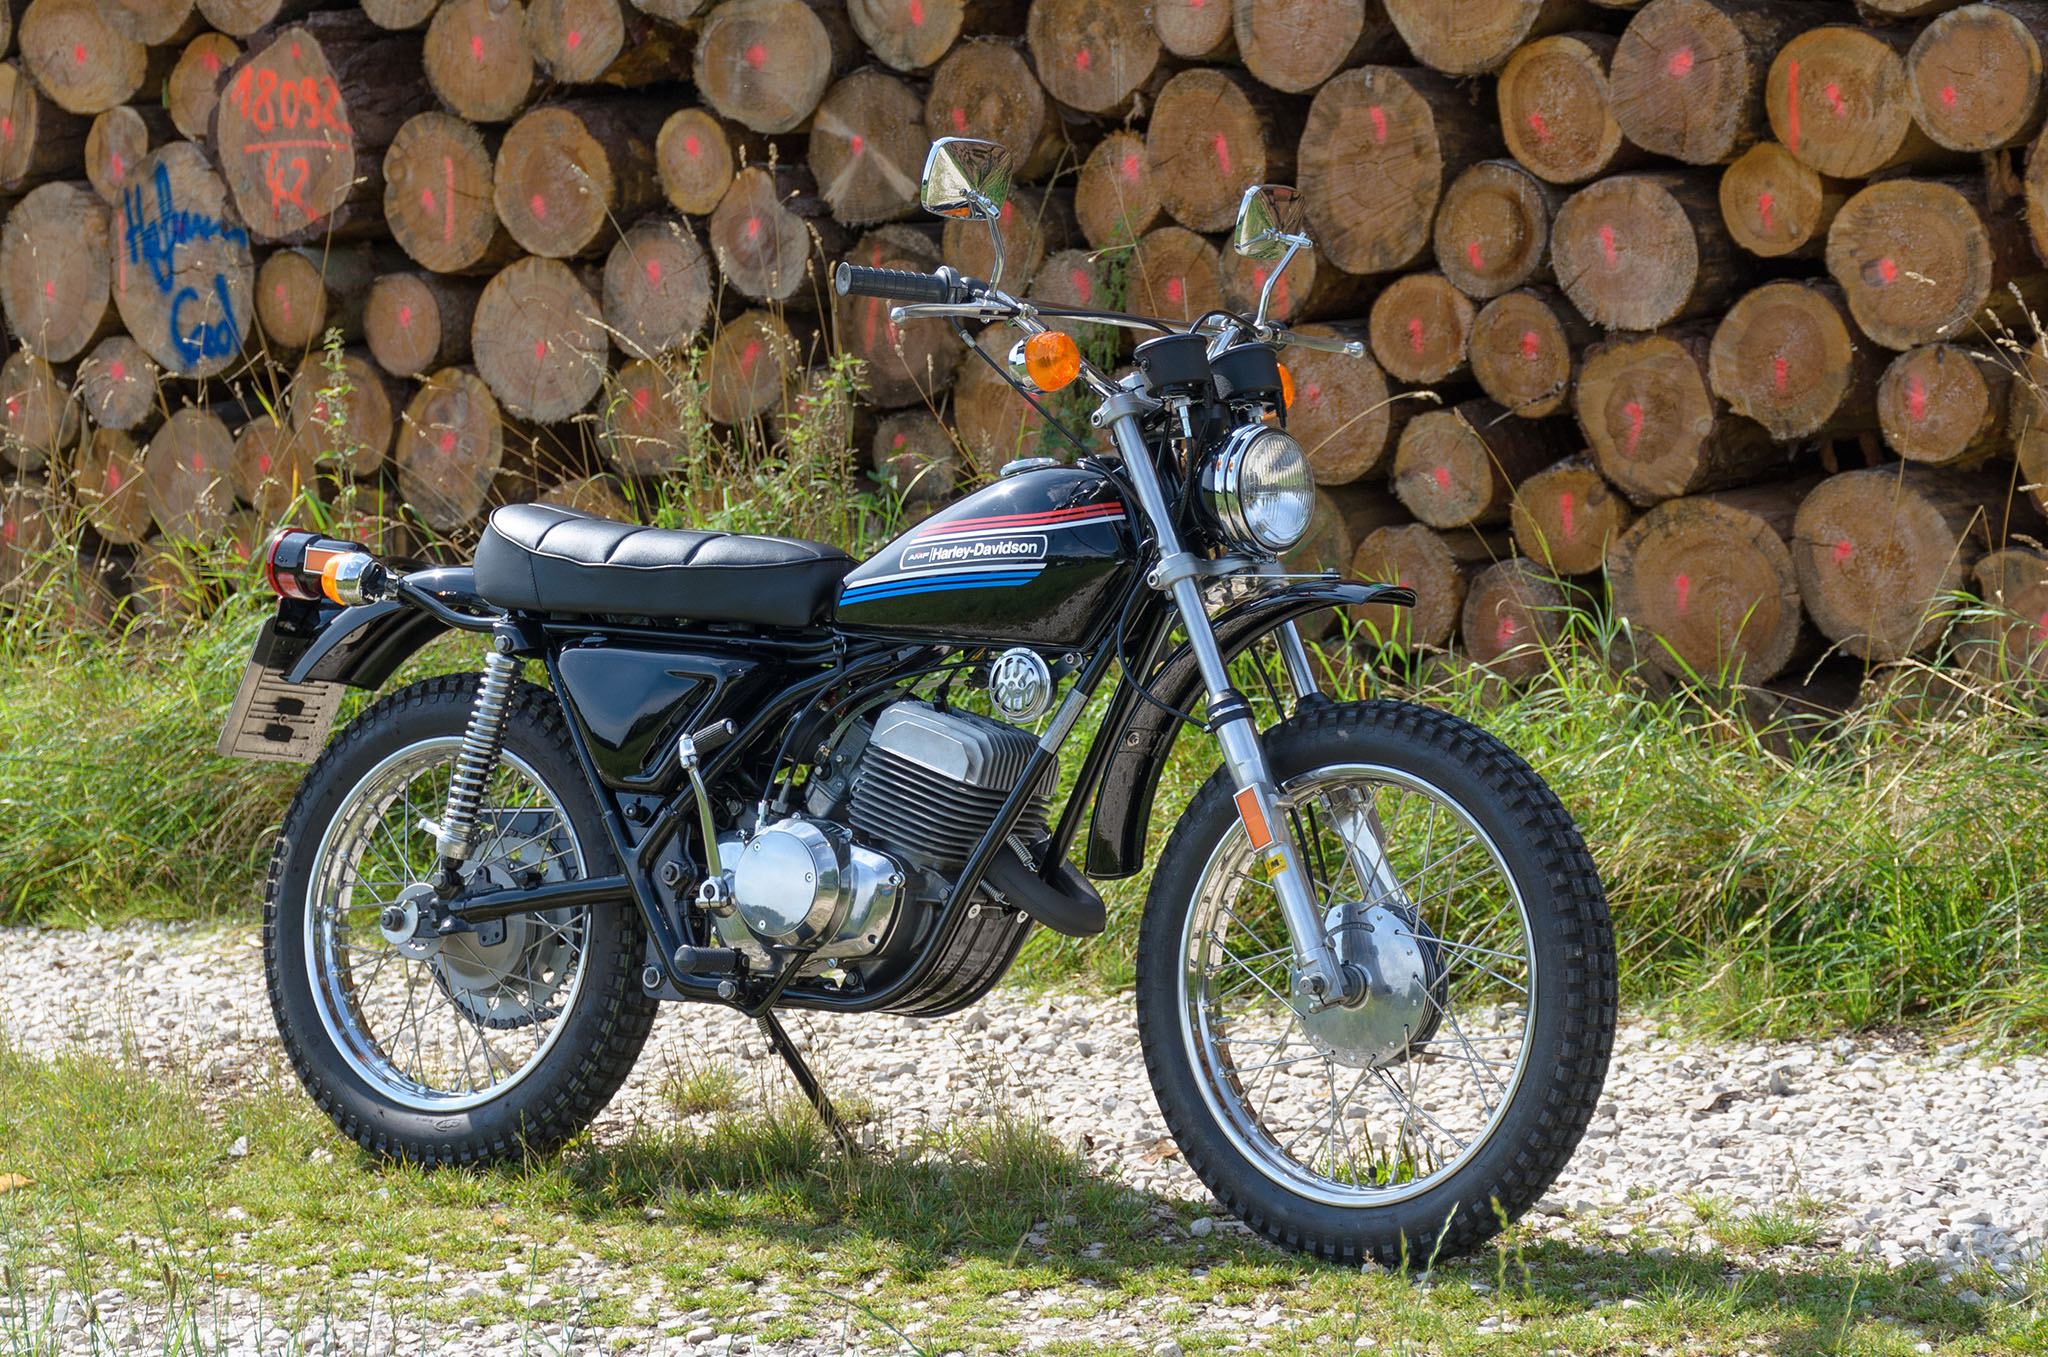

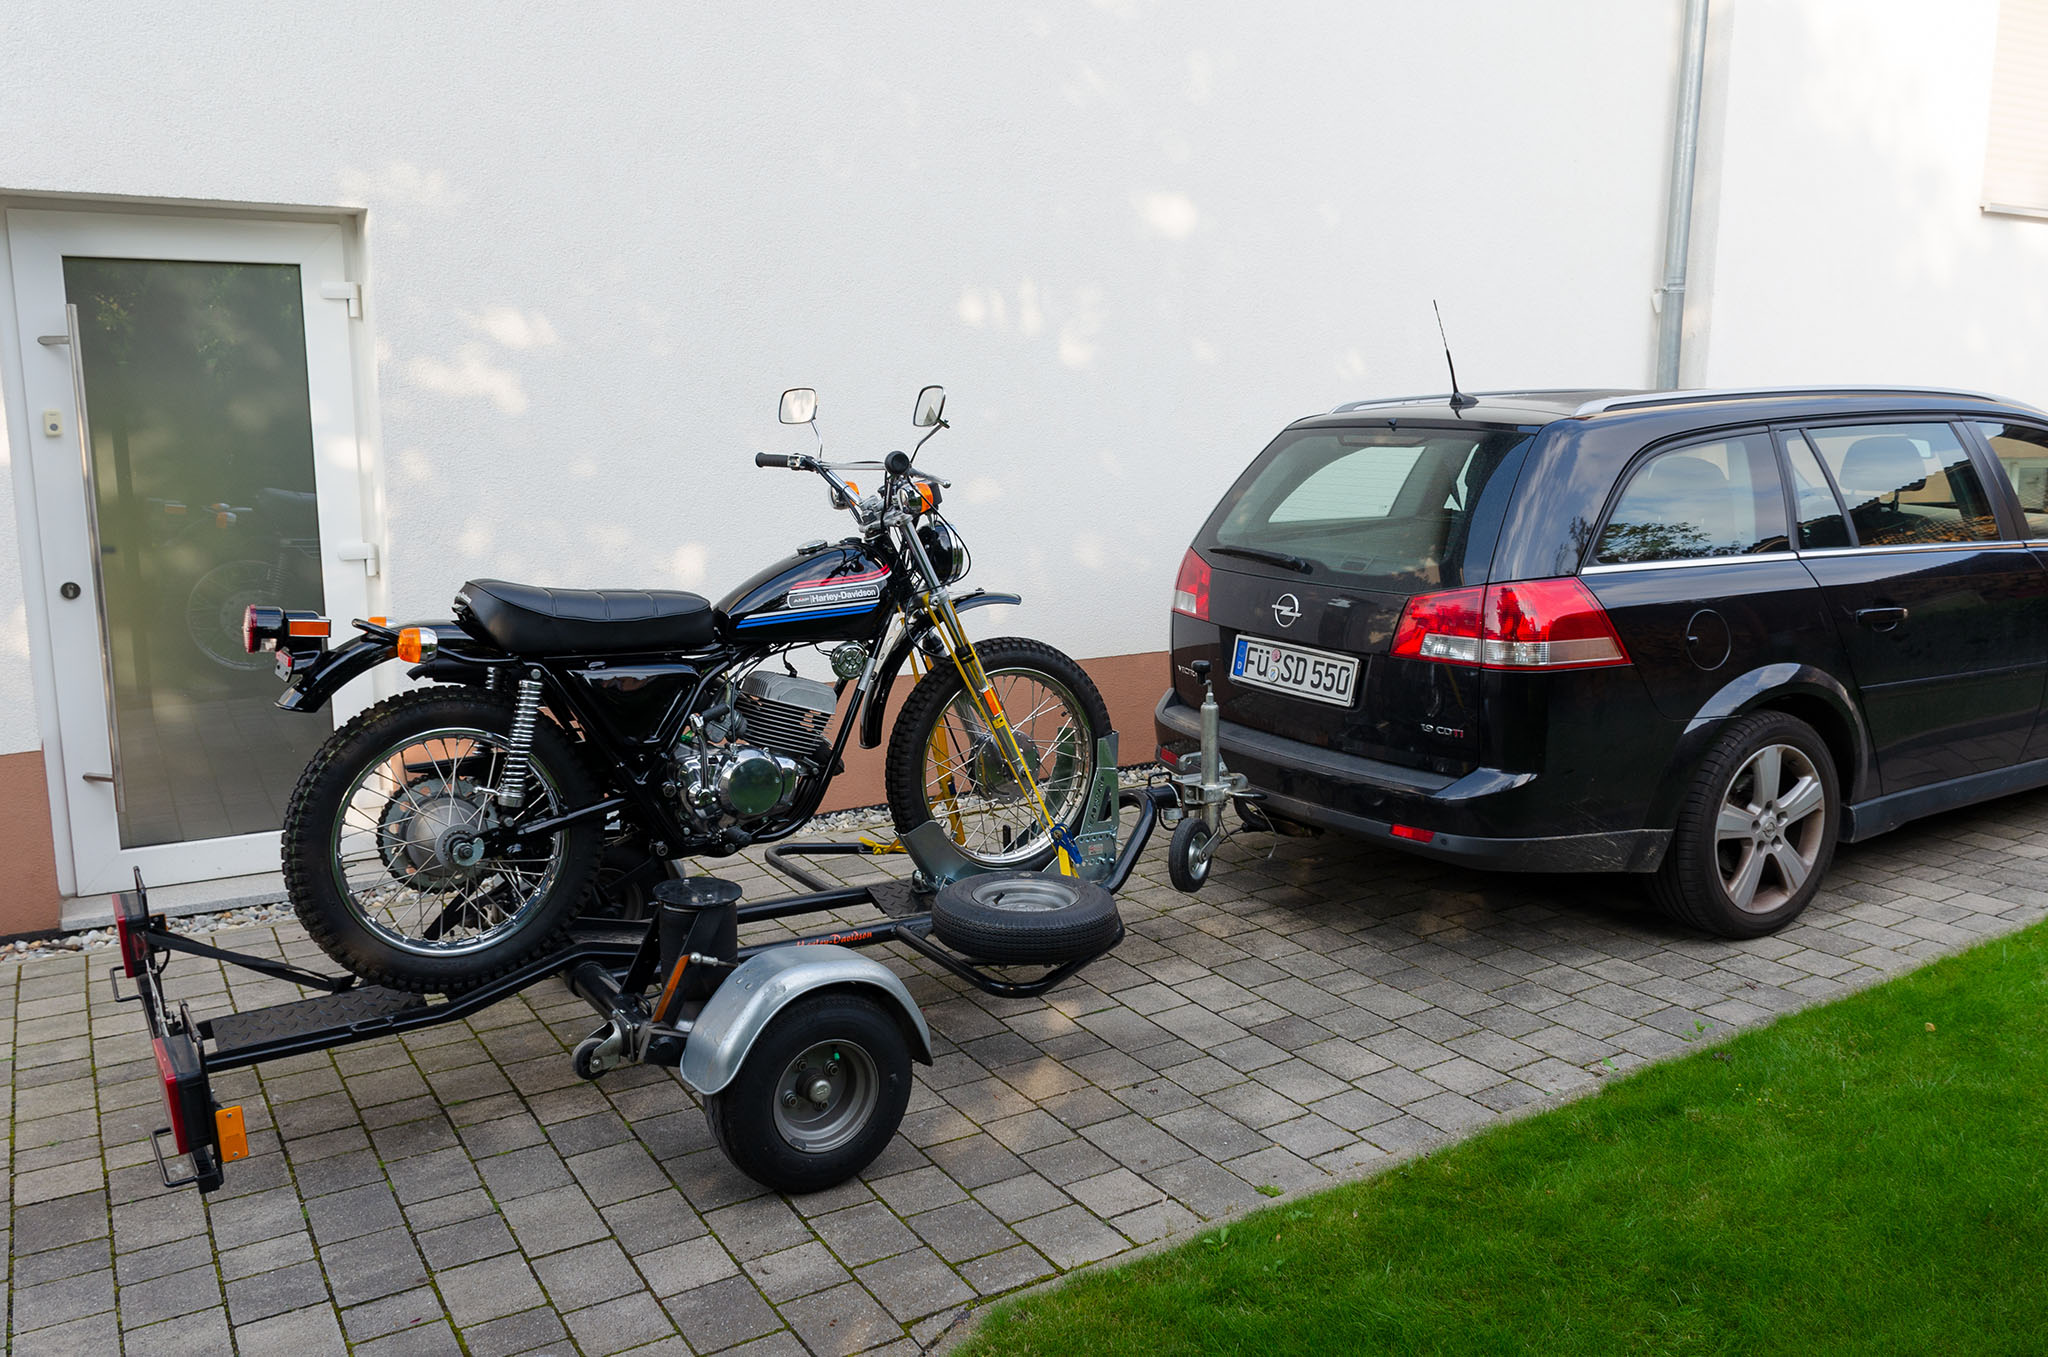
I am currently writing an article for a “classic motorcycle” magazine in Germany about the SX-175. Today I took the bike for a little spin and a photoshooting for that article.
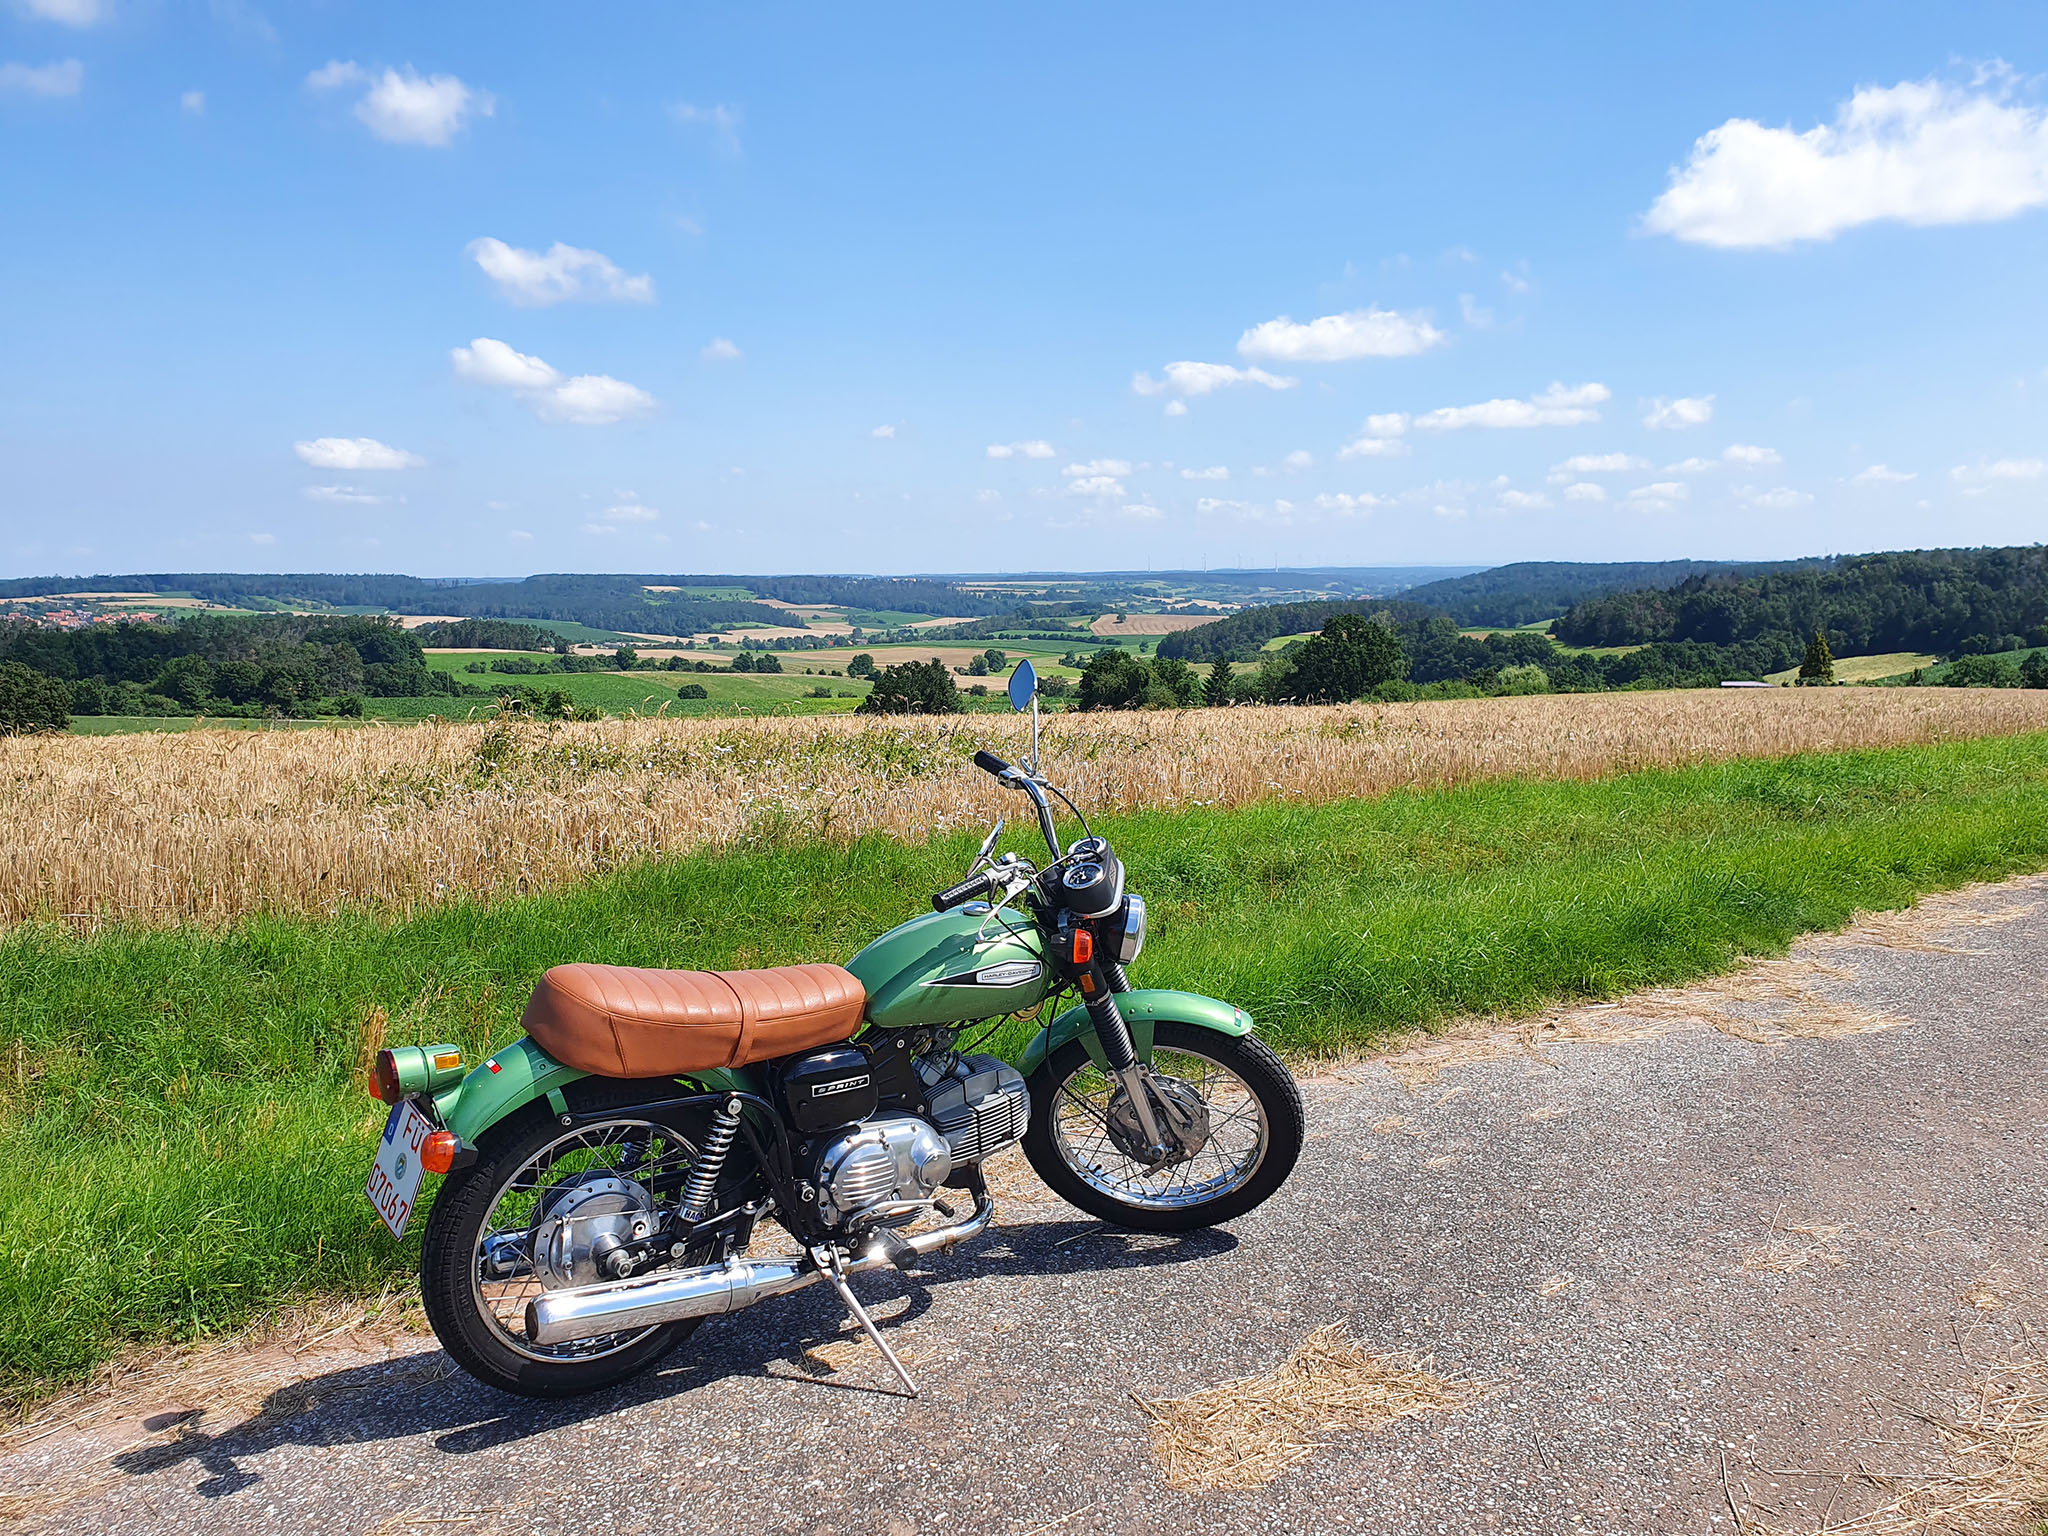

I had a very nice sunday ride on my GT-350. The bike was starting and running very nicely.
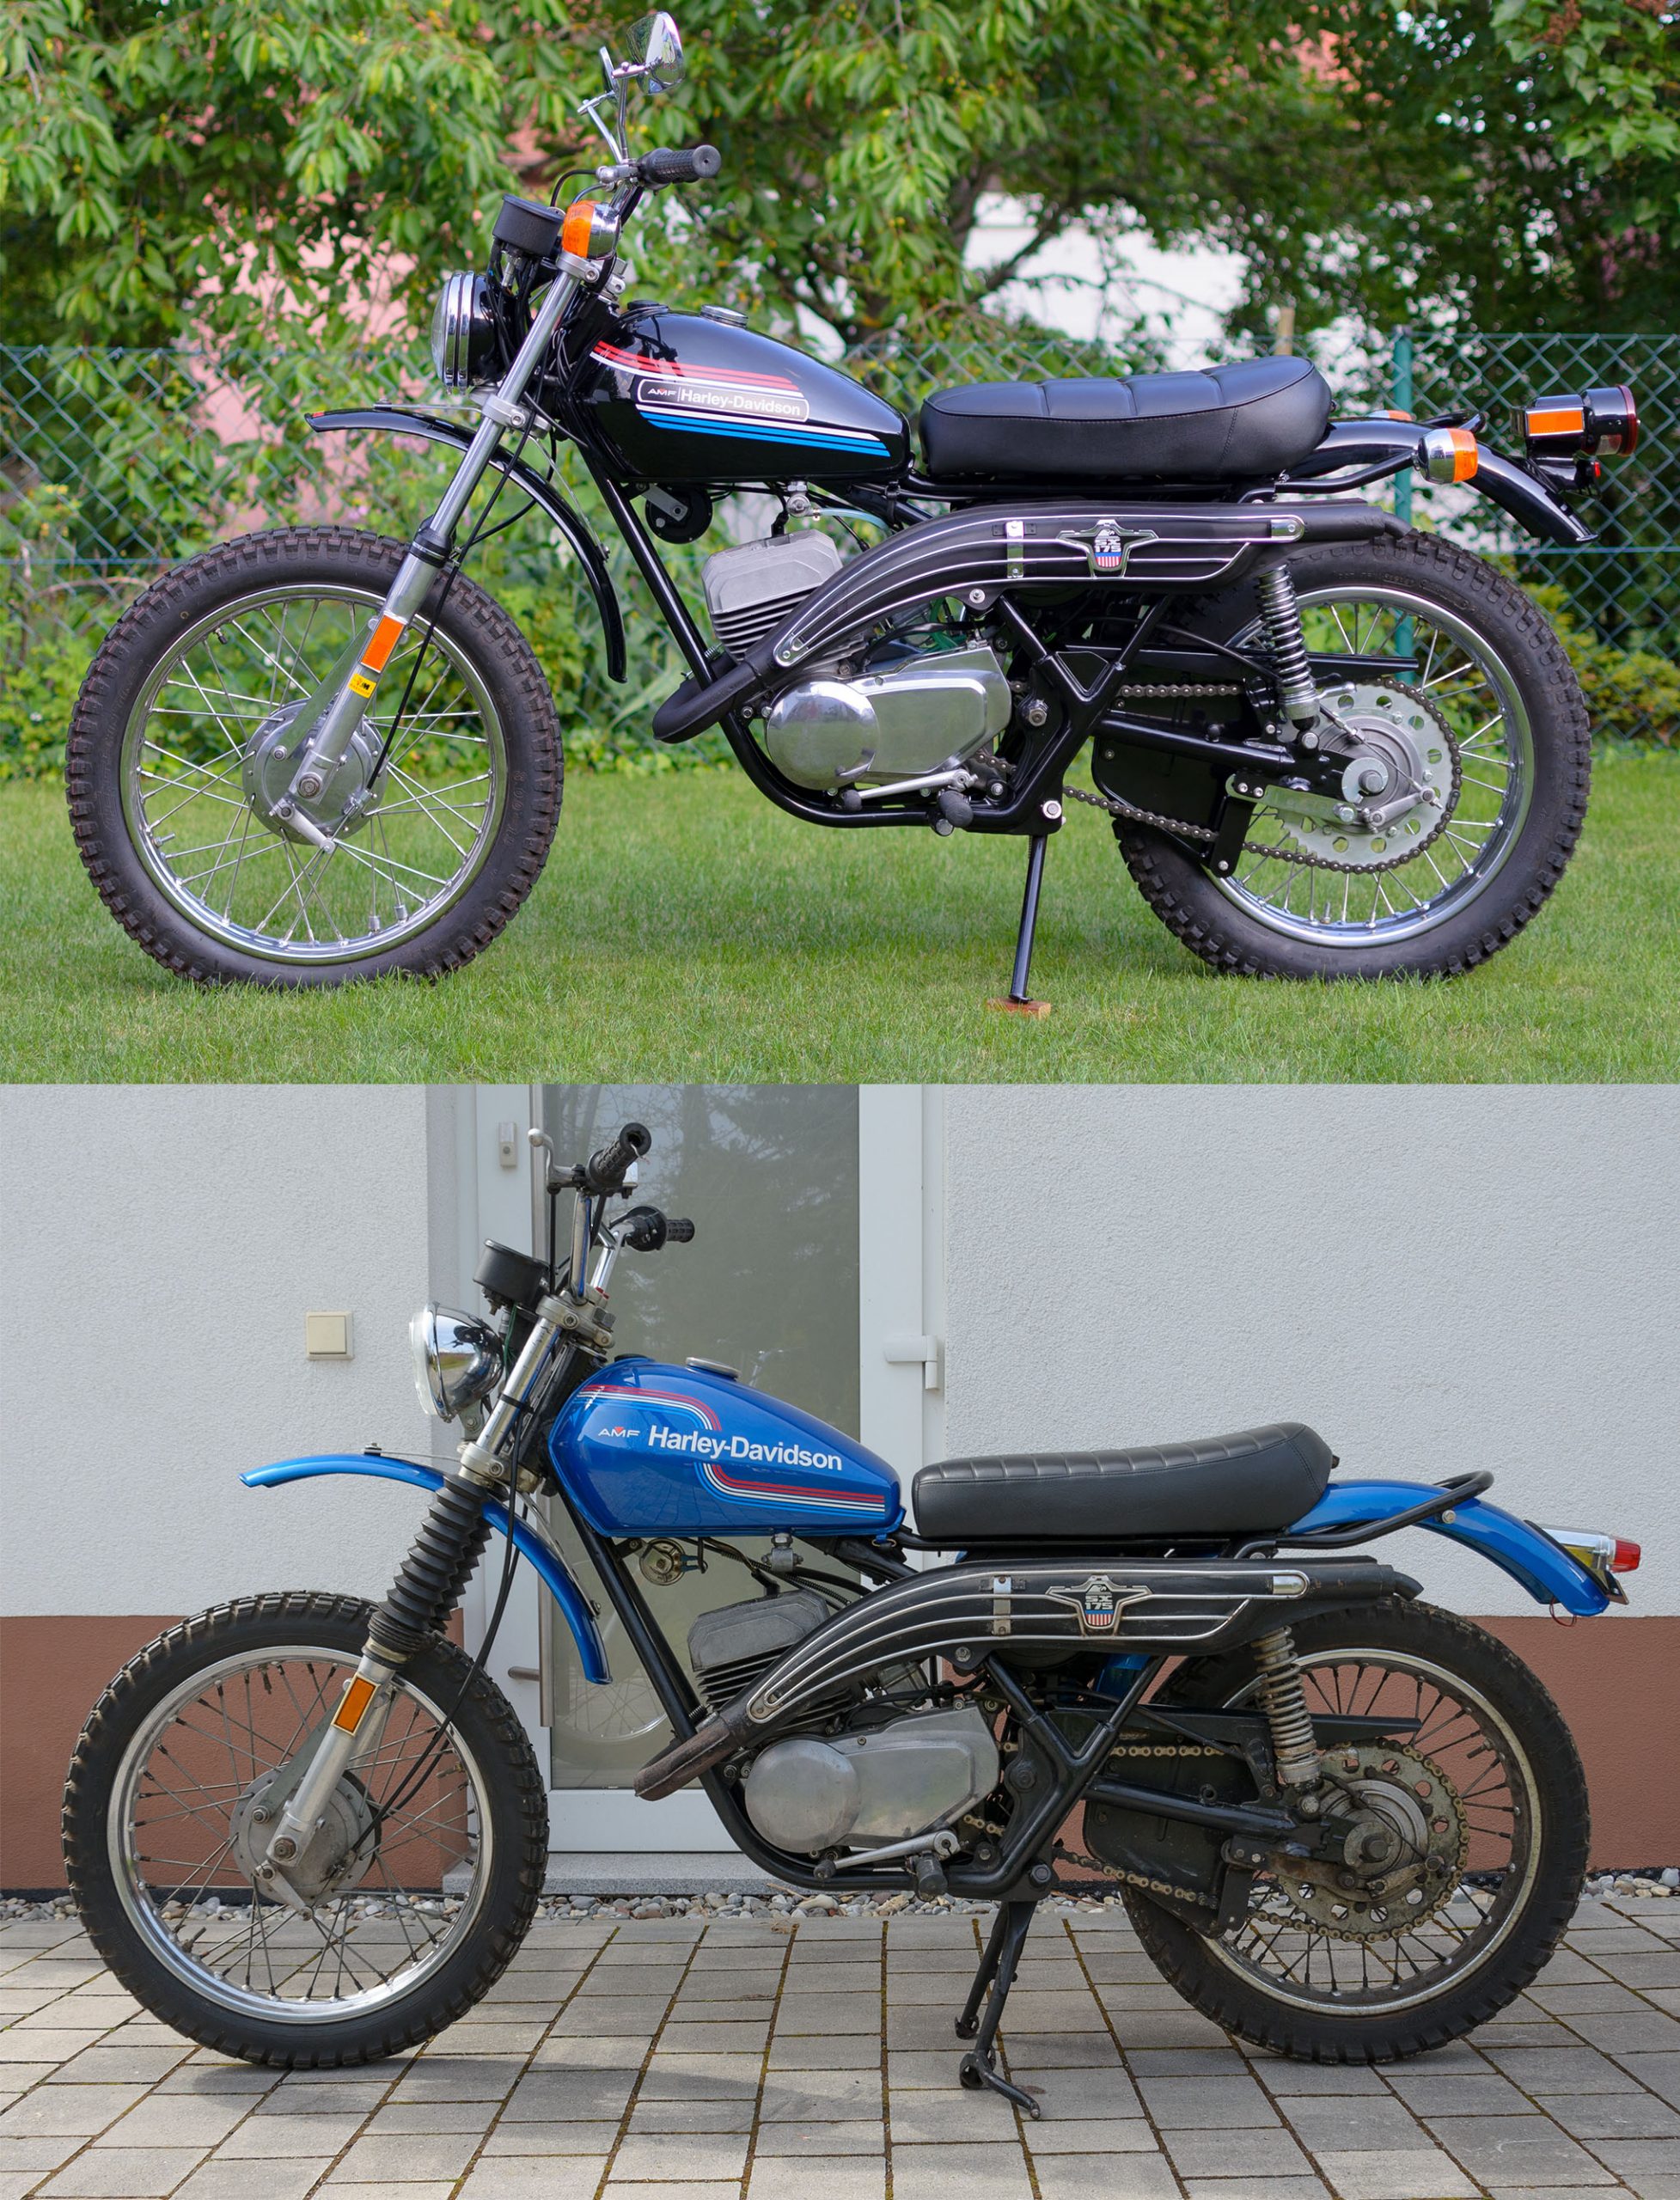
Just a comparison of the bike before and after the restoration.
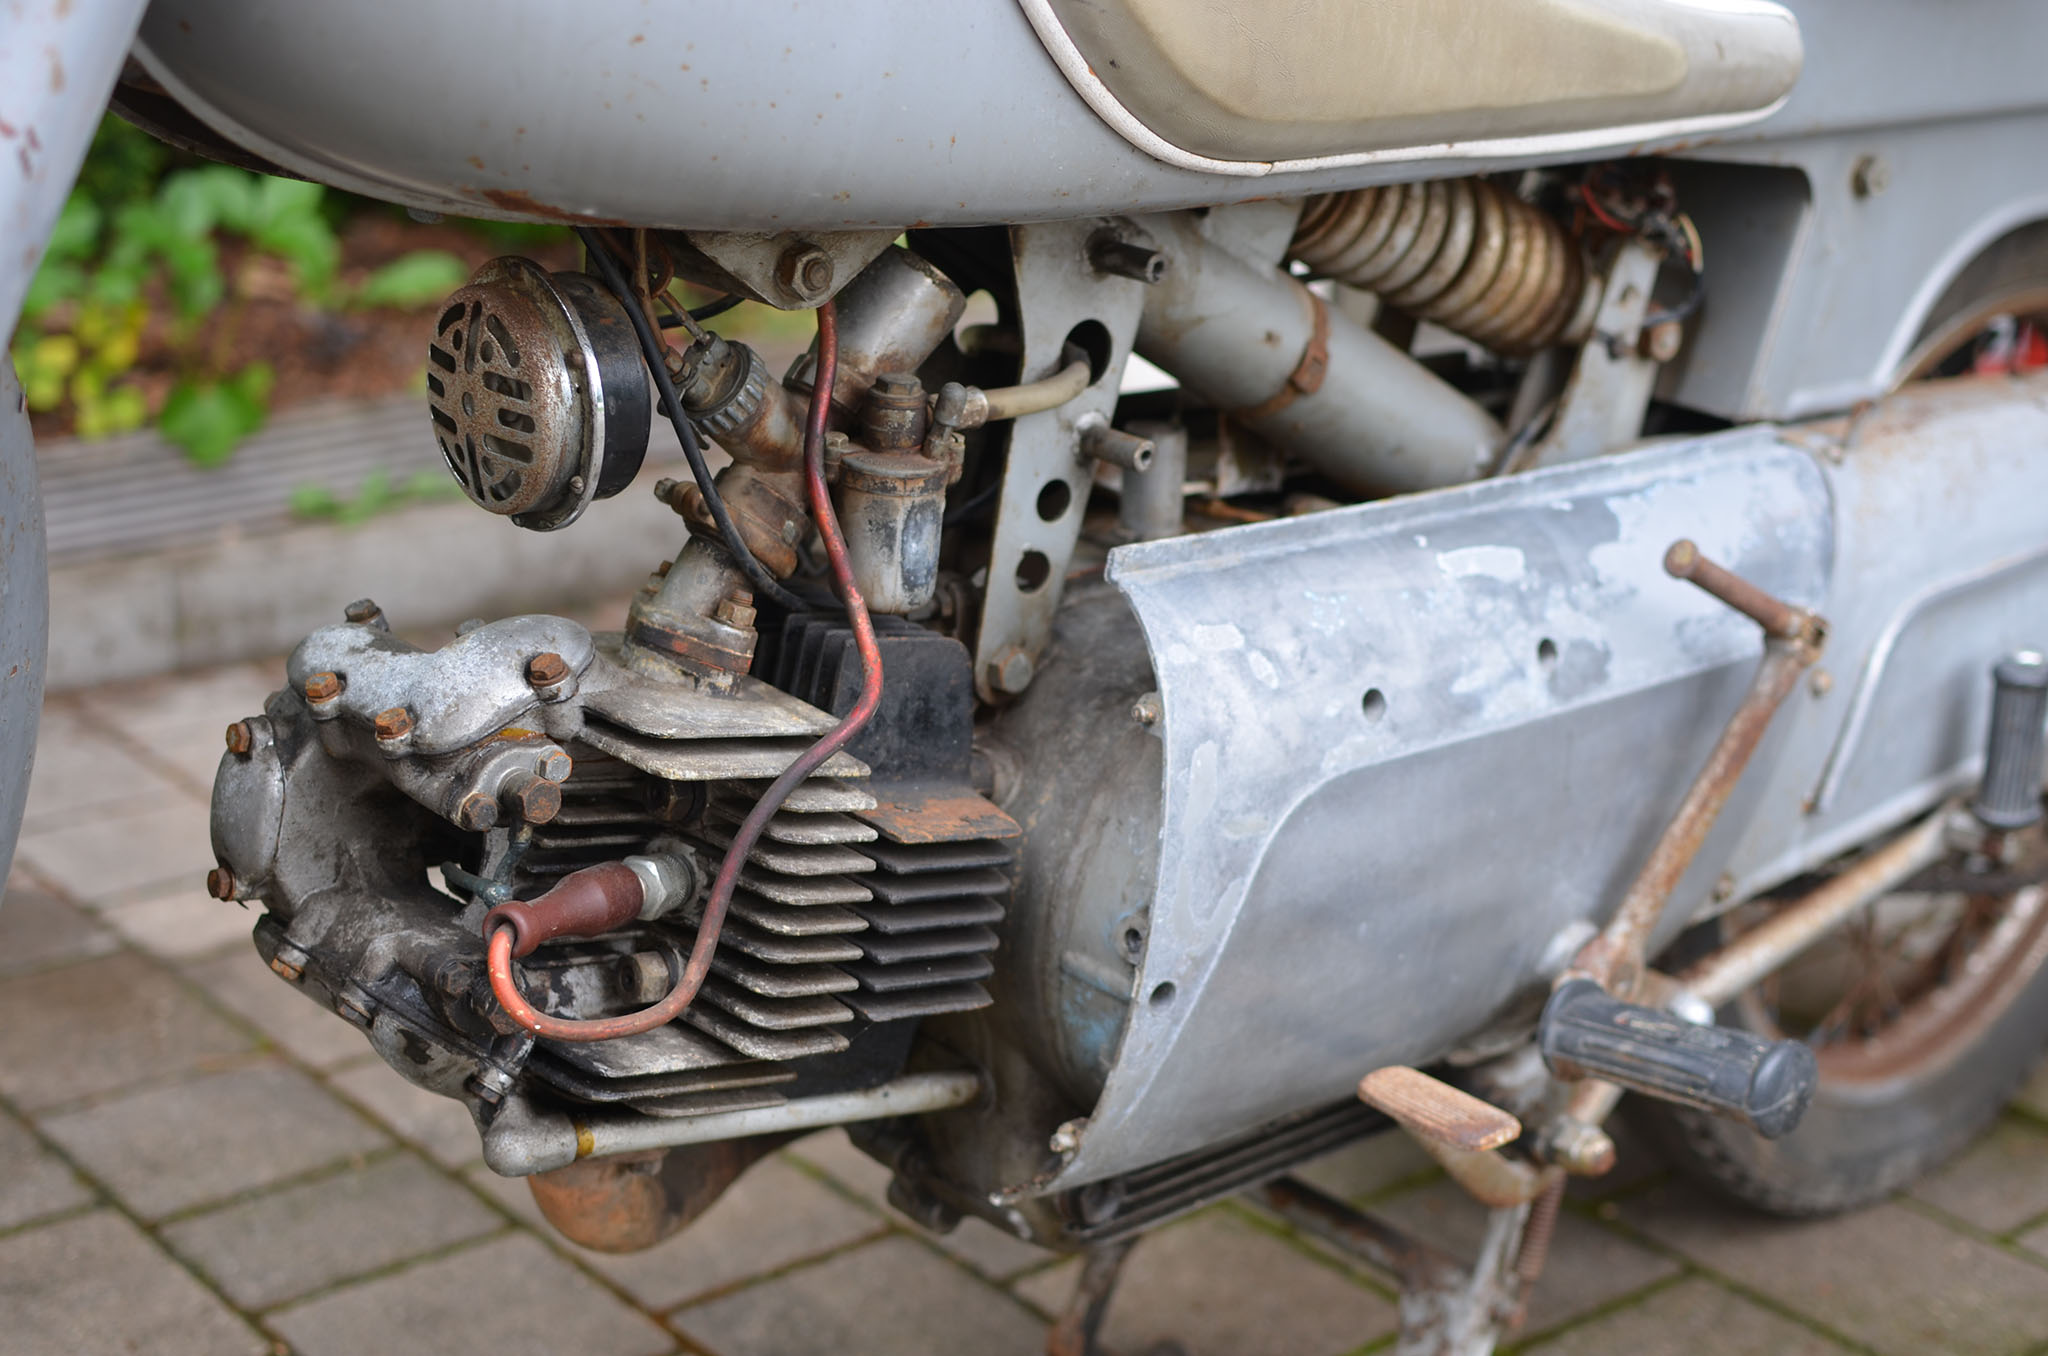

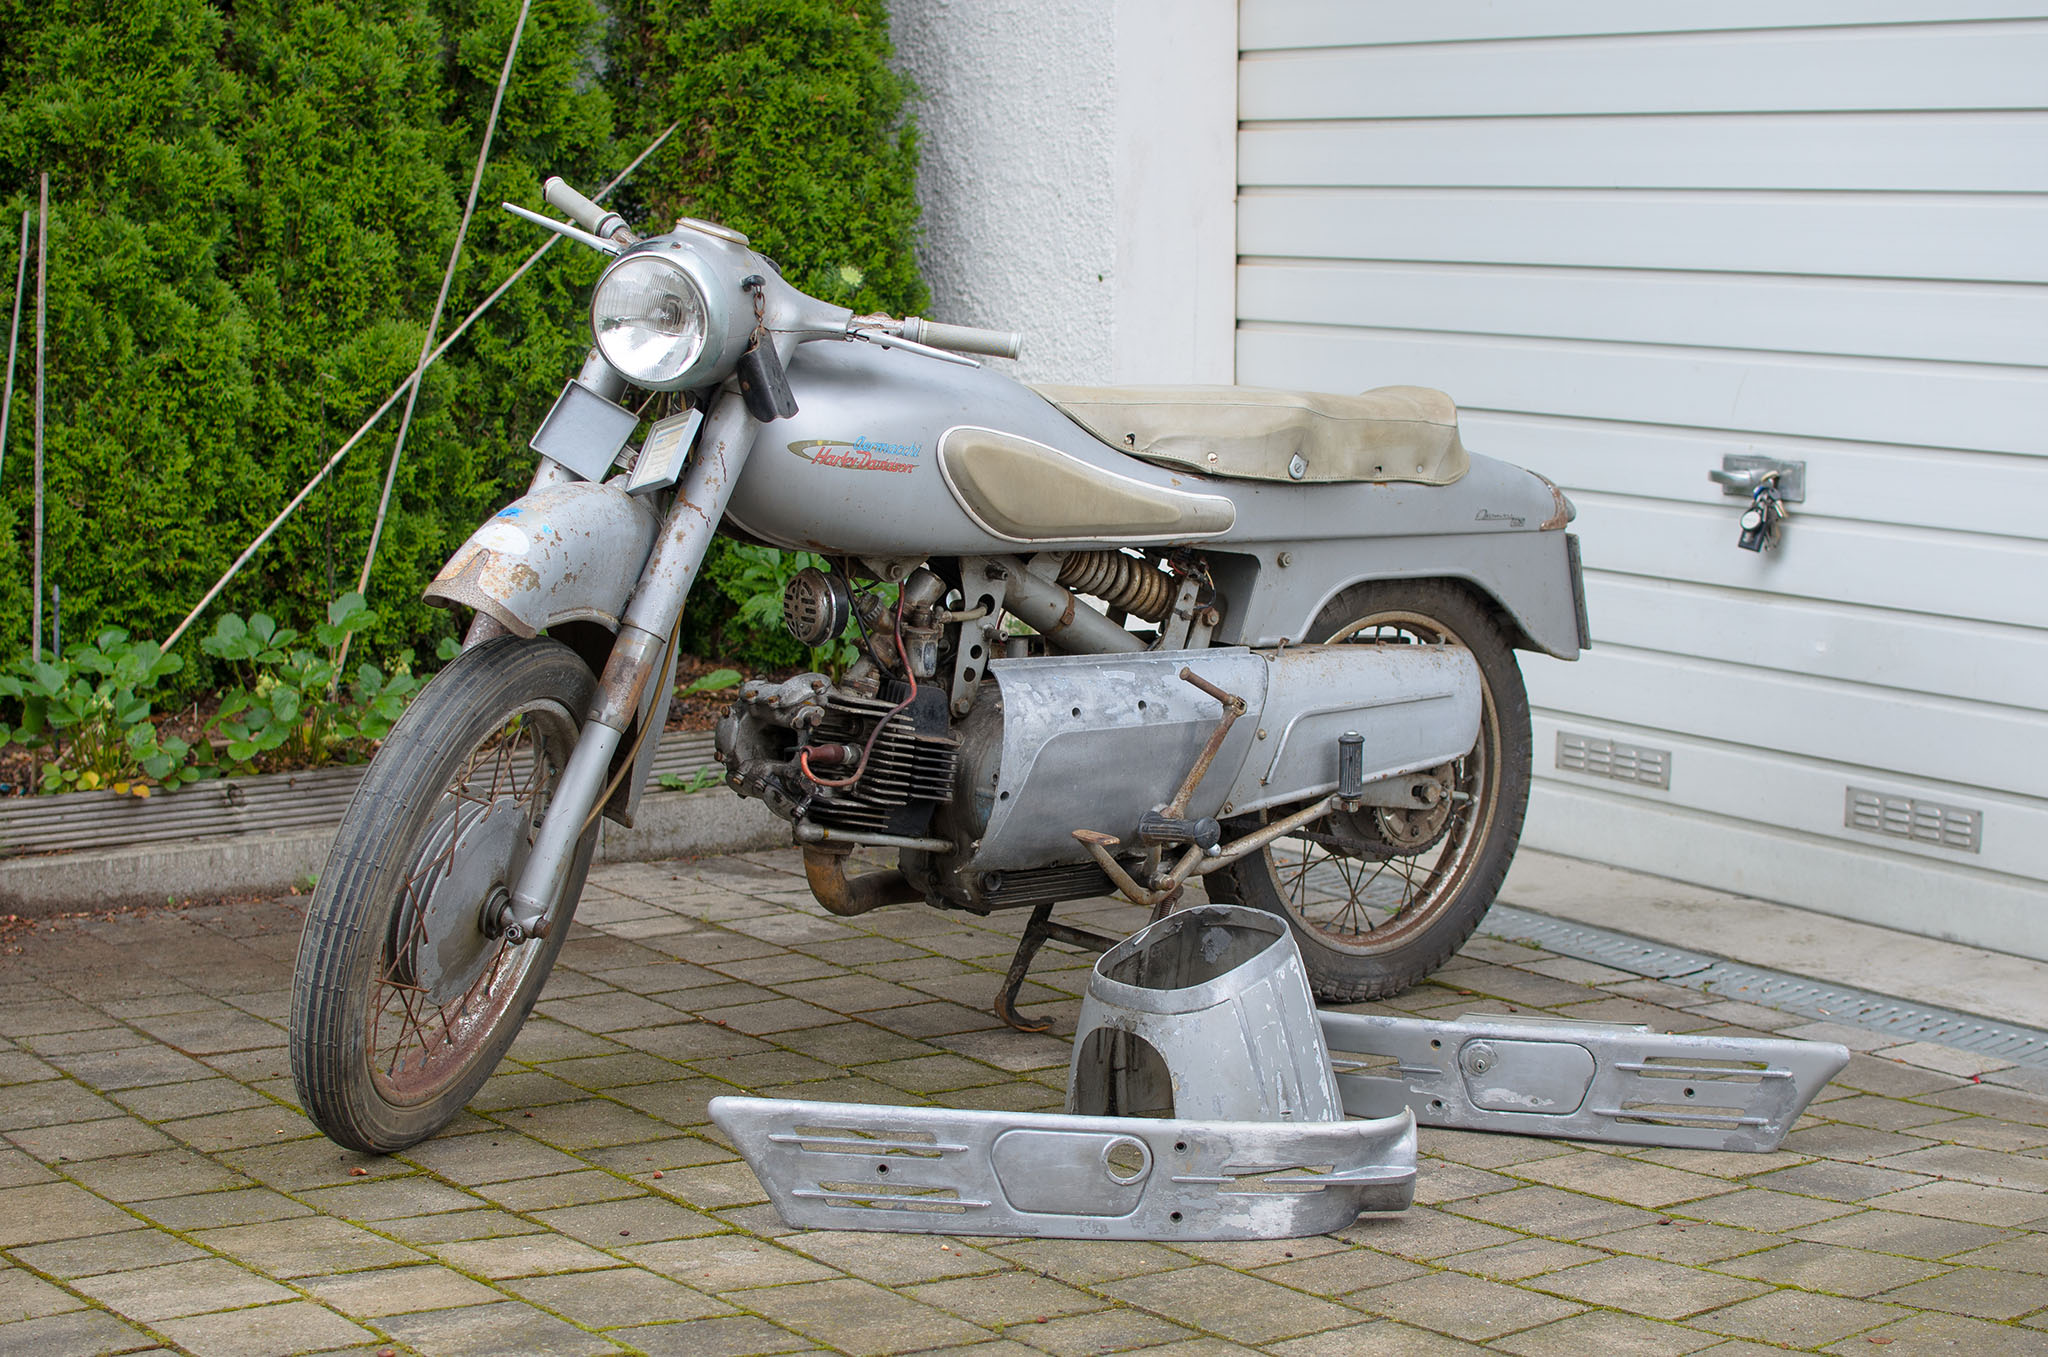
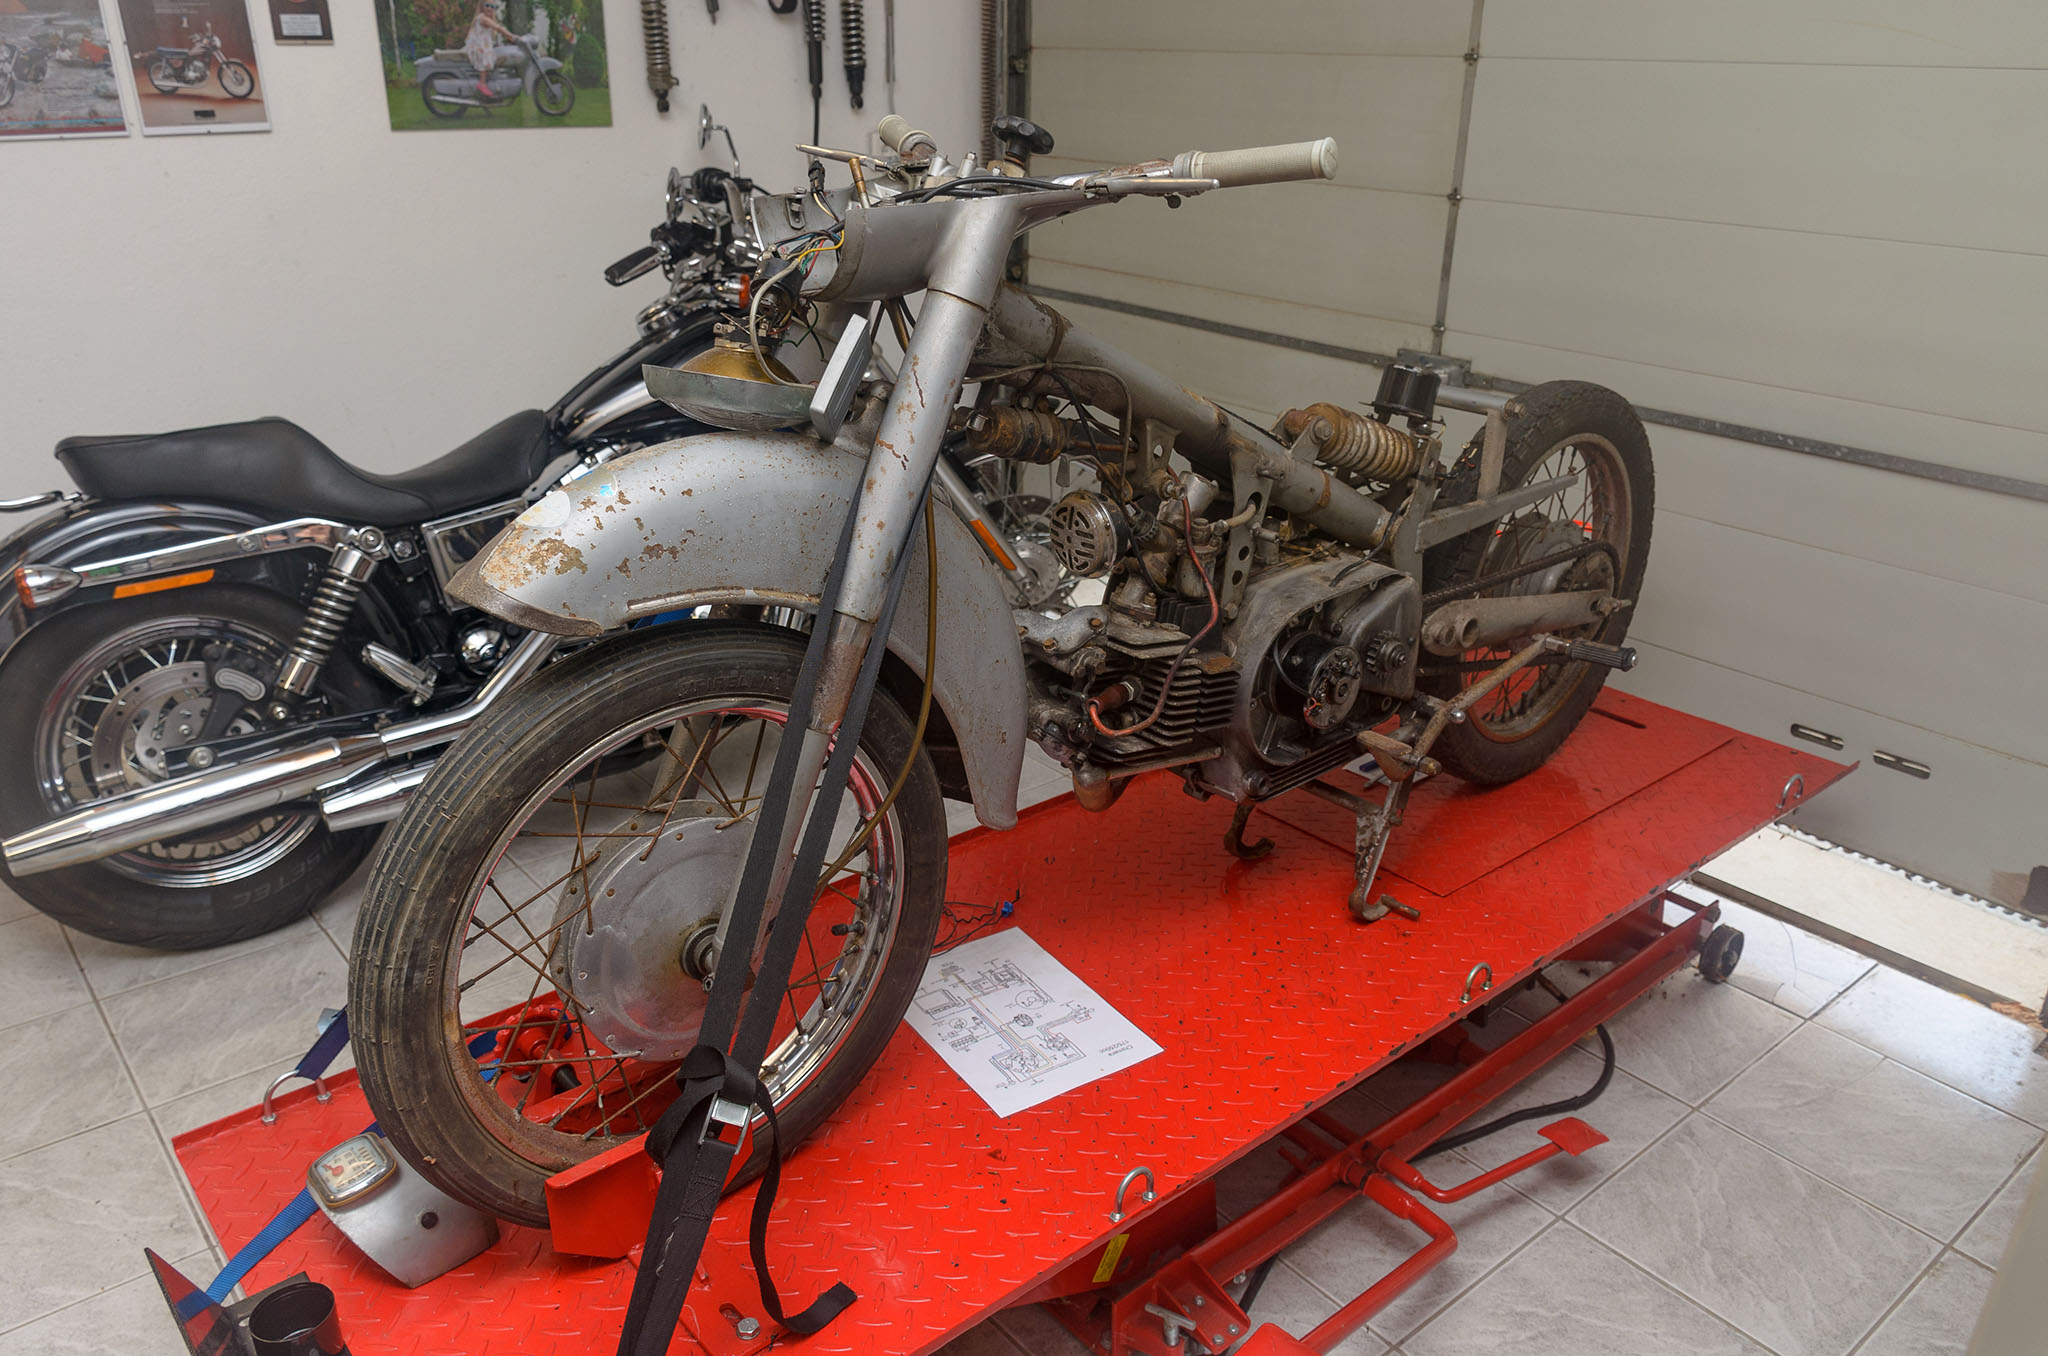
I removed some of the panels and trims to have a look at the engine, carb and other stuff like the monoschock. Everything looks very rusty, but otherwise in good original condition. I connected a 6V battery, but there was no spark.