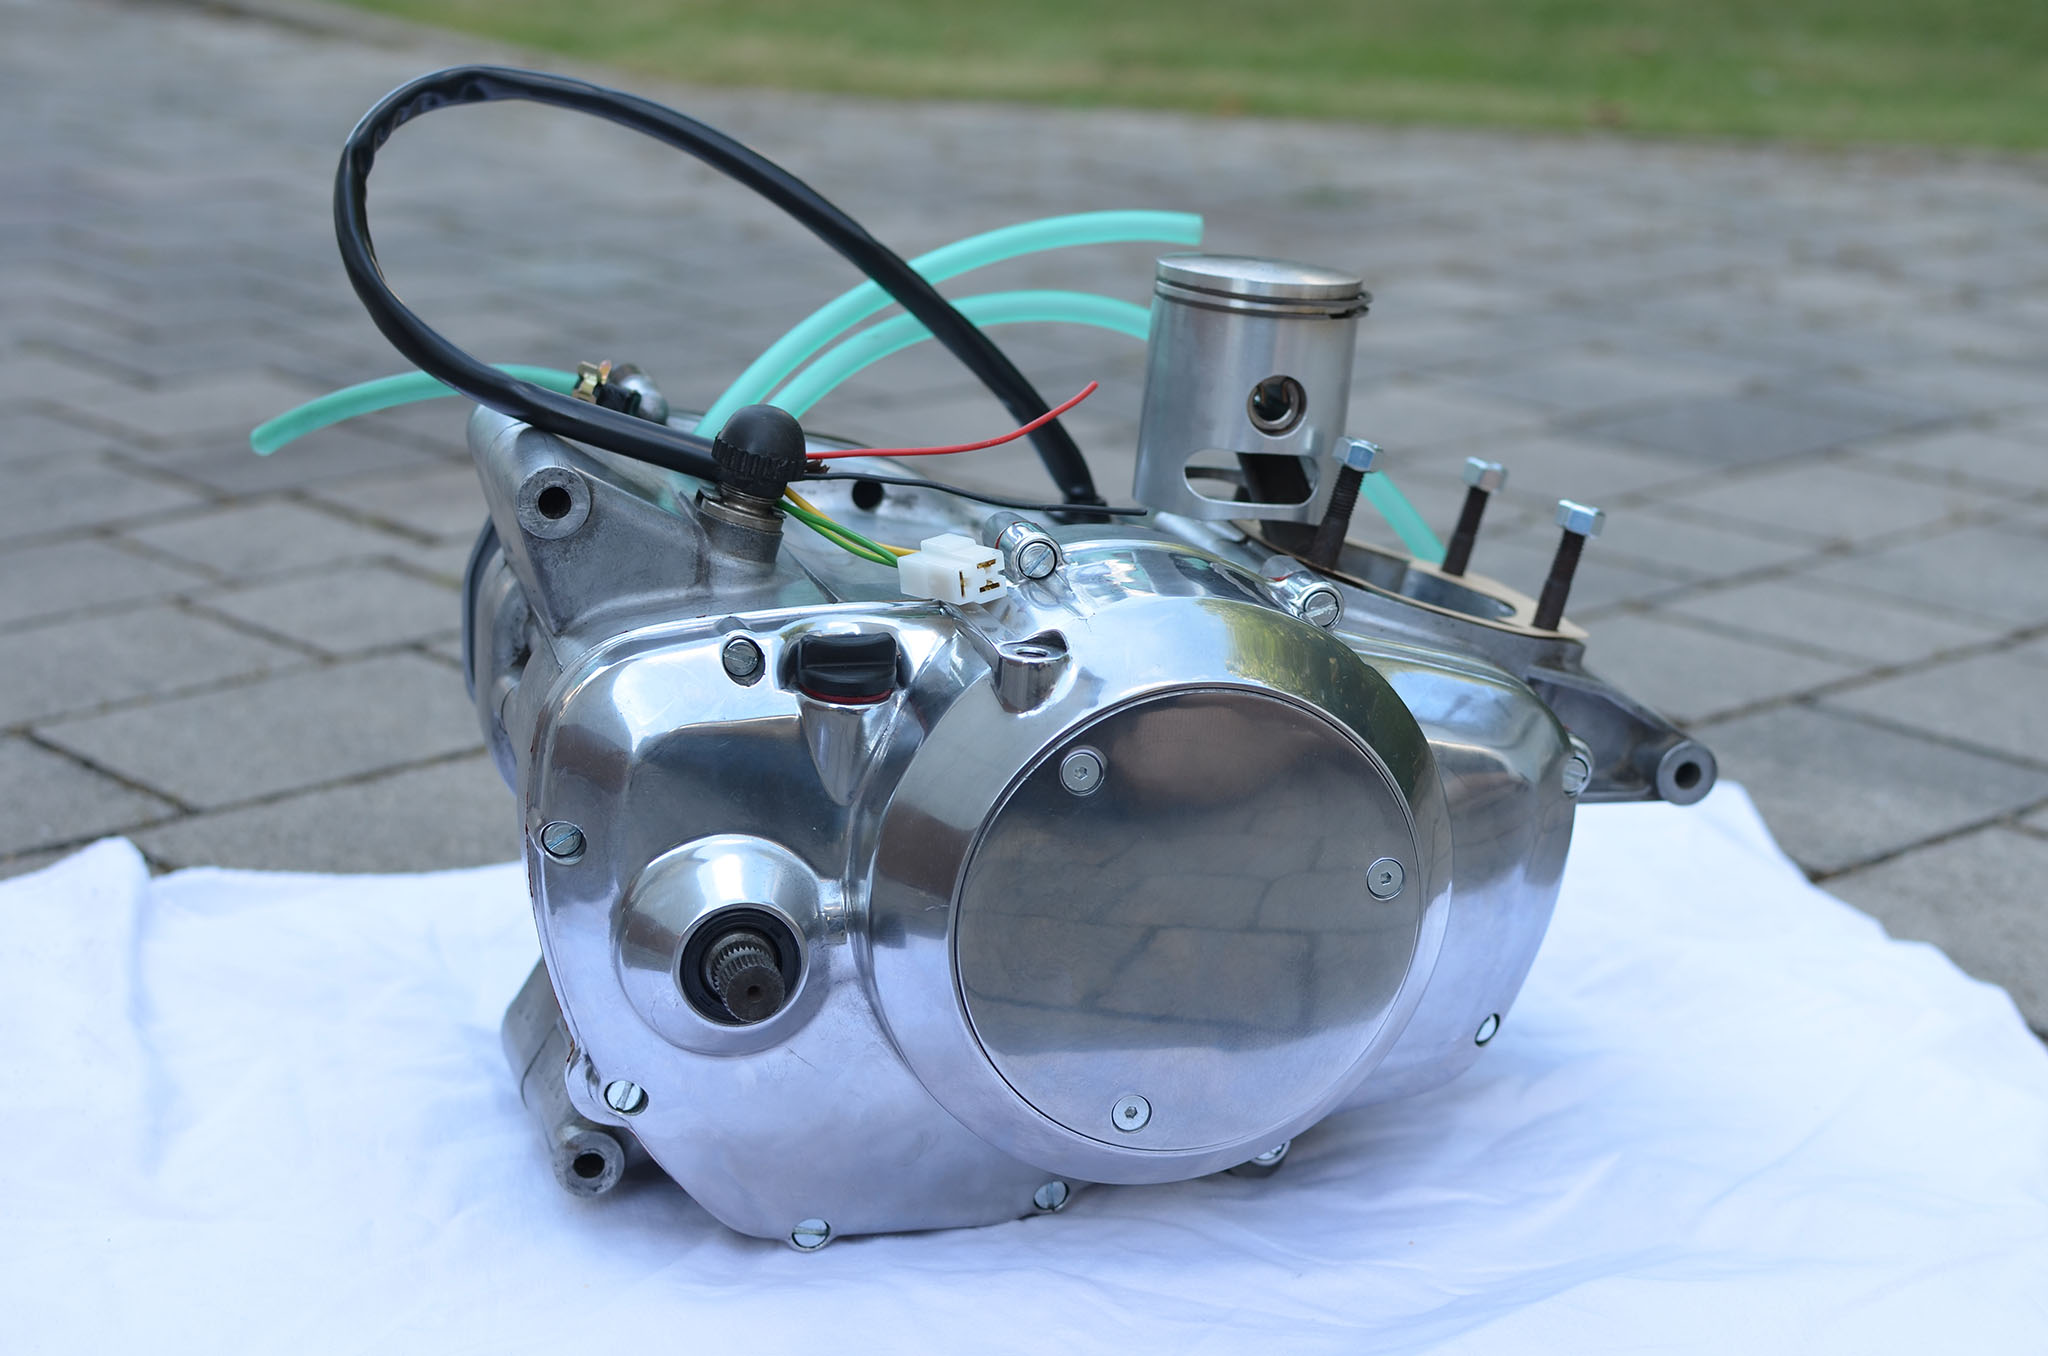
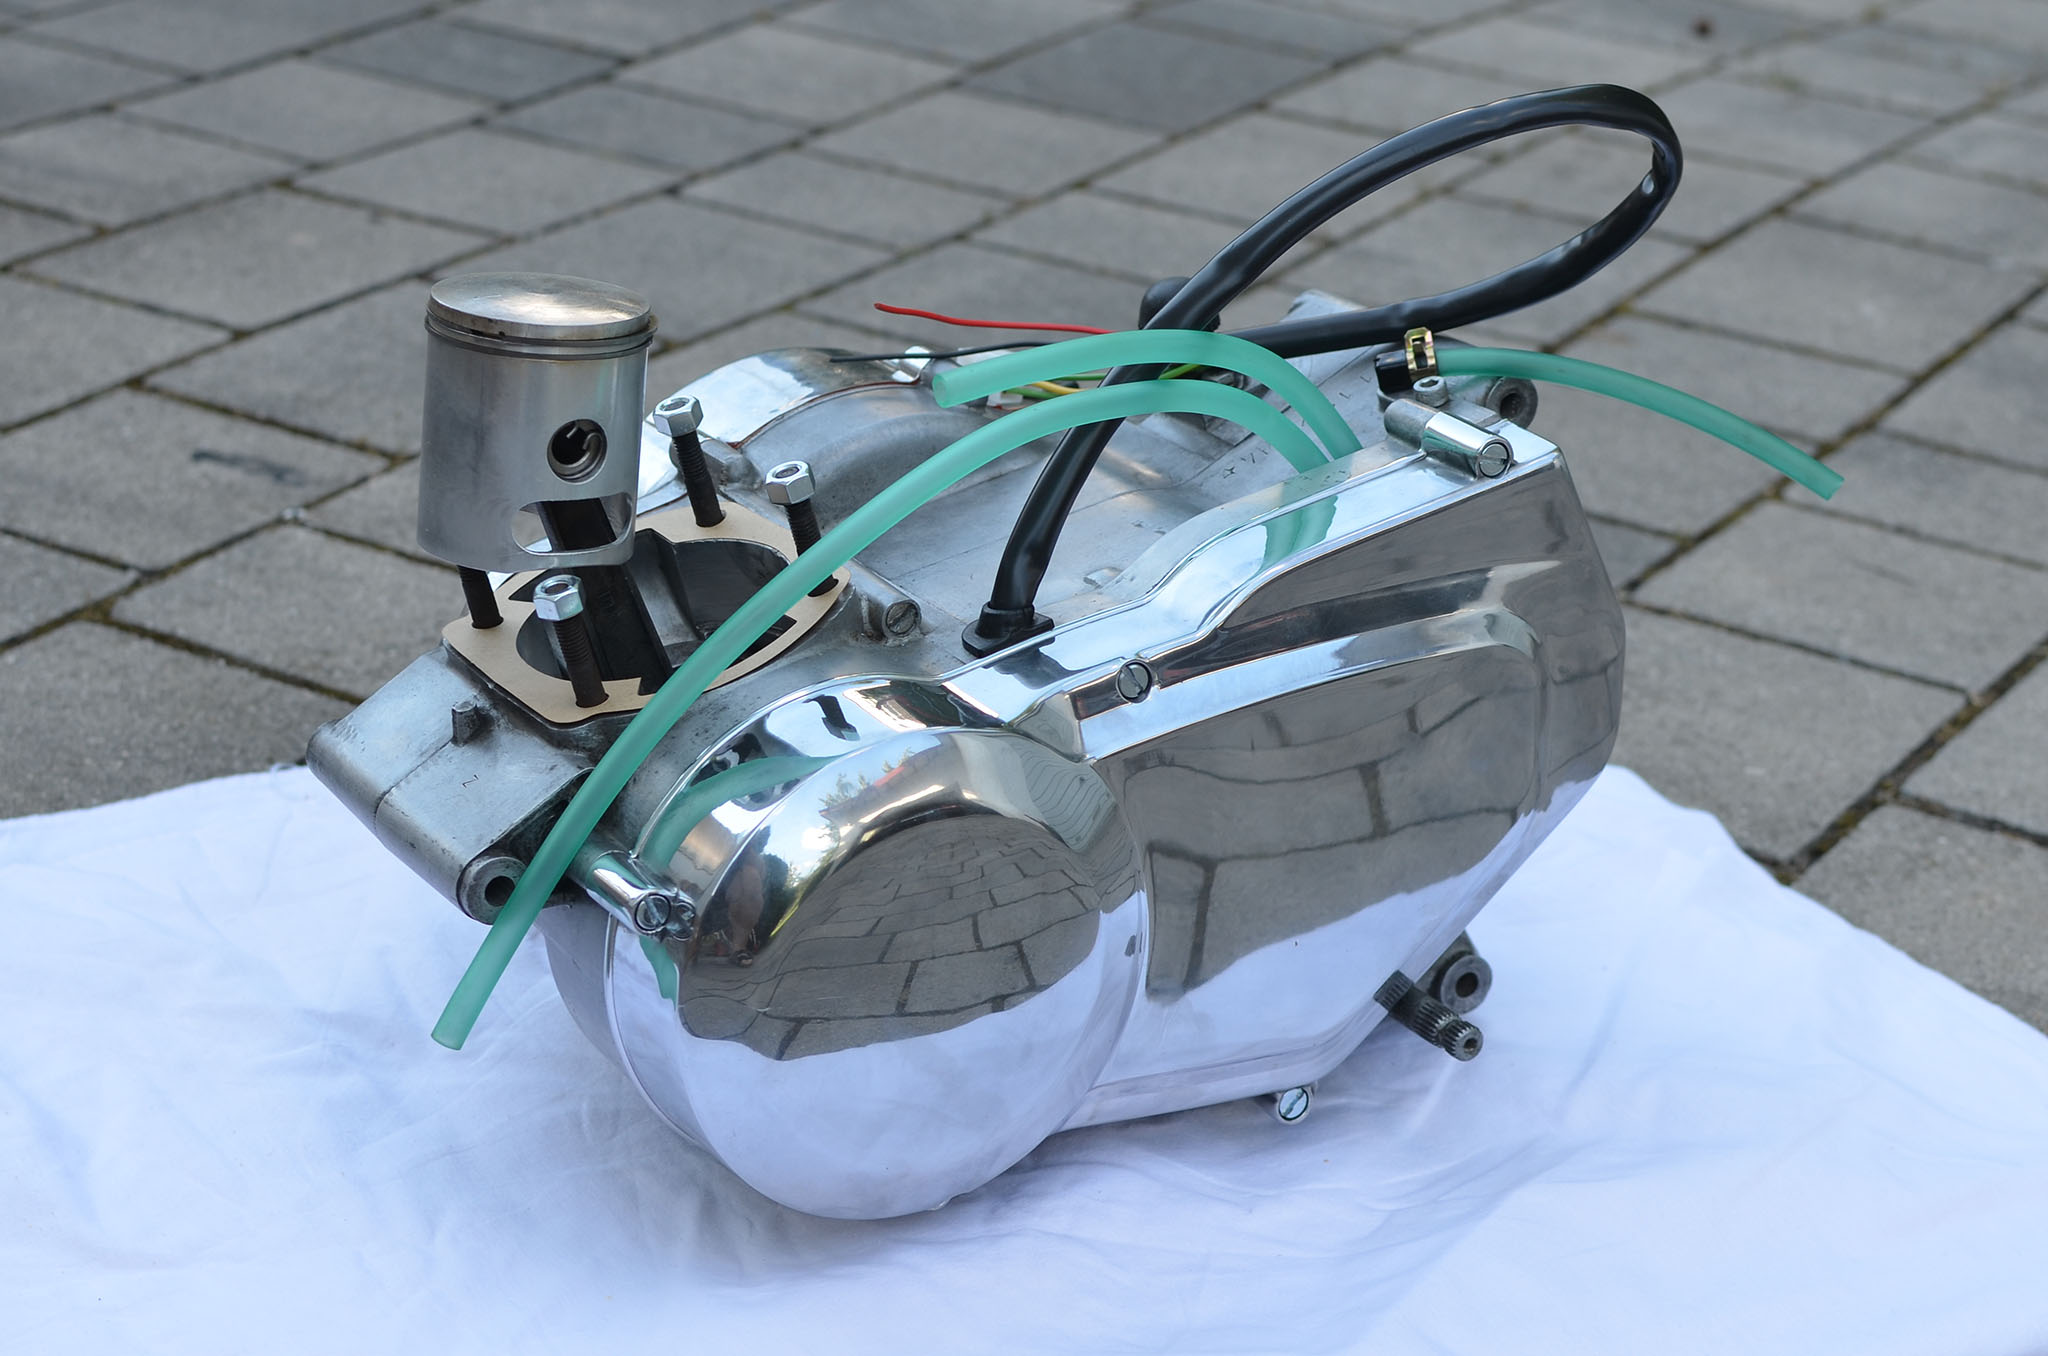
This time I didn’t split the crankcase as I tested the engine and it was running fine and strong. The previous owner also had a new piston and rings made for the bike.
This time I didn’t split the crankcase as I tested the engine and it was running fine and strong. The previous owner also had a new piston and rings made for the bike.
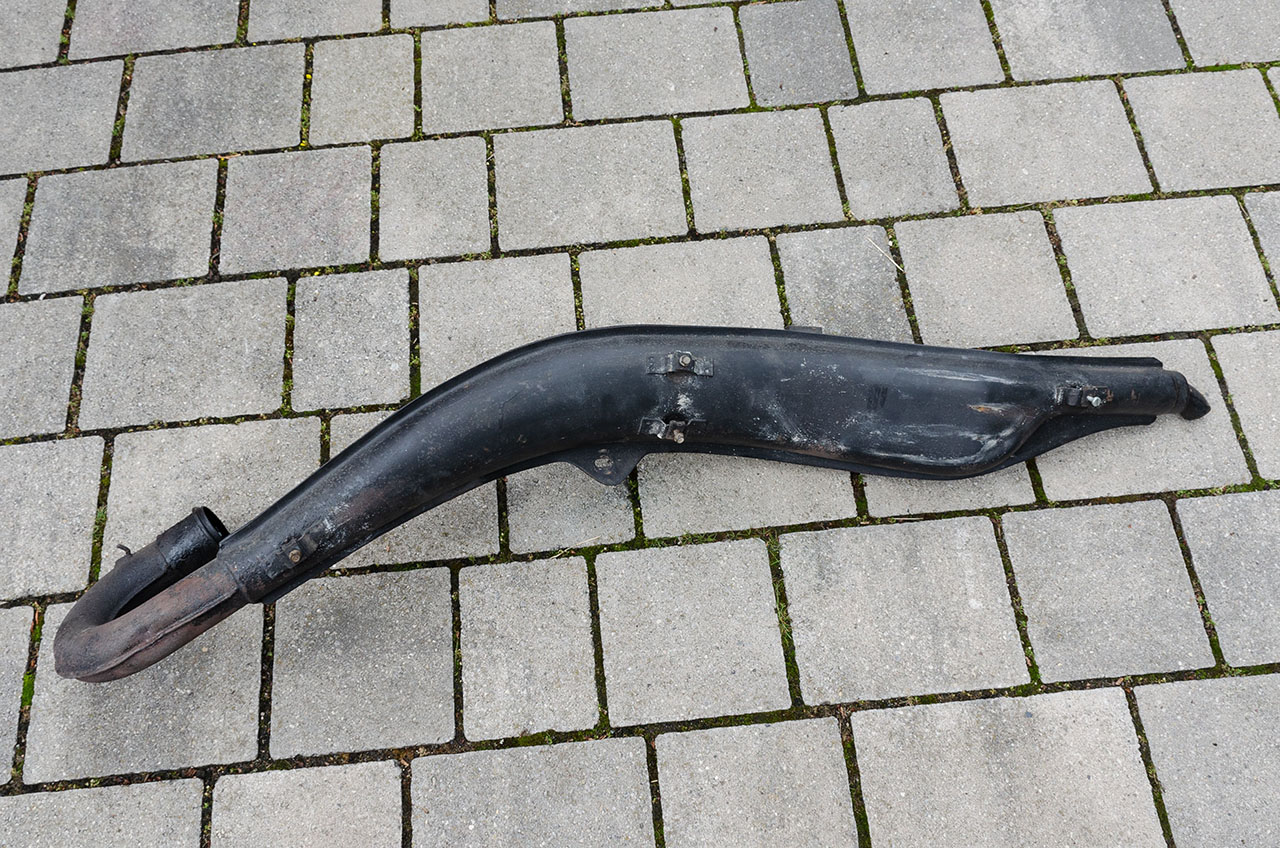

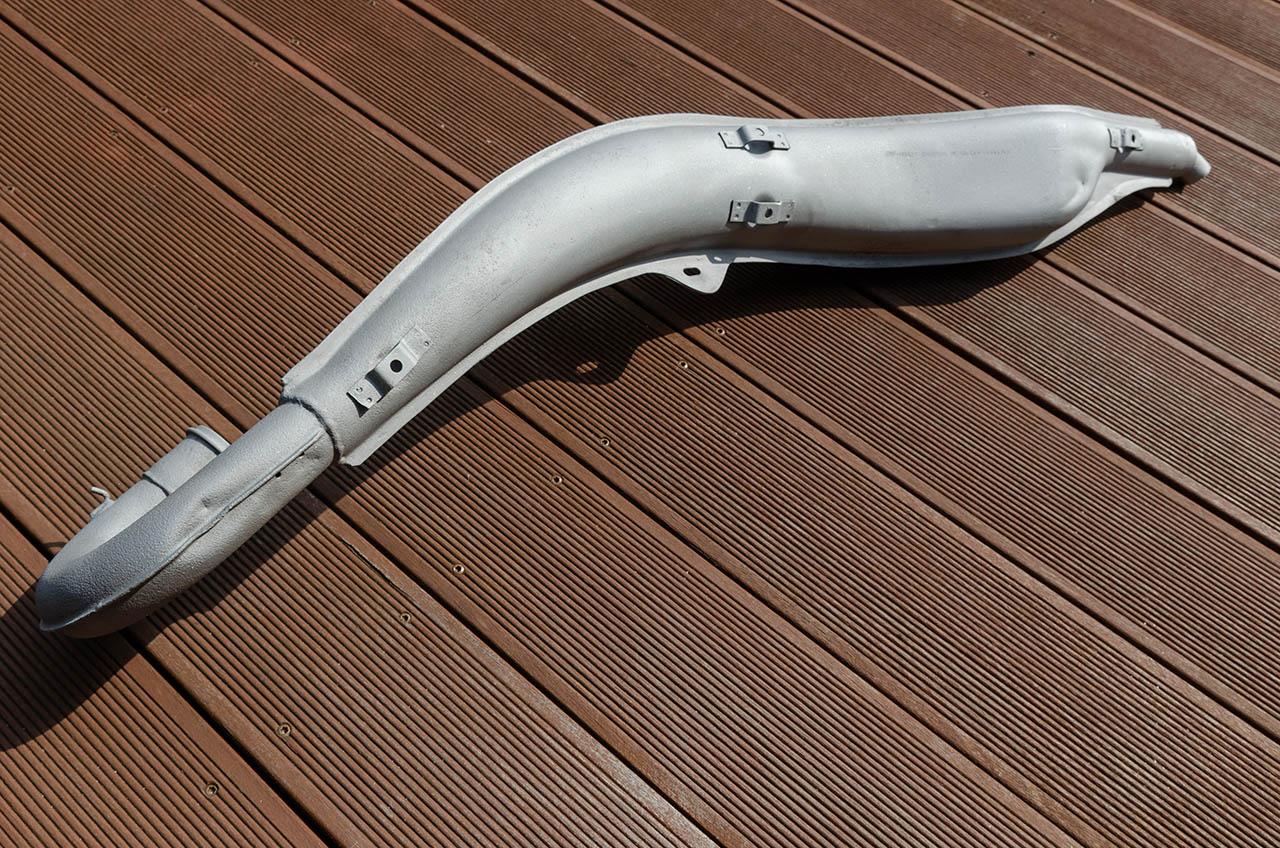

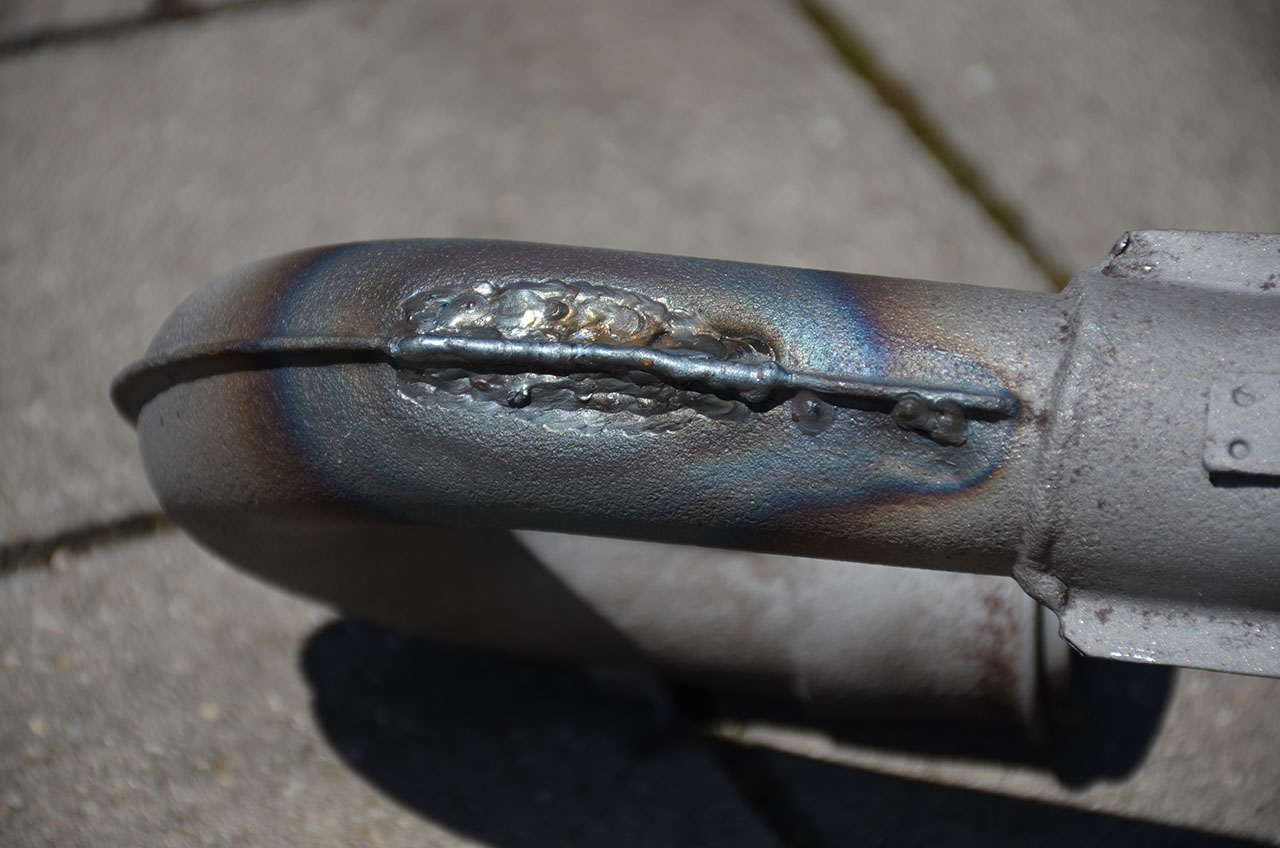
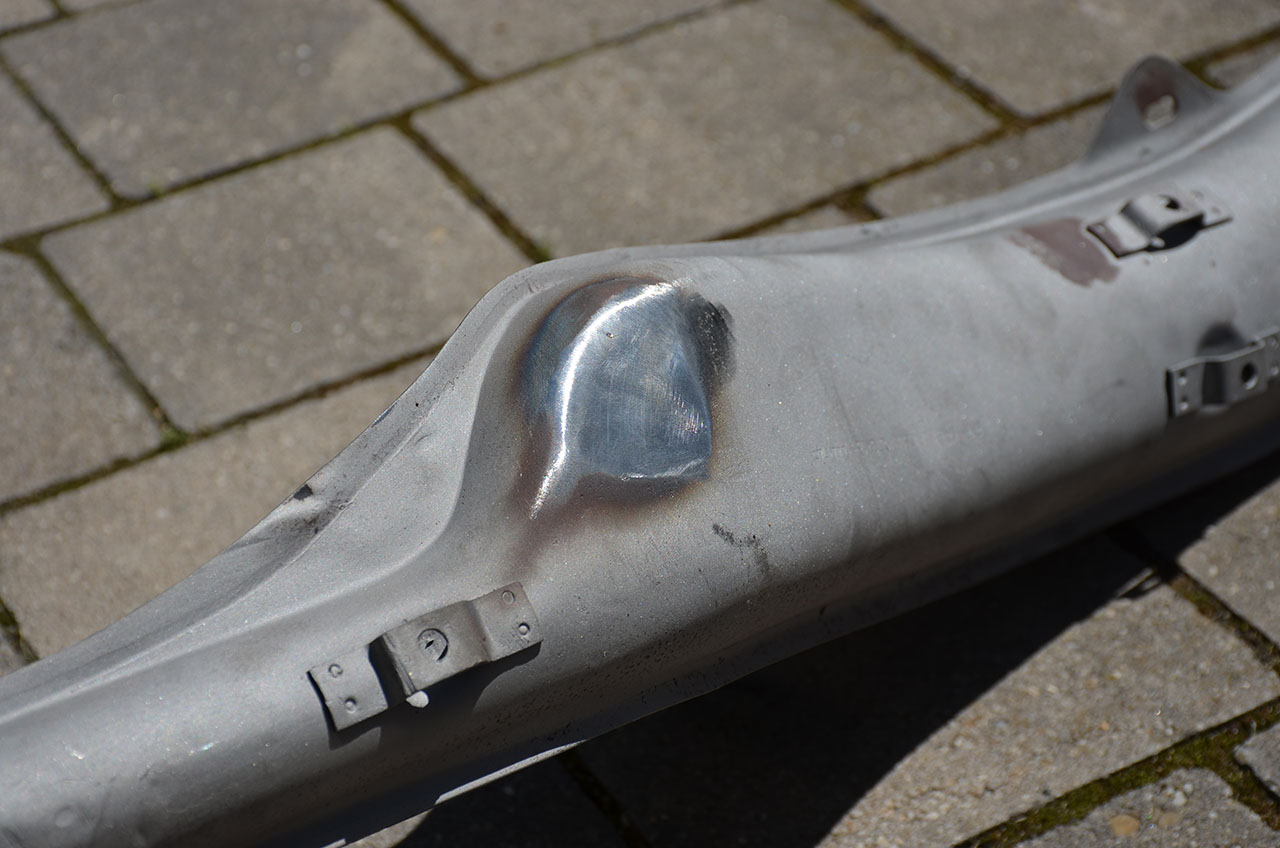
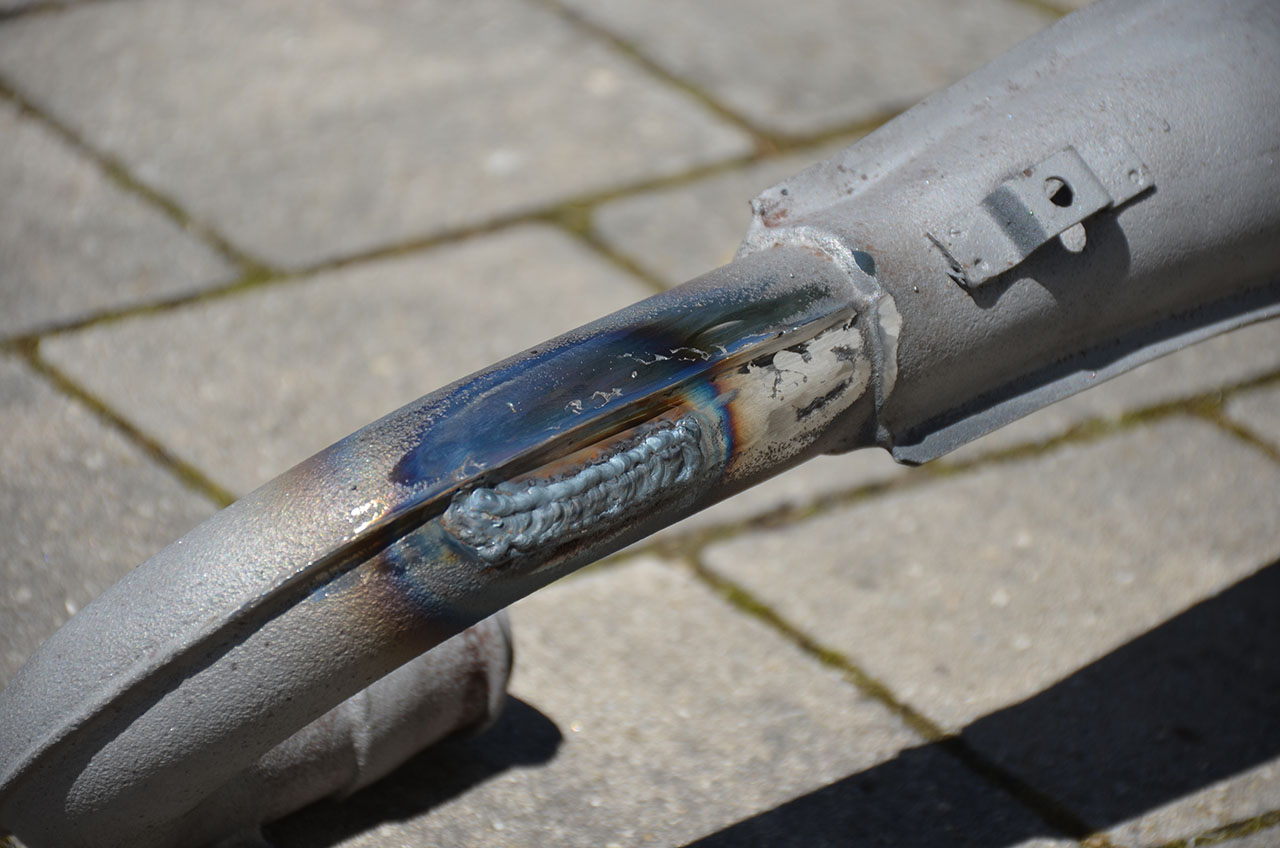

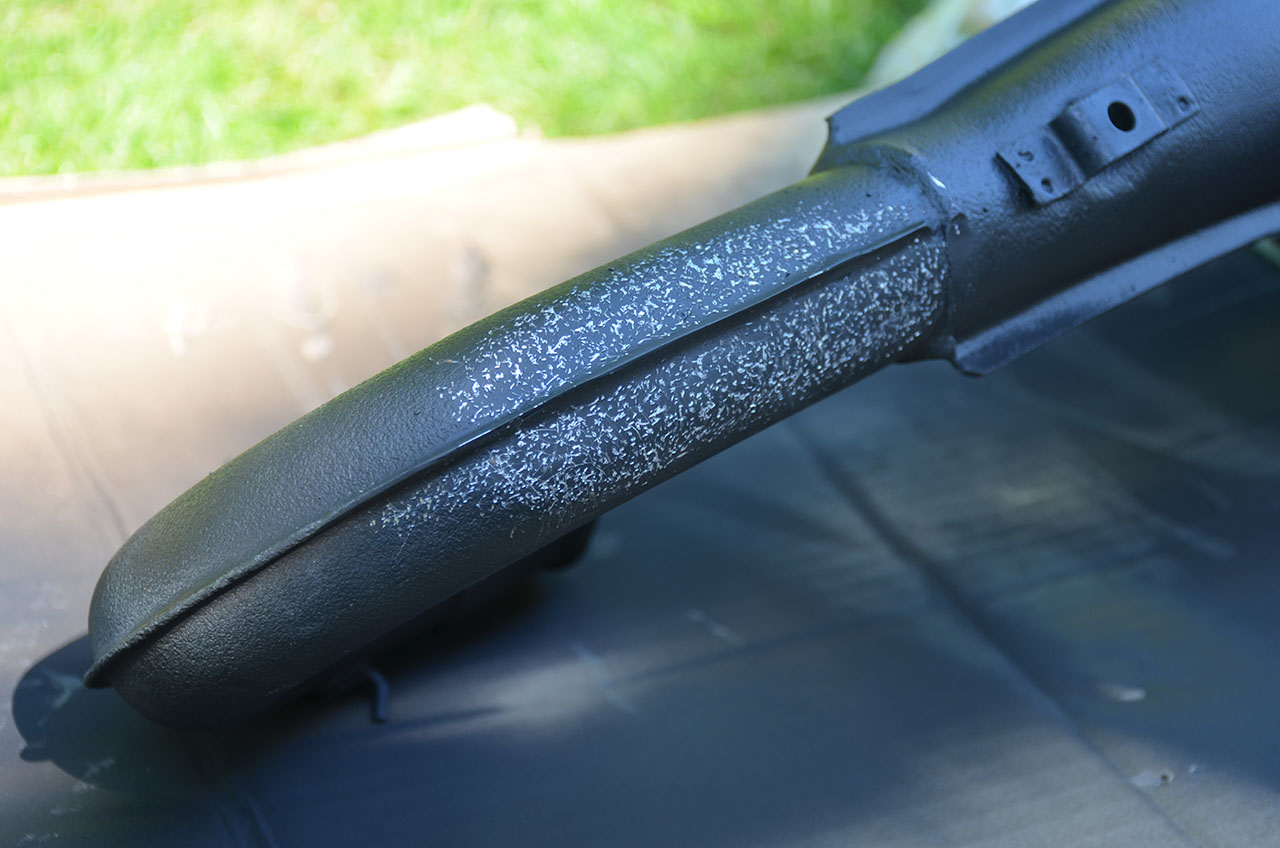
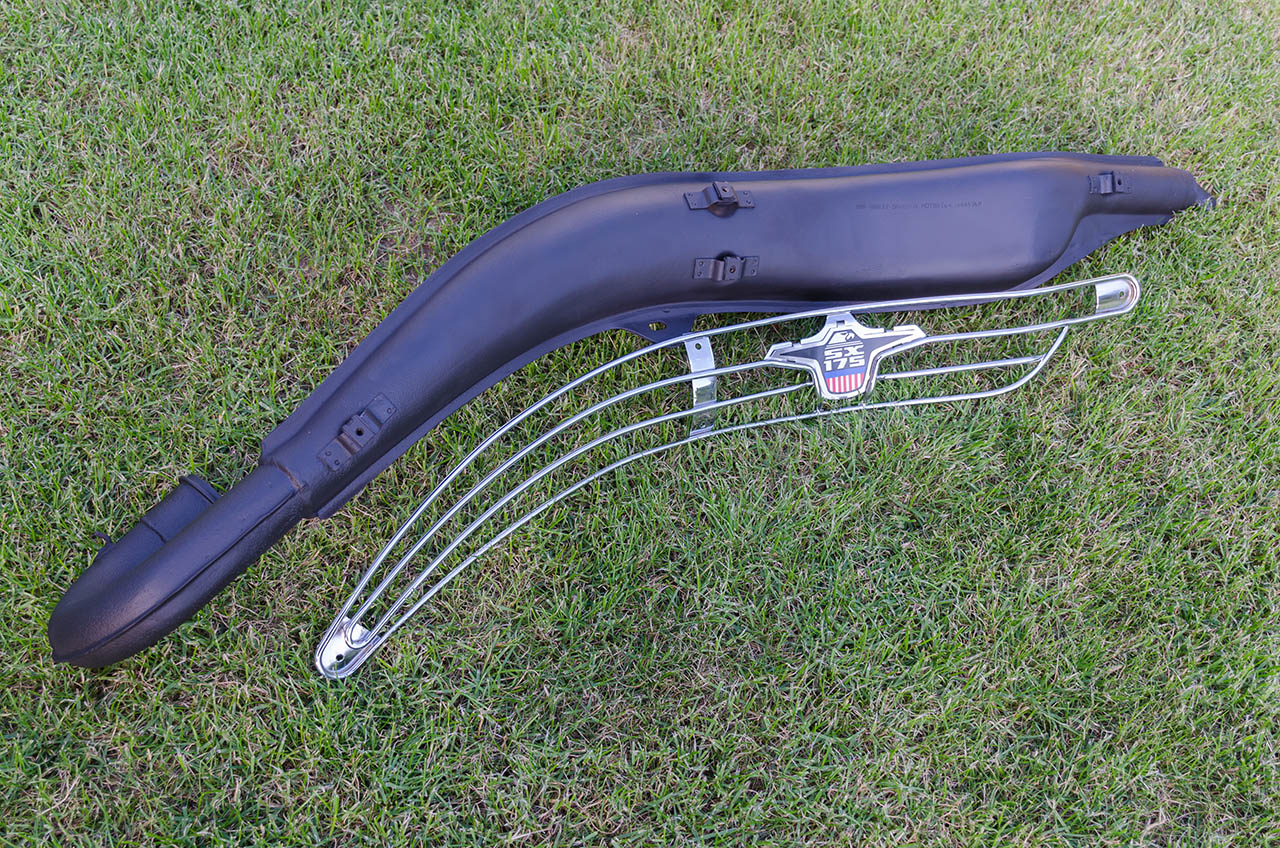
As you can see in the first few pictures there had been a few dents and even holes in the exhaust manifold, also some smaller dents in the muffler. As the 1974 model has a different exhaust as the later models I wanted to keep this exhaust for my restoration. In the first step the exhaust was sandblasted and cleaned. After that the dent in the manifold was cut out and the exhaust was welded by a professional welder. I then grinded everything back to it’s original shape. As the welded spot had a very smooth surface compared to the rest of the abrasive or rough material I had to adjust this part to blend in again. In the end I sprayed it to it’s original black color again. The exhaust grill was already rechromed and ready to mount as well as my SX-175 emblem which was laser cut and custom built by myself.

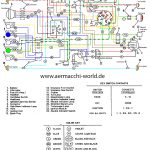
The wiring harness was incomplete and in bad shape. It was also altered by the previous owner. I decided to make a complete new wiring harness from scratch.
As first step I colorized the original wiring diagram which helped me a lot for building a complete new wiring harness. This also meant buying a lot of cables in different colors.
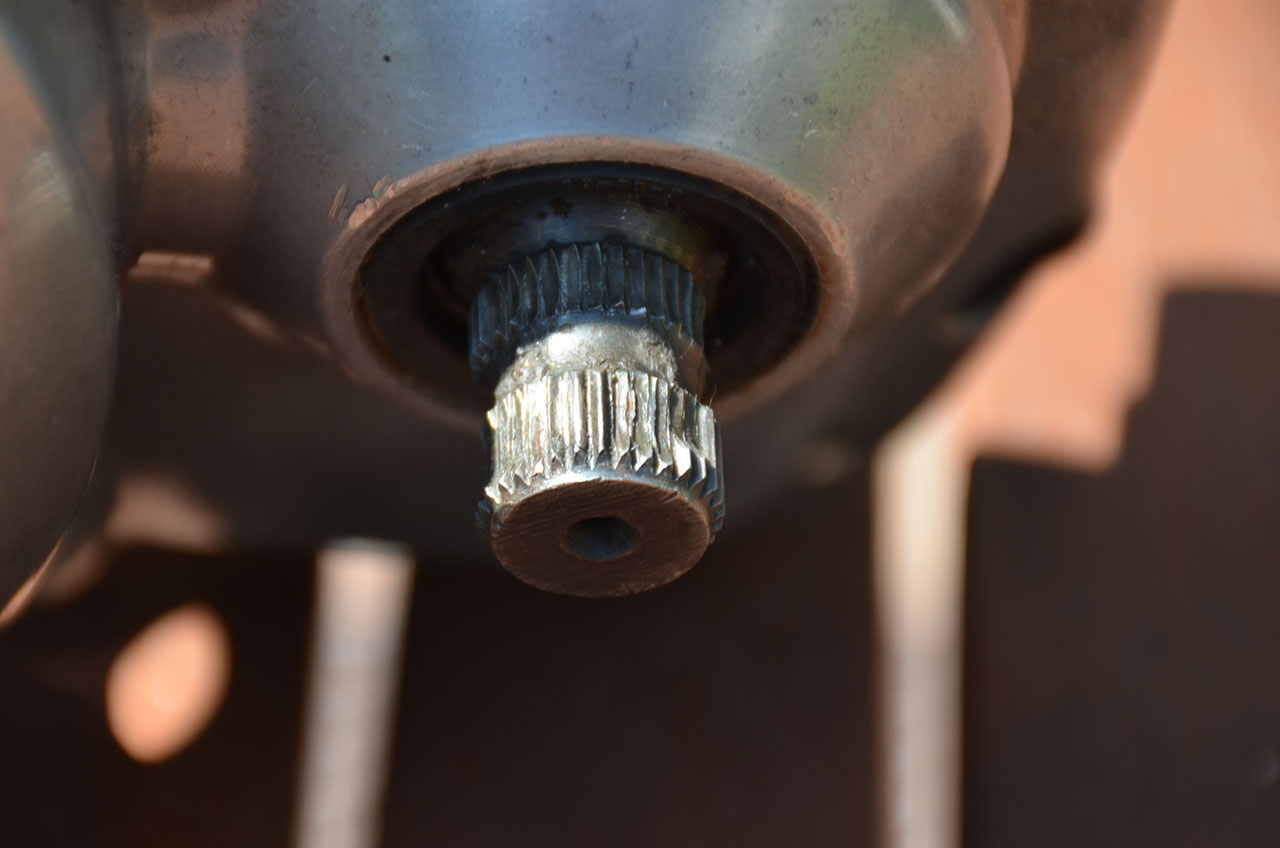
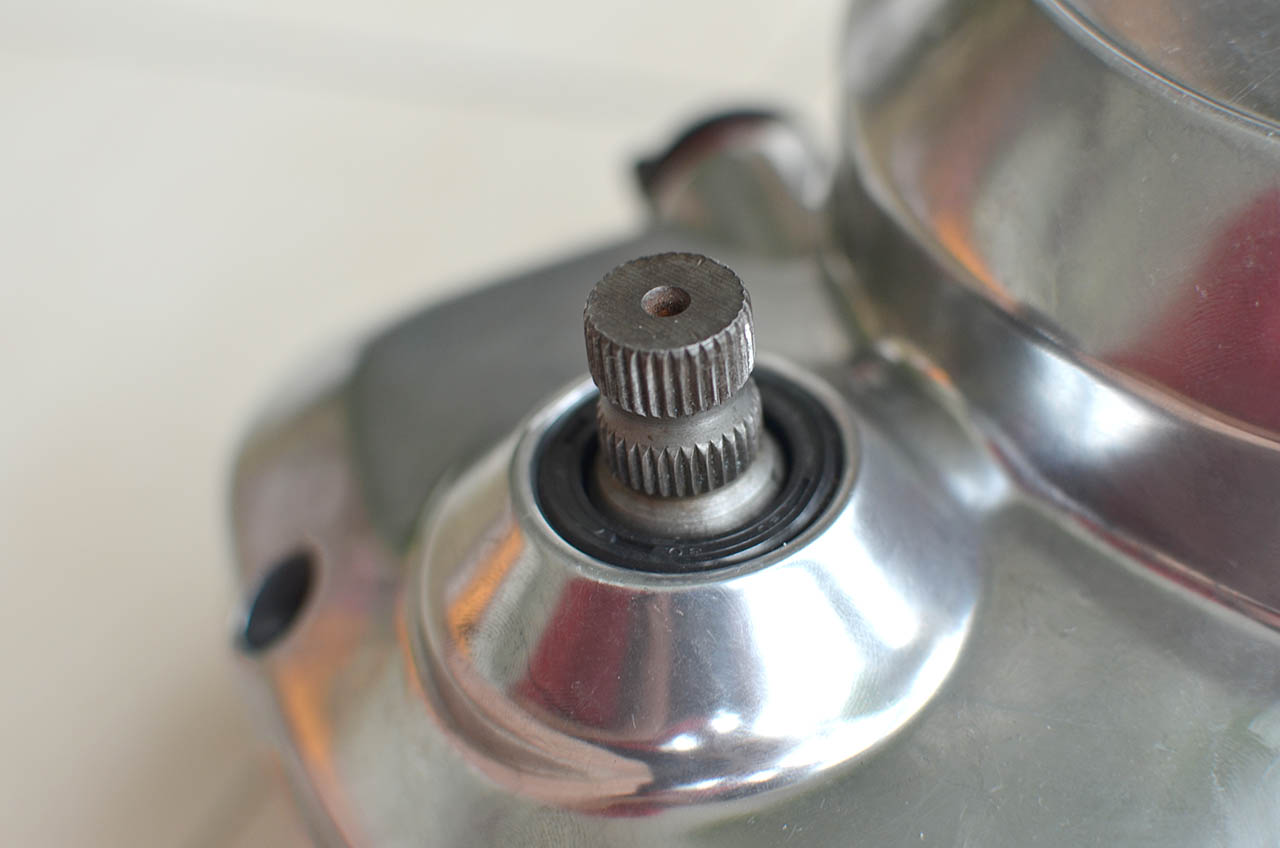

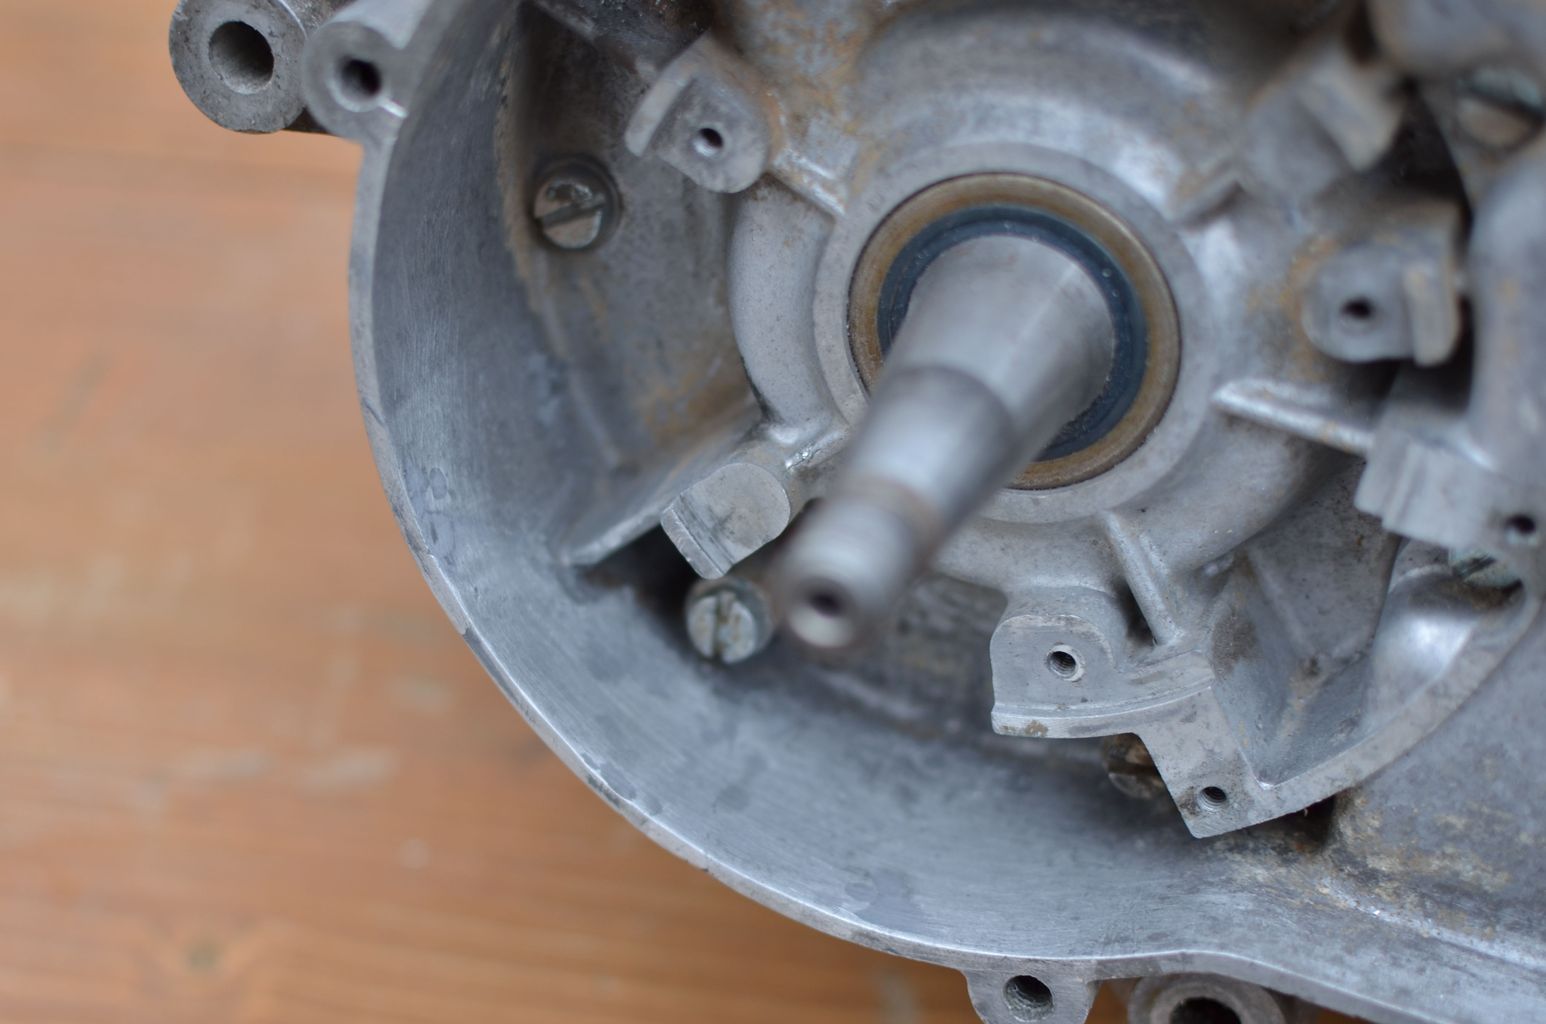
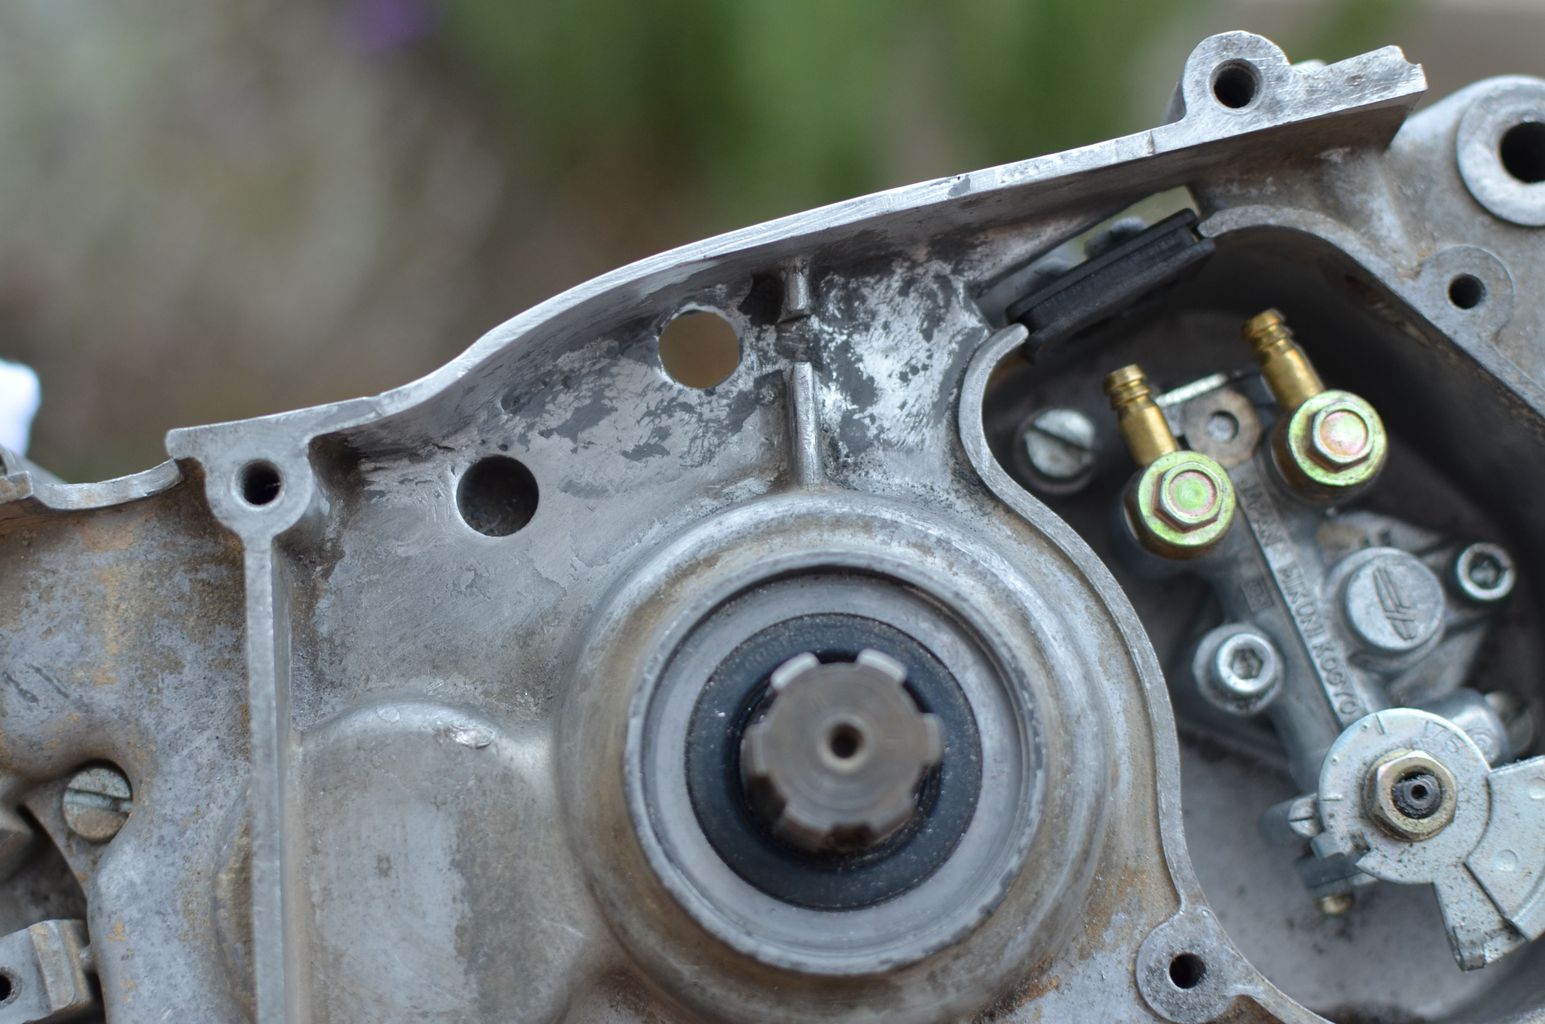
Kickshaft and seal (20-30-7) needed a replacement. The clutch cover is ready for beeing remounted to the crankcase. Luckily I had a brand new kickshaft at home.
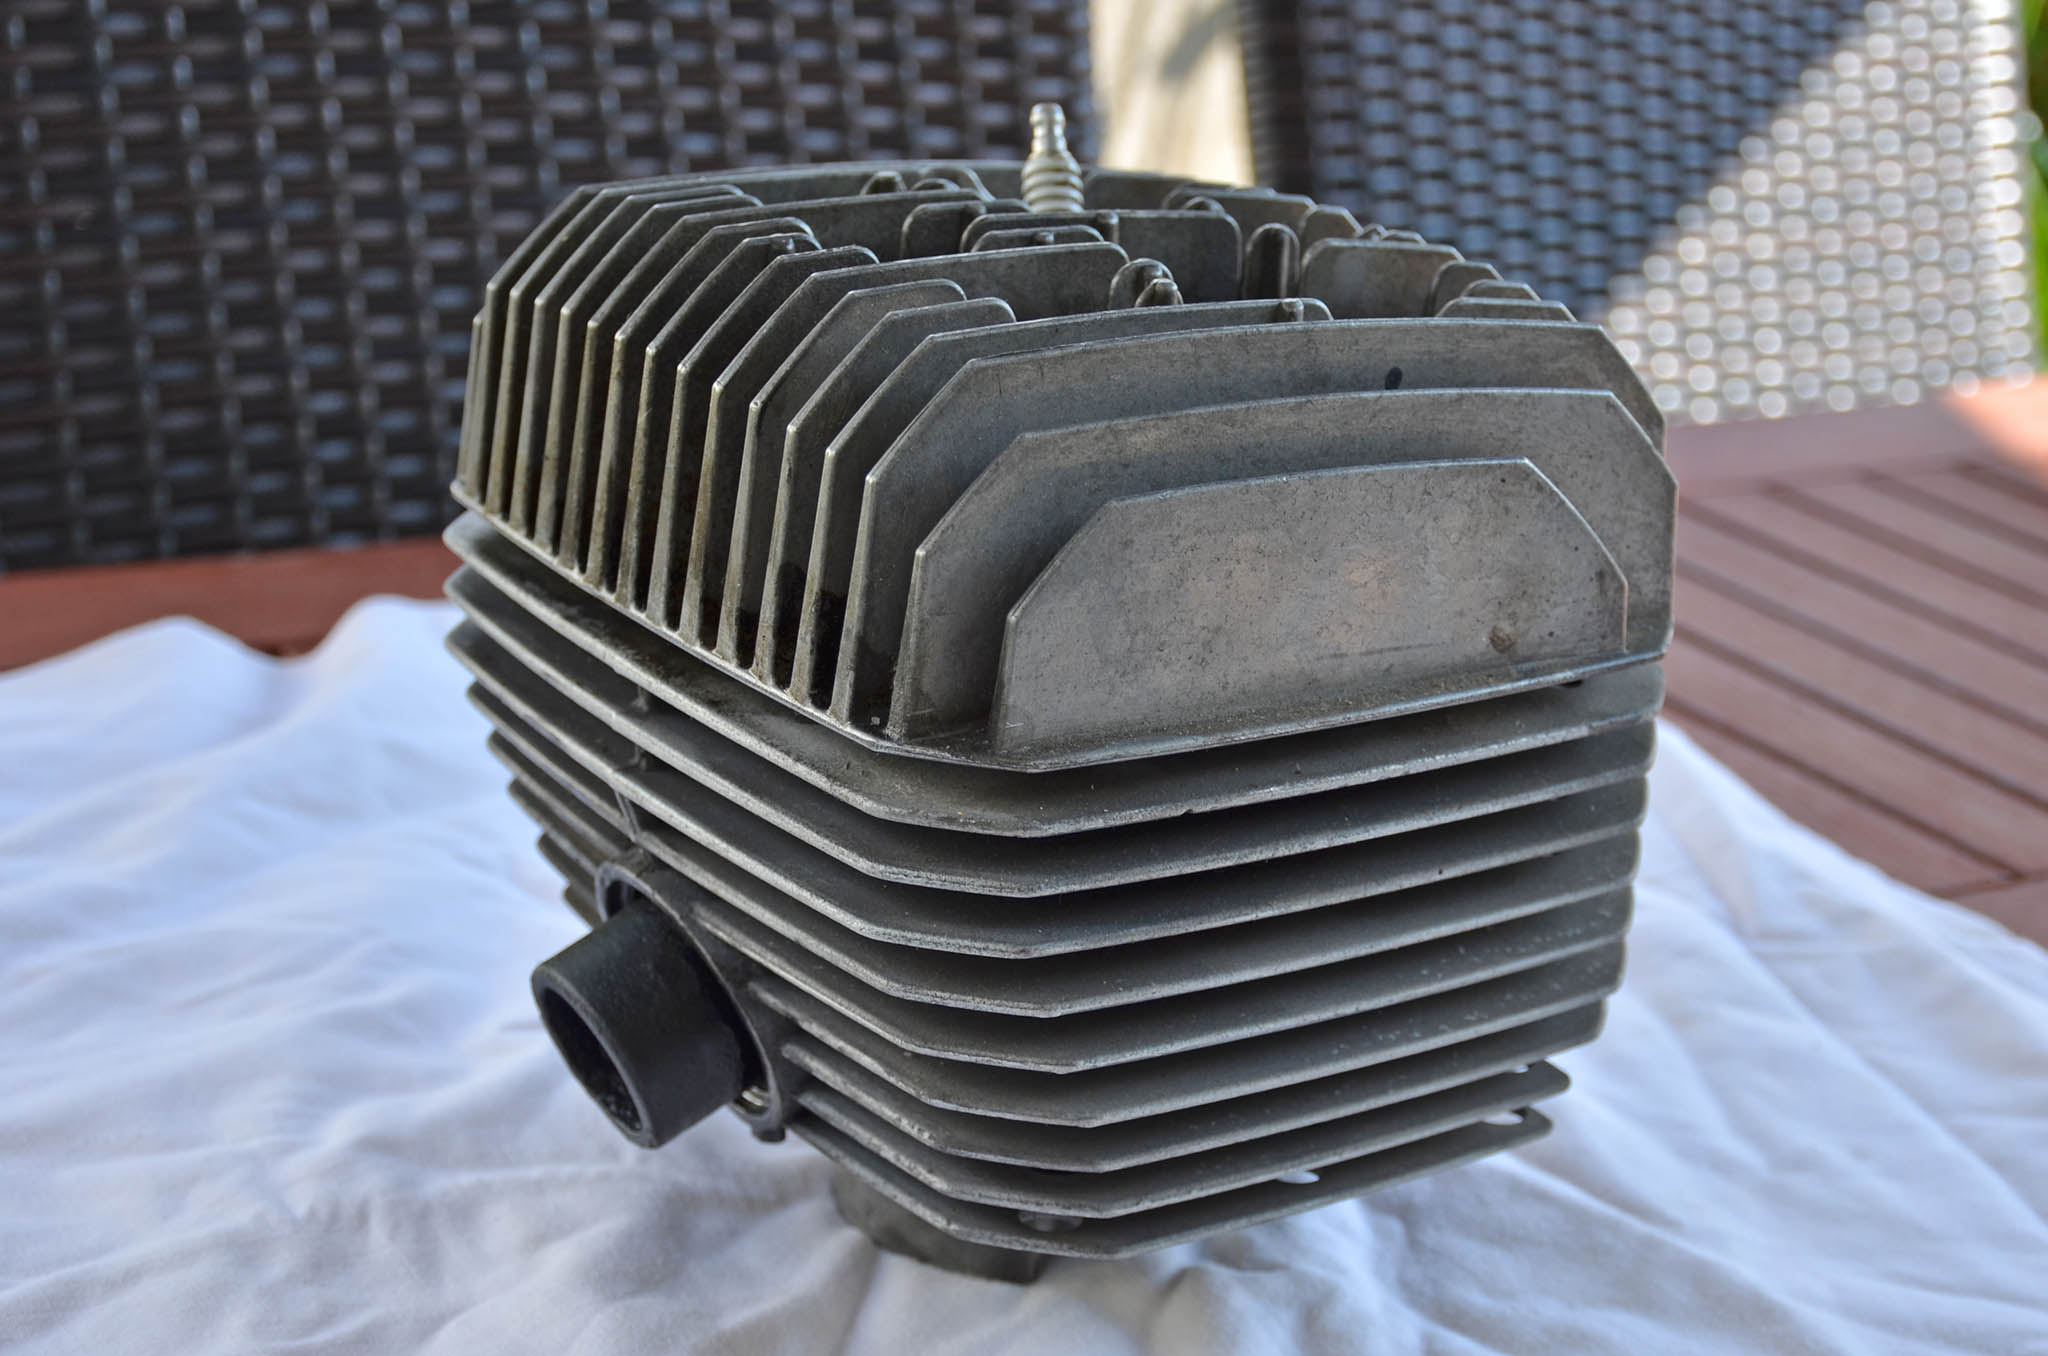

This is my freshly dry ice cleaned cylinder together with the glass bead blasted cylinder head. Before and after pictures for comparison.
I heared a lot of people saying that dry-ice-cleaning ist by far the best method.I personally don’t see big differences to glass-bead-cleaning and it is also more expensive.
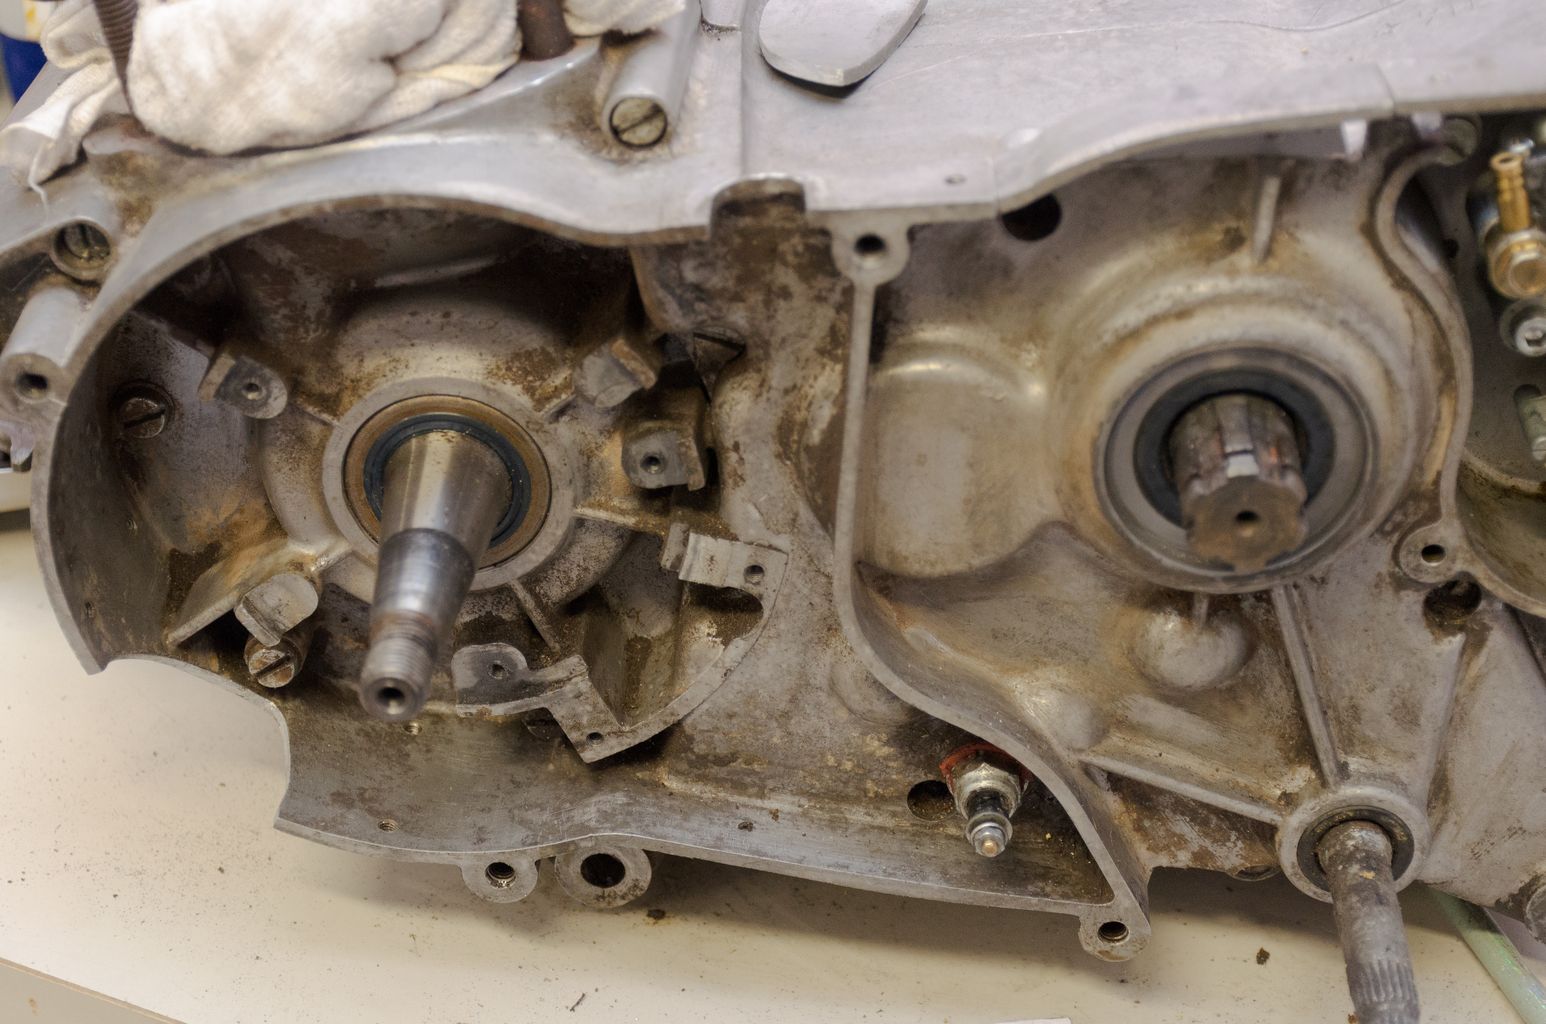

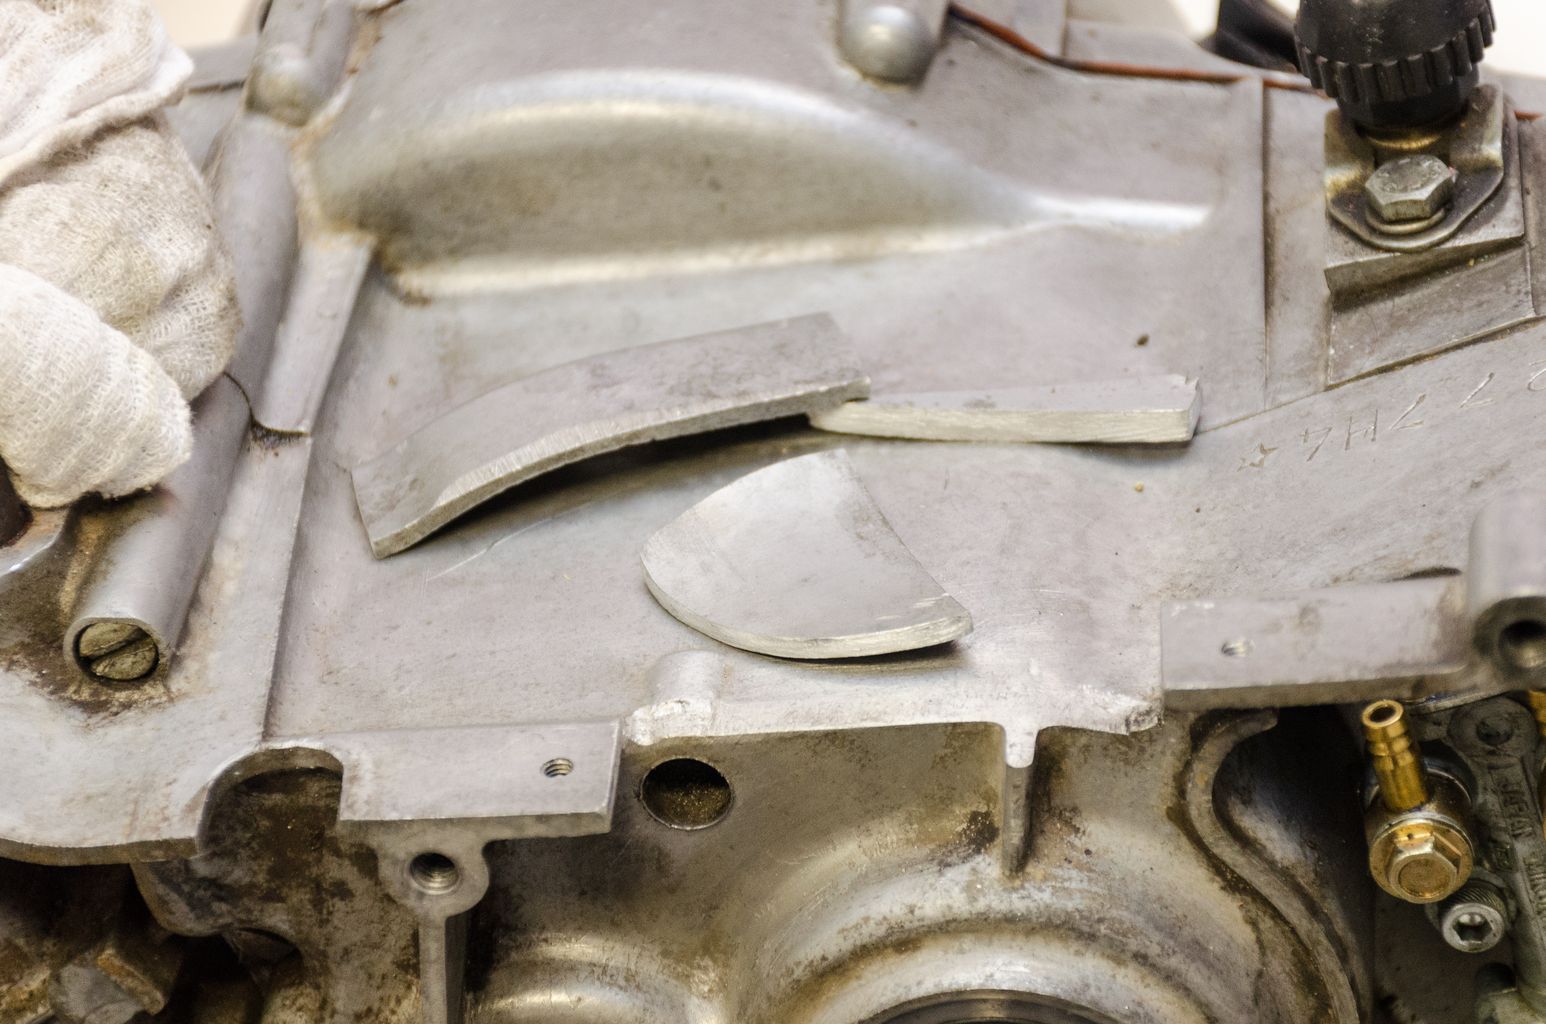

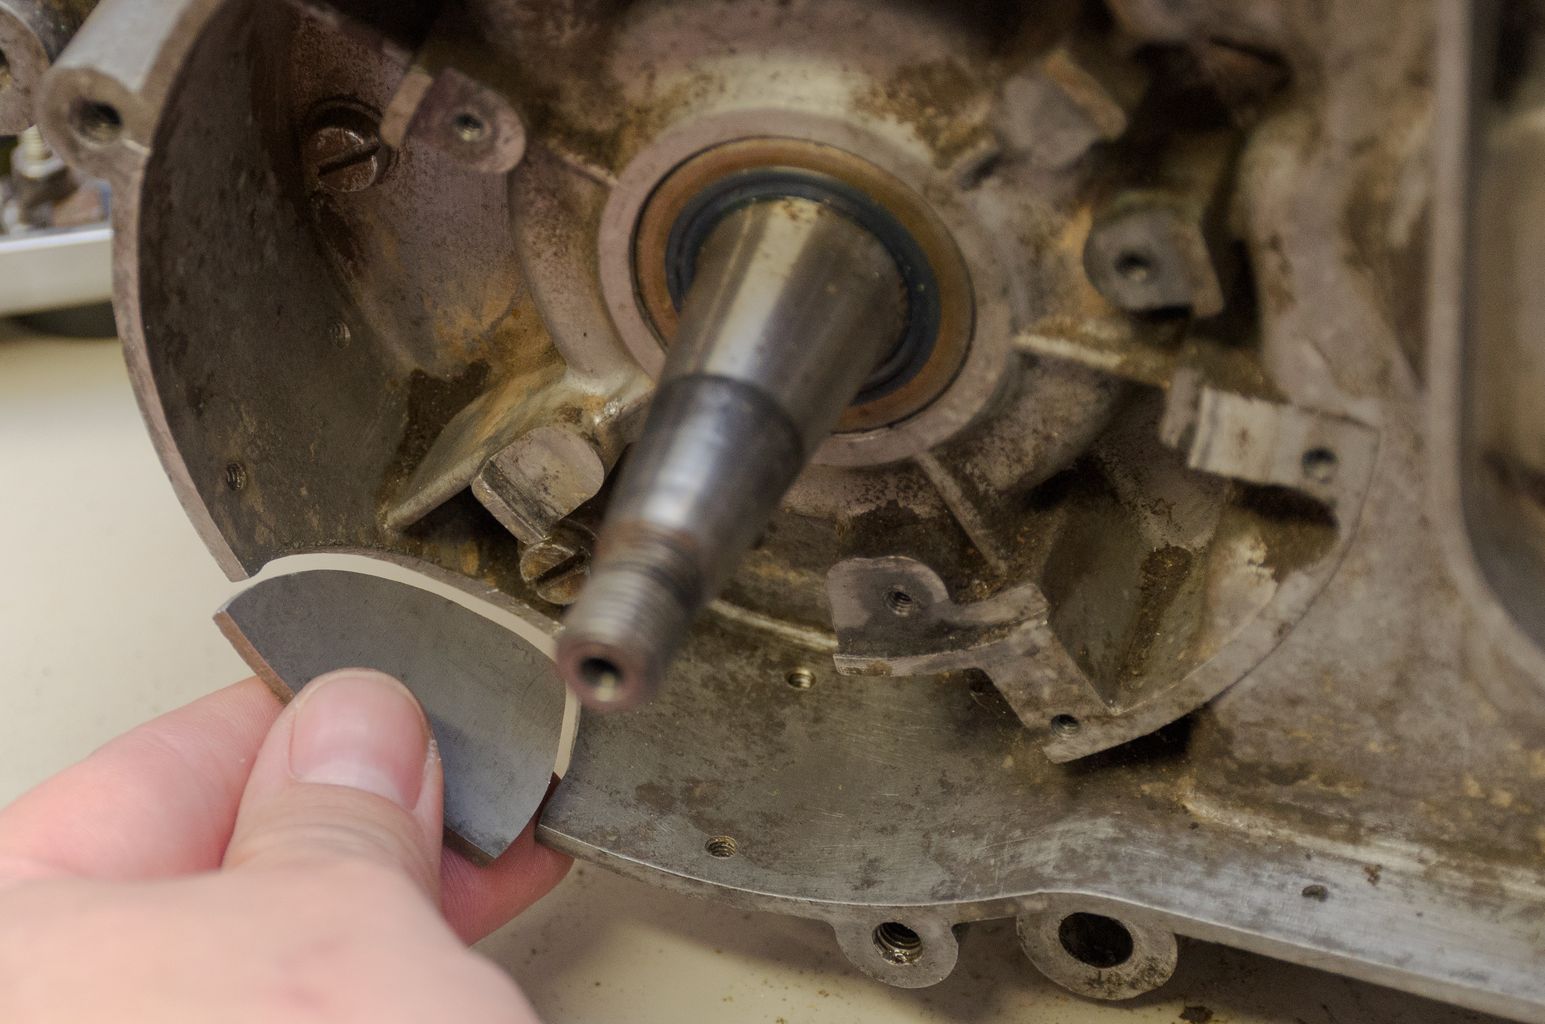
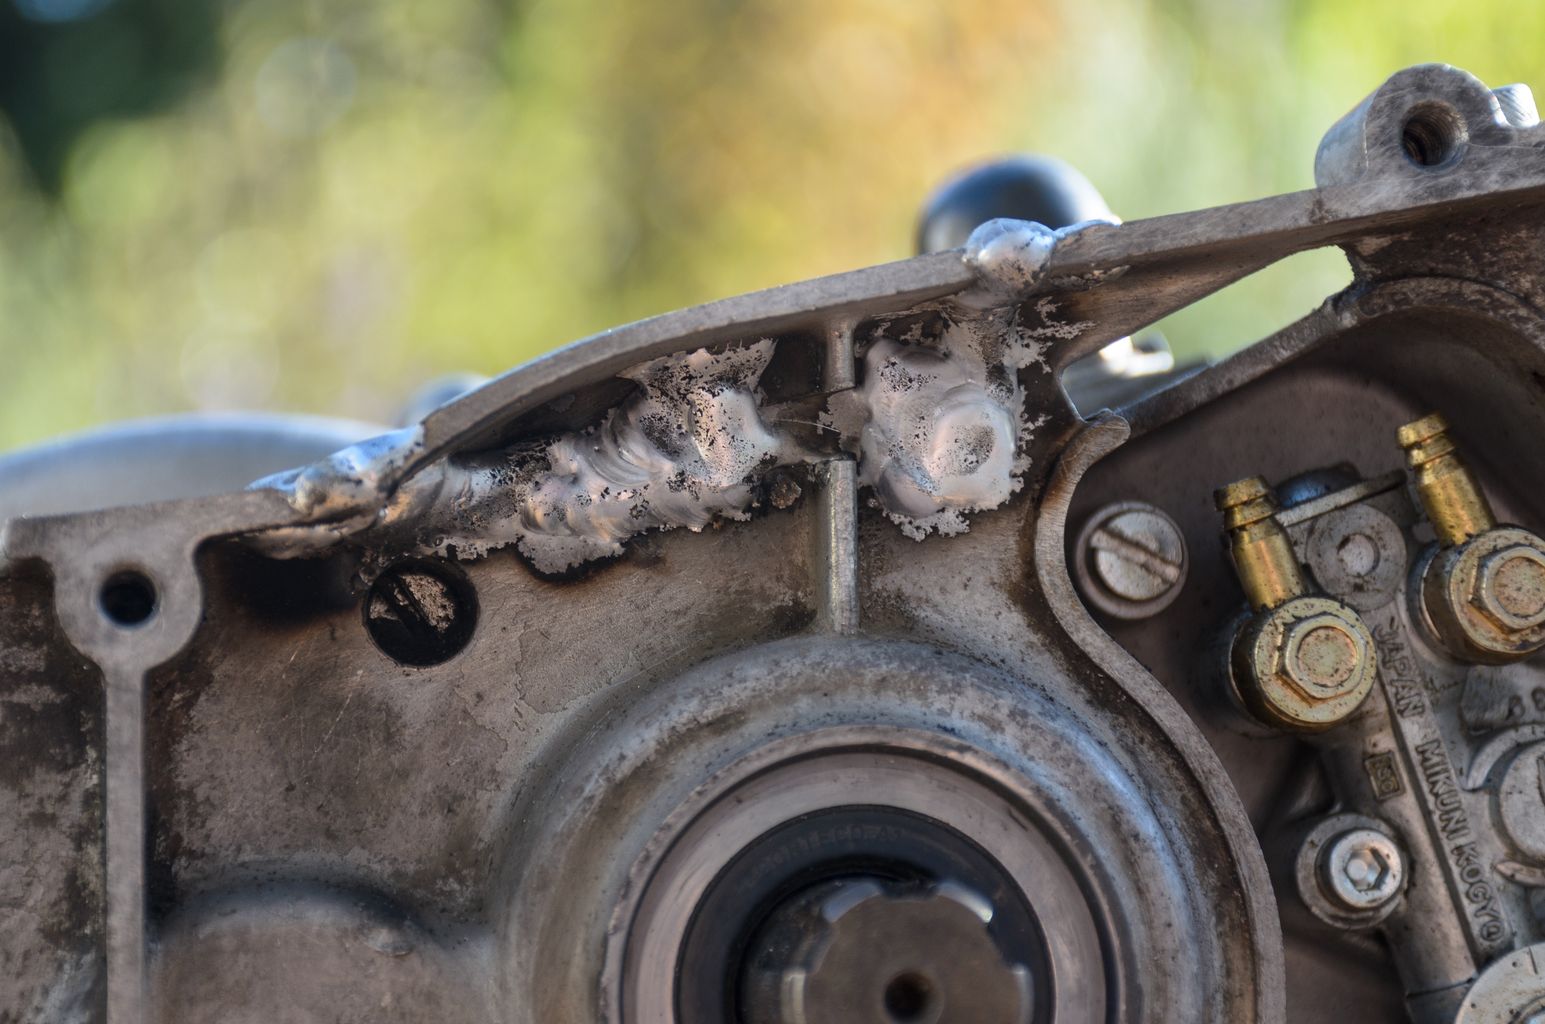


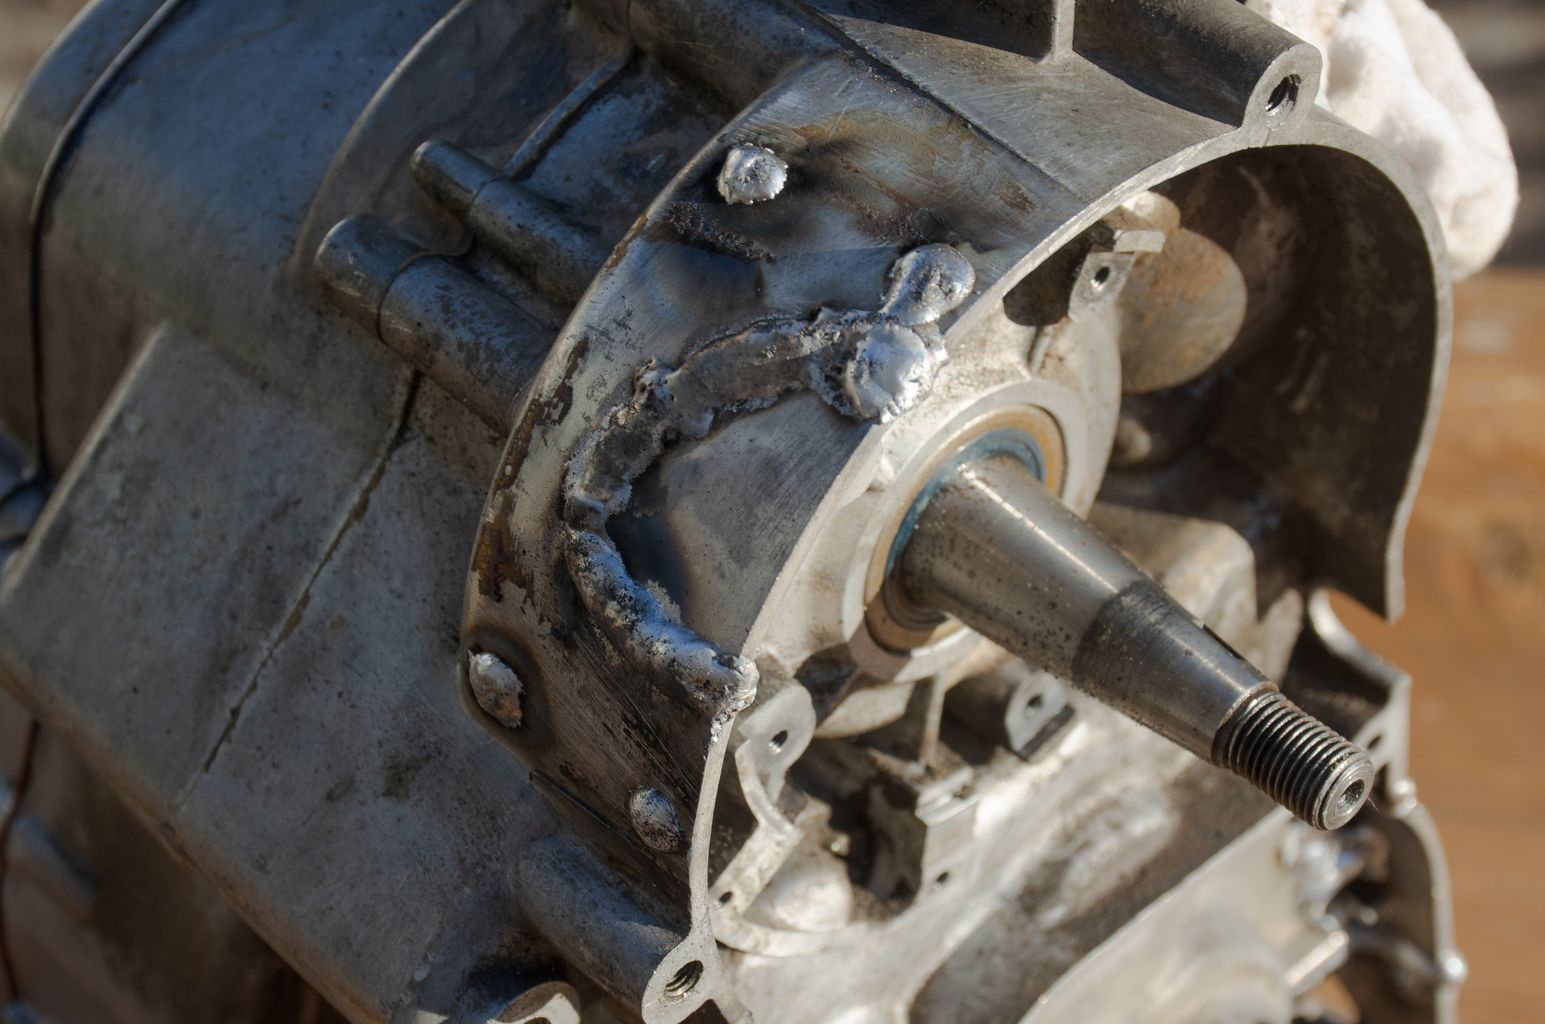
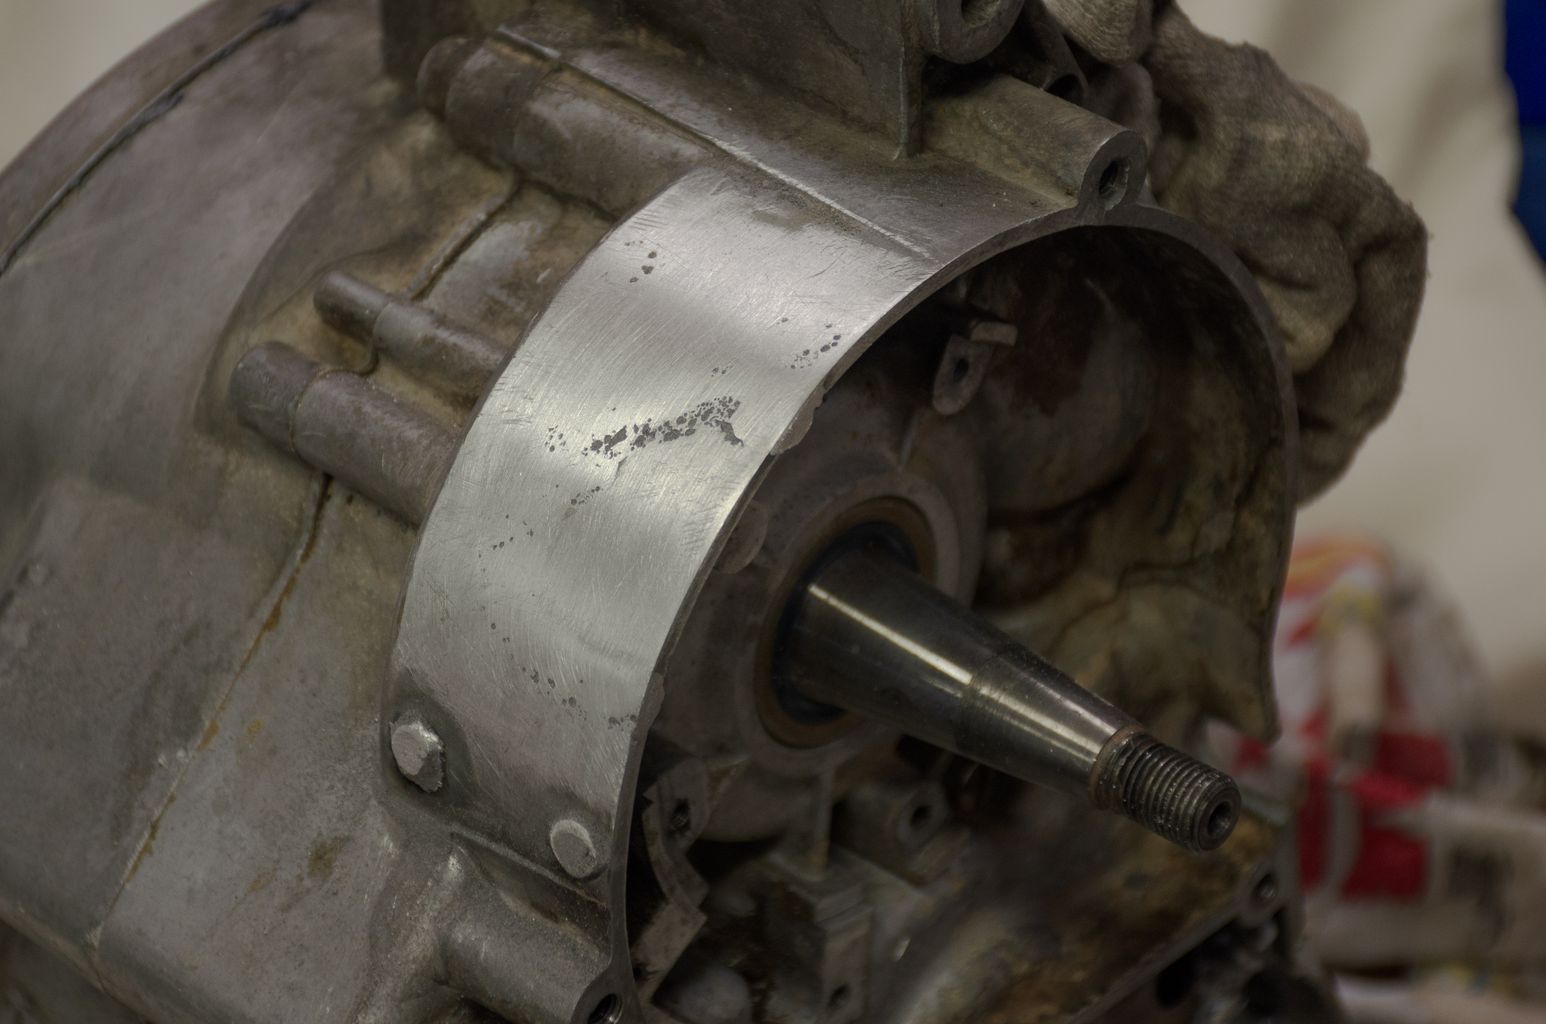
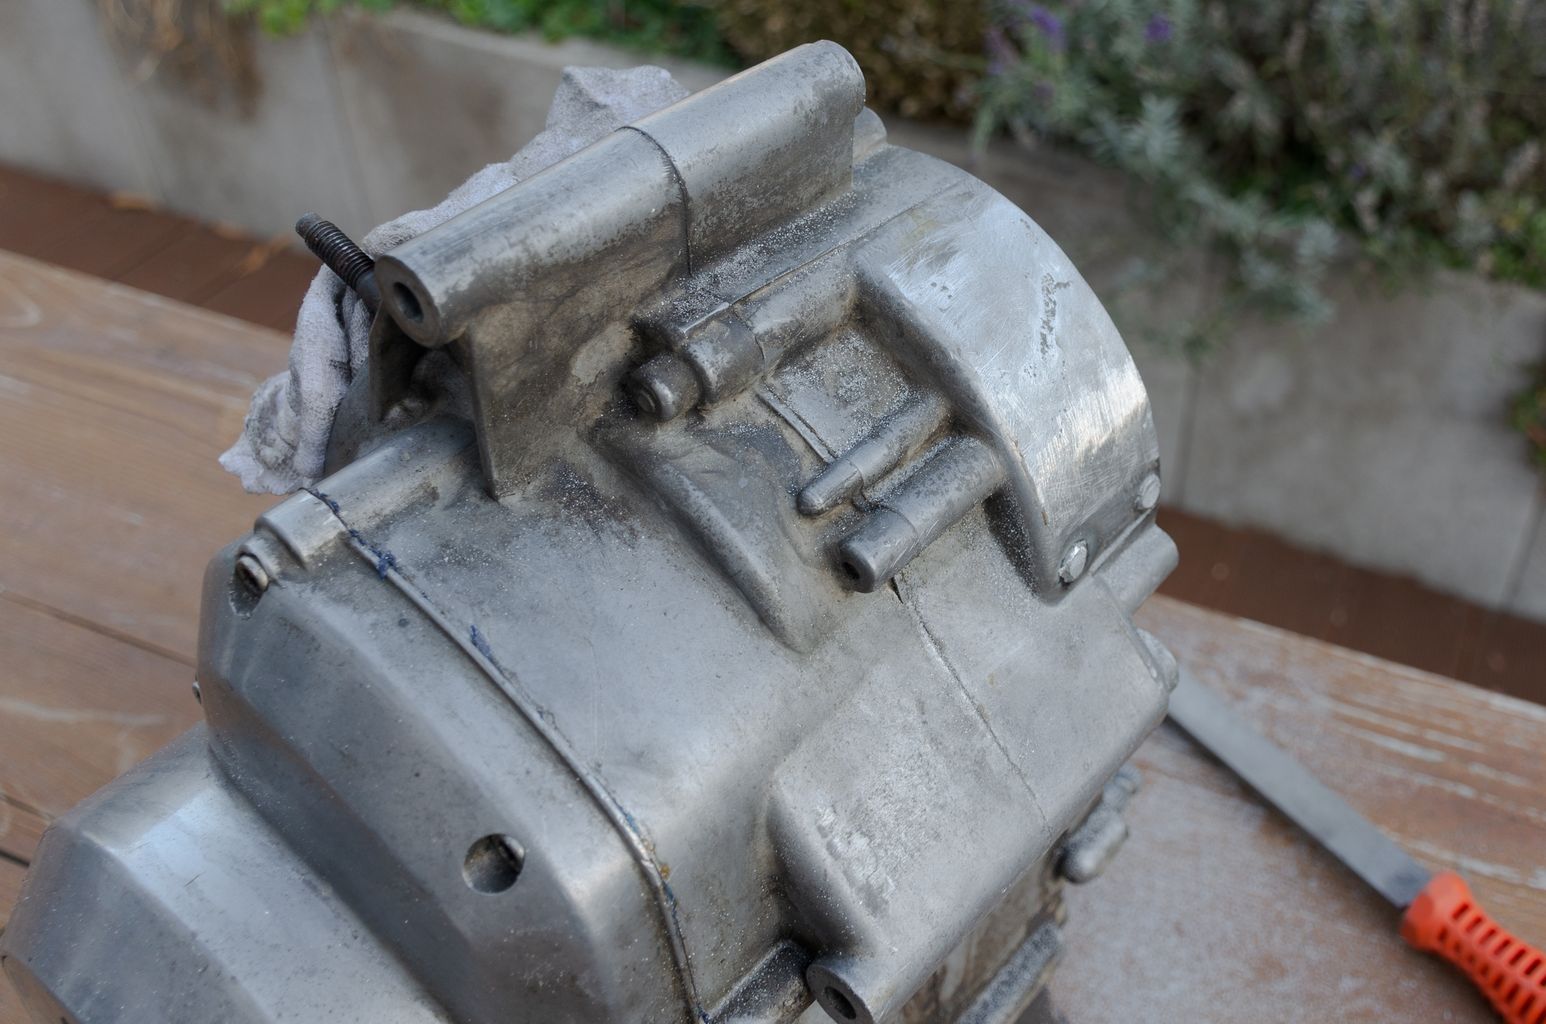
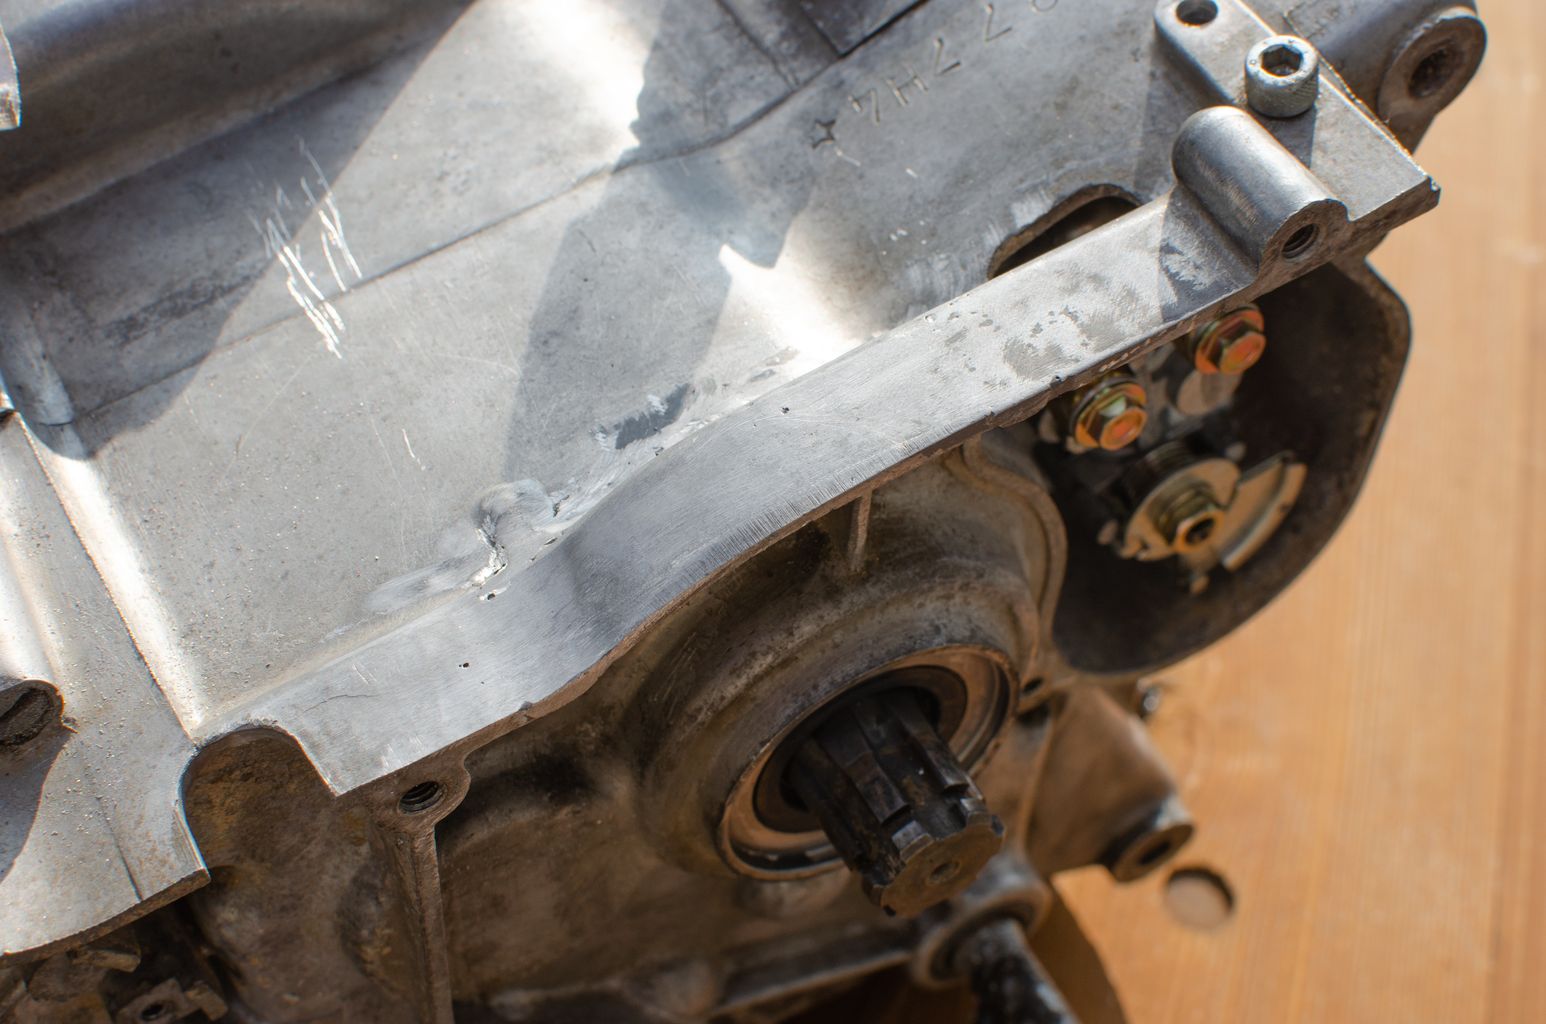

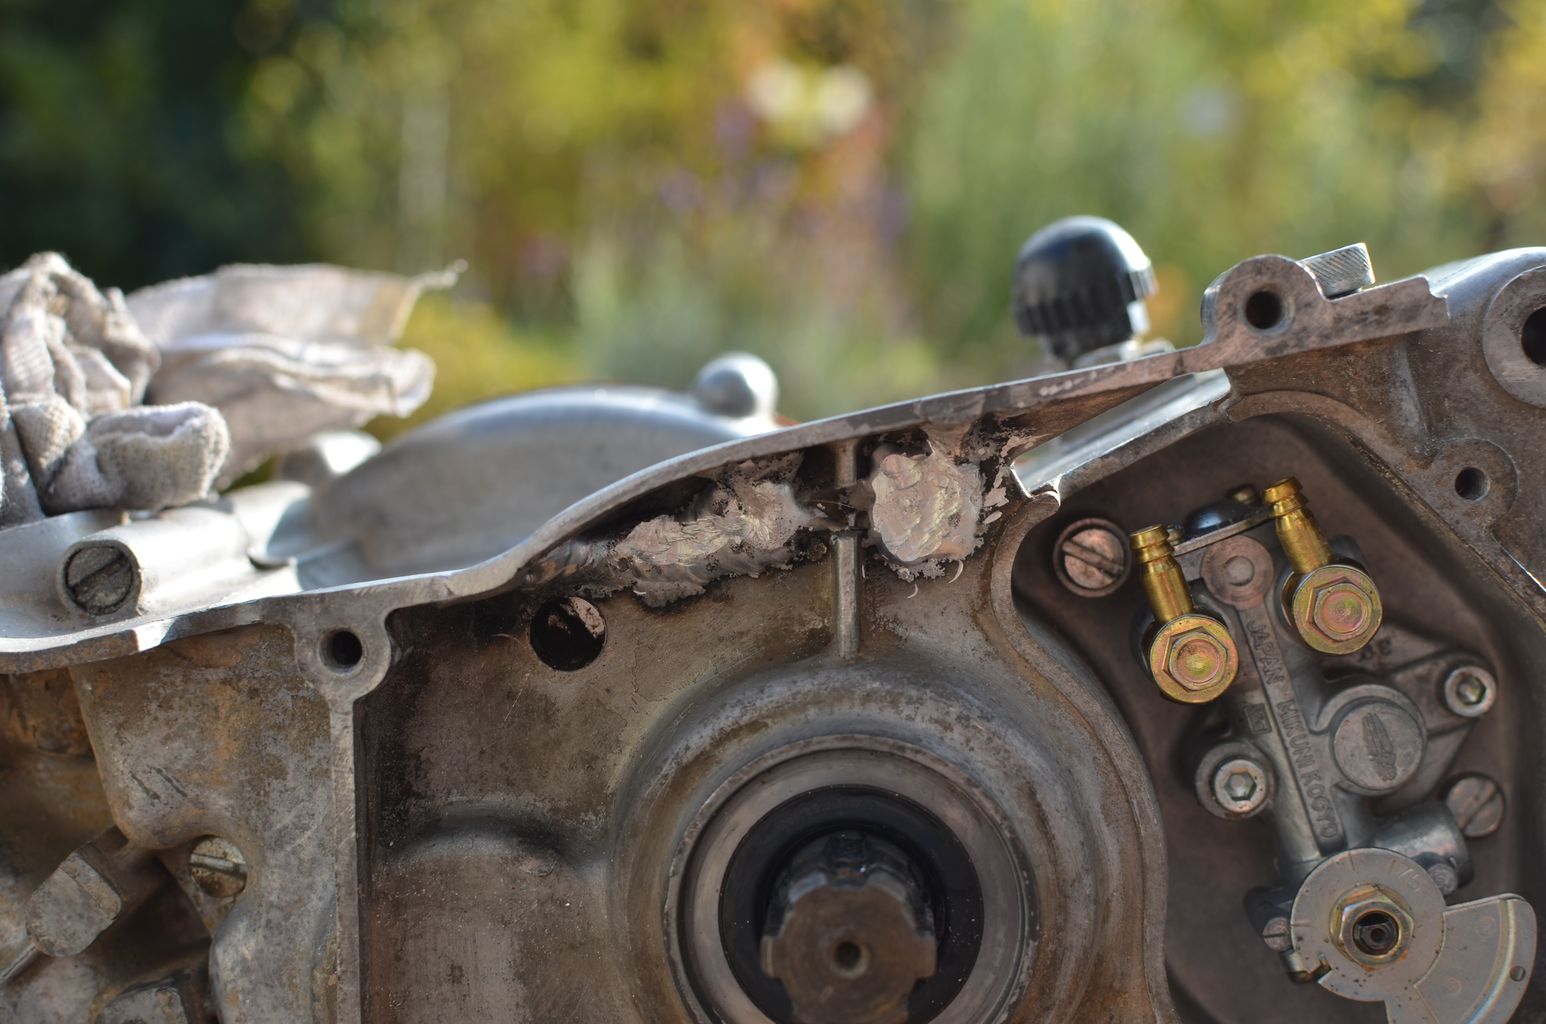


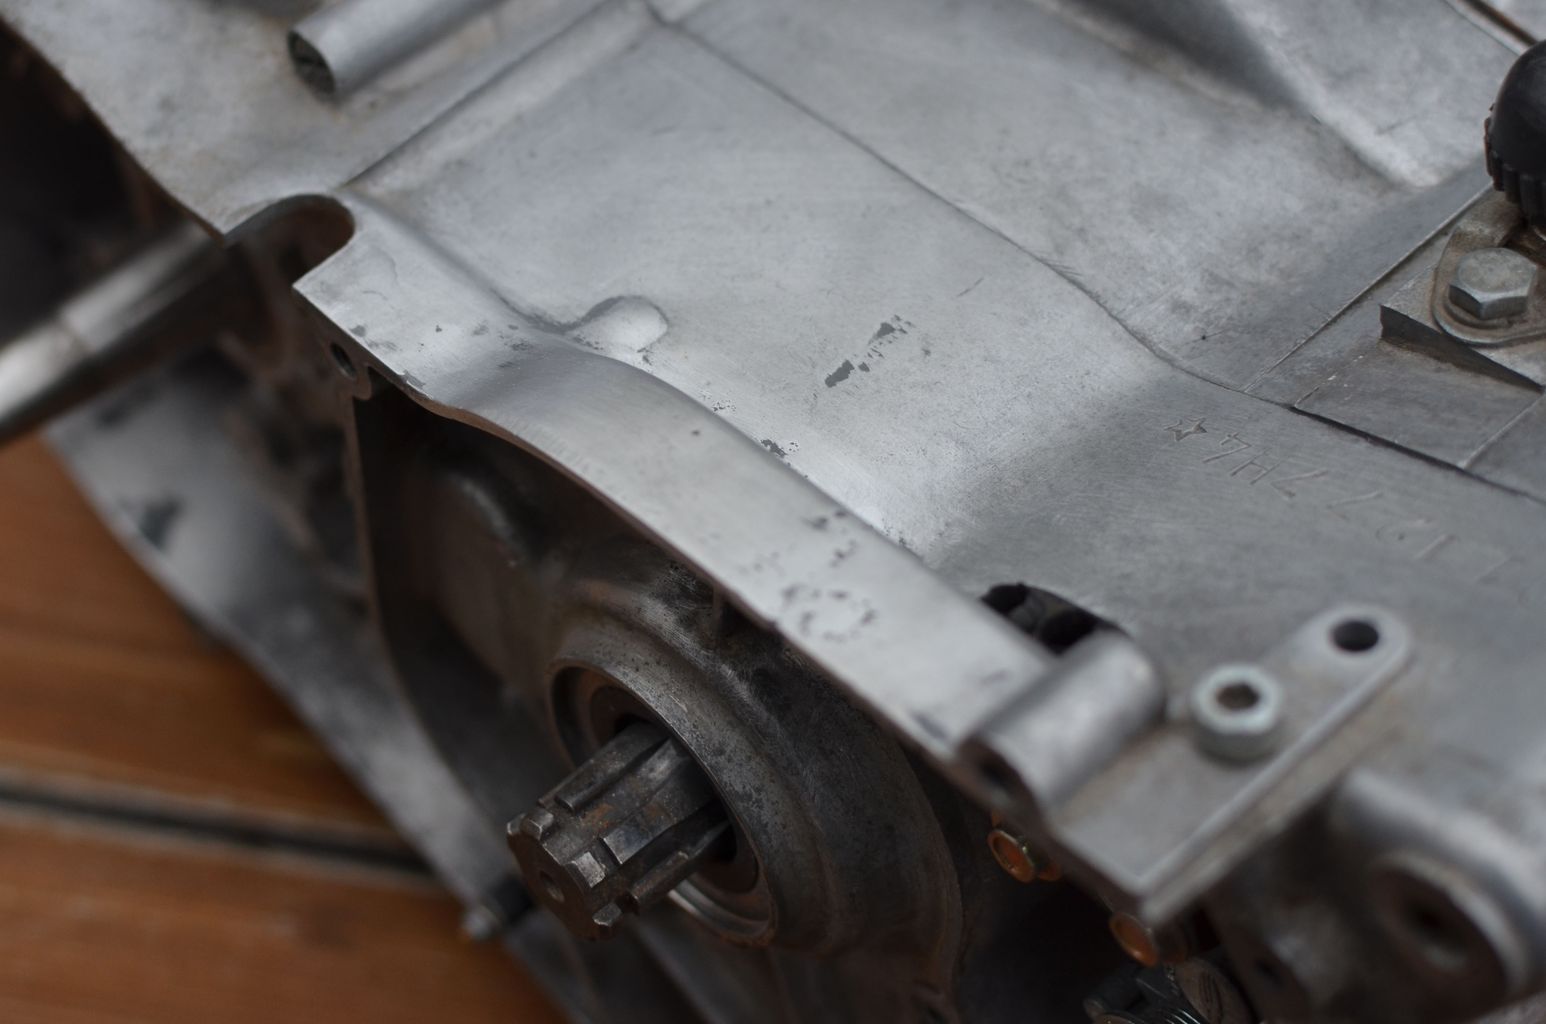


There were some pieces broken off the crankcase. One large piece was missing below the flywheel. I have no idea how this happend. Maybe a previous owner hit a stone while beeing off road with the bike? Another large piece seemed to be knocked out by loose chain. I bought a used left crankcase-half and cut out pieces to fit in as “spare parts”. I didn’t intend to replace the whole crankcase as I wanted to keep my matching frame & engine Vehicle Identifican Number (VIN). So, I went to a welder and asked him to weld my cut-out-pieces in my old crankcase. I asked them for laser-welding, but as you can see my request was totally ignored. This meant a lot of work for me as now there was a whole lot of material that needed to be grinded of. This took me a lot of time and two more rounds of adding material to get the surfaces smooth to blend in with te rest of the crankcase nicely.
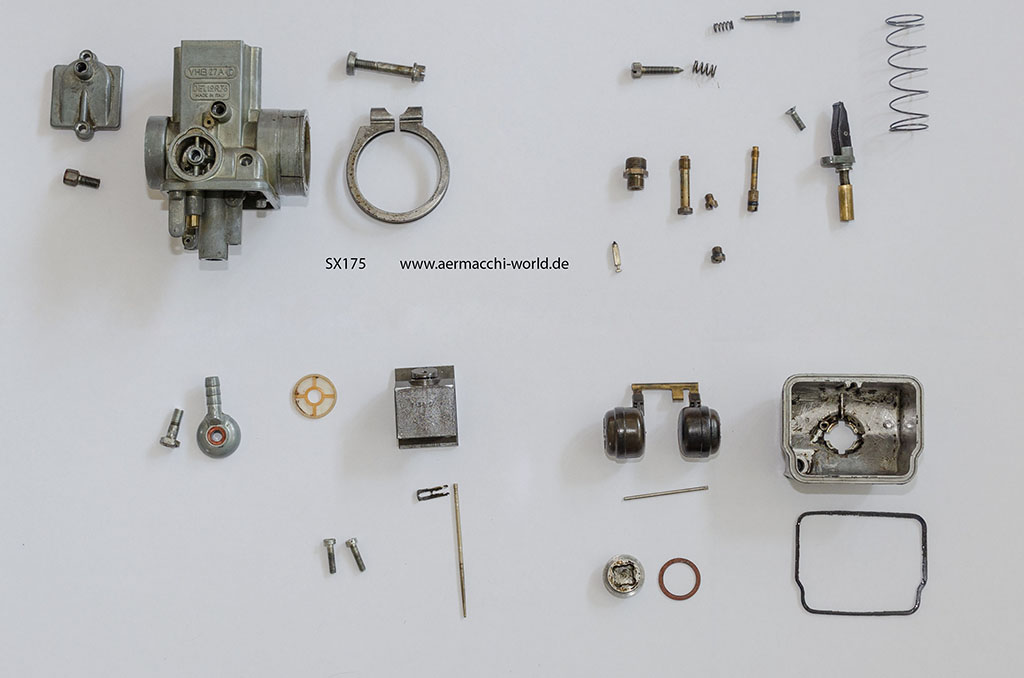

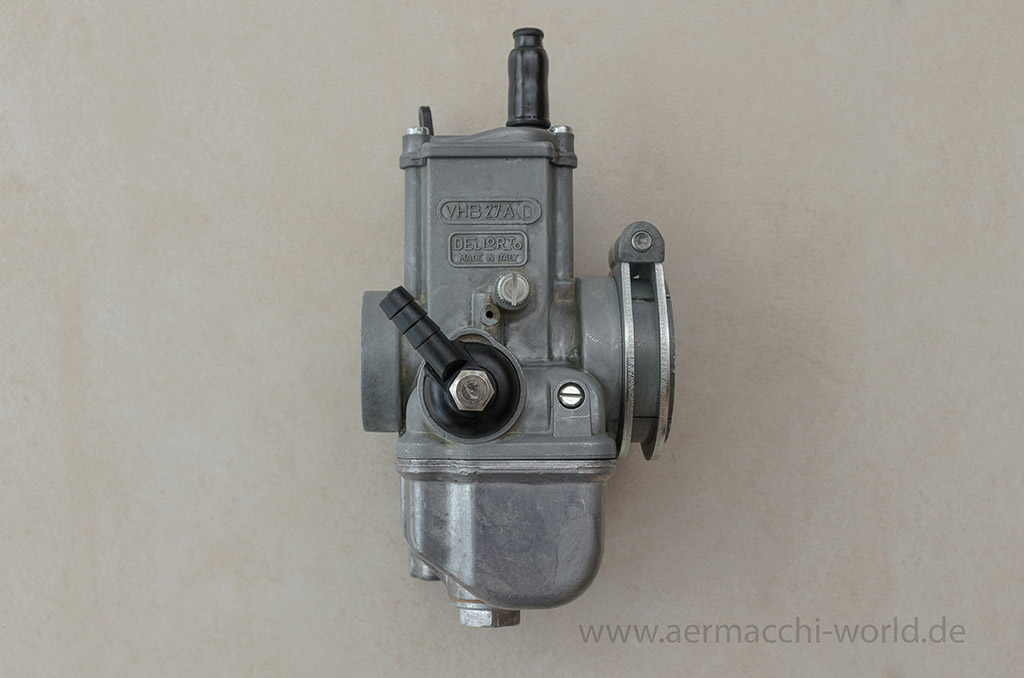
Overhauling the 27mm VHB Dell’Orto carb was a routine work as I have done many times on my other Aermacchi bikes. Spare parts are still available and so I replaced most inner parts with new stuff. Those parts I reused as well as the housing were cleaned in an ultrasonic bath.
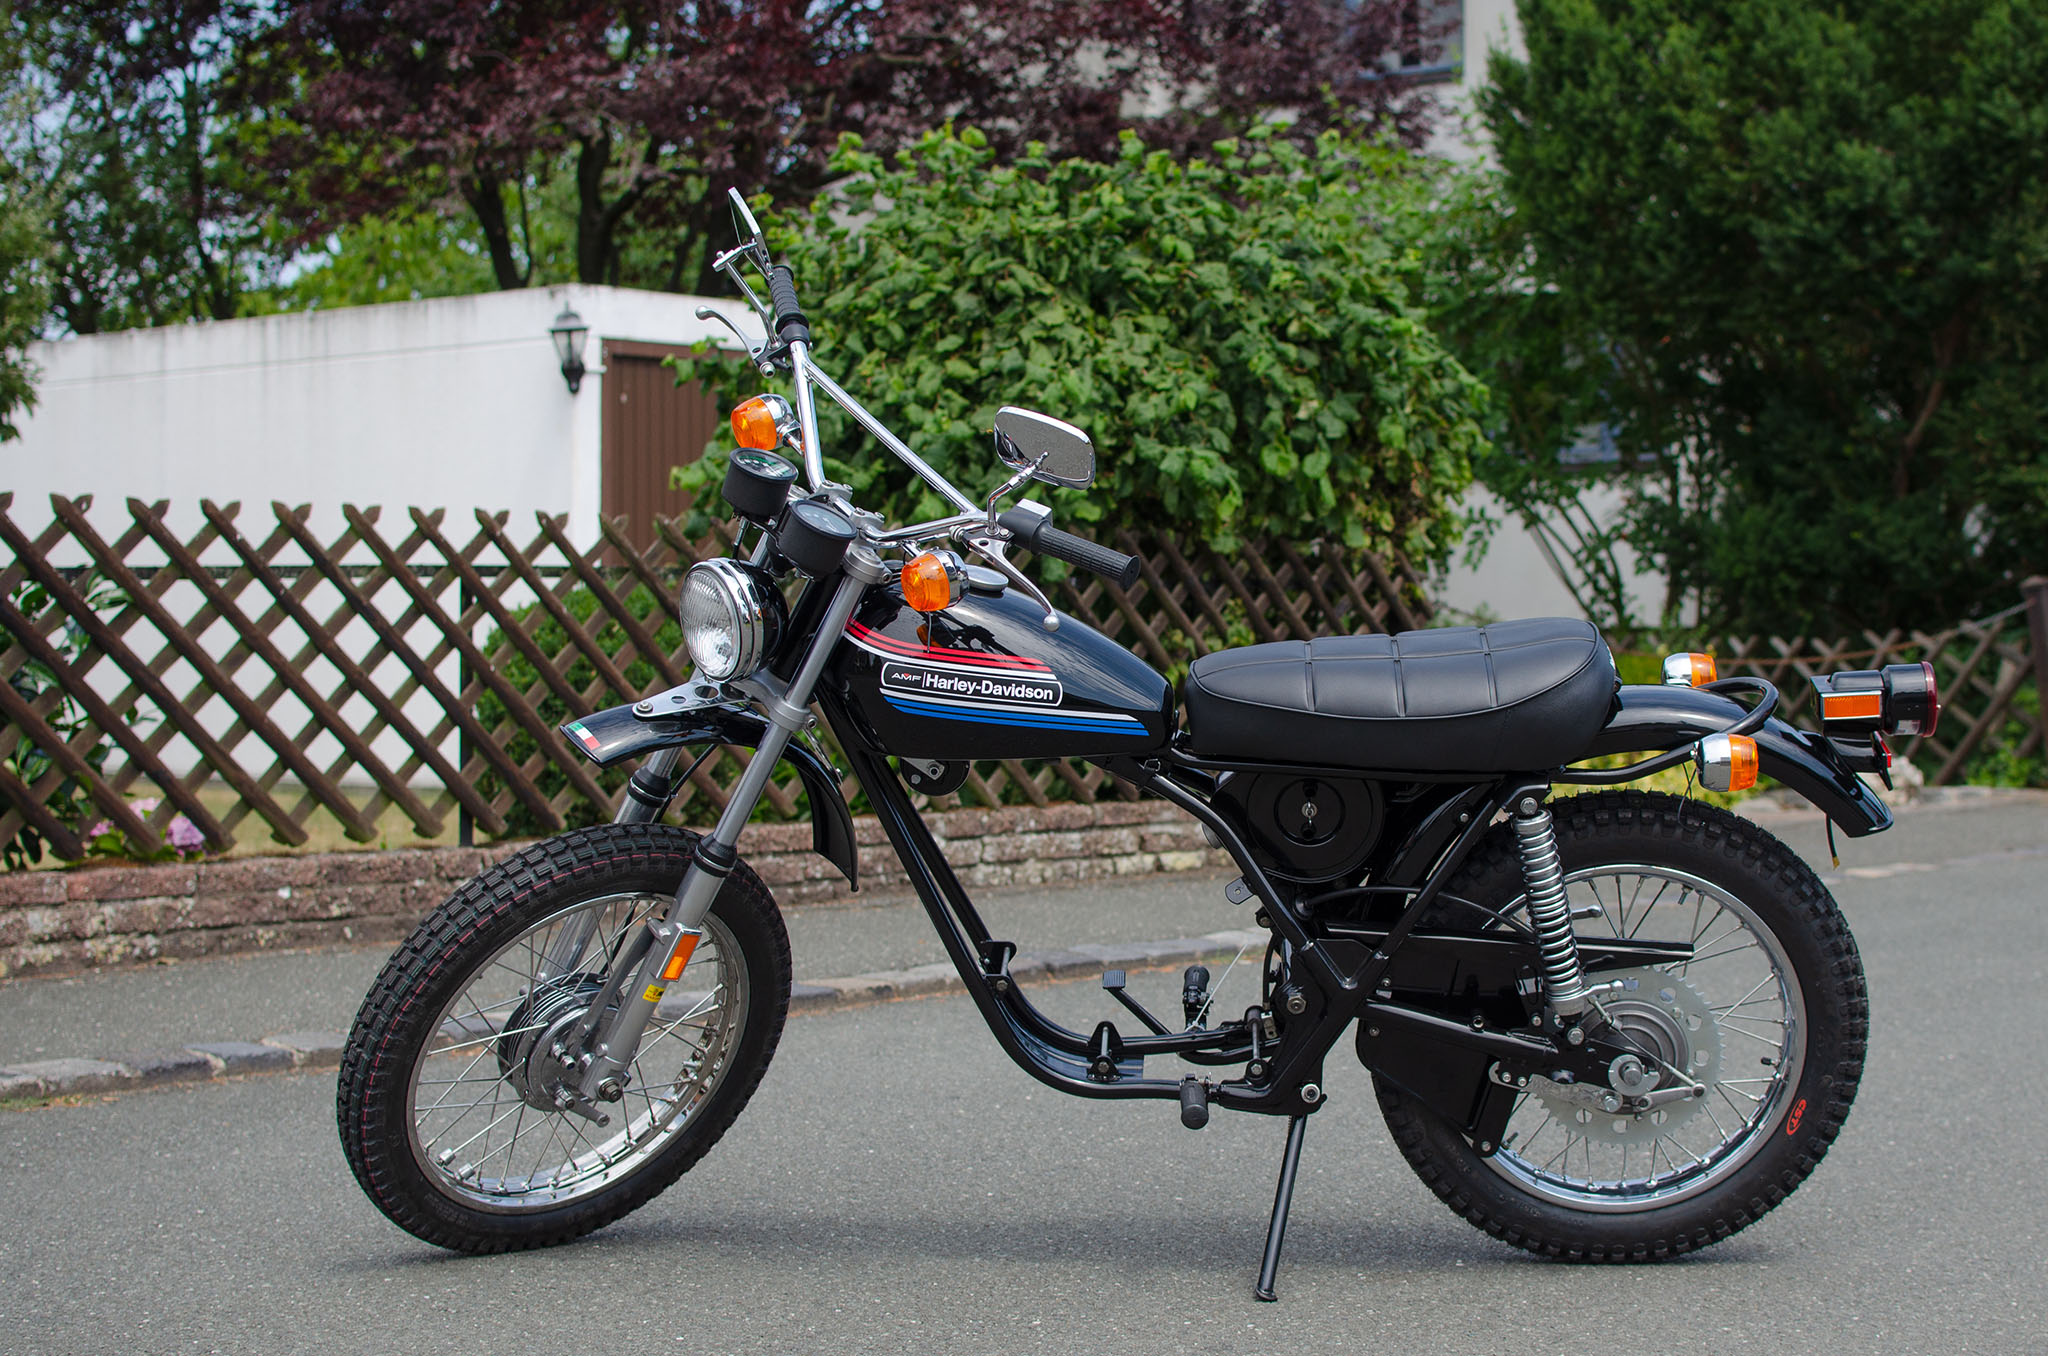

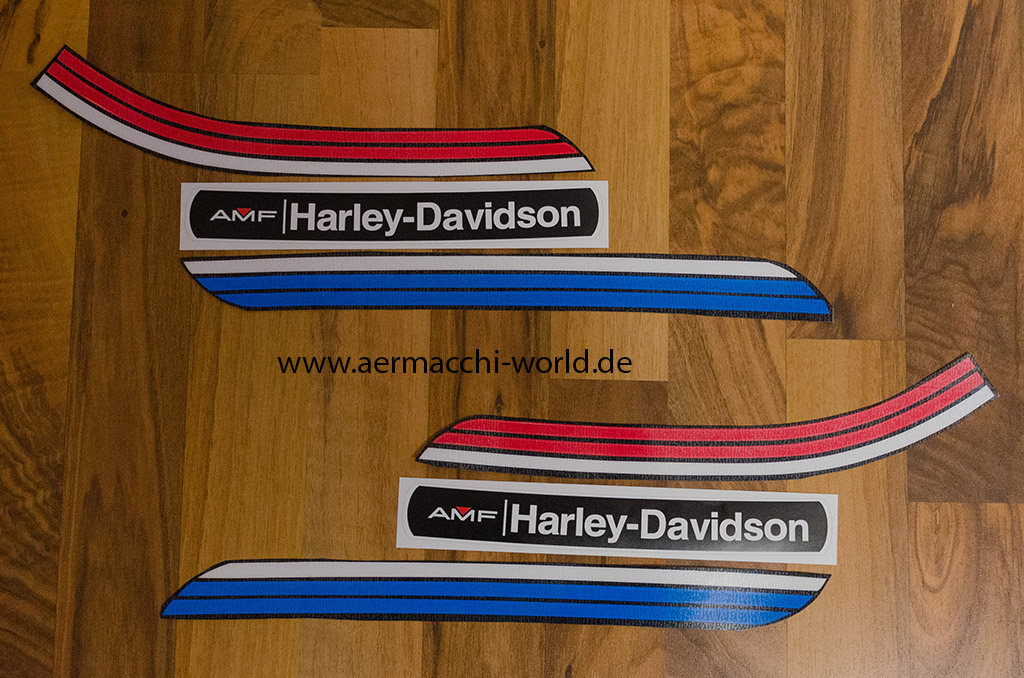
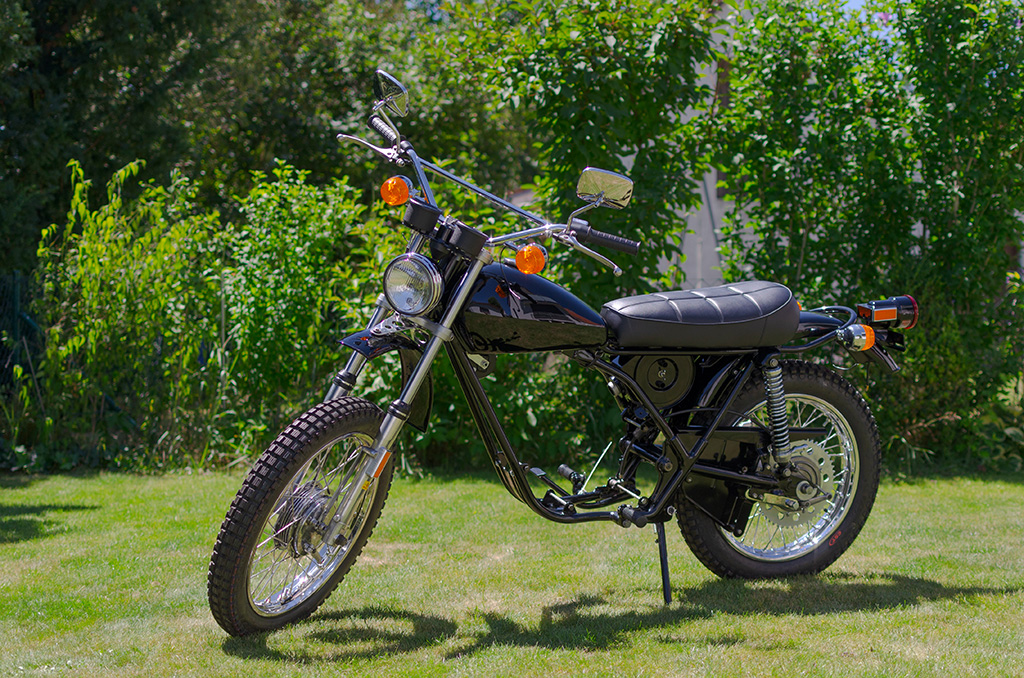
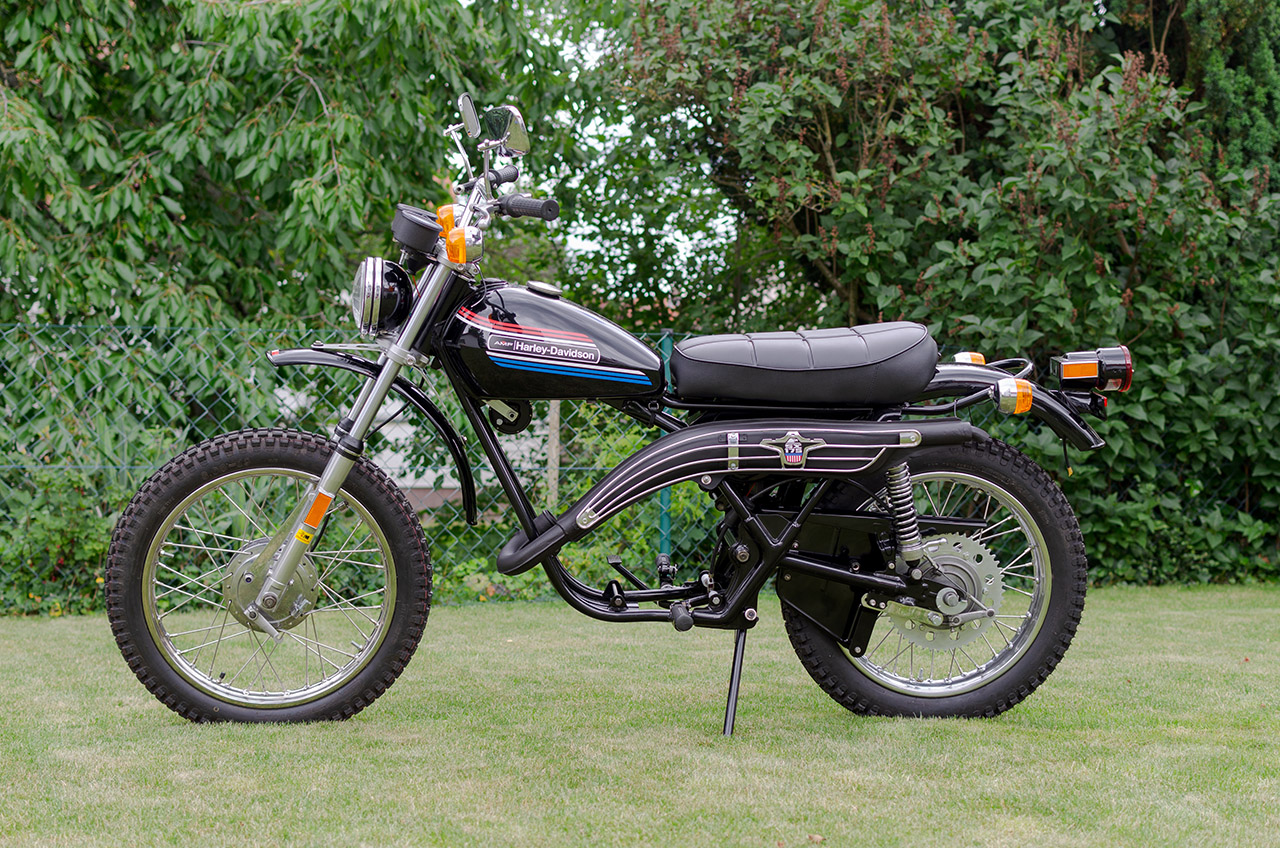
Here you can see my selfmade decals mounted to my bike. It was a lot of work to get them designed correctly but they are perfect reproductions to fit exactly the 1974 SX-175 gas tank.